What's New in Easel

June 2026


New Metadata Visibility Options

You can now temporarily hide the workpiece name and notes while designing in Easel.

Project > Show/Hide > [select an option to toggle]

Image

Tip: You can still use the 'M' keyboard shortcut to hide measurement lines as well.

New Text Editing

Easel's Text Editing has received an update!

We’ve optimized our text editor to provide a smoother, more reliable writing experience.

Image

Editing text fields now opens a separate text box to make it easier to read and edit. The text box also includes the ability to select Bold and Italic styles, as well as alignment options within the text field (left, center, right).

Simply Double-Click on the text field to open the Text Editor!

Double click on text in your designs and use the input field to edit the text. When you add new text to your designs, text-editing mode will already be active, so you can just start typing. Image

Tip: This makes editing and using rotated and vertical text easier!

Image

Image

Smart Values (Early Access)

You can now add smart values to your projects in Easel. These are named values that you can add, reuse, and easily adjust across an entire project. Define a dimension once, apply it to elements in your designs, and change it in one place to resize all of the elements using that smart value.

This makes it easy to adapt a design to different scales or use cases: swap in a different material thickness, resize a box to new dimensions, or rework a layout for a new workpiece without editing every shape by hand.

How to Opt-In

Smart values are currently available to users who opt in for early access. Click the button to enable the feature to start using smart values in Easel today!

Viewing & Creating Smart Values

Open Project › Smart Values, or the { x } smart values button in the toolbar.

Image

Each smart value can be a number or a mathematical expression, and expressions can reference other smart values — so you can build dimensions like width / 2 or frame + 2 * border. Two built-in smart values are always available: the workpiece's material thickness and bit width. These values will always be set to the thickness of the material in each workpiece, and the thickness of the primary bit in each workpiece.

Image

Using Smart Values

To use smart values in your designs, select a volume and type a smart value's name into a dimension field, or pick it from the dropdown. You can then add inline additive /subtractive math for a one-off dimension on a specific volume.

Image

When a smart value changes, every volume that uses it updates automatically. Image

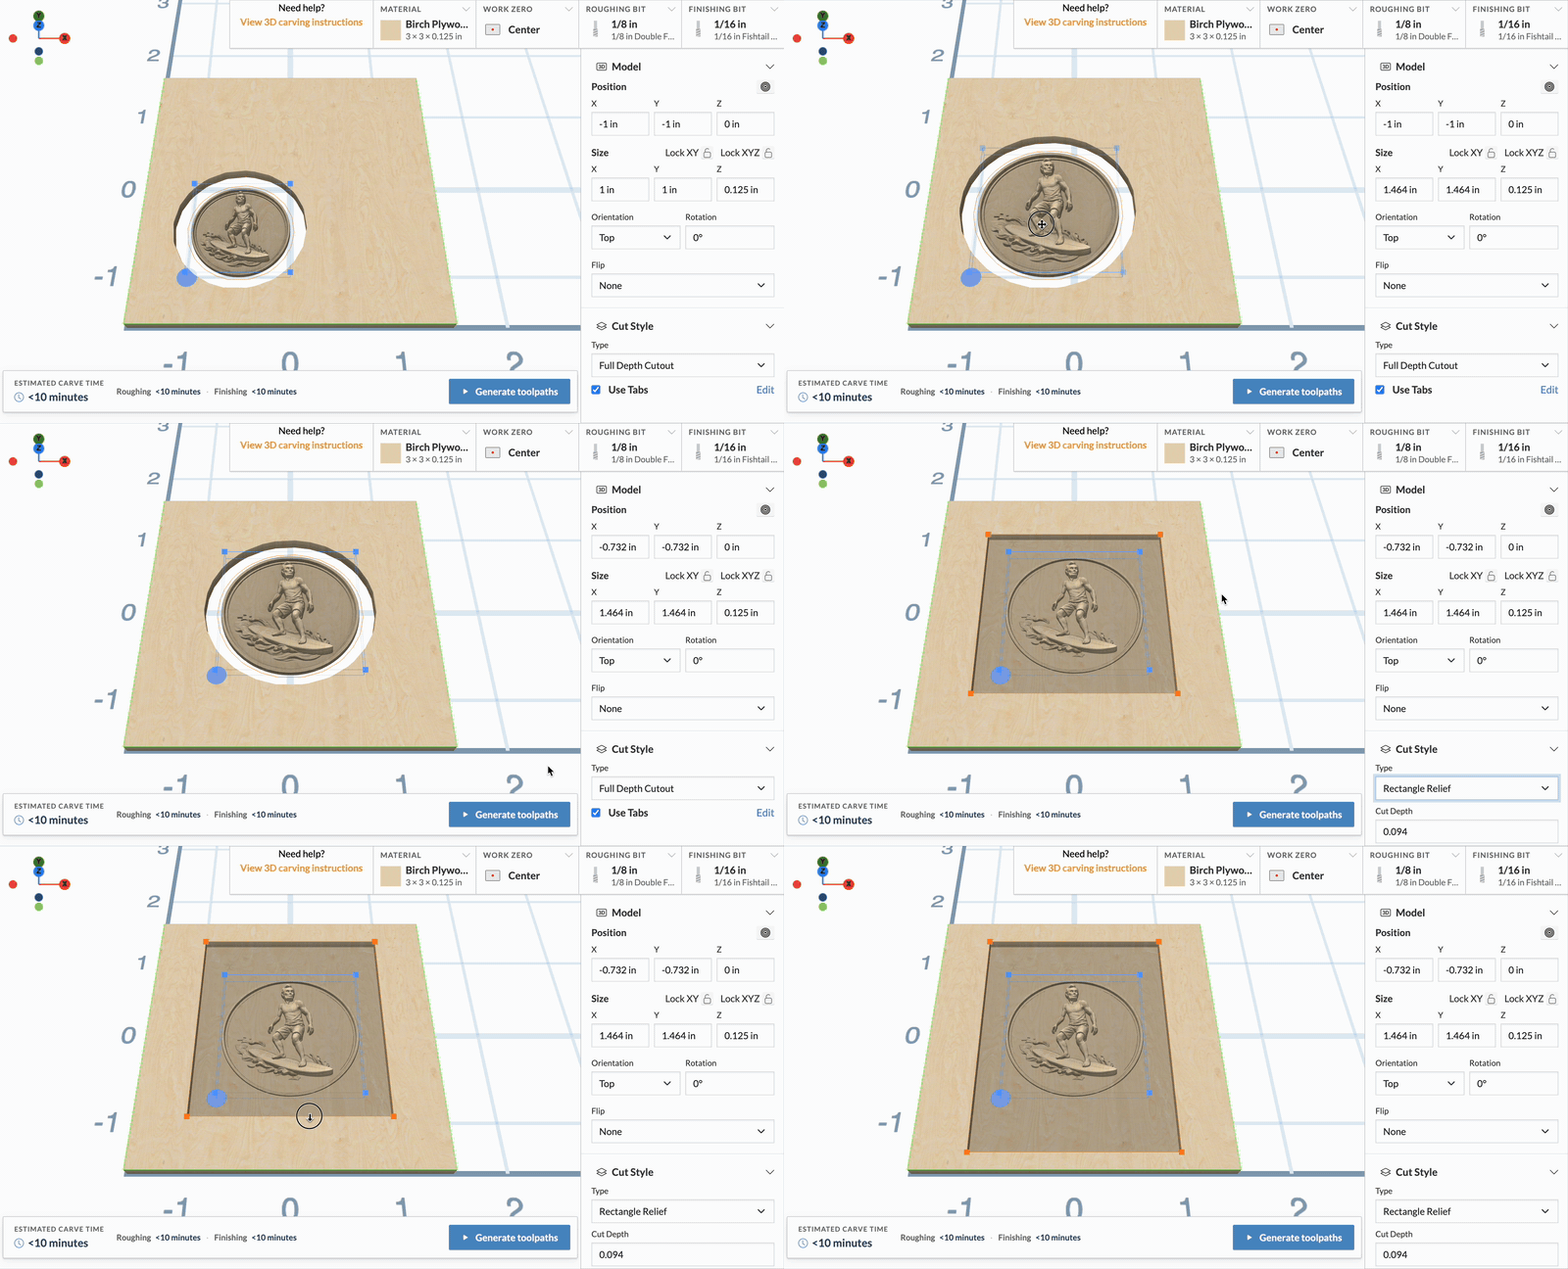
You can chose how the shapes are transformed when smart values are updated. Shapes can be resized from their centers, as well as any of the four corners of the blue outlines that appear on the canvas when shapes are selected. To change the direction that shapes will resize, select from the five "dot" options in the top of the Shape settings.

Image

Share what you make!

Smart values make it easy to design, update, and remake projects in Easel. Opt in today, use smart values on your next project, and share your feedback with our team. We can't wait to see what you make with this new update!

Product Preview Update

Paint Your Project in the 3D Preview

Now you can try out colors and stains right on the 3D product preview, one surface at a time, so you can see what your design will look like finished and on the bench long before you load a bit.

Painted 3D preview hero shot

Why we built it

The 3D preview has always shown you the shape of your carve. Now it shows the finish too. Can't decide between a walnut stain and a coat of bright enamel? Wondering how a two-tone sign will actually read? Paint it, spin it around, and you'll know in a few seconds.

A few things it's good for:

  • Planning a finish, so you can audition stains and paints before buying a single can.
  • Showing a client or a family member what the finished piece will look like.
  • Posting a painted preview to a project or the community and asking other makers what they'd do.

How to paint

  1. Open your project and switch the 3D preview to Product Preview. Product Preview
  2. Click the brush icon to grab the paint tool. Brush Icon
  3. Pick a color from the palette, or open the color picker for something custom. Color Picker
  4. Click a surface to fill it. Dragging still spins the model the way it always has, so clicks paint and drags orbit.

Paint tool and color palette

Hover over a surface first and you'll see the color before you commit to it.

A few tools to speed things up

  • Paint by surface is the default. One click fills the whole connected flat region under your cursor — a face, a pocket floor, the top of a raised shape.
  • Paint by depth fills every surface at the same depth in one click, so you can do all your pocket floors or all your raised tops at once.
  • Opacity slider lets you ease off for a translucent stain that lets the grain show through, or crank it to 100% for solid coverage.
  • Custom colors if the palette doesn't have the exact shade you're after.
  • Eraser and Clear all to take back one surface or wipe the whole model and start over.

Stain vs. opaque, by-surface vs. by-depth

Share what you painted

Got a look you like? You can send it out without leaving the preview. Attach to project drops the painted view straight into your project's gallery images.

Share buttons in the preview controls

Good to know

Does painting change my design or my carve? No. It's purely visual — it never touches your toolpaths, your material, or the cut.

Will my colors be saved with the project? Not yet. Painted colors live in your current session and reset when the preview regenerates or you leave the project. Easel will remind you of this the first time you paint. If you want to hang on to a look, use the share buttons to save it as an image.

Can I paint any project? Painting works in the 2.5D workpiece Product Preview. If you're not sure a surface is paintable, hover over it — when the color preview shows up, you're good to go.

How do I stop painting? Click the brush icon again to put the tool down, or hit Esc. Dragging always orbits the camera, so you can step back and look at your work whenever you want.

Recent Pro Design Icons

Your Pro Design Icons now keep track of themselves. Any icon you place on the canvas is automatically added to Recent, so the designs you've actually used are always a click away — no need to search for them again.

Recent fills in as you work. As you place the icon with any cut type and it shows up at the top of the Recent category in the left panel. Place it again later and it jumps back to the top, so your most-used designs stay within reach.

We only remember the icon, not the cut you chose, so you're free to place it differently next time.

You'll find Recent in the left panel right below Favorites. Starting today each icon you place is going to live there.

Recent Images

Drill Bit

You can now assign a dedicated bit just for drill holes in your design.

Previously, Easel always used your roughing or detail bit for drill holes. That often led to separate workpieces for drills.

Now, with Drill Bits, you can:

  • Choose a separate drill-specific bit just for drill holes.
  • Skip duplicating workpieces or manually hiding drills
  • Keep everything in one carve with four distinct toolpaths: Roughing, Detail, Drill and Outline

Image

How to use it:

  • Click the “+” next to your selected bit and select a Drill Bit
  • Simulate your carve — the drillpass will appear as a separate purple toolpath
  • During carving or downloading G-code, you'll now see a new “Drill Pass” option when selecting toolpaths

Image

Image

Image

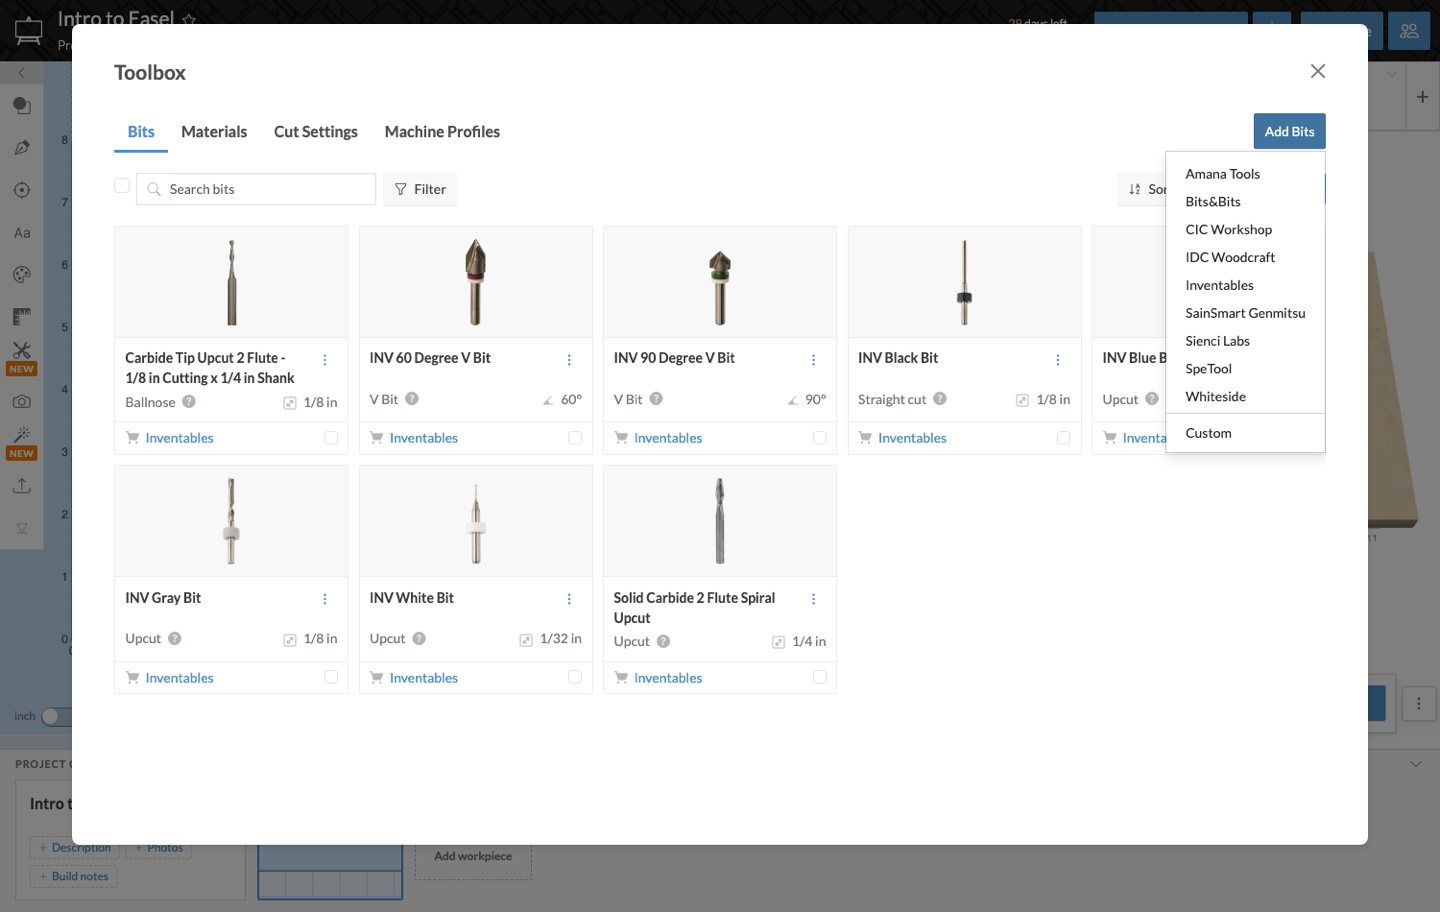
Easel Pro subscribers can now add drill bits to the toolbox as well. Simply:

  • Choose the "Drill" option when setting up your bit.
  • Drill bits you set up will appear in a Drill section when selecting the bit for your drill pass.

Image

Image

More Accurate Quick Carve-Time Estimates

Get a better idea of how long your carve will take before you ever click Simulate.

As you work, Easel shows a quick estimate of your carve time. We've rebuilt the calculations behind that estimate so the number you see while designing is much closer to reality, especially for V-carves, where estimates could previously be overly optimistic.


What changed

The design-time estimate now does a better job modeling the work your machine actually performs. It accounts for things like the fine detail passes a V-bit makes when tracing lettering, the plunges and retracts in drill-heavy designs, and the clearing passes required for deep pockets.

You'll notice the biggest improvement on complex projects that use V-bits. Most V-carve estimates should now more closely match the actual carve time.

And because the calculations are still fast, the estimate updates continuously as you design.


Where you'll see it

The quick estimate lives at the bottom of the righthand, 3D preview side of Easel.

Image

There's nothing to enable. Open a design, especially one with V-carving, and you'll simply notice that the time estimate is more accurate than before.

The precise time you get after clicking Simulate hasn't changed. This update makes the quick estimate accurate enough that you shouldn't need to run a full simulation just to sanity-check a carve time.


What it covers

The updated estimate handles several things that used to throw it off:

  • V-carving: both the clearing passes and the fine detail pass that traces the center of your lettering and artwork.
  • Drilling: peck cycles that add significant time when making deep holes.
  • Tiled projects: estimates are based on the tile you're currently carving, not the entire design.

Helpful tips

  • It's still an estimate. Actual carve time depends on your machine's speed and acceleration limits. For the most accurate number on your machine, use Simulate.
  • Deeper isn't always longer. On some V-carves, increasing the depth reduces the fine-detail area that dominates the carve time. In those cases, the estimate may actually go down as depth increases. That's expected.
  • 3D carves are unchanged. This update focuses on 2D and V-carving projects.

FAQ

Do I need to do anything to get the new estimates?

No. The improvement is automatic for everyone. It's the same estimate you already use, just more accurate.

Is this the same as the Simulate time?

No. Simulate runs a full machine-specific simulation to produce a precise number. This is still the quick estimate that updates as you design, but it's now much closer to the simulated time.

Why did my estimate change?

The old estimate often undercounted the amount of work required for detailed carvings, especially V-carves, so many estimates have gone up. In other cases, the previous estimate overcounted and the new estimate may be lower. Either way, the goal is to provide a number that's closer to what your machine will actually do.

Will this change how my project carves?

No. This update only affects the estimated time. Your toolpaths and the finished carve are exactly the same.

Rapid toolpaths improvements

We have optimized how rapid motions are calculated. Easel will now try to minimize unnecessary travel across your design, and move to closest shape much more often, leading to fewer rapid motions overall.

This leads to shorter carve times, with some designs reporting over 10% reduction in carve time. The more rapid motions the design has, the better the improved toolpaths will perform.

In the video below you can see new toolpaths keep the single close relative distance in mind when selecting next area to carve. This makes far fewer rapids, speeding up the carve time.

Image

In the example below we have a simulated design with shapes inside a wreath. New toolpaths travel far more efficiently between areas to cut. For this specific example the rapid simplification lead to 30% faster cut time.

New toolpaths: faster rapid toolpaths

Contrast this with old toolpaths: slower rapid toolpaths

Feature is now live in Easel and available to everyone for all designs & package plans.

Community Cut Settings

Dial in your feeds and speeds using real data from the Easel community.

Choosing the right feed rate, depth per pass, and spindle speed can be the difference between a clean cut and a ruined workpiece. This new feature shows you what other makers using a similar machine with the same material & bit combination actually use, so you can start from a setting that's already working for others.

Image

Powered by real carve data

Easel records anonymized cut-settings data for every carve. Community Cut Settings aggregates that data and determines the most popular, proven settings for your exact configuration:

  • Your machine — settings are grouped by machine work-area size, so a desktop CNC sees desktop-CNC data.
  • Your material — matched to the material you've selected.
  • Your bit — matched by bit size (or tip angle for V-bits).

The result is a recommendation grounded in thousands of real, recent carves.

How to find it

  1. Open the Cut Settings panel for your project.
  2. Choose the bit you want to set up — Roughing, Detail, or Outlines.
  3. Next to the Automatic and Manual tabs, select the new Community tab.

Image

Using the most-used setting

When you open the Community tab, you'll see the Most-Used Setting card. This highlights the single most popular combination of feed rate, depth per pass, and spindle speed for your current material and bit.

  • Click Apply these settings to use them in one tap.
  • If your current values already match, you'll see "You're using this setting" instead.

Image

Exploring all settings

Want to see the full picture? Click Explore all settings to open the heatmap.

Image

The heatmap plots feed rate against depth per pass for a given spindle speed, with each tile representing a combination other makers have used:

  • Brighter tiles = more popular. Settings used in more carves glow green-to-yellow, while less-used settings stay a darker purple-blue.
  • ⭐ The star marks the most-used setting for the selected spindle speed.
  • Spindle speed selector at the top lets you switch RPM ranges and see how the community's choices shift. It also shows how many carves fall in each range.
  • Hover a tile to see how many community carves used that exact setting.
  • Tap any tile to preview its exact feed rate and depth per pass, then click Apply selected setting to use it.

Helpful tips

Spindle speed on manual machines. If your machine doesn't control spindle speed automatically, Easel still recommends an RPM — you'll see a reminder to set it by hand.

No data yet? Some material-and-bit combinations don't have enough community carves to recommend a setting. When that happens, you'll see a "No community cut settings available" message — fall back to Automatic or Manual settings for now. As more makers carve, coverage keeps growing.

You're always in control. Applied community settings are just a starting point. Tweak any value and the setting becomes your own custom value — nothing is locked.

FAQ

Where does the data come from? Anonymized, aggregated cut-setting data from Easel carves across the community. No project or personal information is shared.

Why don't I see settings for my bit/material? There may not be enough community carves yet for that exact combination. Coverage improves over time.

Will this overwrite my saved cut settings? Only when you choose to apply a community setting. Until then, your existing settings are untouched.

Does it work for every bit in a multi-bit carve? Yes — open the Community tab on each bit (Roughing, Detail, Outlines) to get a recommendation tailored to that operation.

Favorite Icons

You can now add Pro Design Icons to your Favorites, making it easy to access the icons you use most often.

To add an icon to Favorites, click the Favorite button next to the icon while selecting it. The icon will then appear under the Favorites category in the left panel.

To remove an icon from Favorites, open the Favorites category, select the icon, and click the Favorite button again to toggle it off. The icon will be removed from your Favorites list.

Image