Star Wars Silicone Chocolate Mold

Instructions
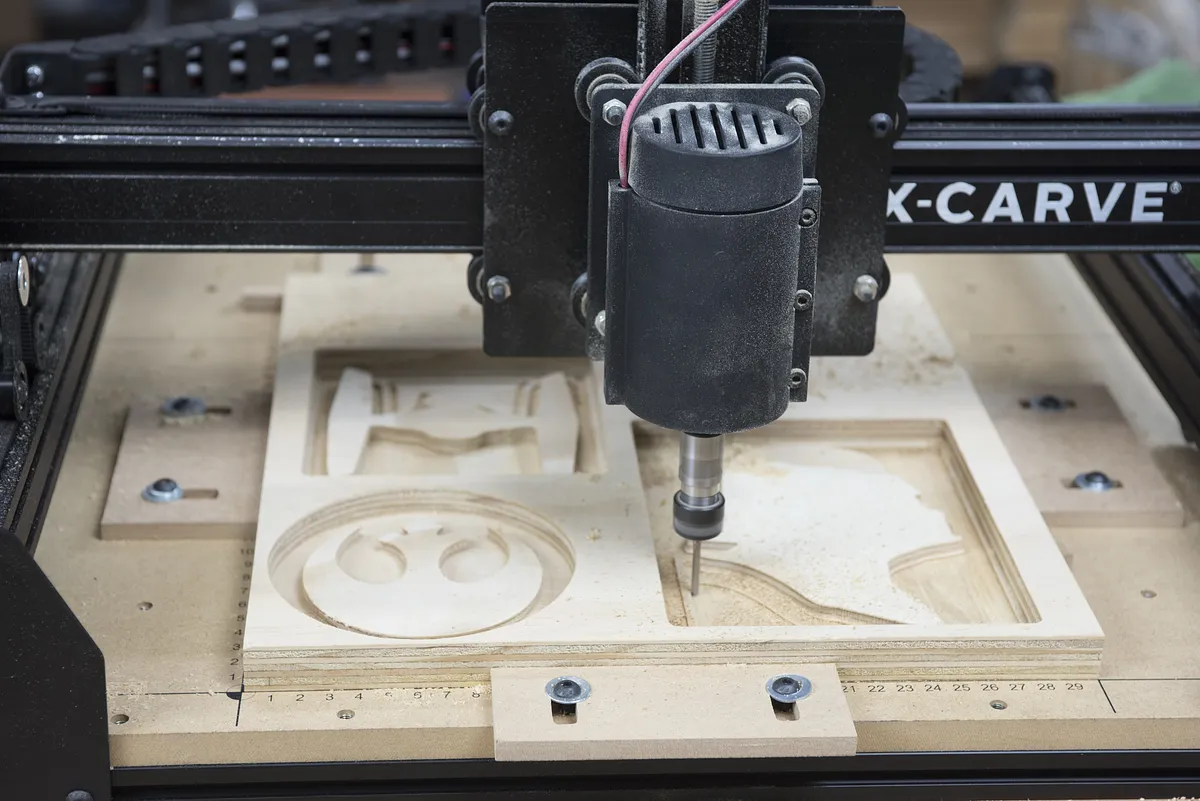
Secure Workpiece and Carve with Easel.com
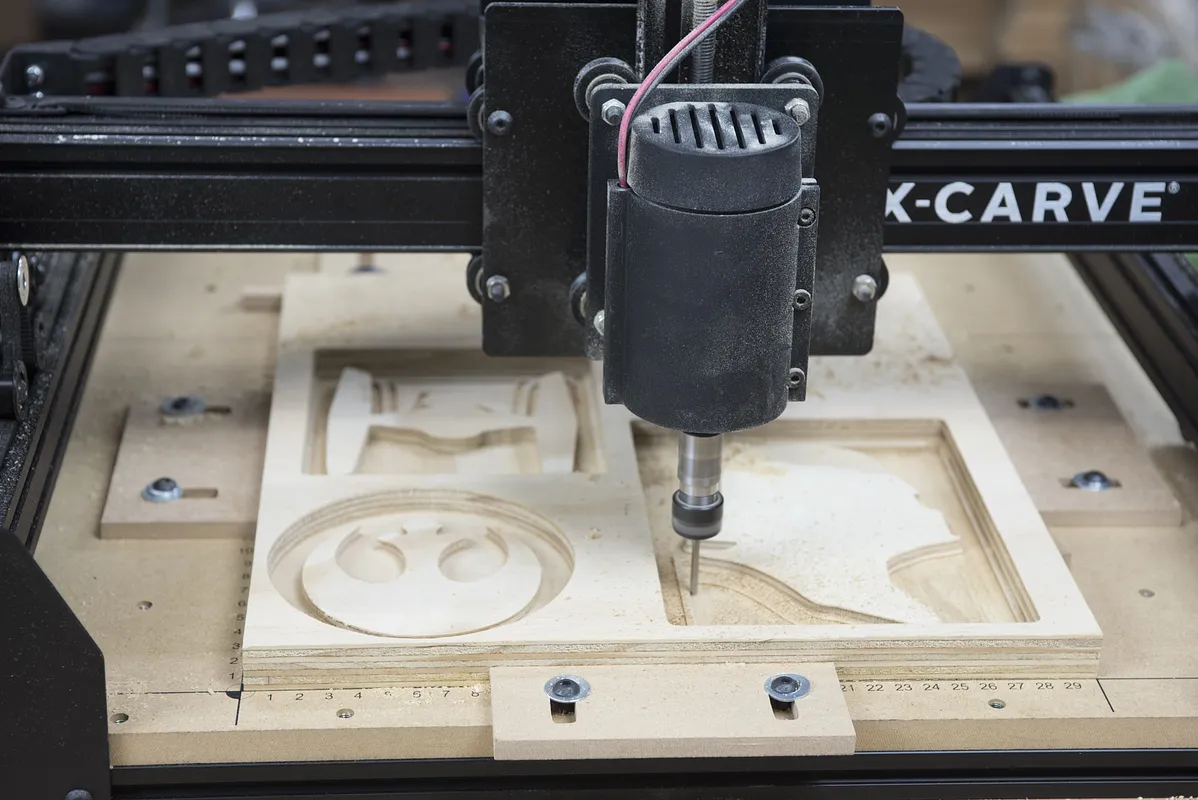
Secure a piece of plywood or similar material to the X-Carve it needs to be approximately 300mm x 300mm and 19mm thick.
Use the link in this tutorial to open the project in easel.com
Follow the steps in Easel and start the carving job
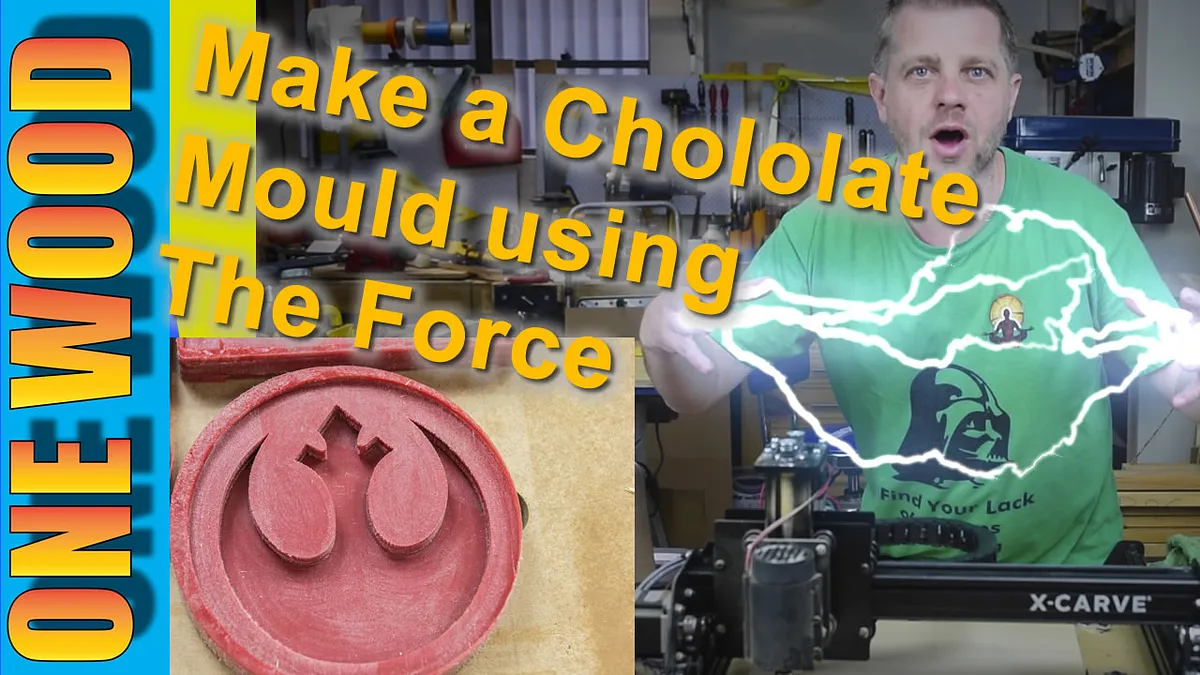
Don't forget to watch the below YouTube video first to give you a good understanding of the entire process.
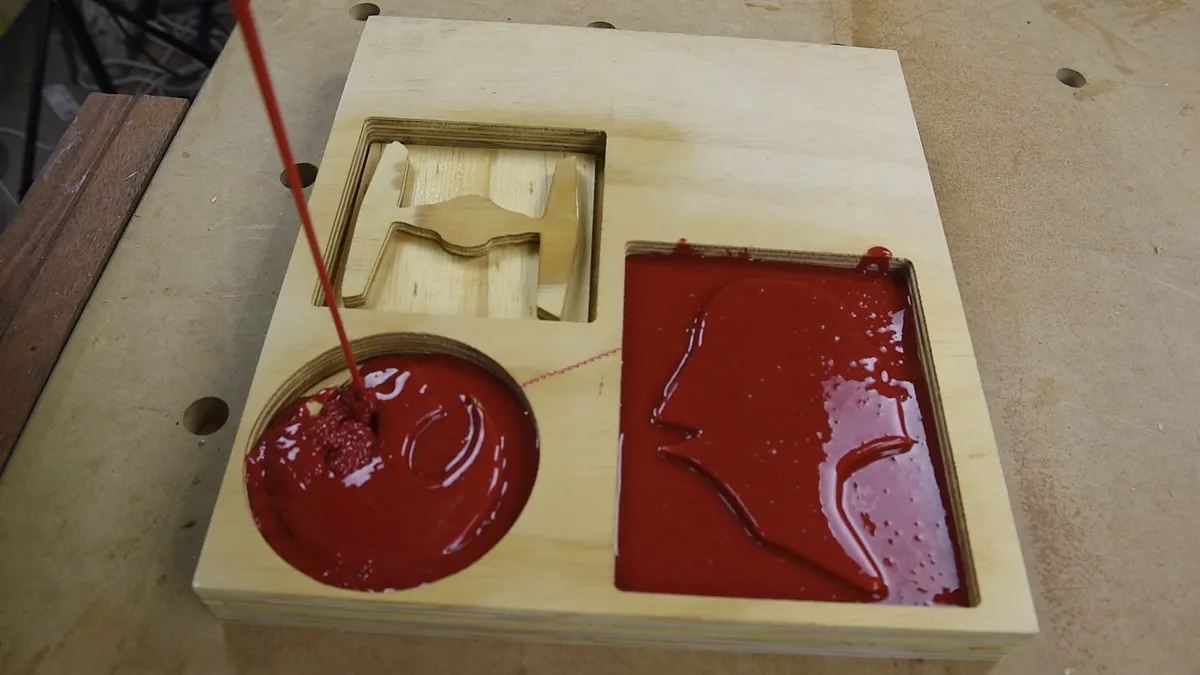
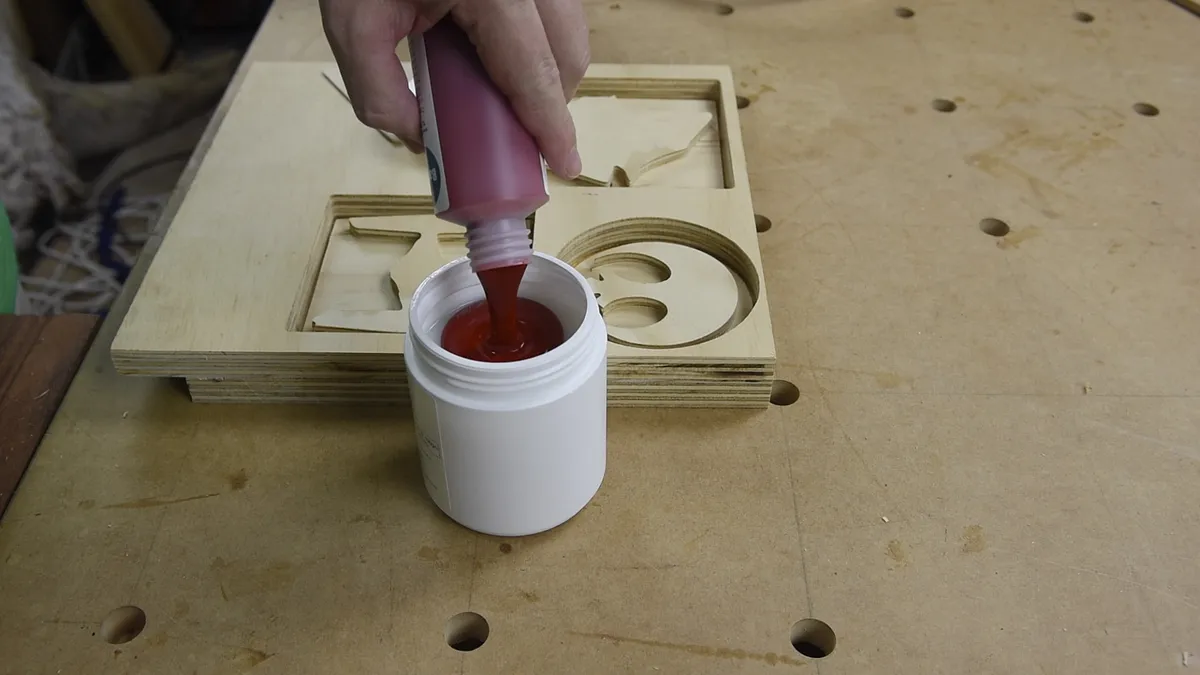
Mix the Silicone and pour into mold
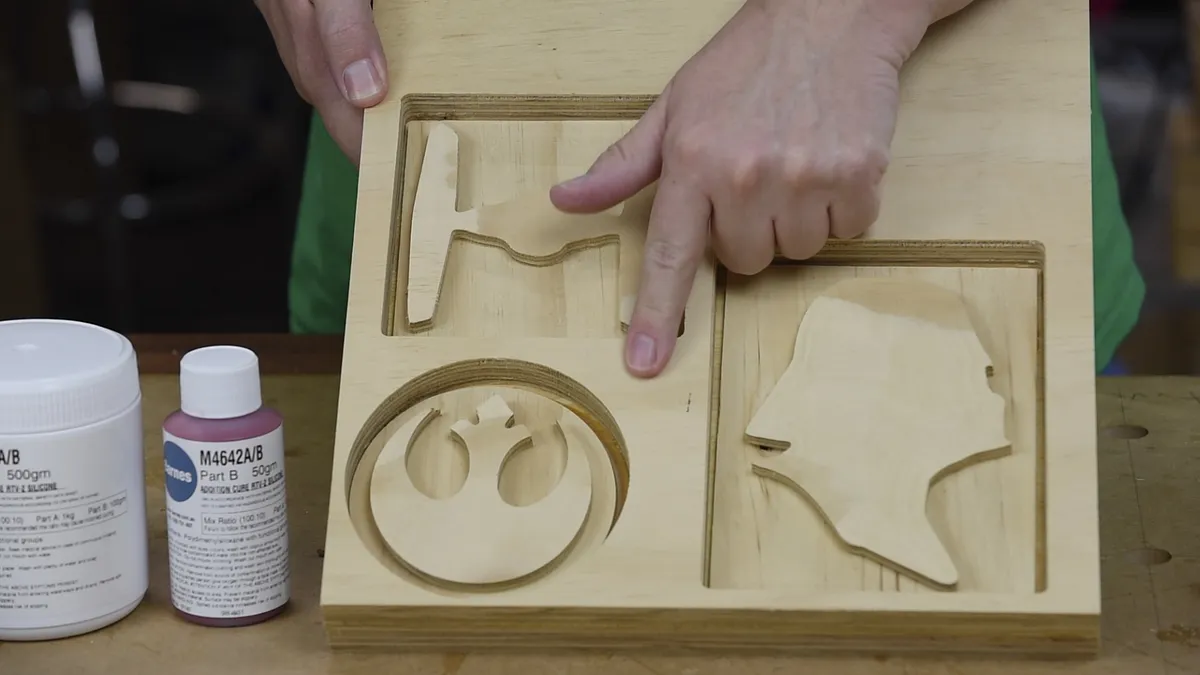
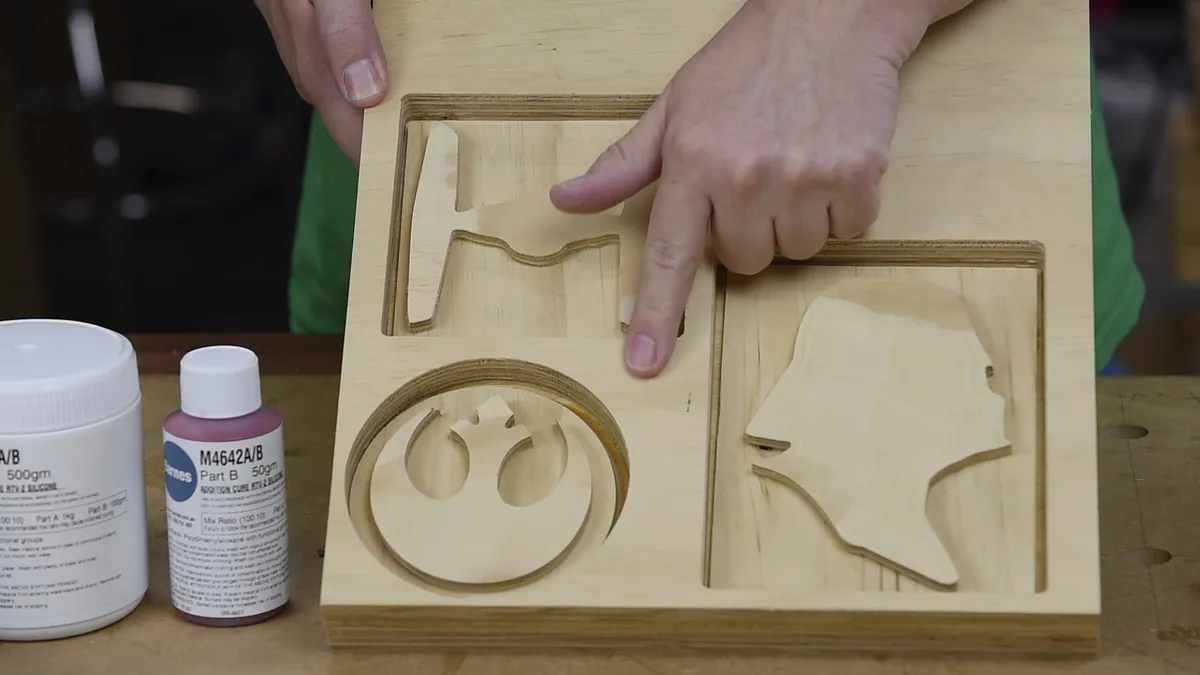
I’ve got my shapes cut out on the x carve
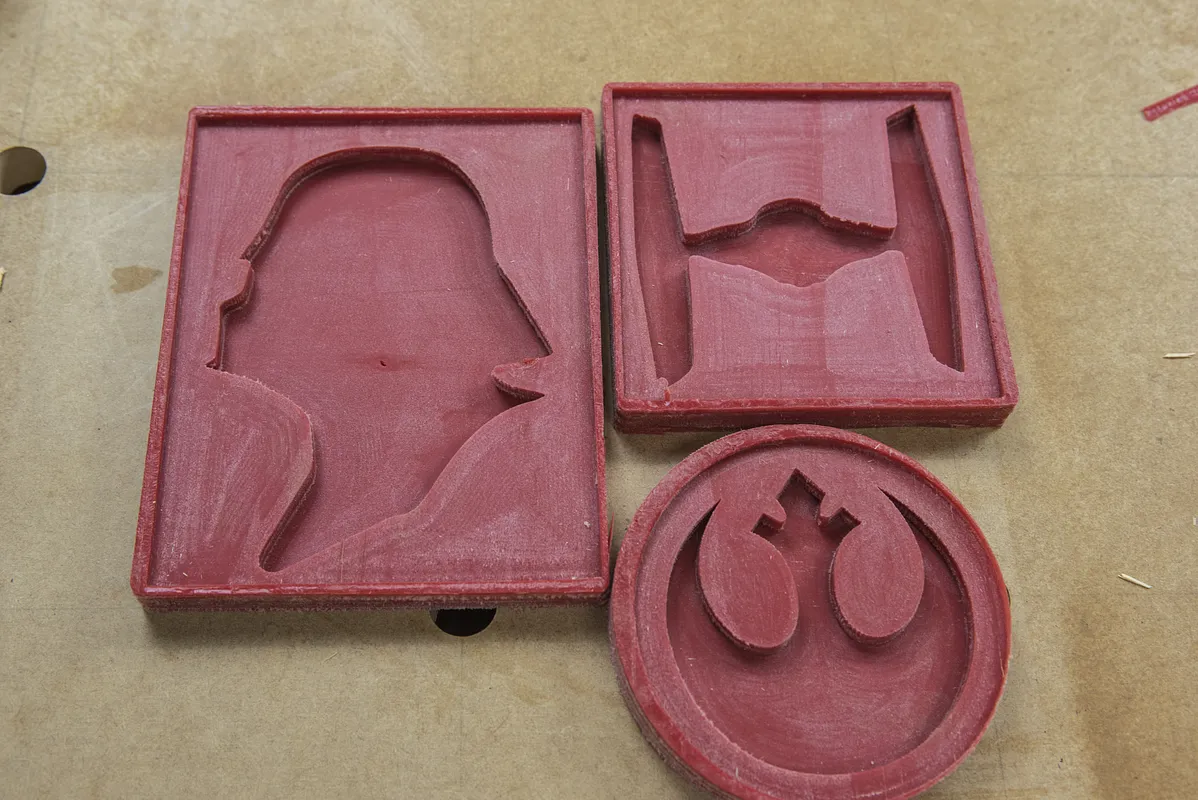
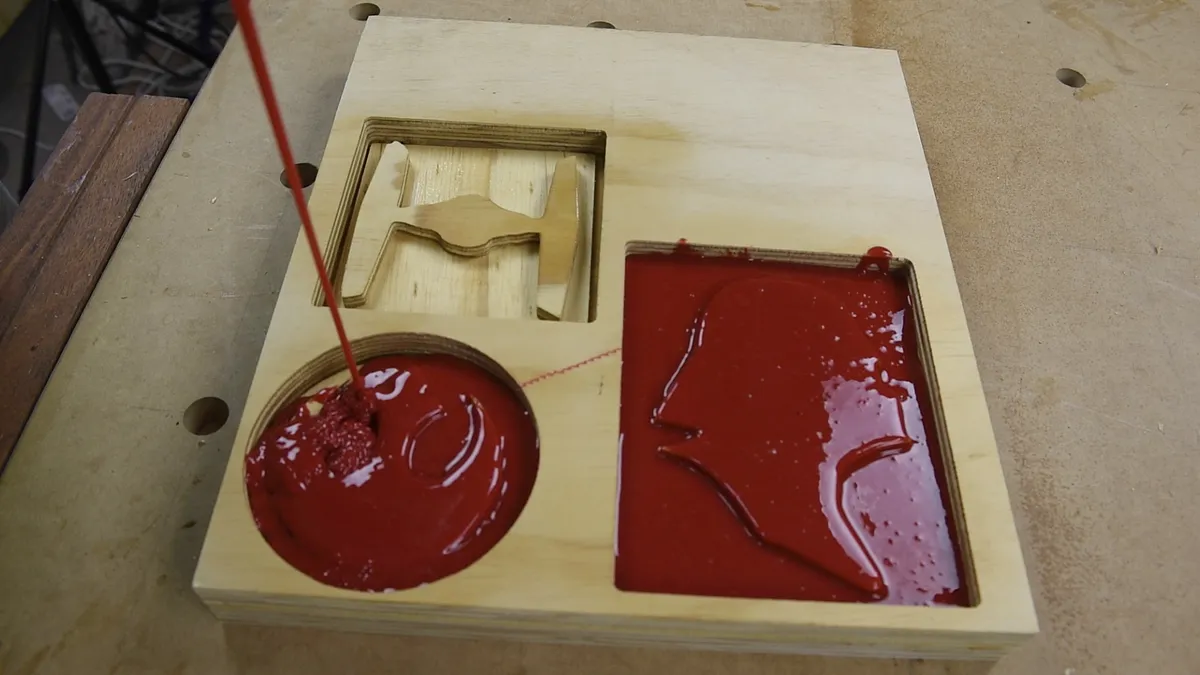
I’ve got a Tie Fighter The Rebels logo and Darth Vader’s profile it did a pretty good job of it the edges are nice and smooth so the next thing we are going to do is I’ve got some food grade silicone this comes in 2 parts you typically get a part A and a Part B and then you mix them together and a chemical reaction goes on and then we will just pour these into the mould and let them set.
I used Barnes when I looked on the internet I found plenty of different brands if you cant find this one.
You want to make sure you mix this really well and fold it in on itself spray a little bit of olive oil on the wood to make it less likely to stick when pouring.
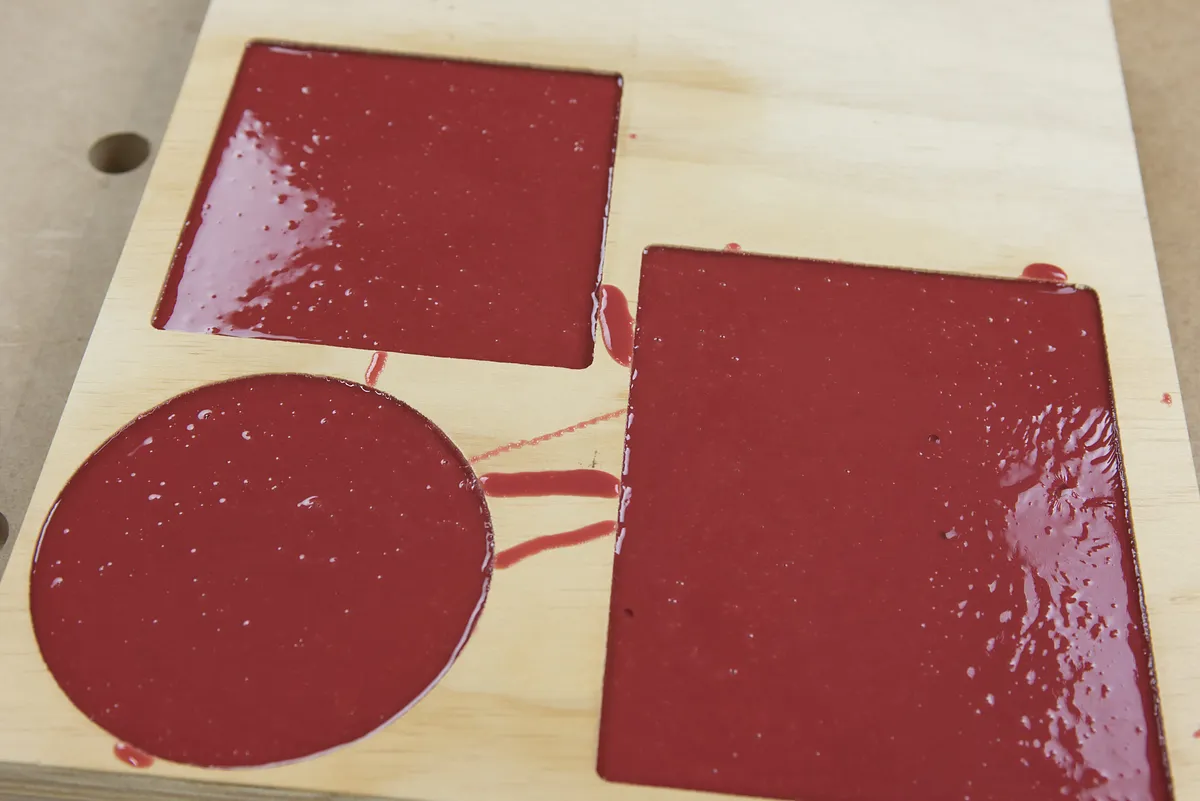
if you just try and pour slowly and finely so any bubbles burst on their way down
Remove silicone from mold
You may want to watch the YouTube video for more detail on this.
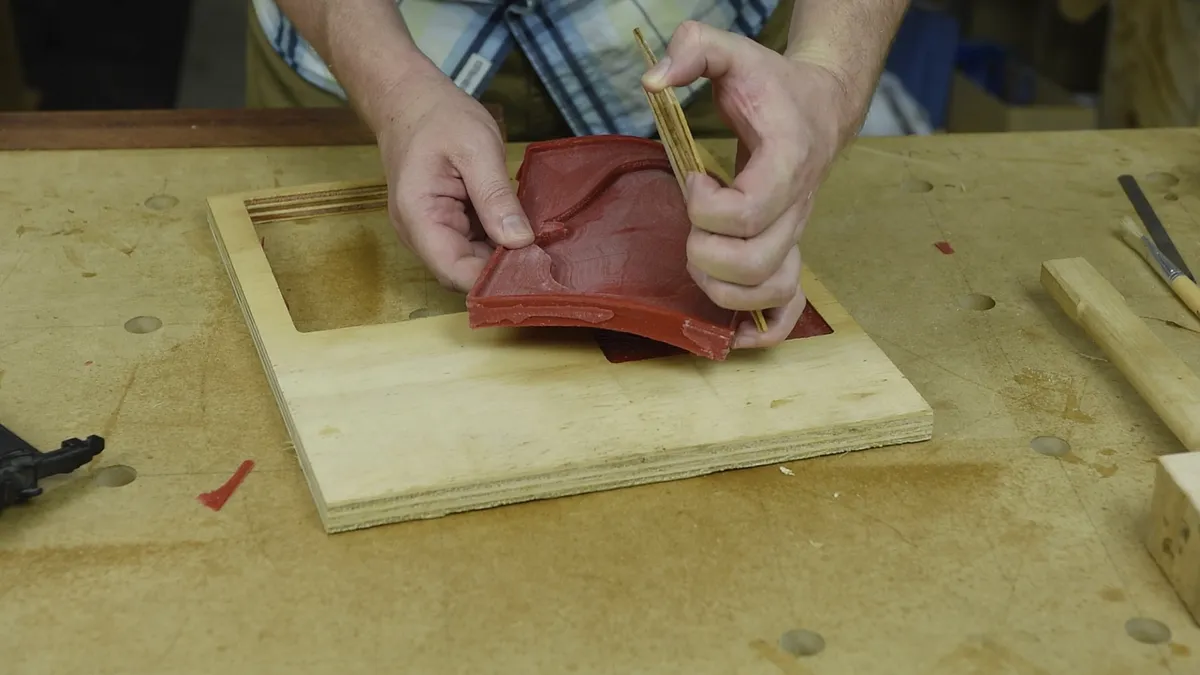
I let the silicone dry overnight so its nice and hard, what I ended up doing is cutting through the template all the way through and then just gluing a backer board on it because I anticipated that they might be a little bit hard to get out.
You can then just split the boards apart and pop out the mold from the wood.
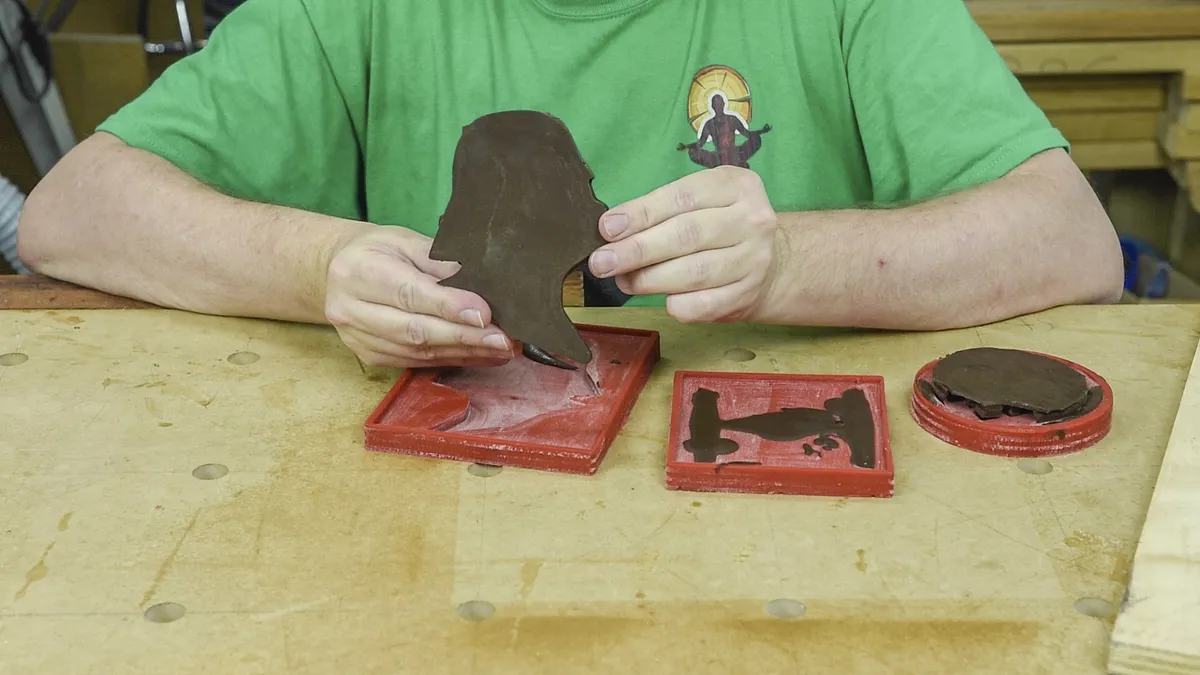
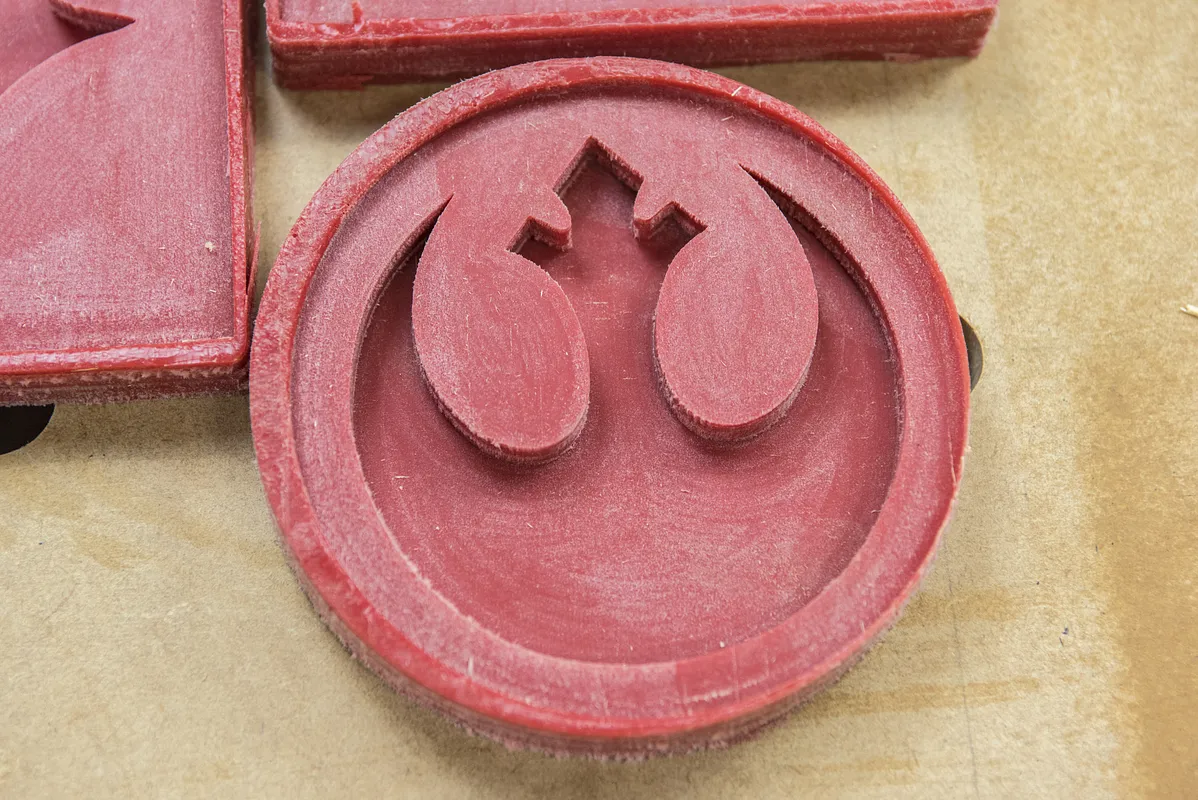
Then take your time to peel the silicone off the wood.
Clean with warm soapy water to make sure there is not dust or wood on the silicone mold.
Melt the Chocolate and Pour in mold
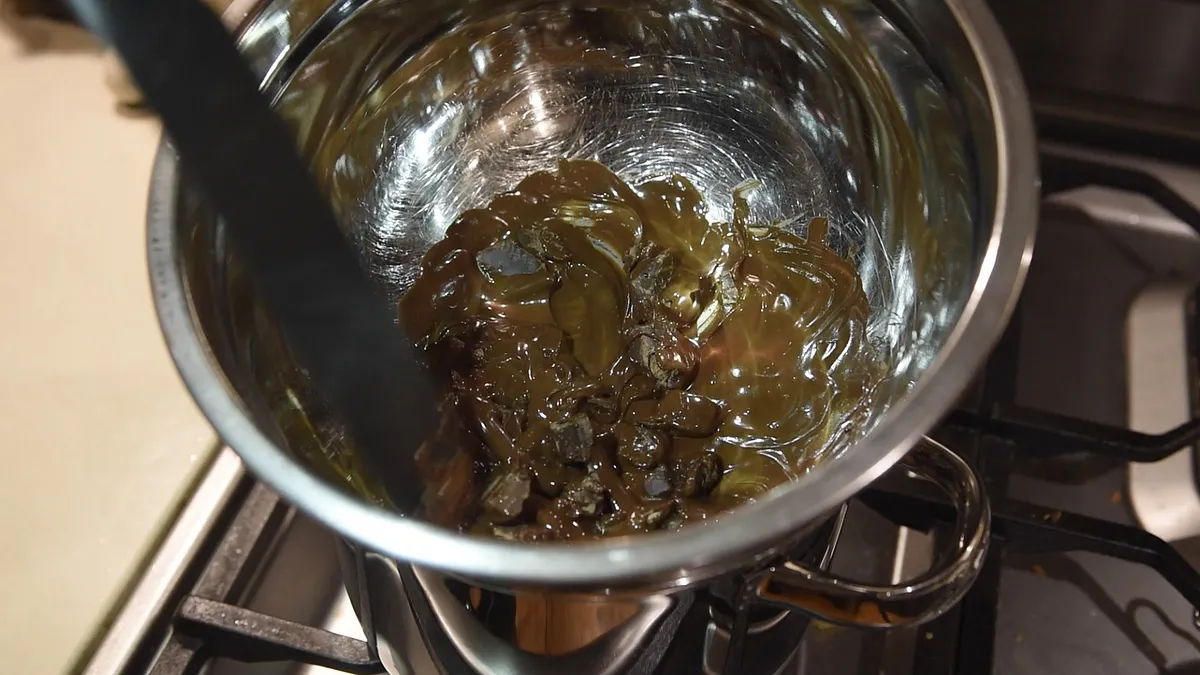
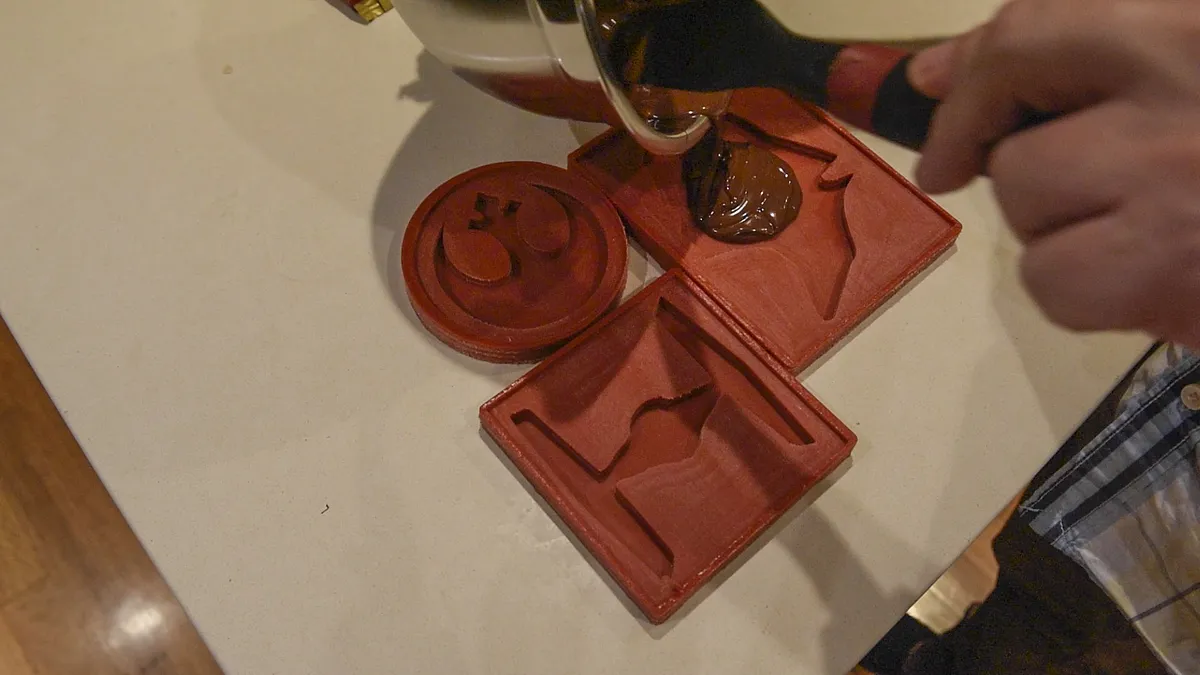
Use a double bowl technique to melt the chocolate and pour it into the mold.
Shake the mold gently and pick up the edges and let them drop to make sure the Chocolate works it way into the corners and also gets out any air bubbles.
Place the mold into the fridge.
Remove Chocolate from mold
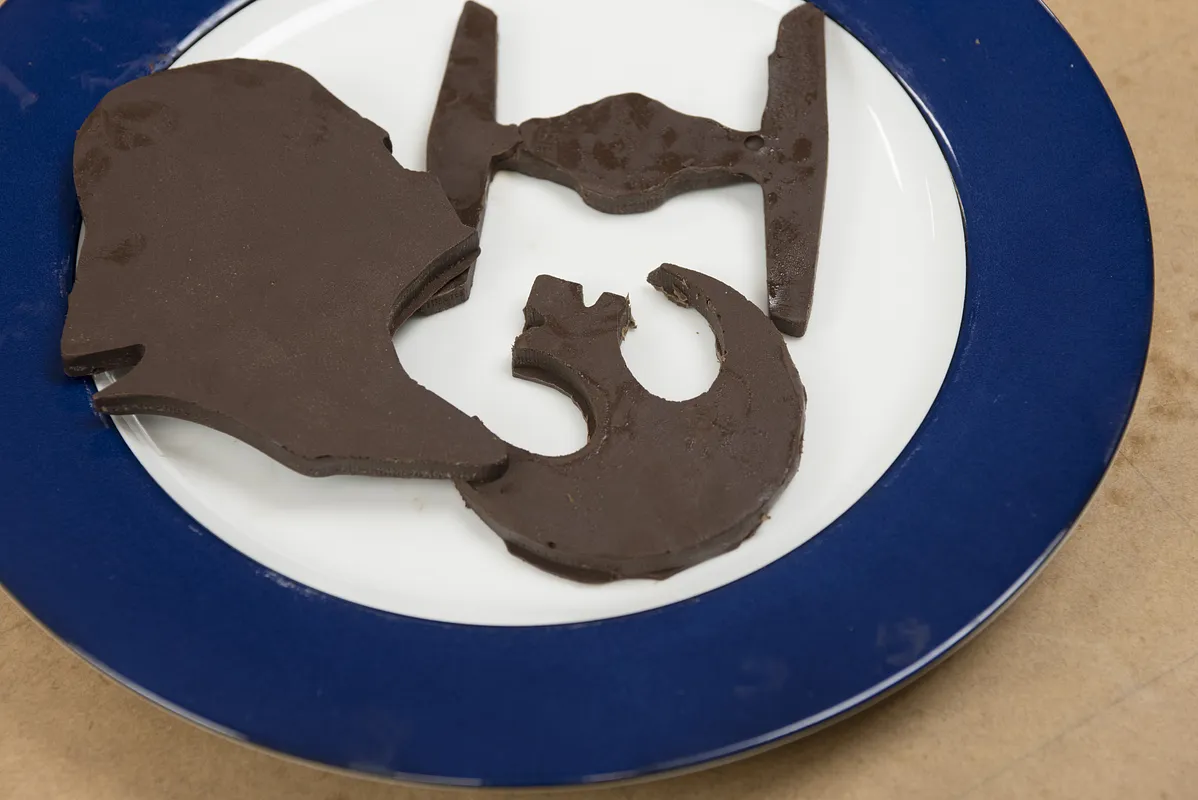
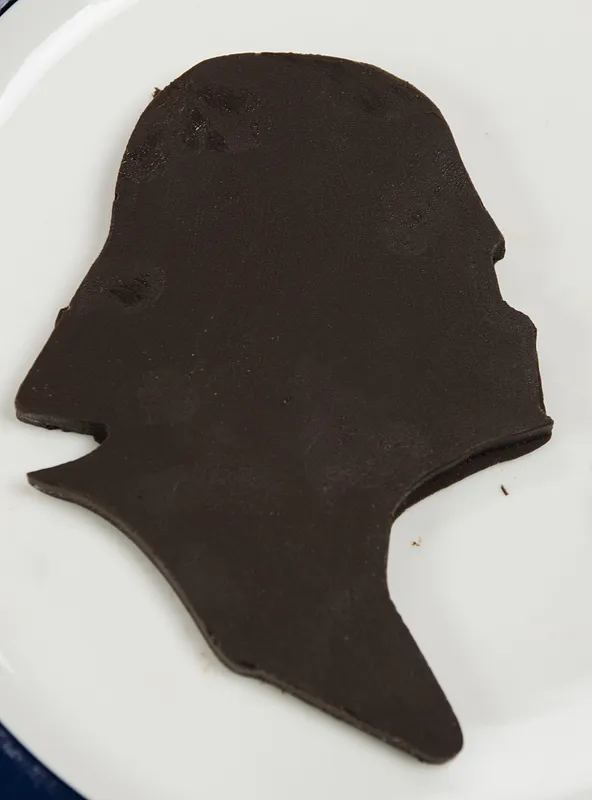
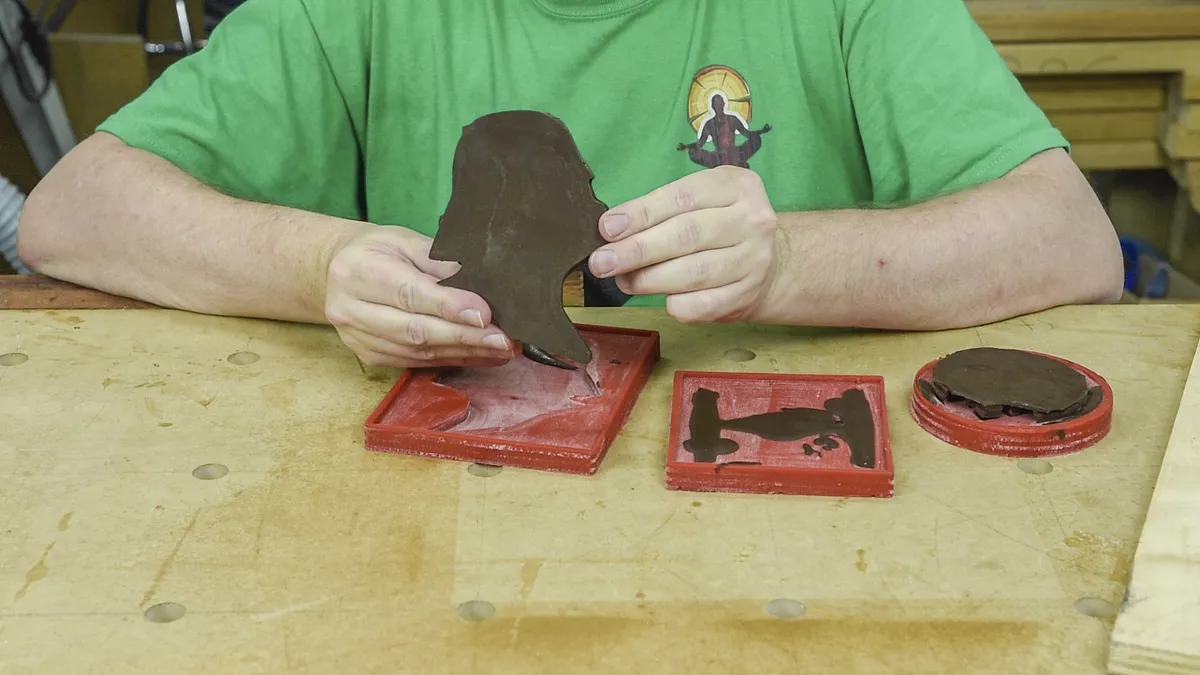
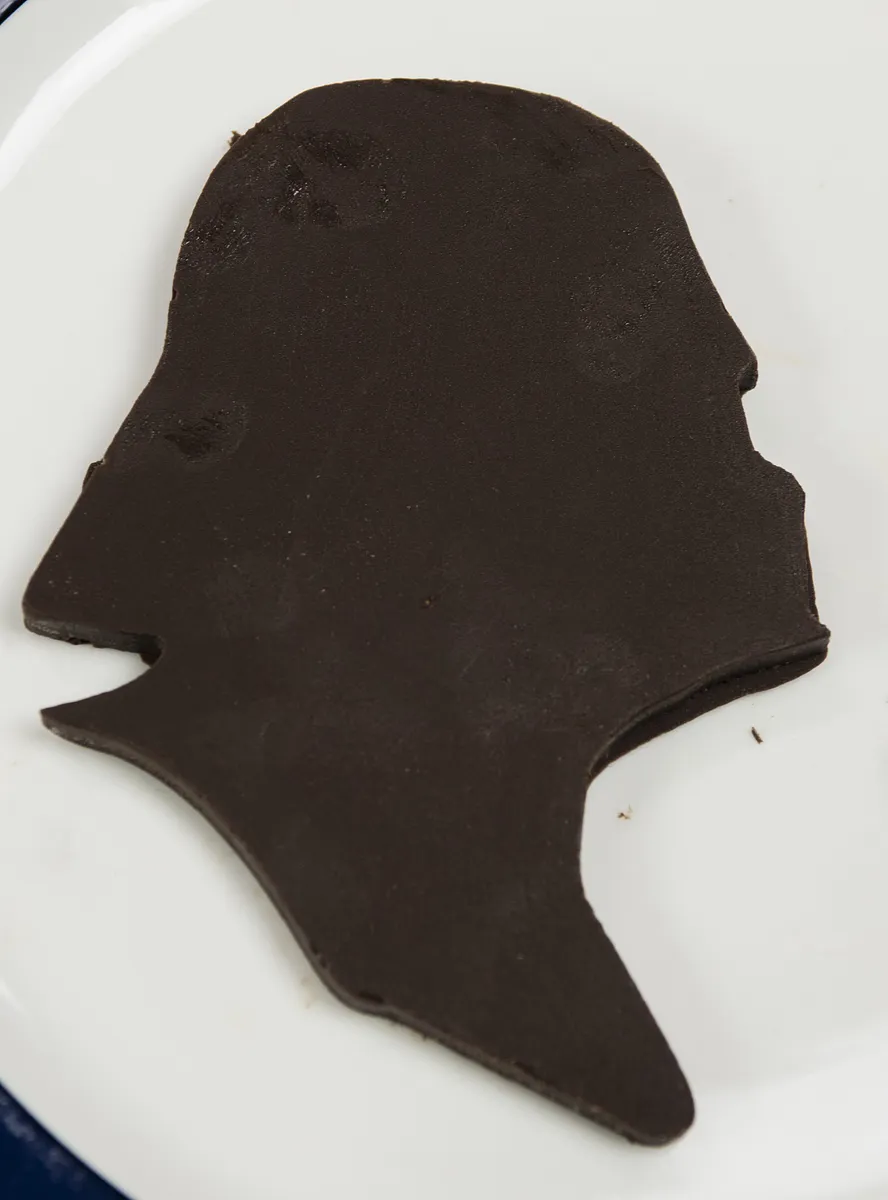
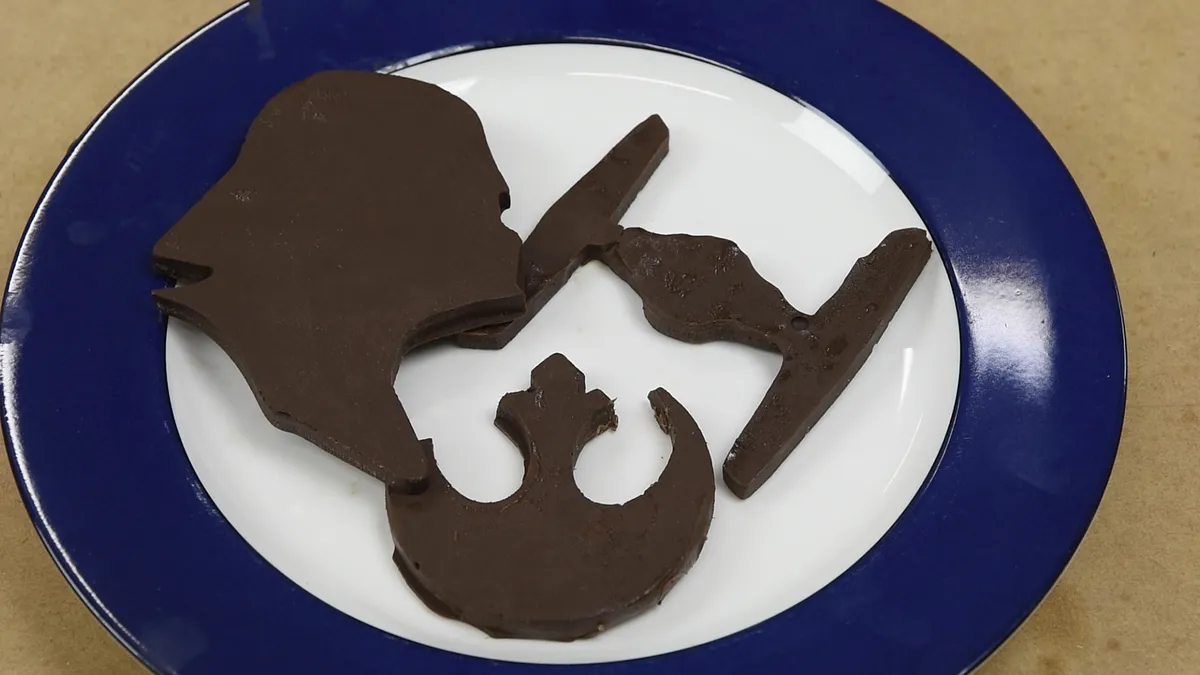
Take your time and carefully peel the silicone mould off the chocolate.
When done eat and enjoy :)
Comments
I am curious why are there so many air bubbles in the chocolate? what that just the chocolate itself doing that or did the mold not have a smooth texture on it ?
WorkinWoods · January 17, 2016