Rubber Band Racer
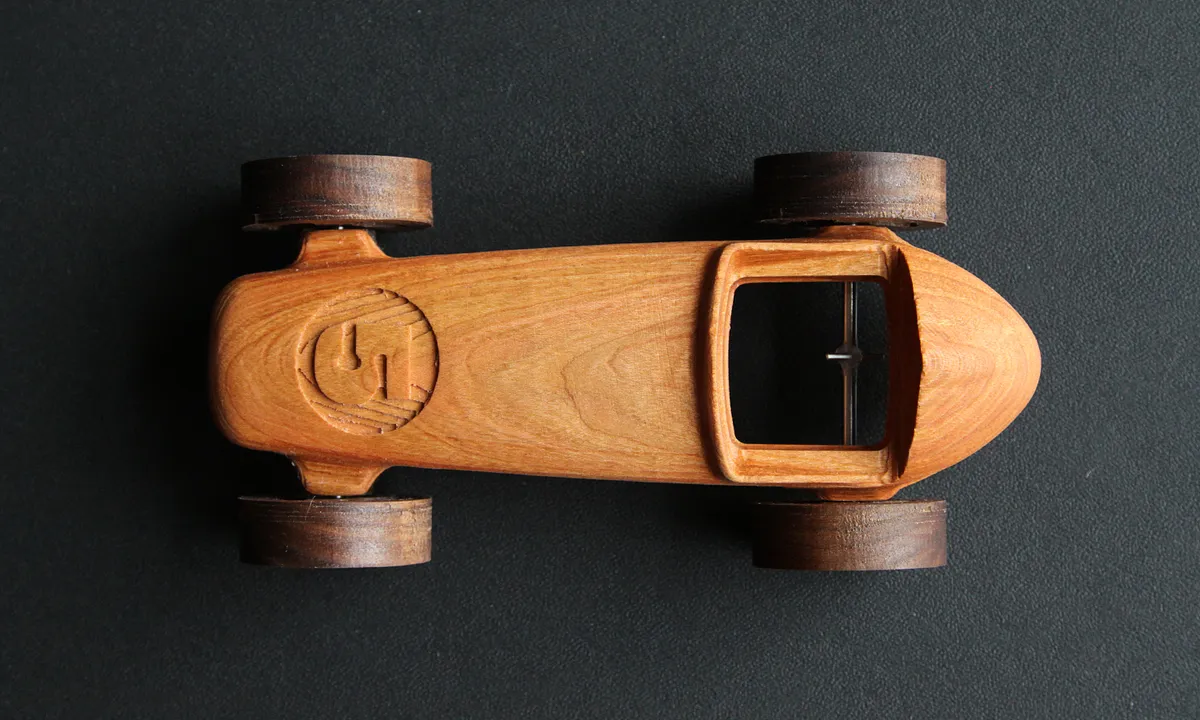

Instructions
Mill Racer Frame
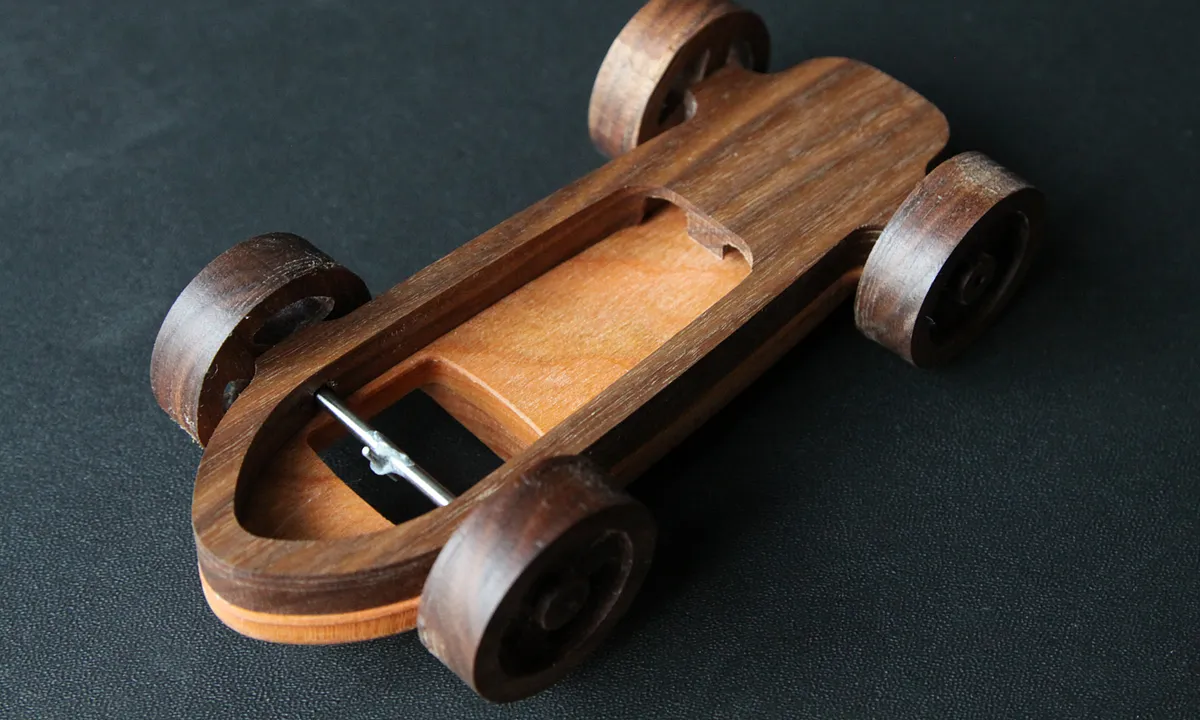
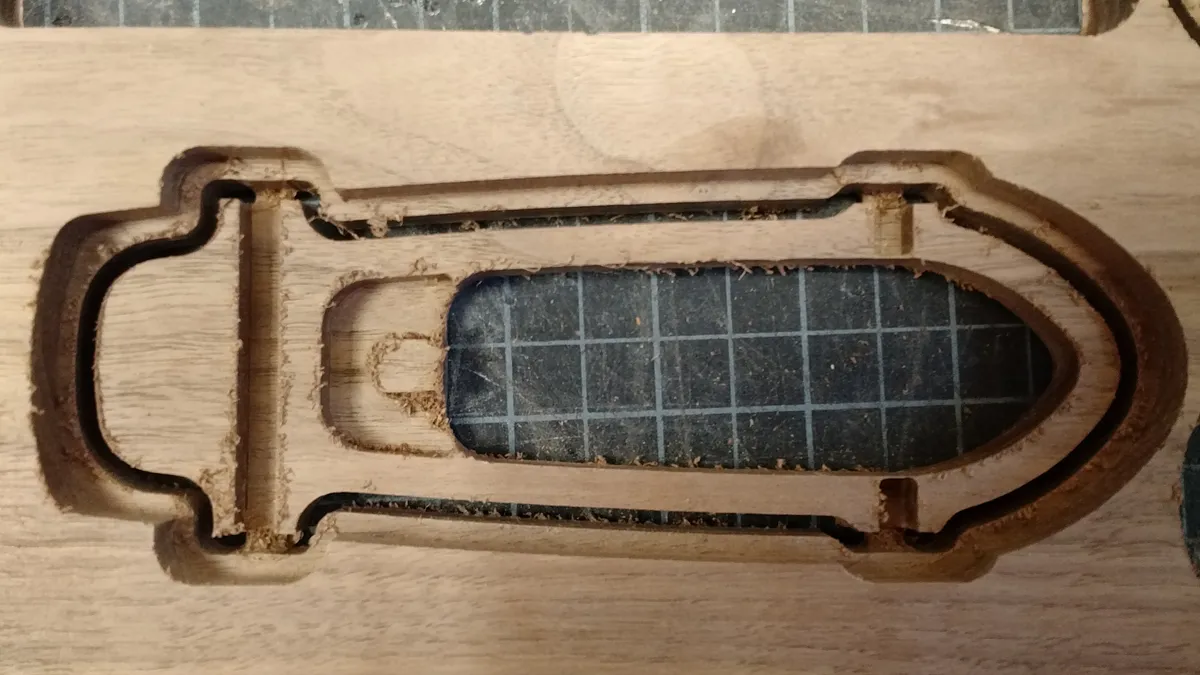
Carve the main frame of the race car out of 1/2" material. This is the main functional piece of the car, so choose a durable material.
Use this EASEL "link":http://easel.inventables.com/projects/SyXZuvLdE5NEtaX3-W66vA
Mill Racer Tires
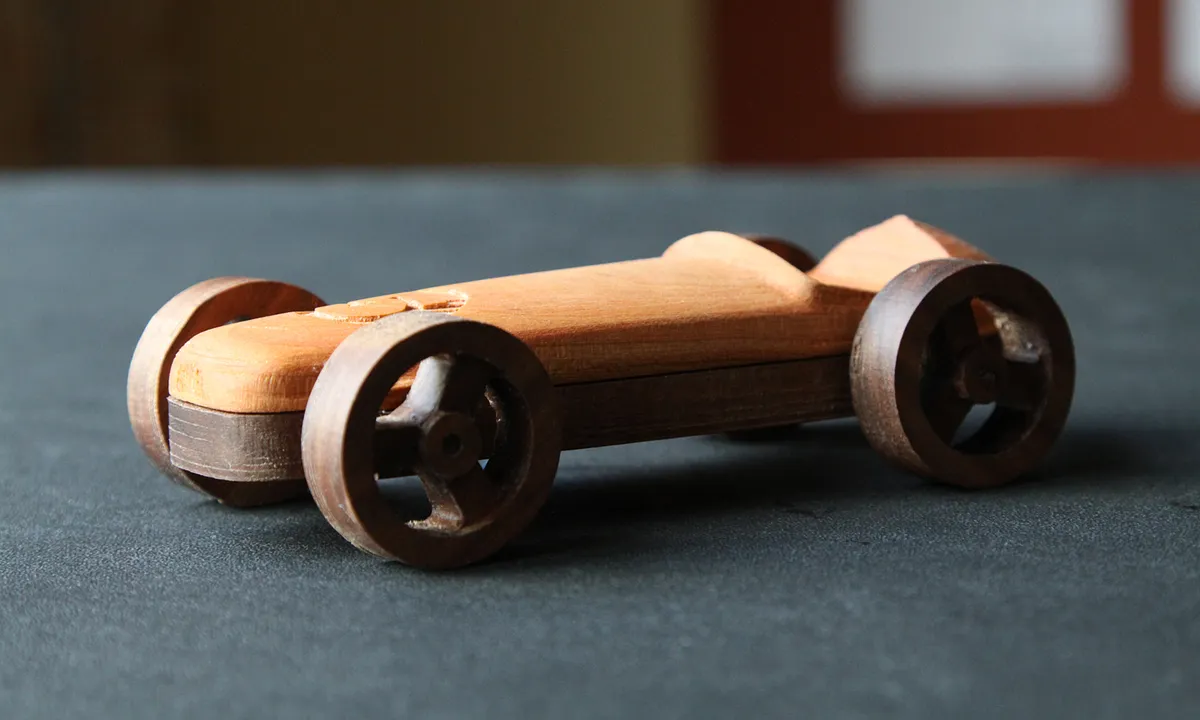
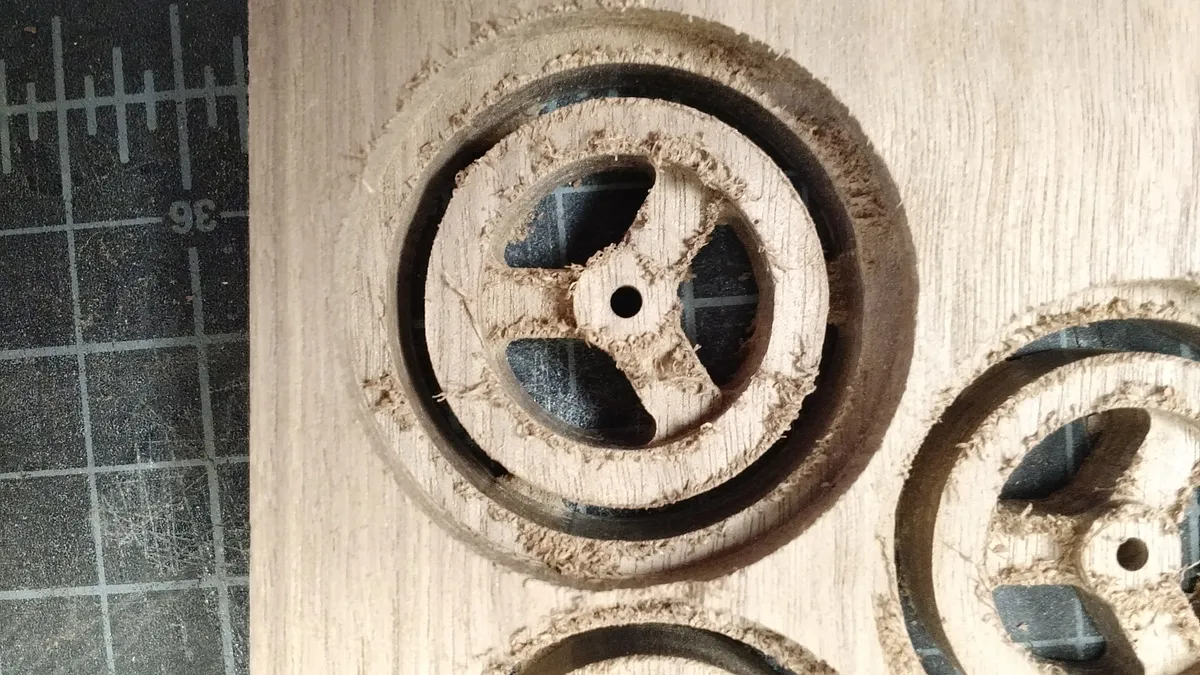
Carve the tires out of the same material that you cut the racer frame. We kept these as a clean 3 spoke design, but you could add more or less detail to the spokes. You can also add grip to the outside or experiment with the size to get better results.
Use this EASEL "link":http://easel.inventables.com/projects/Jwr2ARwc2P9vuMXAjwEtkw
Rough cut the top of the racer
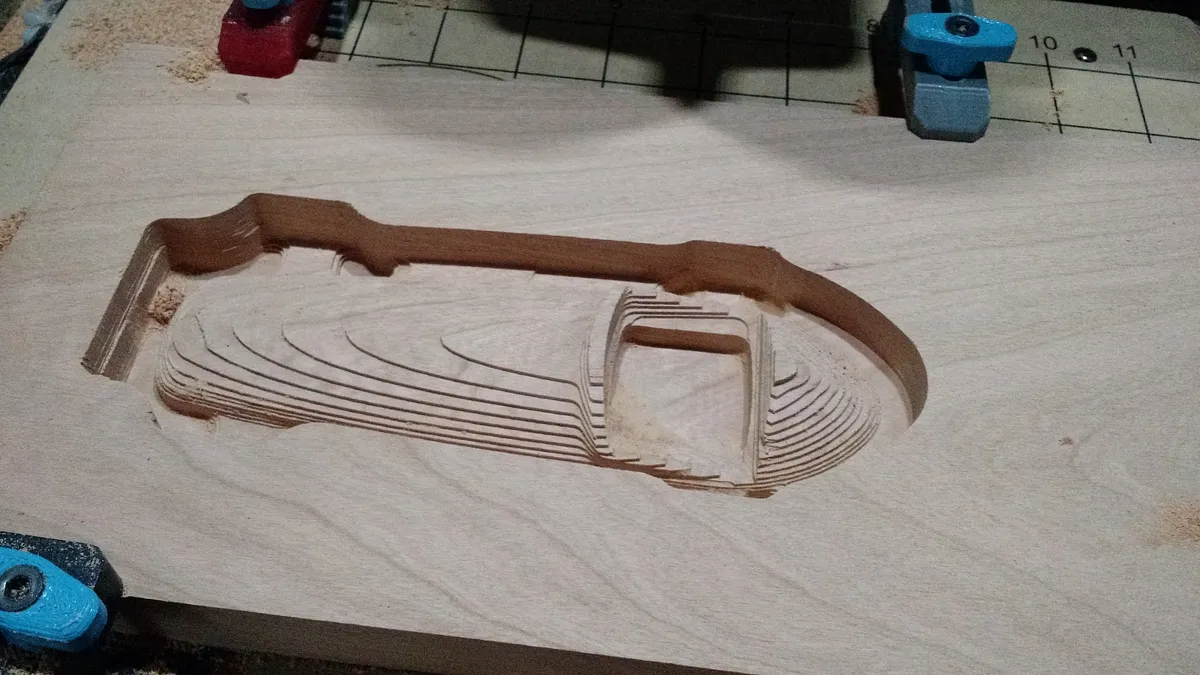
This is the start of the main aesthetic part of the car. Use an 1/8" ballnose endmill to carve out the rough shape of the racer.
Use this EASEL "link":http://easel.inventables.com/projects/bI6XsV9ovWoWoYDInxSKdw
Finish cut the top of the racer
Use the same 1/8" ballnose endmill and run this cut to clean up the previous step. The finish will still require sanding, but will be much closer.
Use this EASEL "link":http://easel.inventables.com/projects/XXWDZ-izNbVgy_TIP9piOA
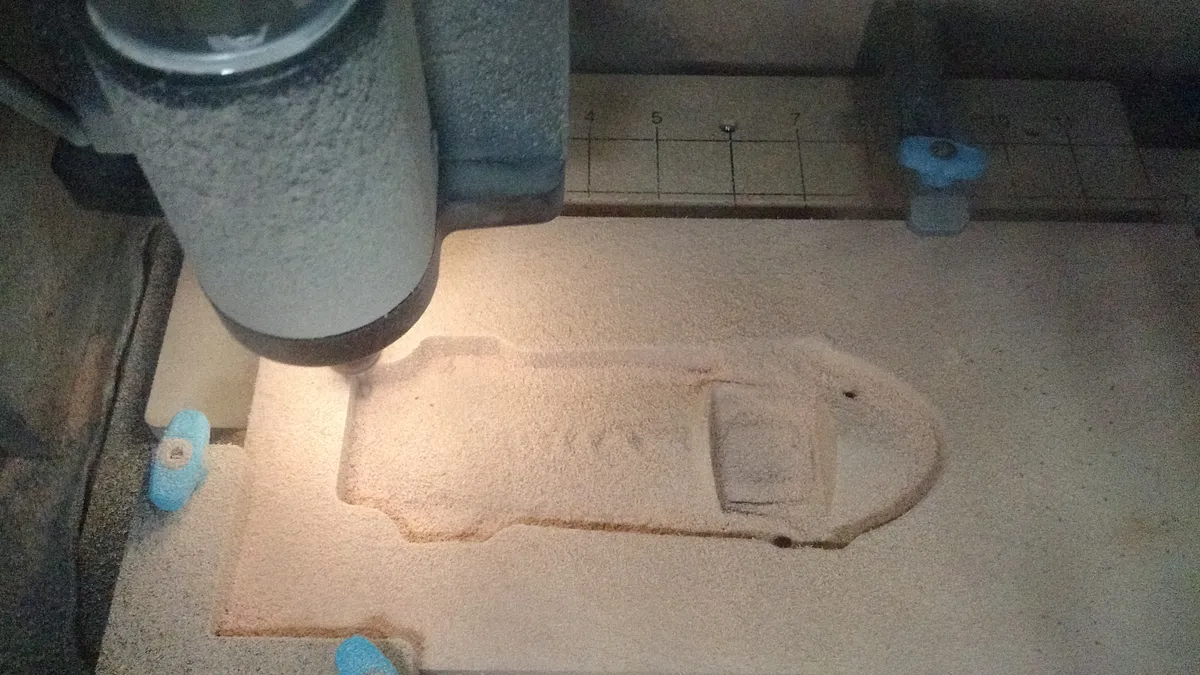
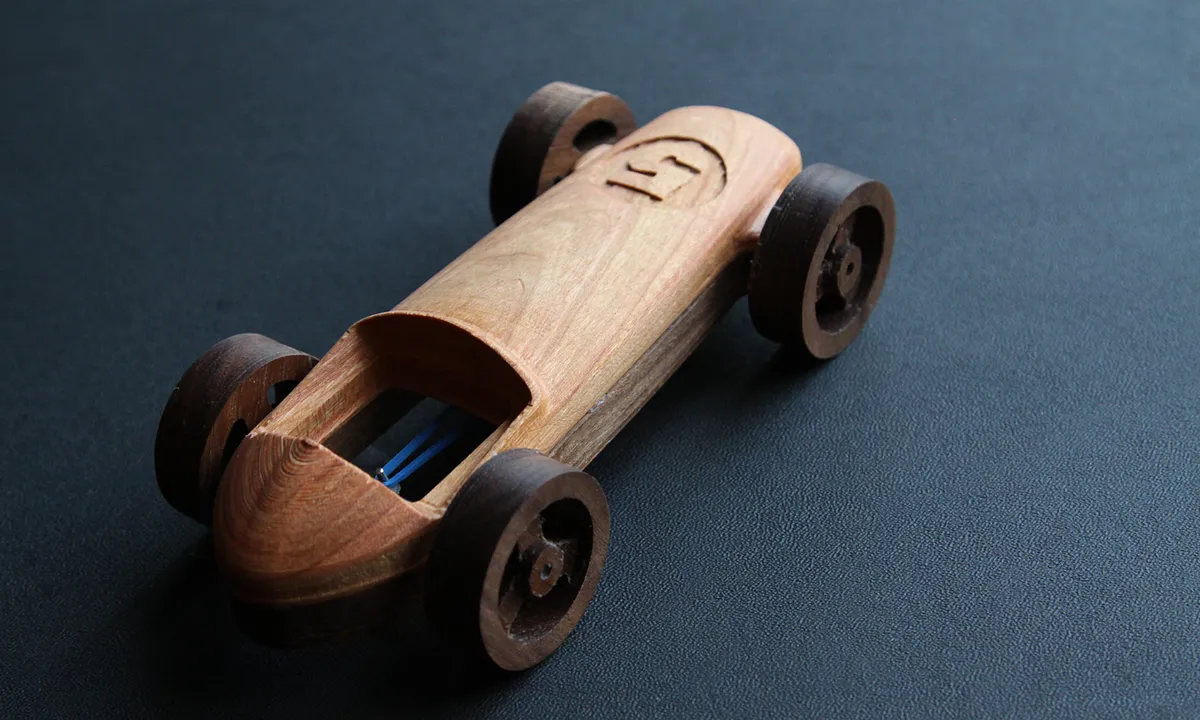
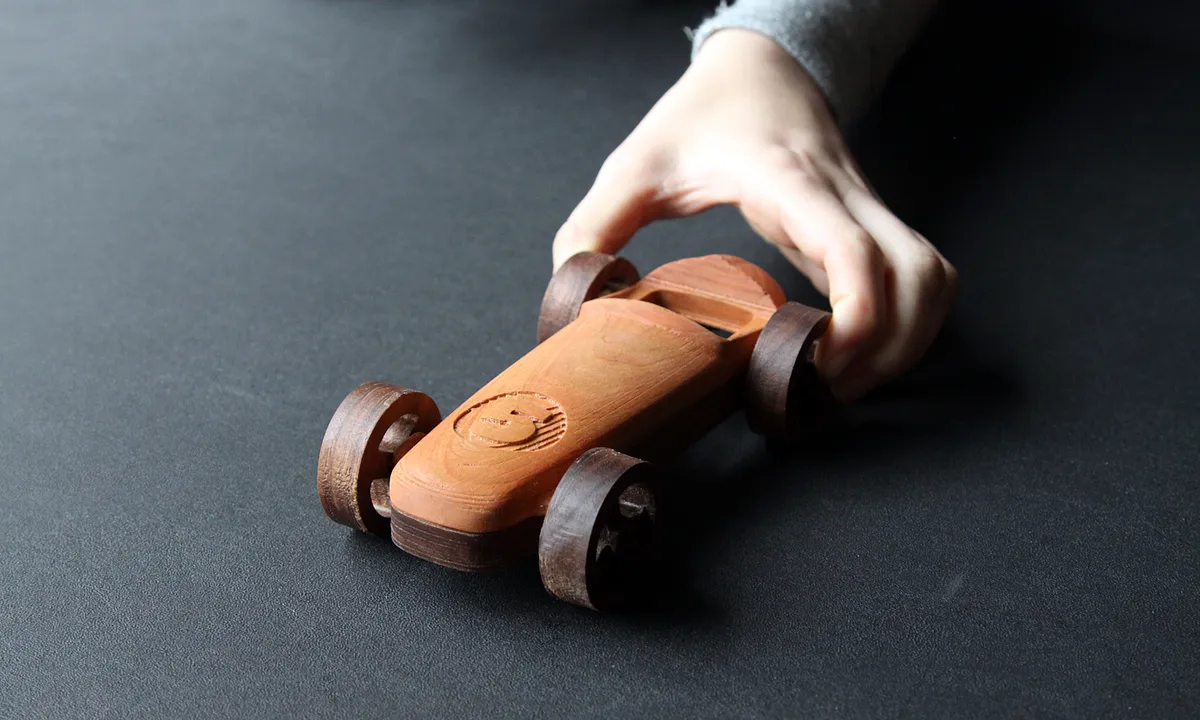
Etch the number 5 into the hood
Switch to a 1/32" bit to etch the number 5 into the hood of your race car.
Use this EASEL "link":http://easel.inventables.com/projects/ziqJMfliL7iUaEl9UM6JrQ
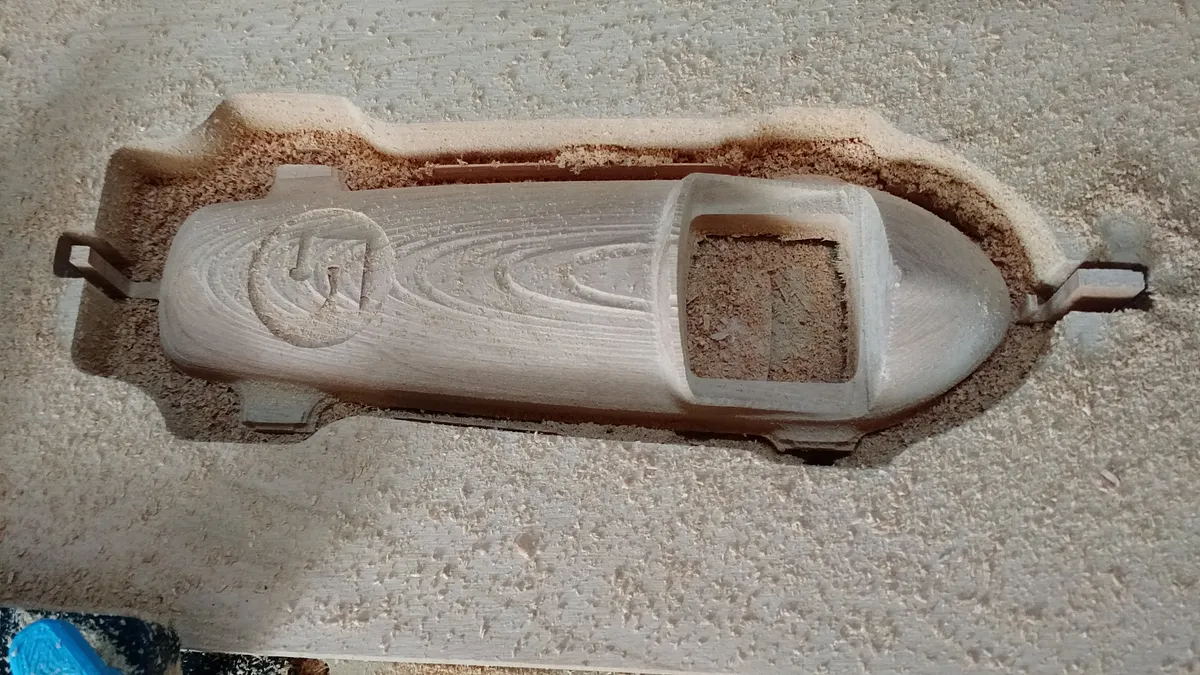
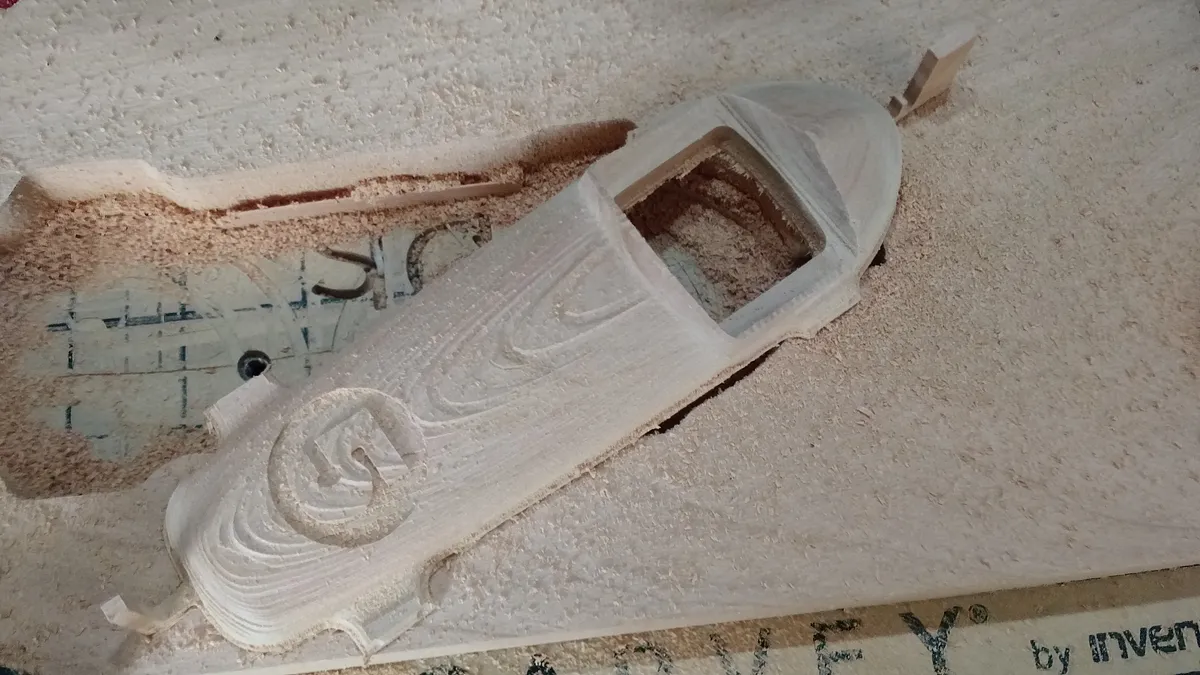
Cut the profile of the top of the racer
Use an 1/8" endmill to cut the profile of the racer and remove it from the machine.
Use this EASEL "link":http://easel.inventables.com/projects/ZhwsDLpz5byyeKZENjDpmg
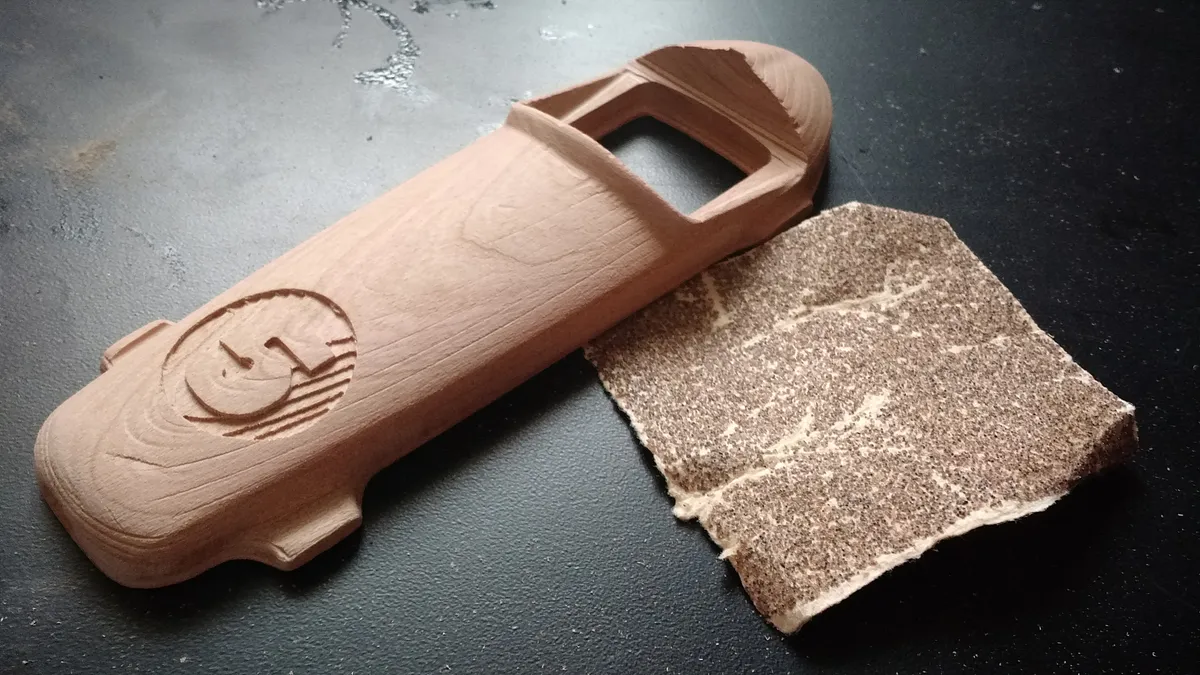
Sand and Finish
Sand all parts to get a smooth surface and finish with mineral oil.
Assembly
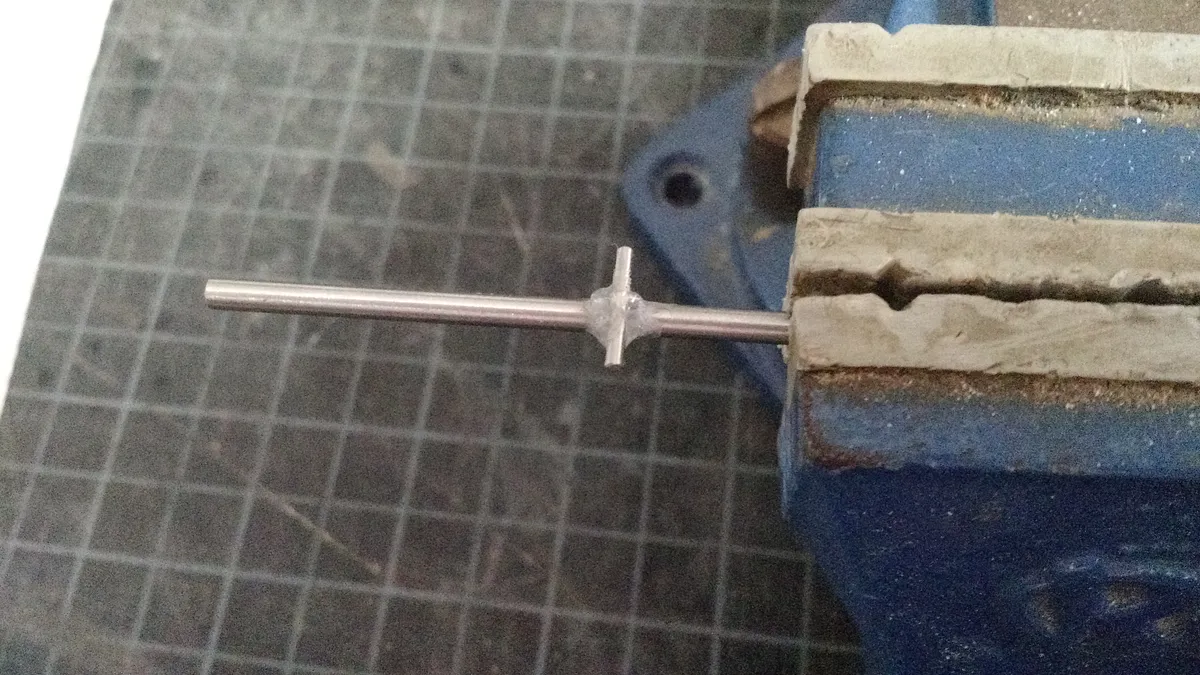
For the axles we used 3mm rod that we cut to length. For the rear axle you can take a short piece and epoxy it in the center to create your catch for the rubber band.
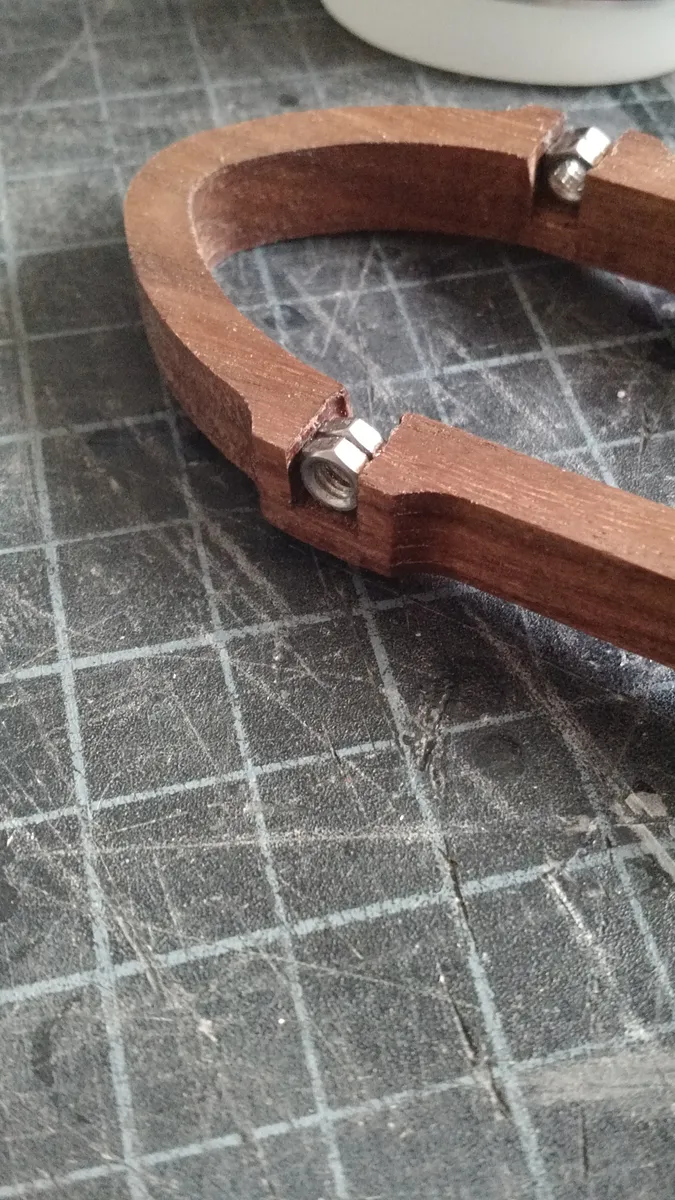
The wheel wells we made using small hex nuts that we super-glued in place.
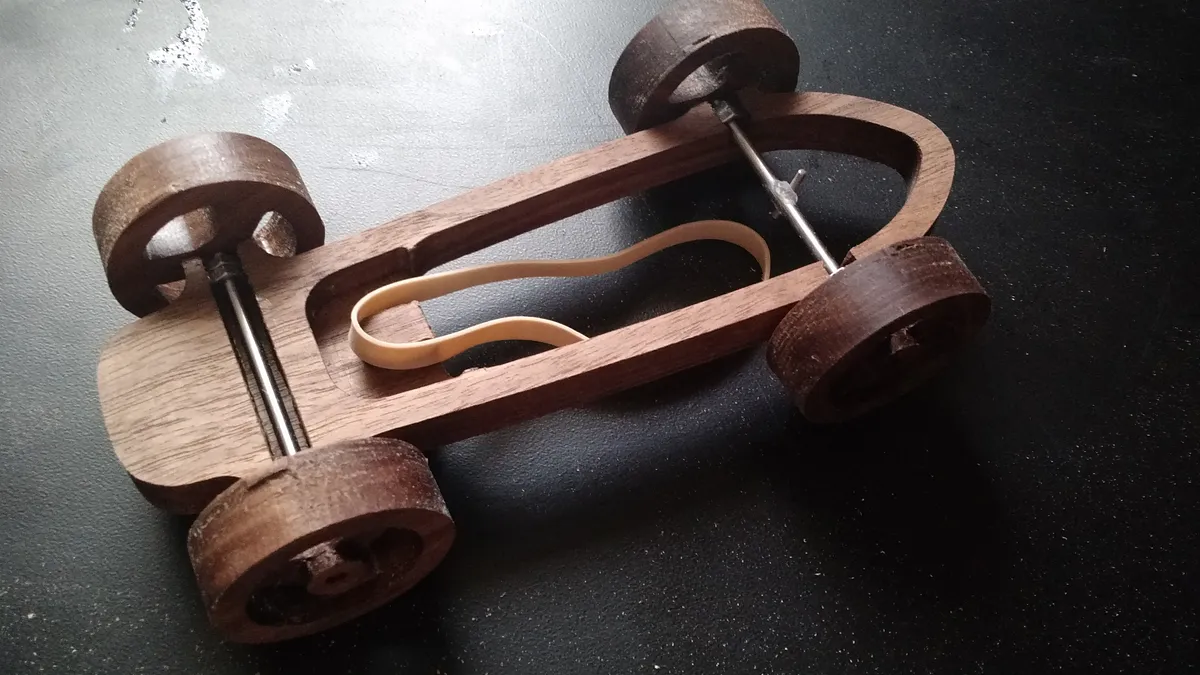
Once your bottom frame is all set up you can adhere the top piece and tires, Then you are ready to ride!
Comments
Very cool! What software are you using to create the 3D tool paths?
Volume Studios · March 14, 2016
Thanks! We use grid.space grid.space
Beyond Design · March 14, 2016
I tried twice to cut the top of the racer and ran into the same problem both times. At the same spot, the Carvey milled right through the body of the car and into an uncut area of the wood. You can see photos in the forum. discuss.inventables.com/t/cut-jumping-to-new-orie…
Vince Allen · April 03, 2016
When I'm trying to carve the #5, the path is too high-- its about an eighth of an inch off? Any ideas why that might occur? Thanks!
Warren Overmyer · April 22, 2016
Cool design! When I open the rough cut and finish in Easel I get a cut preview only - no way to edit or move it. Is that intentional or is it me? The other parts open in Easel edit pane normally. Just getting started -any tips appreciated.
Chris · July 27, 2016
I've tried this several times with the XCarve, but it just doesn't work. Steps 1 and 2 are fine, but step 3 pauses and never resumes. Step 4 is also broken. This project should be removed.
Benjamin Jordan · August 26, 2018
don't be rude
Ari Wollman · March 10, 2026
I am having the same problem as Benjamin Jordan its pauses at about 18% on step 3 and won't resume.
Travis Olsen · December 22, 2018
I didn't want to give up after the rough cut-out (step 3) stopped at 18% like the other posted before. So i downloaded the g-Code and noticed that it has loads of "tool changes" in the code. But since we only use 1 tool... After deleting these "T2" "T1001" it worked out great.
Scott van HaastrechtPro · September 06, 2019
Am I missing something? I only see 1 piece of the project. Looks like the main body. Where's the rest?
Kurt Canez · March 06, 2020
yeah same here
Ari Wollman · March 10, 2026
why not have all ths in one easel file with multiple cut sheets at bottom?
Glenn Haley · March 13, 2022