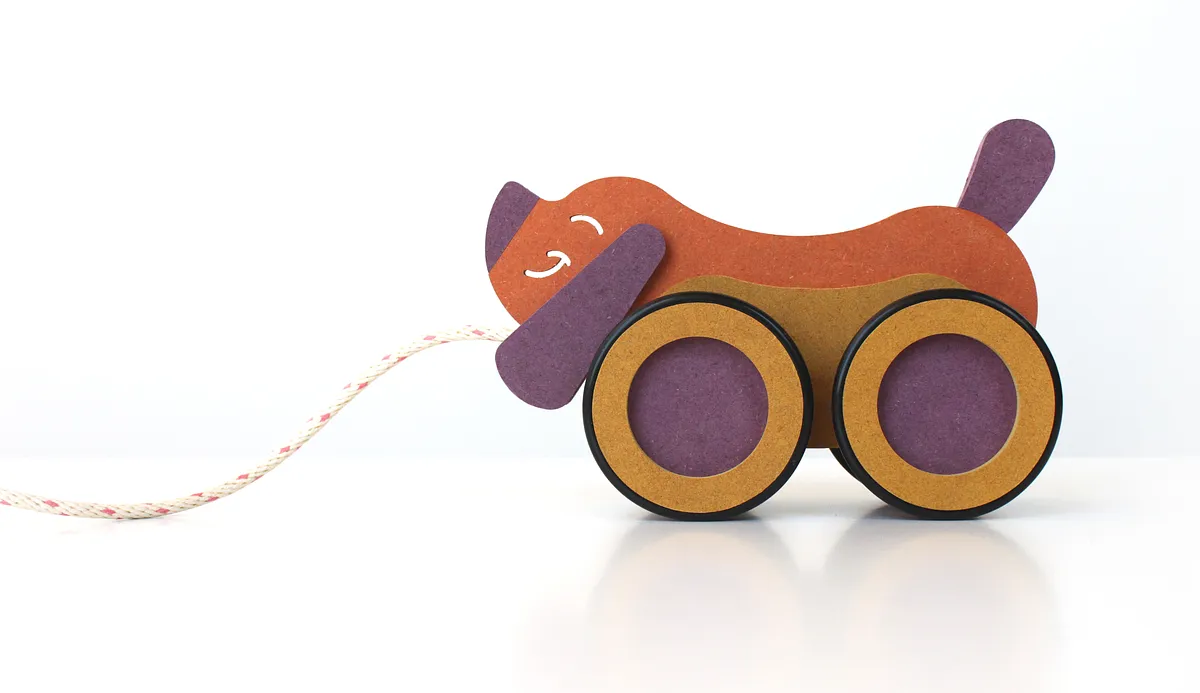
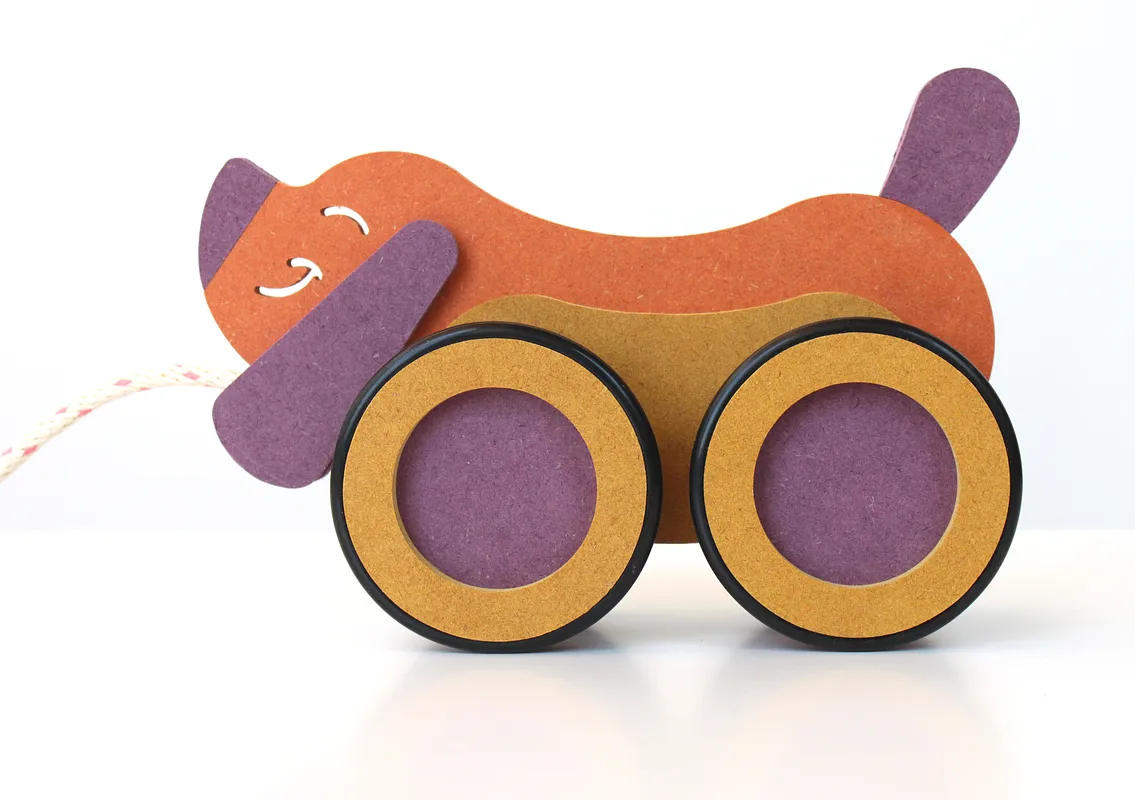
Chicago Dog Pull Toy

Instructions
Slice the Hot Dog
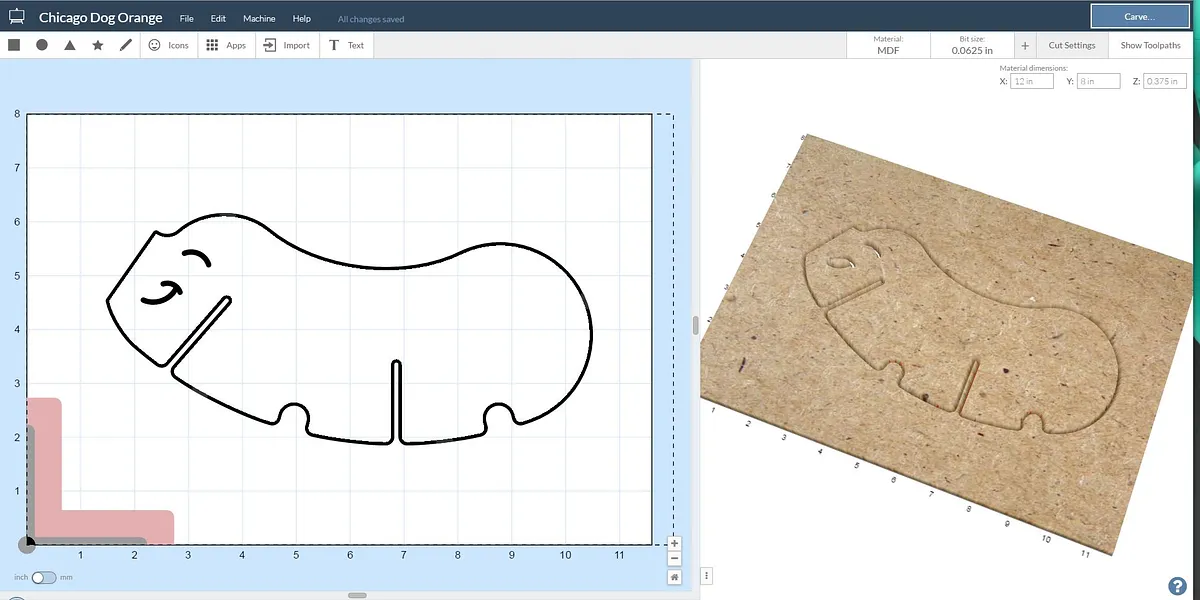
Just get right into it and carve "our main ingredient":hotdog out of a delicious slice of Orange MDF from the Inventables store. We used a 1/16" fishtail bit for this whole recipe.
[hotdog]http://easel.inventables.com/projects/7Gf5K4lUHL8S0DBfg2lVfg
Cut that Bun
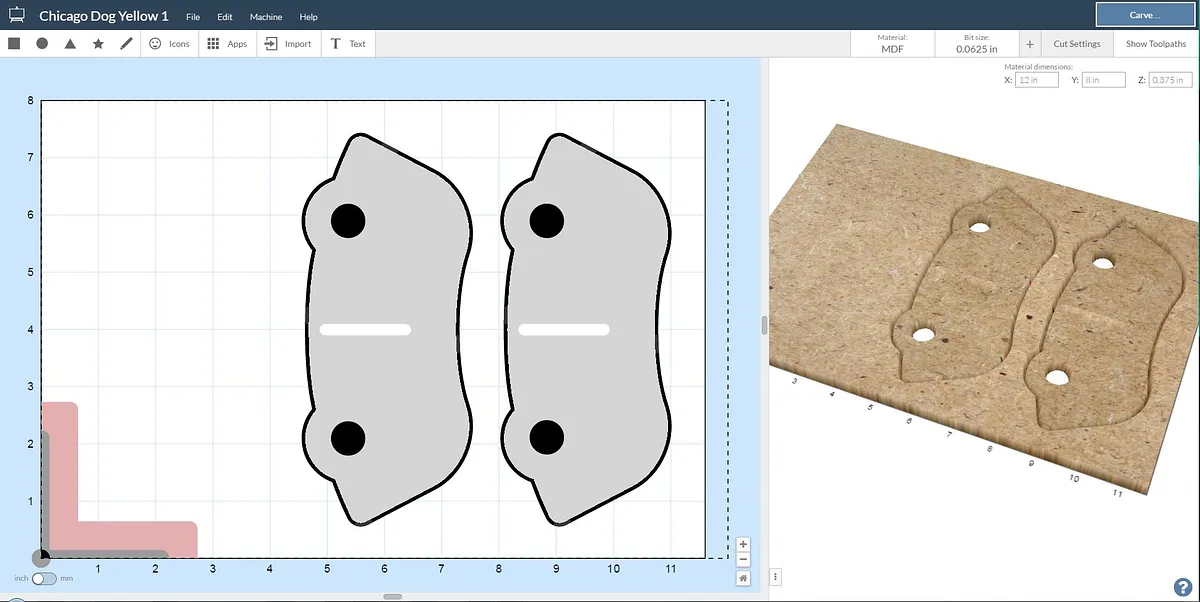
Using a toasty slice of Yellow MDF, carefully "cut the bun":bun. This is what our hero, the Hot Dog, will proudly be wearing in perpetuity, so please make sure that it is just right.
[bun]http://easel.inventables.com/projects/inqEA8C1wKcMgQtxEeGHaQ
Sliced Yellow Rings
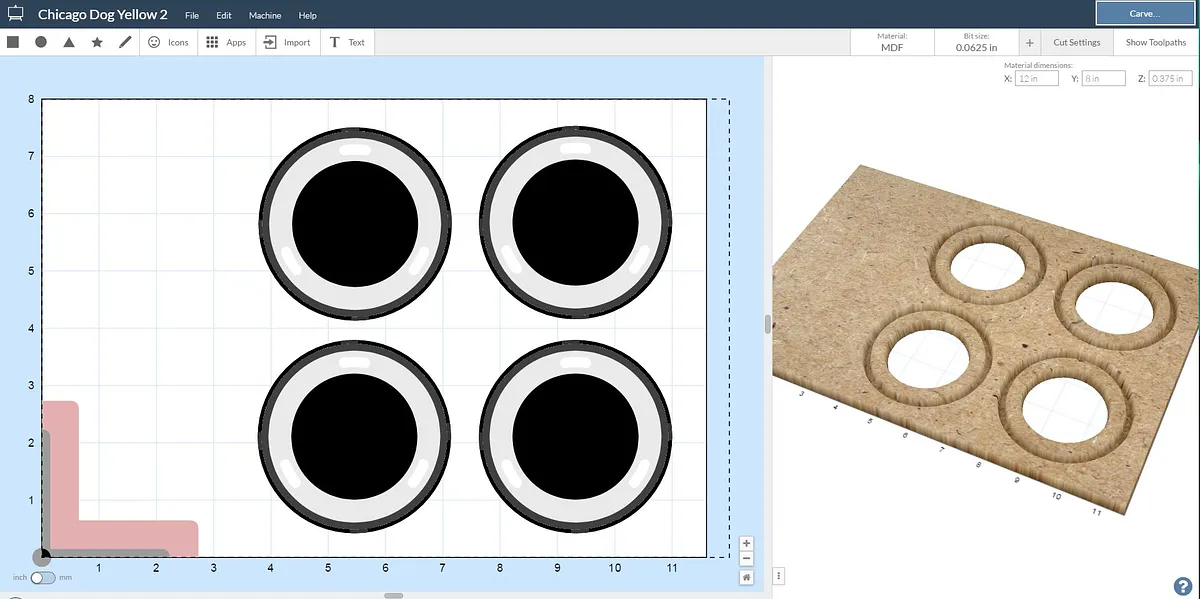
Most Chicago Dogs like to roll on large diameter wheels, and this guy is no exception. Cut "these wheels":wheels, which will assemble to similarly-sized purple discs from step 4.
[wheels]http://easel.inventables.com/projects/wMCA1bI8-MPiBOgK9fGH8w
Purple parts
I know, nothing purple belongs in a recipe for a REAL Chicago Dog, but this guy just called for it. And you don't argue with this Dog.
Cut the "remaining parts":purple out of a fresh slice of Purple MDF.
[purple]http://easel.inventables.com/projects/di58AHpF9OxQTx-H6WSo7A
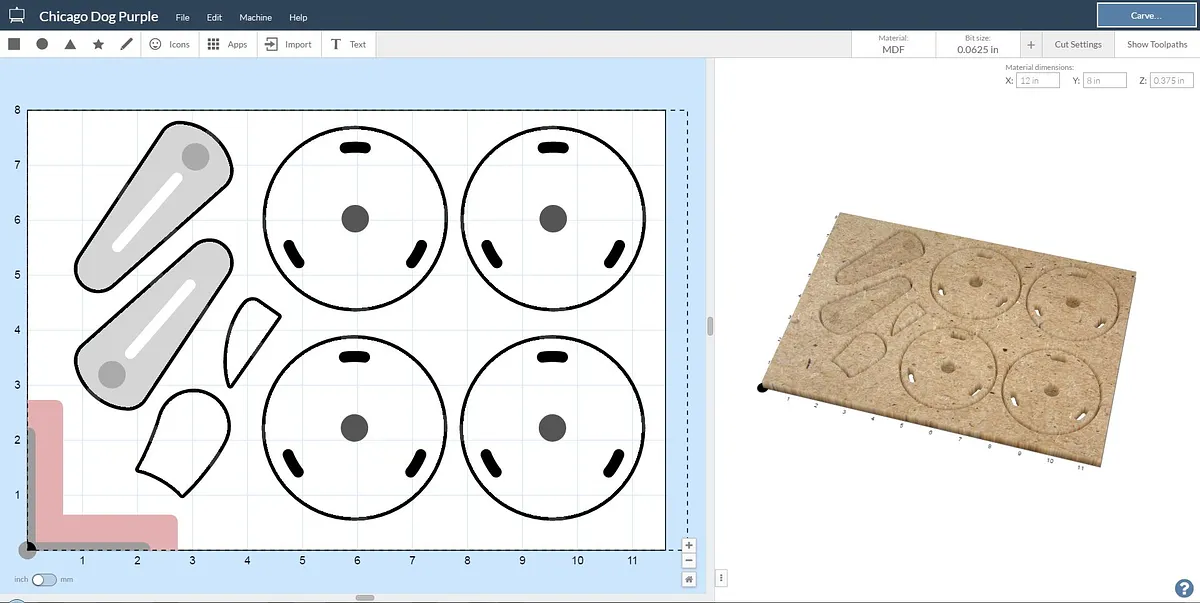
Make some spacers
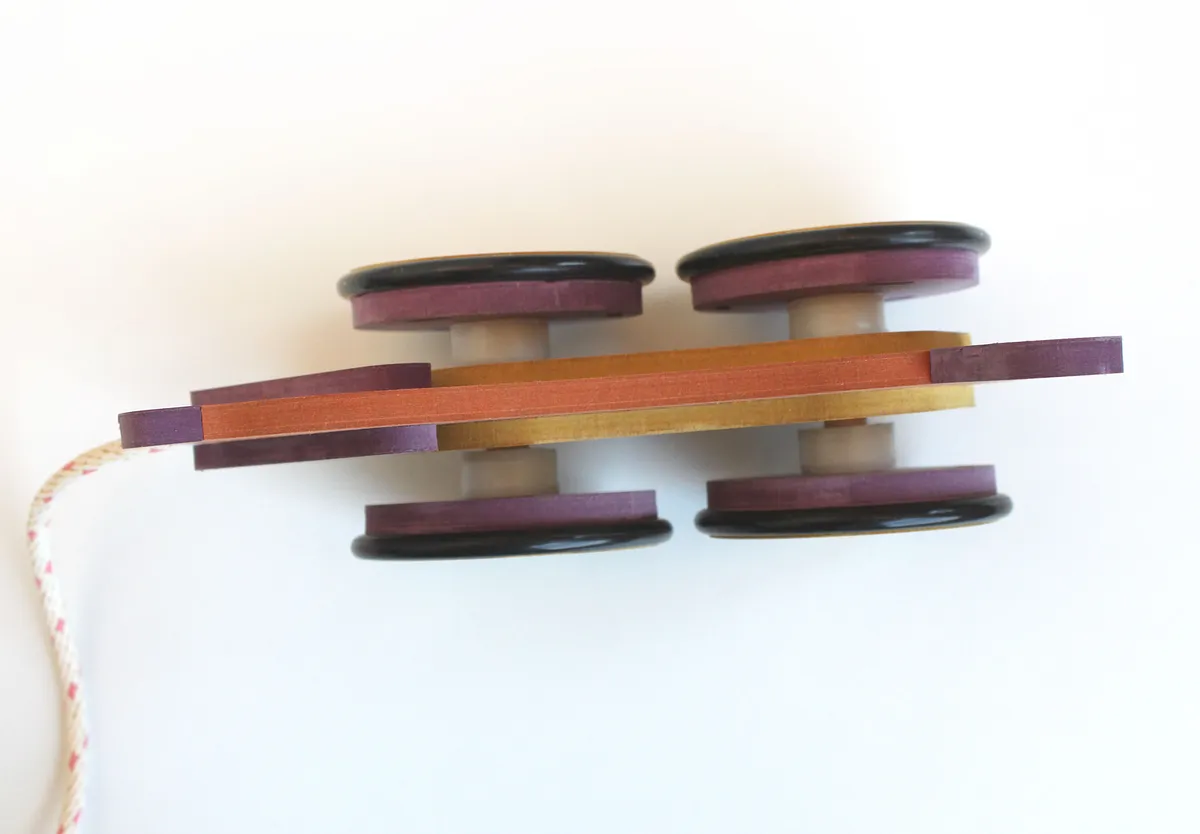
We decided to add some spacers between the bun and the wheels. It just makes this guy sit a little bit more nicely and adds some stability - nobody wants a wobbly Dog. We cut them out of some 1/2" "HDPE":hdpe we happened to have laying around, but you can use just about any material and change the axle width accordingly
[hdpe]https://www.inventables.com/technologies/natural-hdpe-sheet
Assembly
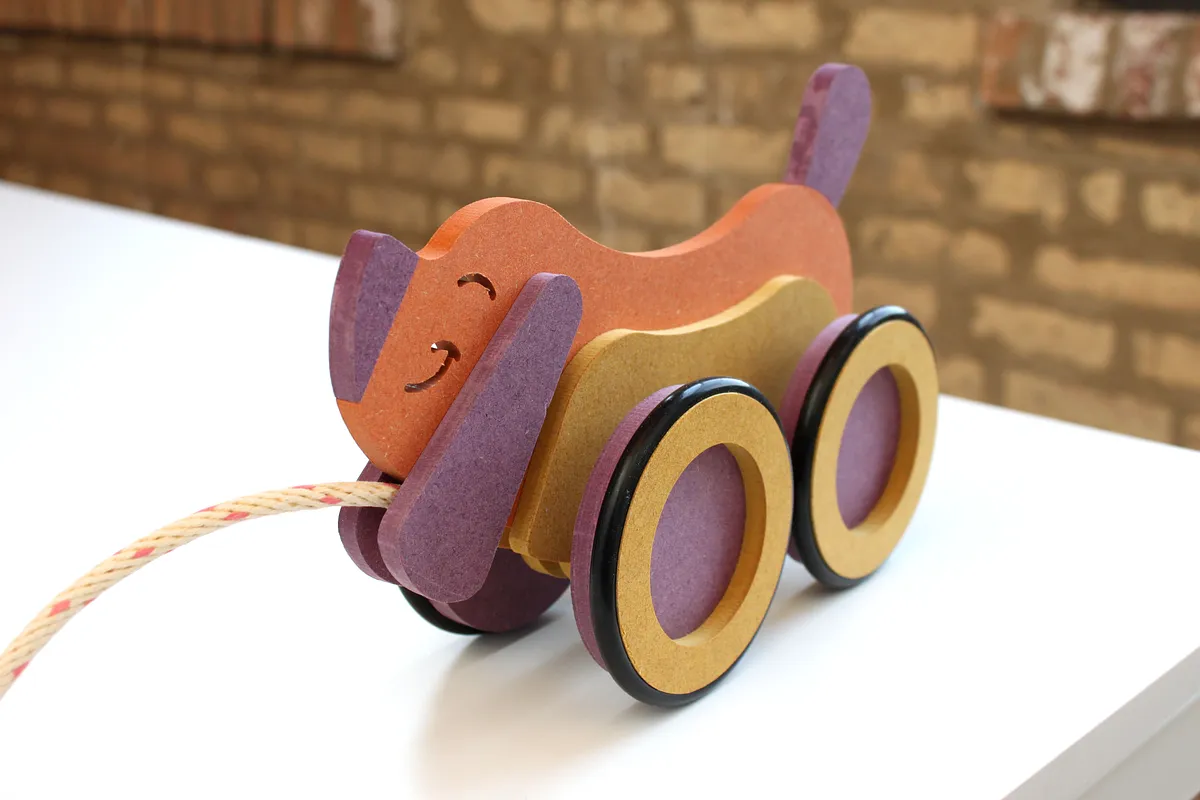
Now it's time to put this guy together:
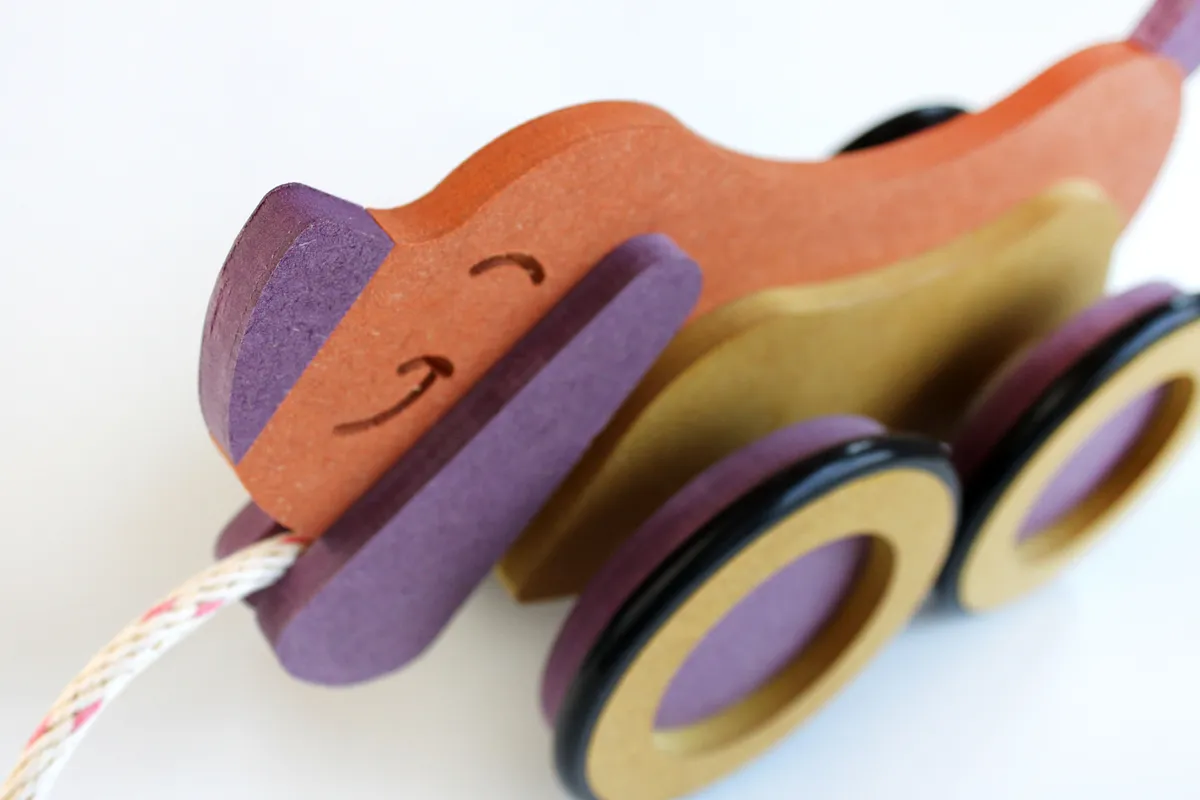
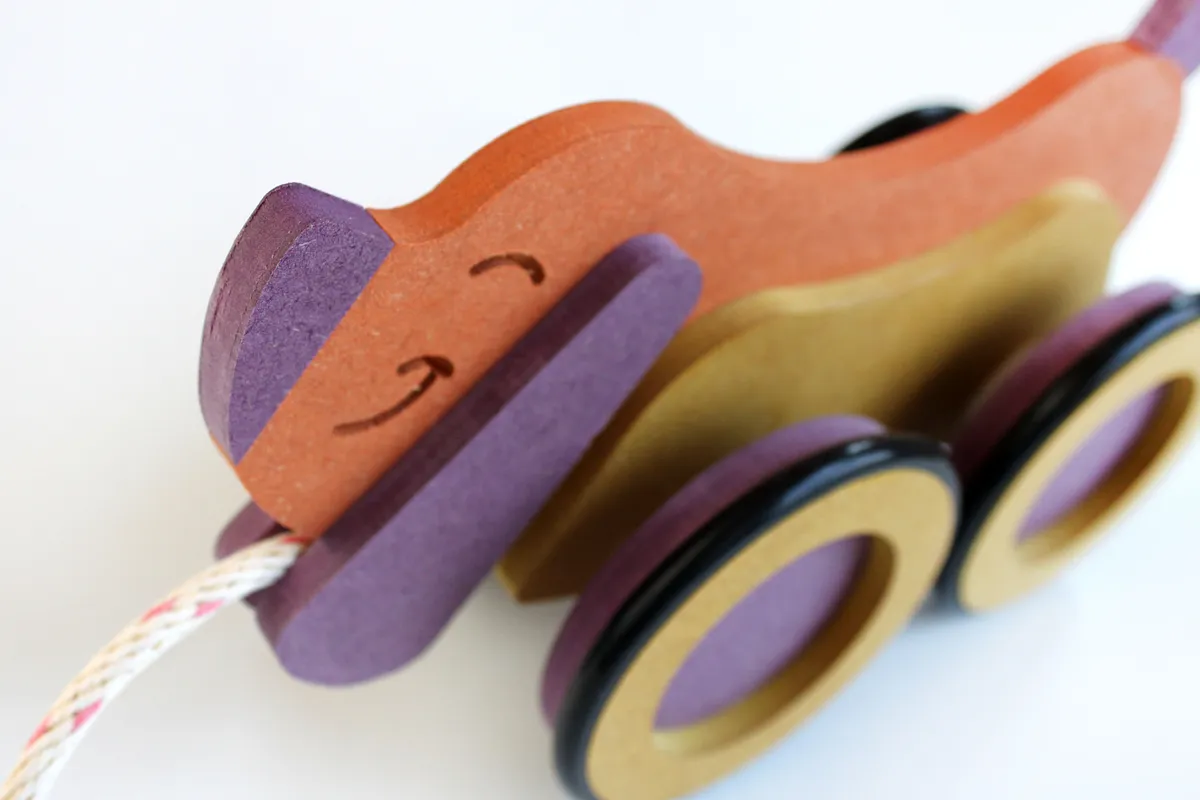
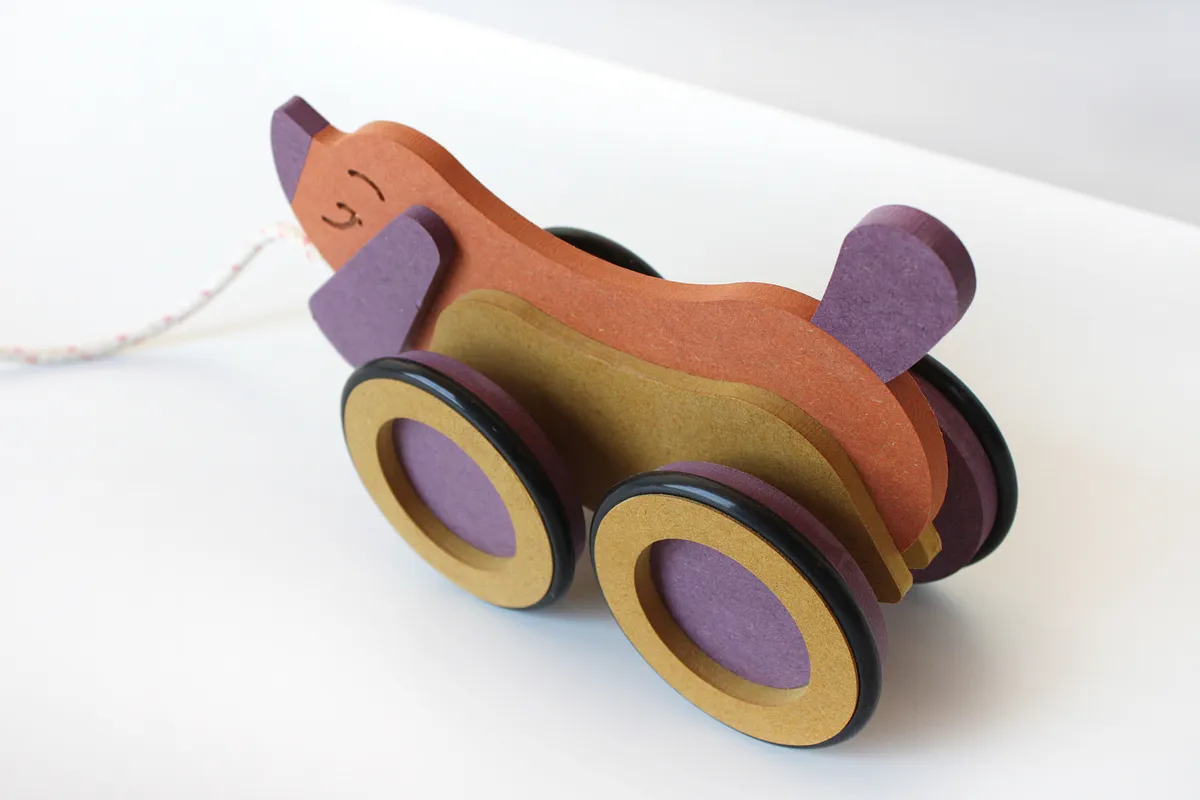
First, use some wood glue - just a little - and glue the nose and tail onto the Dog. Cut a short piece of 1/2" wood dowel and trap it between the ears when you glue them on. This will be to tie your pull string around.
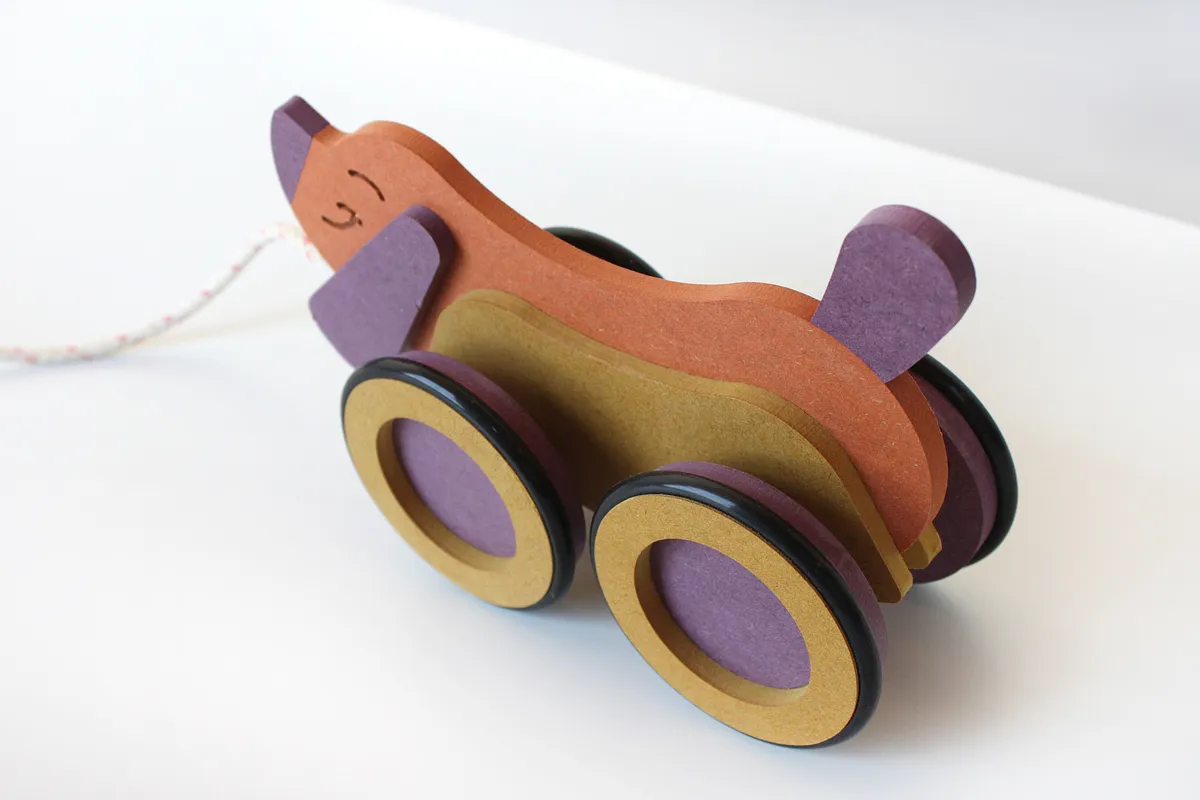
Second, glue the buns onto either side of the Hot Dog. Don't worry, there are clever notches on each side to keep everything aligned just right.
Third, glue the wheels together (purple and yellow parts). Again, there are small features designed to have them align perfectly. Once they are dry, you can add the black rubber rings which can be ordered "here":rings from McMaster-Carr.
[rings]http://www.mcmaster.com/#9452k237/=11zcq3w
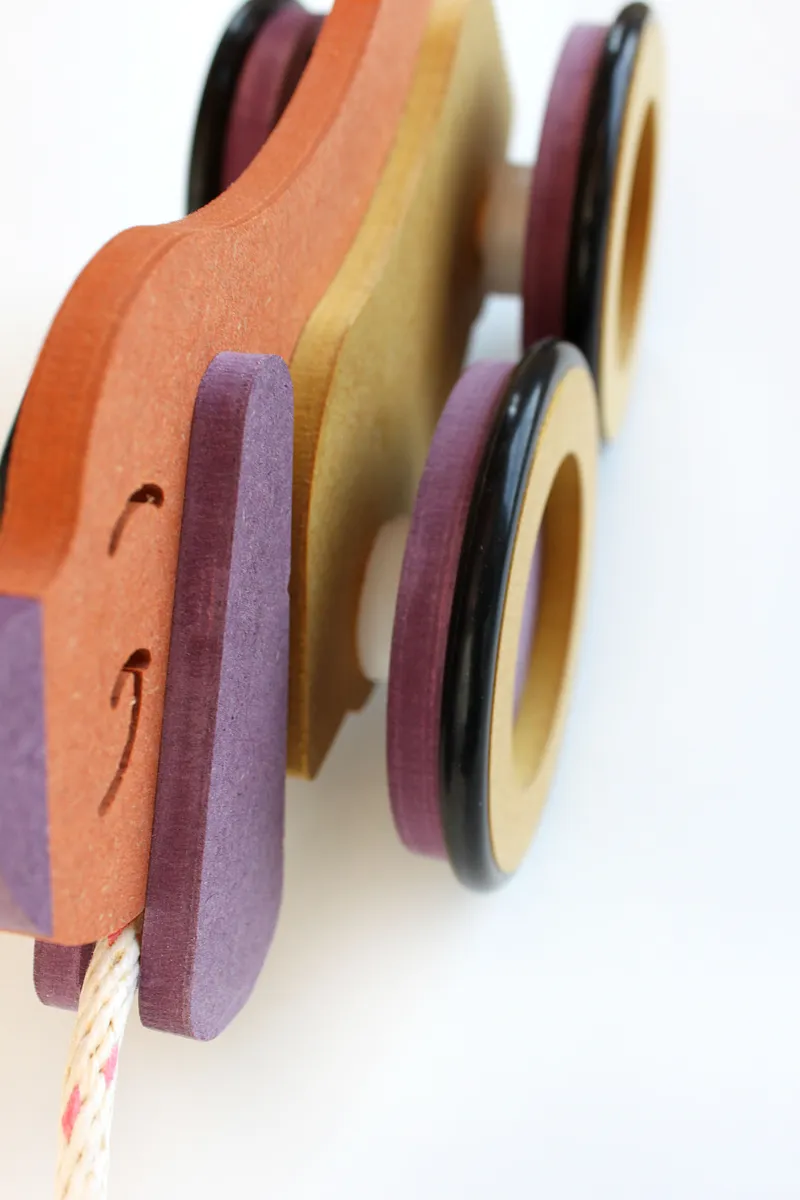
Once the wheels are complete, cut the axles from a 1/2" dowel (axle length will depend on spacer thickness - trial and error may be involved). Run the axle through the body and spacers and glue into the wheels.
Leash that Dog!
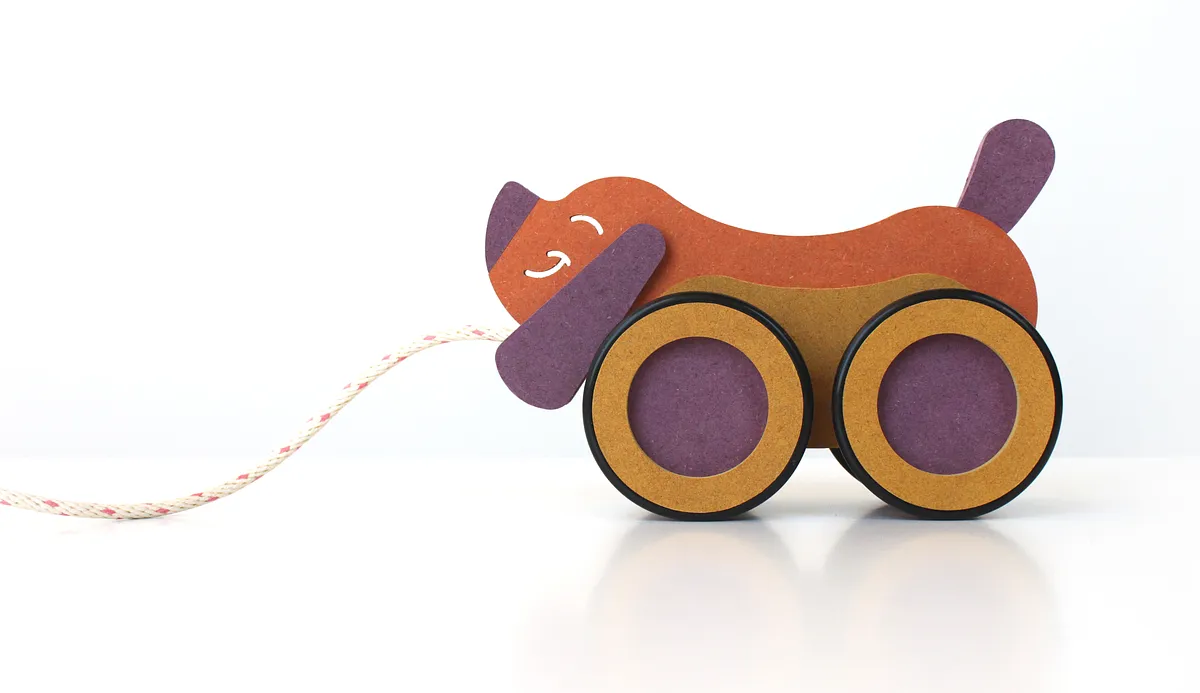
Now that he's all ready to go, put a leash on that dog and get rolling! We hot-glued in "this cool rope":rope from McMaster-Carr, but anything will do.
Finally, get out there and take this Dog for a walk!
[rope]http://www.mcmaster.com/#3848t43/=11zcvag
Comments