6 x 12 Cutting Board Template
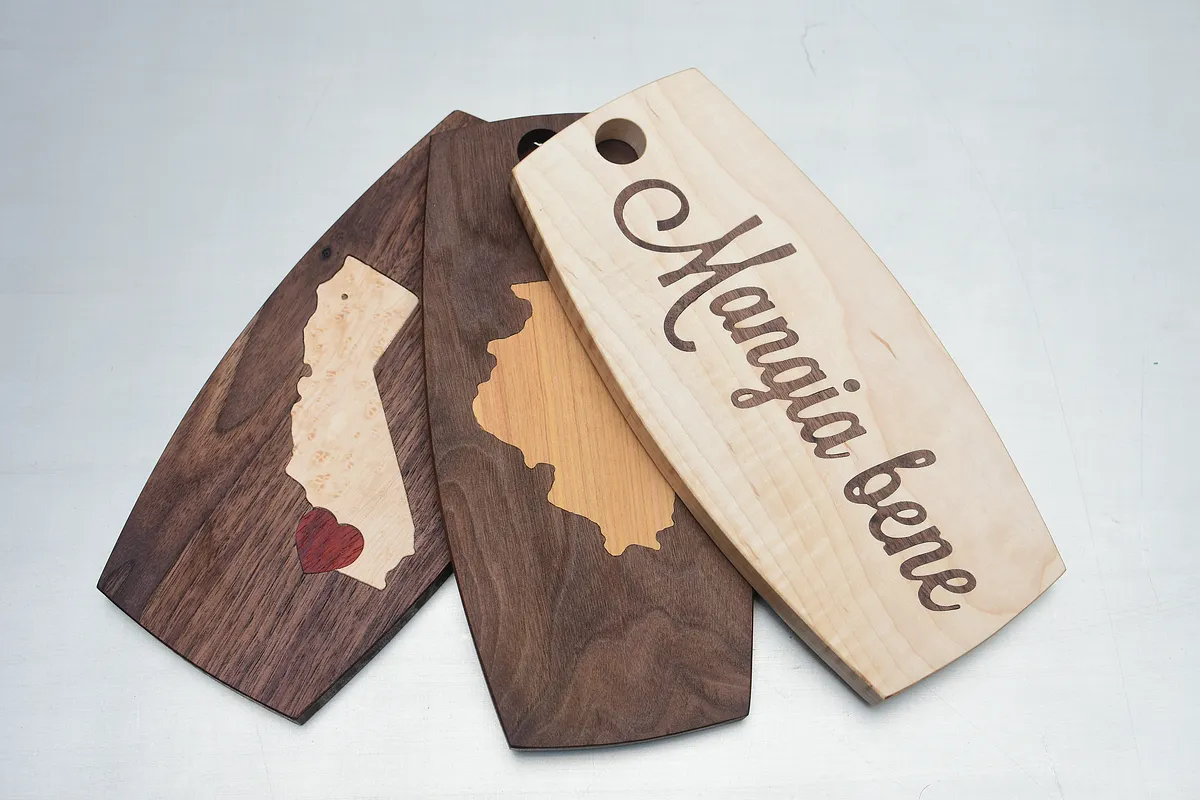

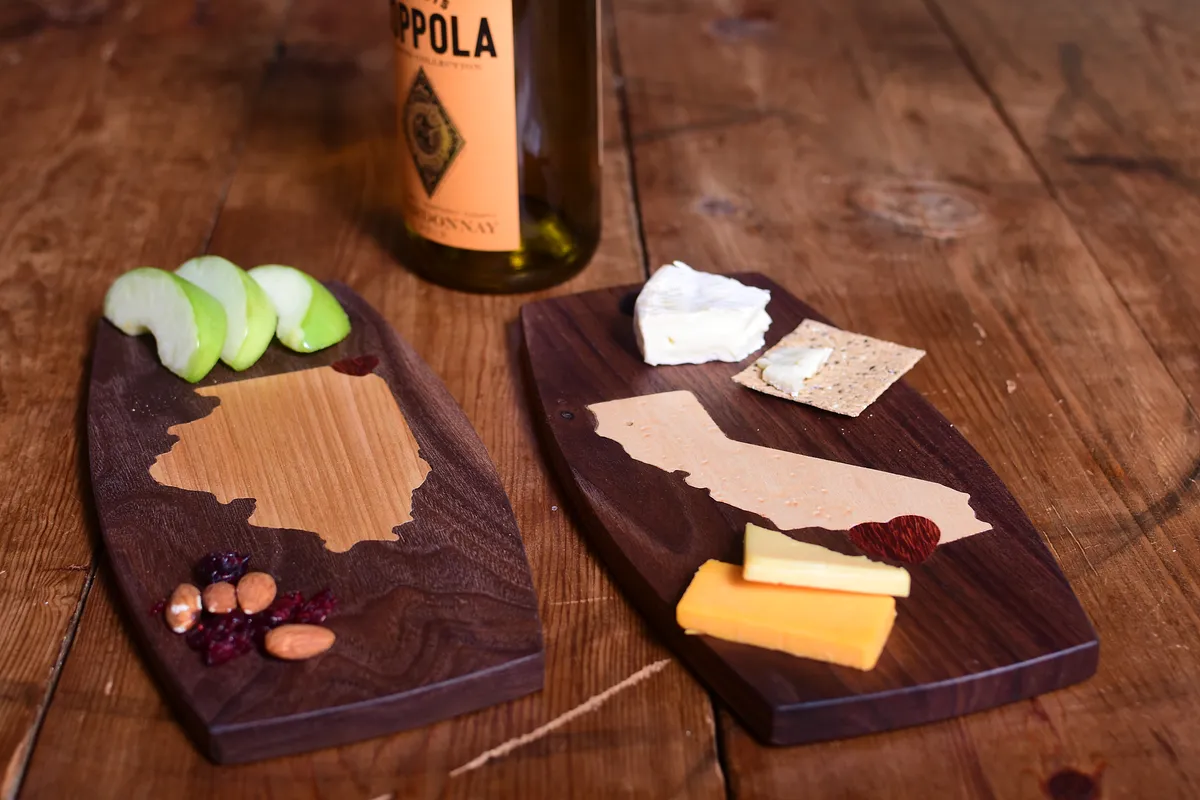
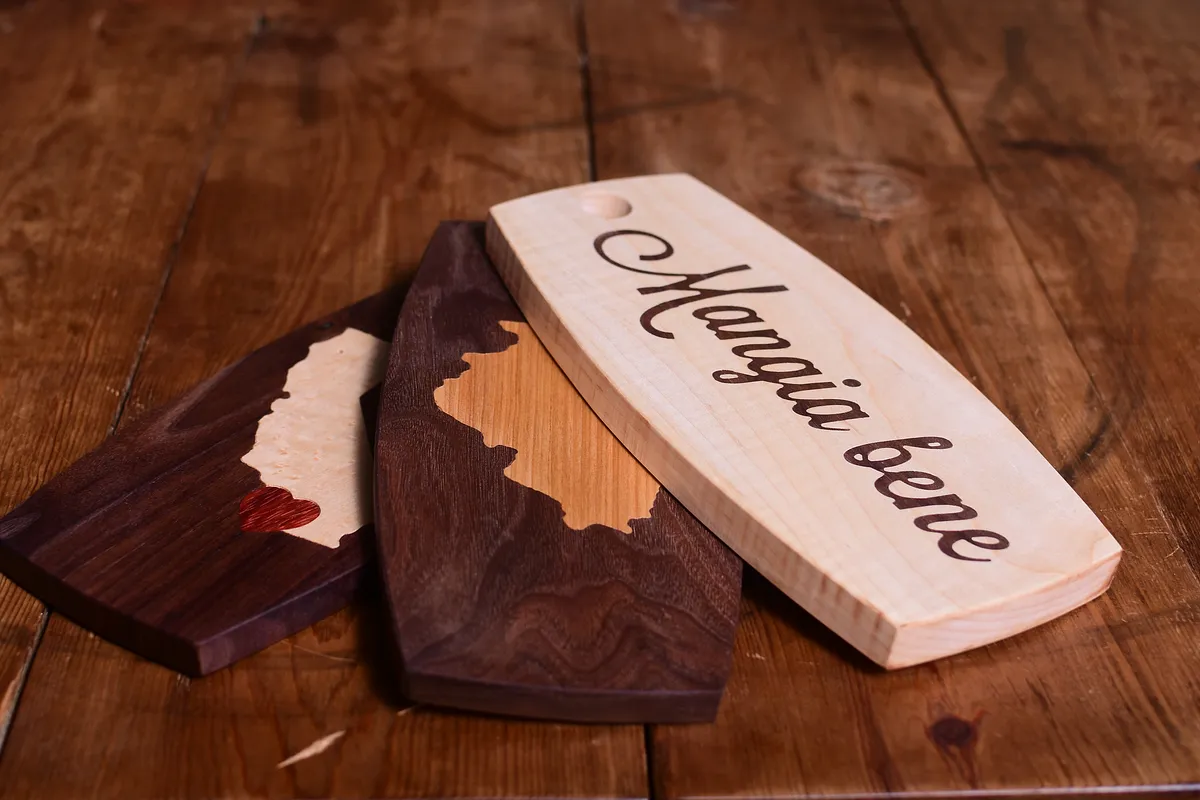

Instructions
Check out the Easel Live video!
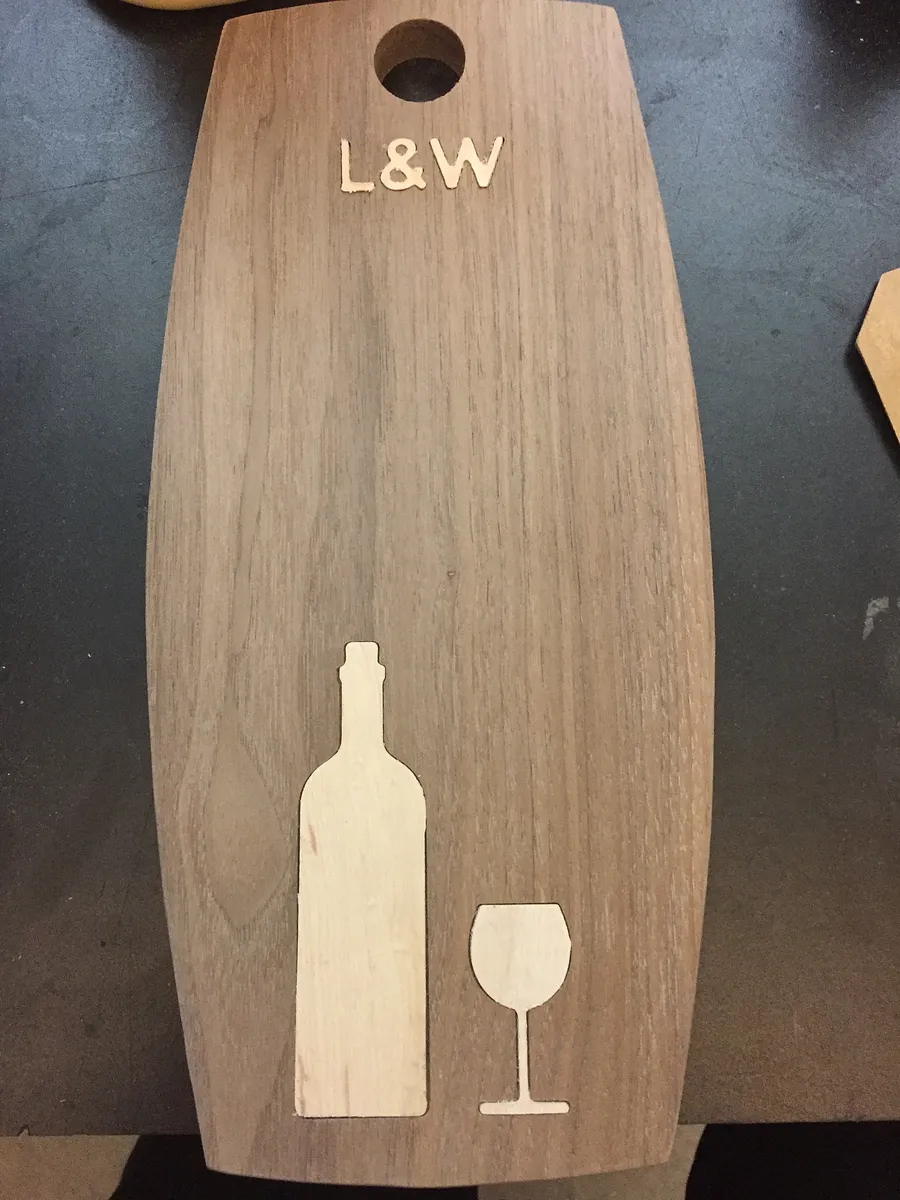
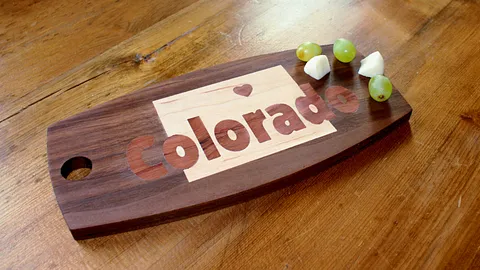
We designed inlay cutting boards live in Easel.
If you make an inlay cutting board, "post it here on the forum!":https://discuss.inventables.com/t/inlay-cutting-board-template-gift-idea-live-event/31171
Estimated time: 30 minutes
Choose cutting board template
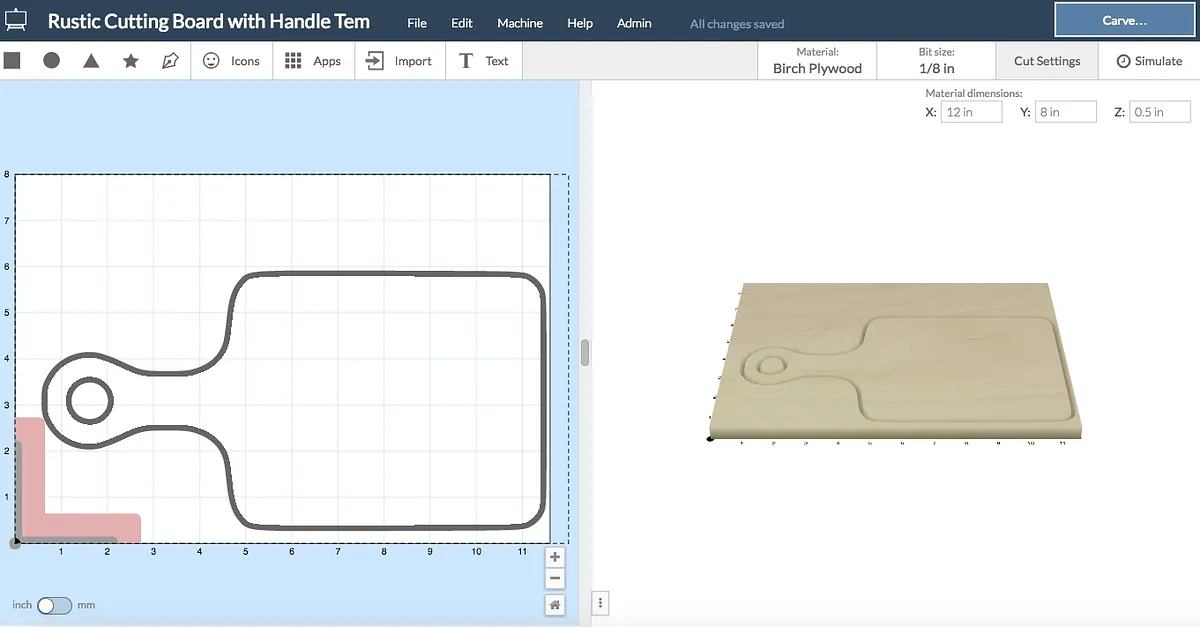
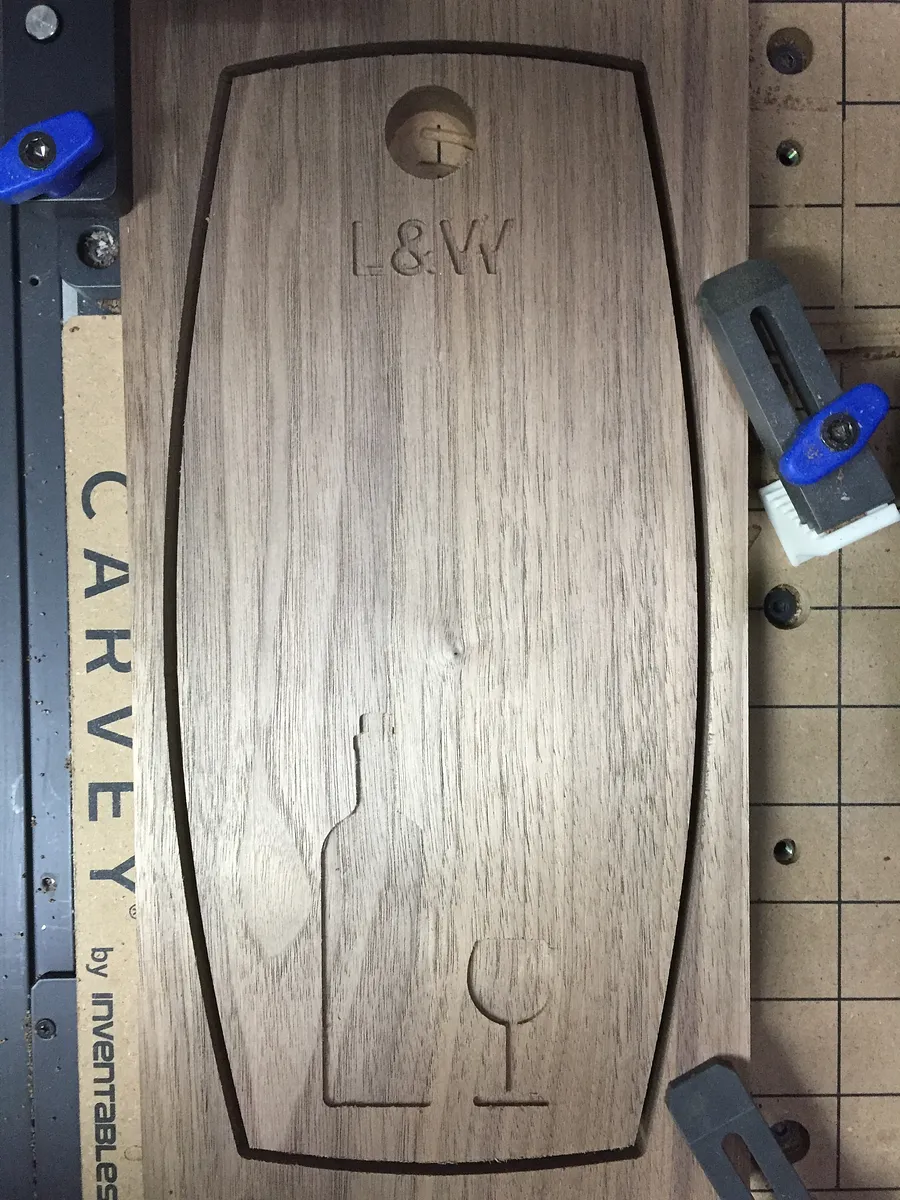
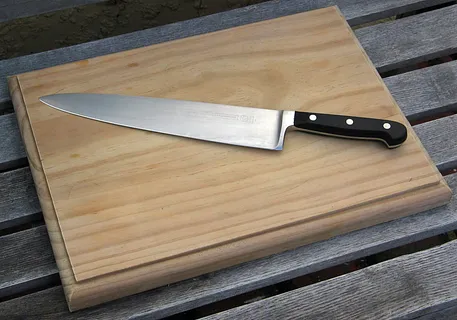
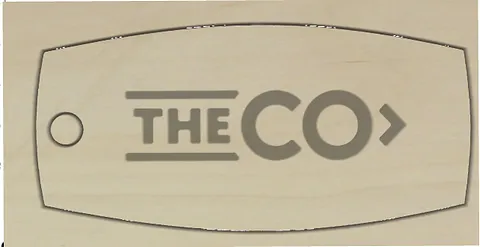
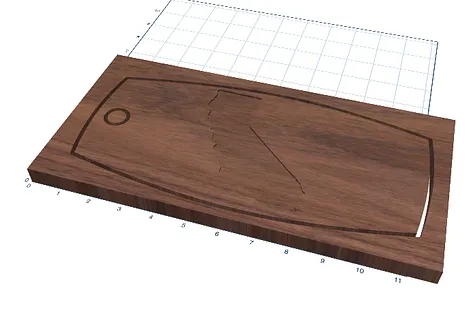
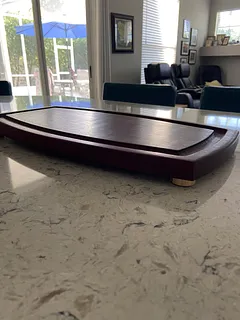
To make a cutting board in the shape featured in the pictures above, click the "Open in Easel" button.
Here are a few other templates
"Rustic Cutting Board with Handle Template":http://easel.inventables.com/projects/r-R1Z49jHg1ghpbdDjVMrw
"Rectangle cutting board template":http://easel.inventables.com/projects/GIZ4oPb23UUs7WvW7rhm0g
Estimated time: 1 minutes
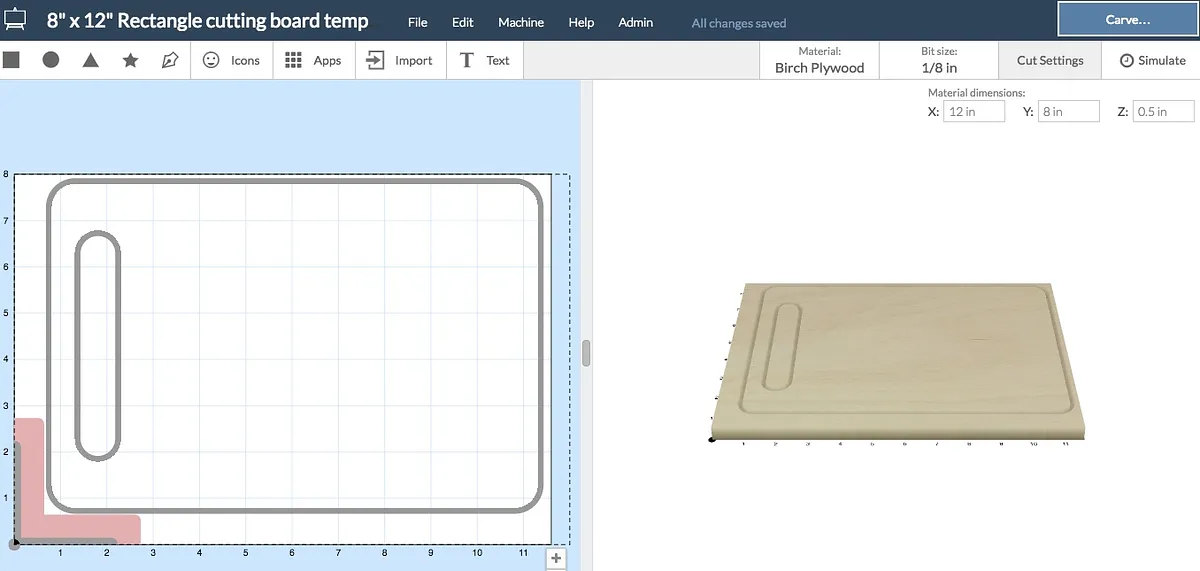
Design the Inlay
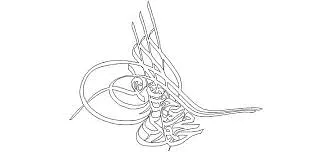
Choose the design you would like to use.
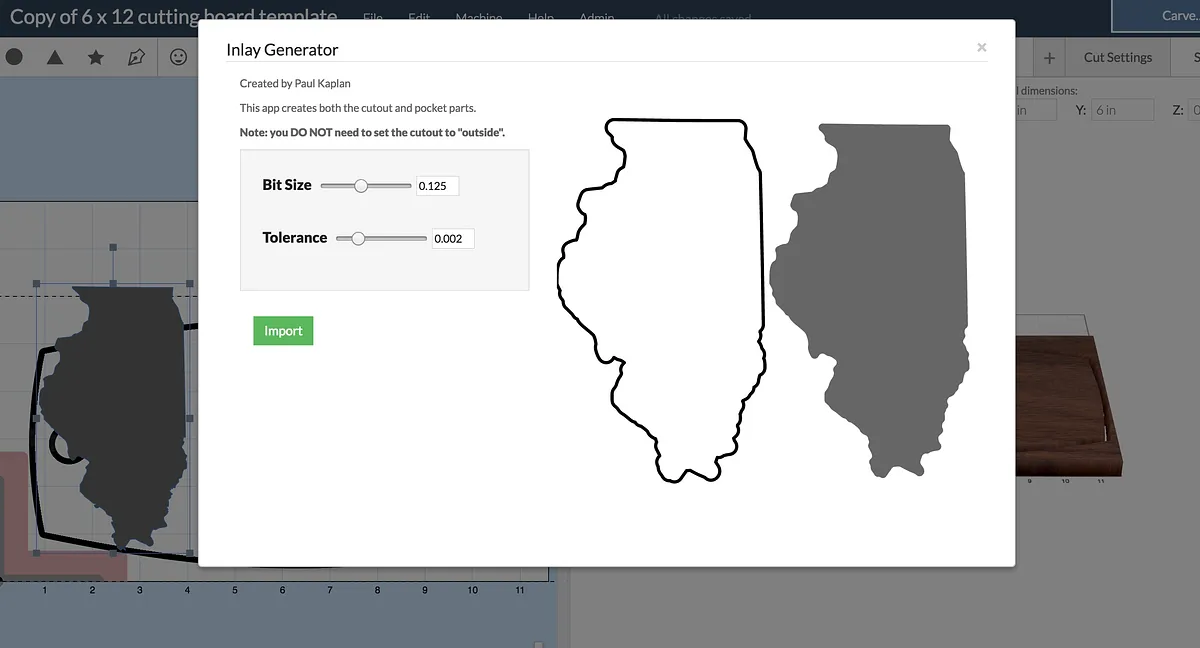
Once you have the design you would like. Select the design and click "Apps" than click the "Inlay" app.
The Inlay App will display both the pocket and insert part of the inlay. Choose the bit diameter you would like to use. The tolerance controls how tight the inlay will fit. Too tight, and it will be very hard to fit in, and too loose will show gaps between the insert and the pocket. We like to use a tolerance of .002".
Import the design.
Estimated time: 5 minutes
Create cut files
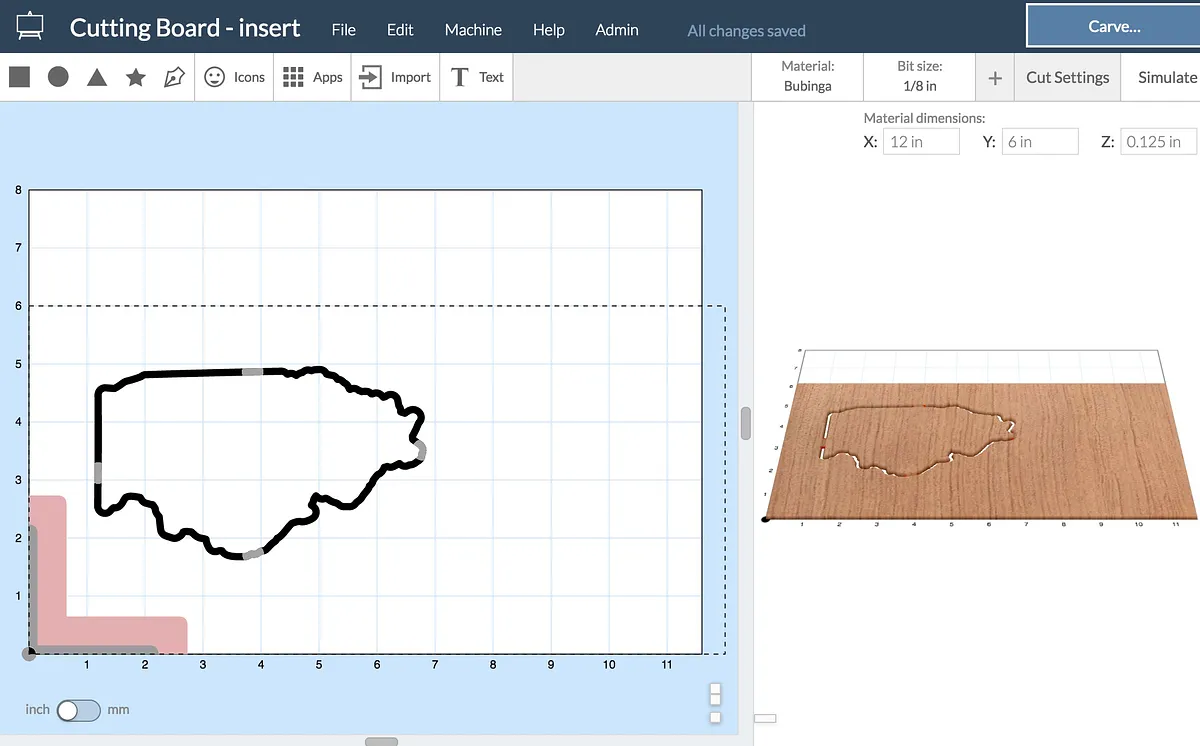
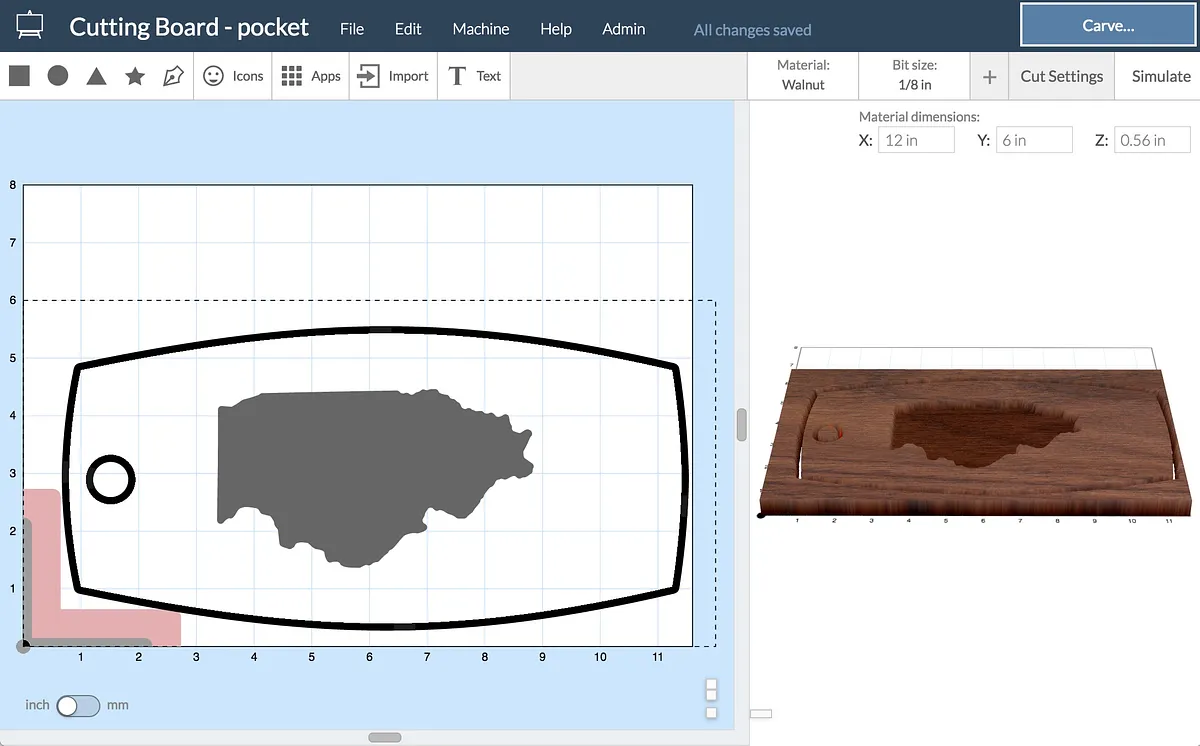
When you import the design you will the original design, and the pocket and insert. You will want to delete or hide (turn to white) the original design and only use the imported pocket and insert.
Create a copy of this project by selecting "File" -> "make a copy"
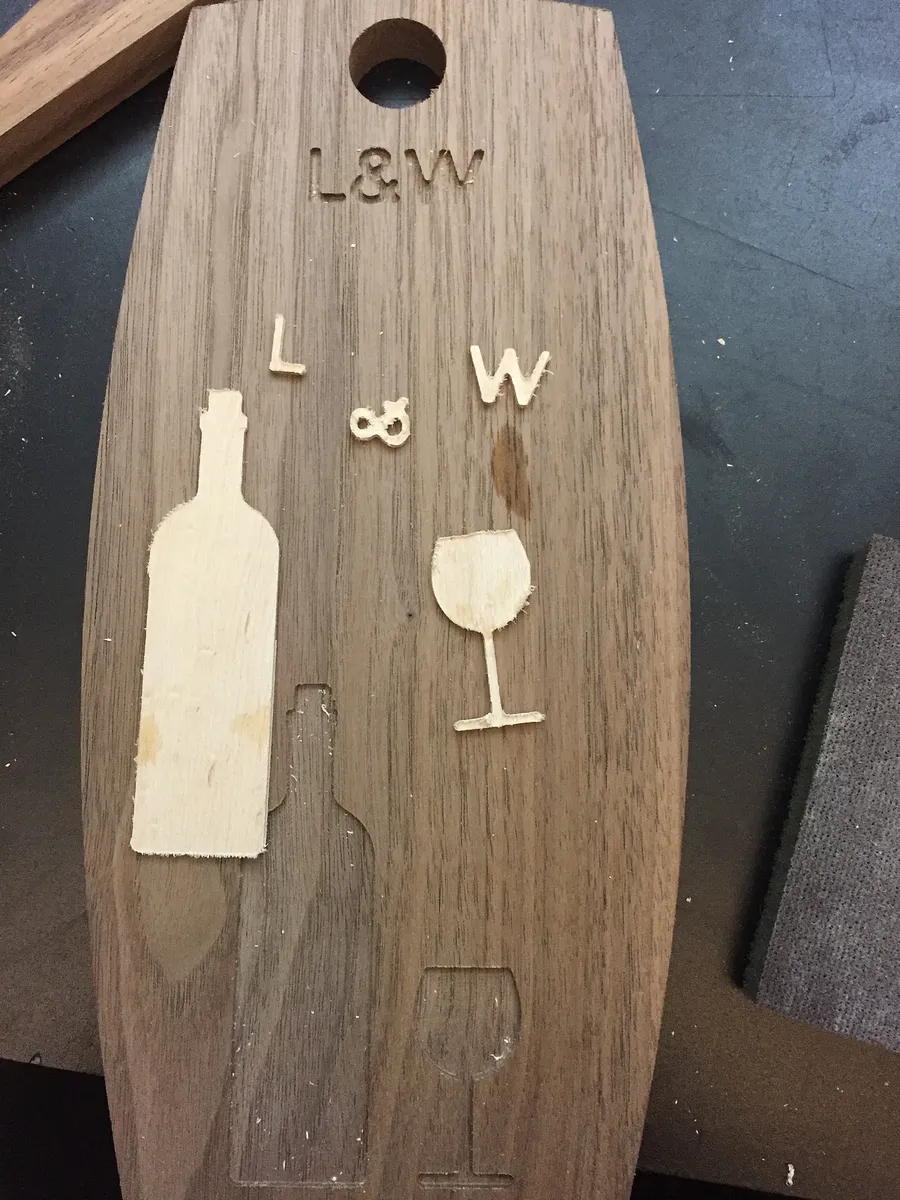
Make one file for the pocket and cut out of the thick piece of wood. And make the second file for the thin insert. Make sure the enter the correct material dimensions.
Estimated time: 5 minutes
Cut and assemble!
Cut out the files. Sand the insert and pocket lightly to get rid of any burs on the edges. Test to make sure the inlay will fit, if the fit is very tight, do not insert all the way before glueing!
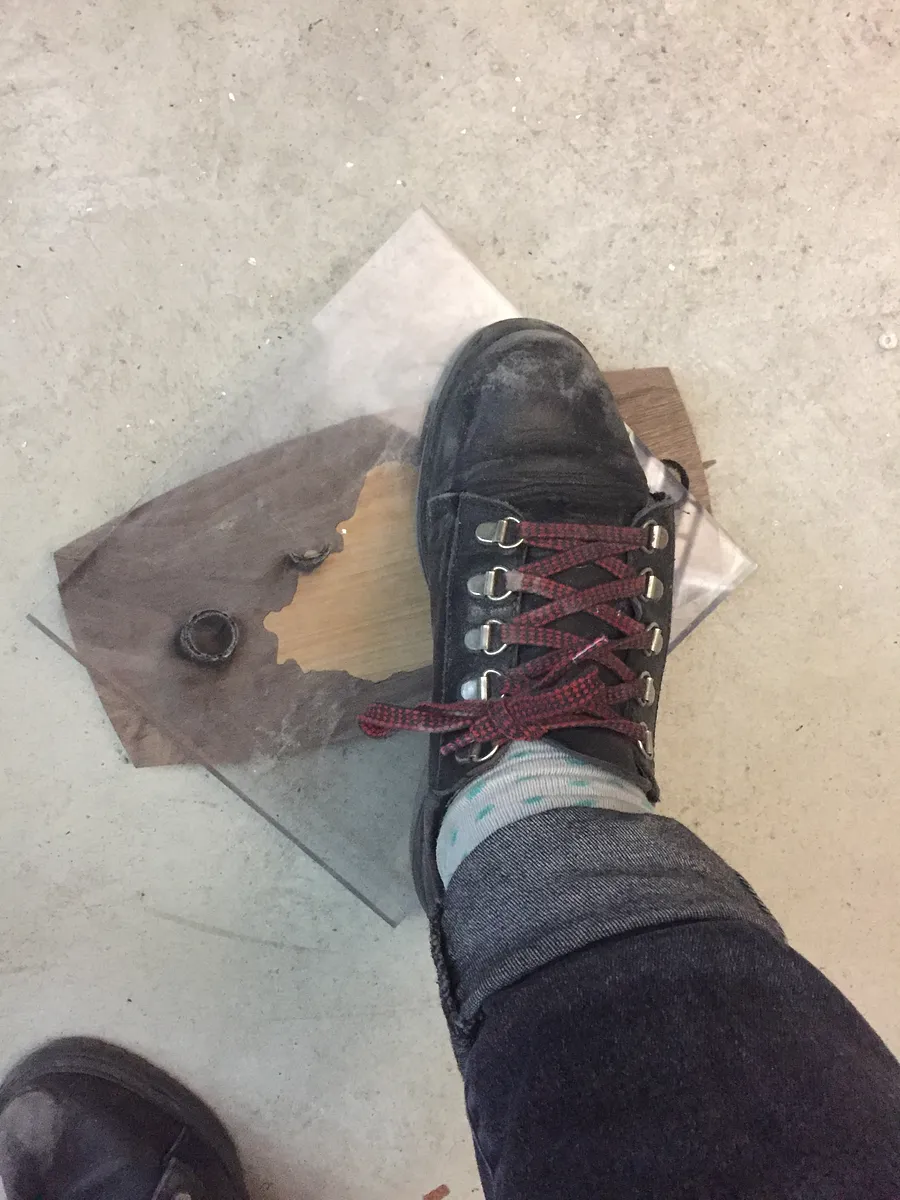
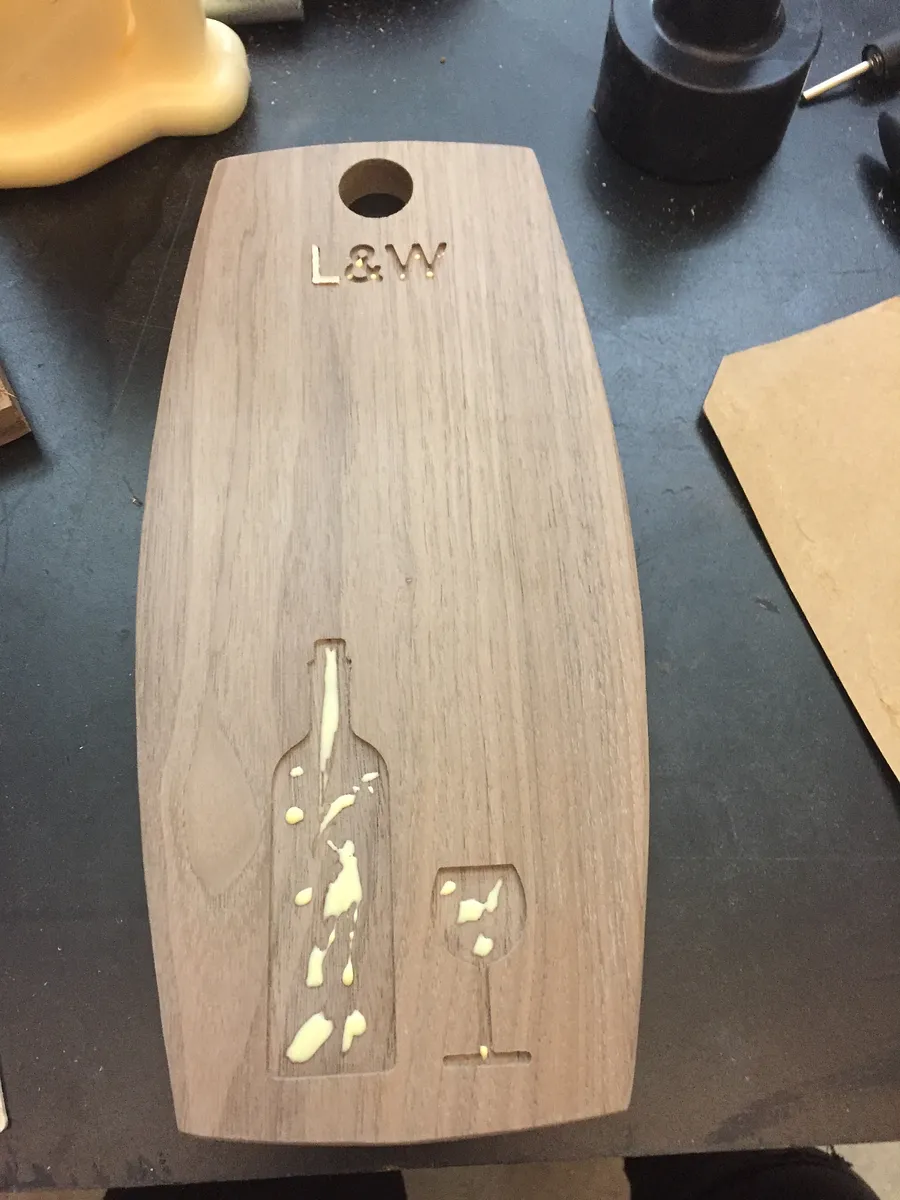
Put some wood glue in the pockets and place the inserts in the pockets. I found it easiest to put a piece of clear plastic on the top of the insert and use my body weight to press the insert into place.
When the insert is as flush as possible, wait for the glue to dry.
Once the glue is dry, Sand the board to your liking and use the Mineral oil to give the board a shiny and finished look.
The mineral oil will keep the wood from cracking over time and is food safe :D
Estimated time: 20 minutes













Comments
I just got my Carvey this week and my wife will love one of these for Christmas. Looking forward to the show.
Rustin WebsterPro · December 08, 2016
What bits would you recommend for cutting out your material?
Charlie Tighe · December 12, 2016
Here's one I made with the HDPE type cutting board. inventables.com/projects/hdpe-inlay-hello-kitty-c… If you're not sure of the depth on pieces, turn the glued up board, inlay side down, and then step on it from the back.
Jonas RulloPro · December 13, 2016
fdhfgchfg
charanteja · April 10, 2017
I want that one
Easel User · September 13, 2017
So if I went from a tolerance of .02 to .03 would it be tighter fitting or looser?
Rich Davenport · September 18, 2017
What is a good material to practice with?
Dan Seay · March 16, 2018
I am new to easel, but followed video on another computer while trying to make a tex inlay cutting board. However, the apps library has inlay generator in the featured not like yours shows with the leaf. Also it wants me to select a shape and wont let me go any further??? Please help! TIA
Shane Barge · November 14, 2018
Thank you so much. Good stuff on here. Great teacher.
Donald RawlinsPro · October 30, 2020
can EASEL work with more 3d printers/carving cnc machines in the future like snapmaker?
Zamir bernshtein · April 16, 2021
Is there away to set up the inlay generator with a V bit option?
Daniel Connell · August 29, 2021
So maybe its because this is an older video but I don't have web image search, facebook, Instagram, or google drive as an option. I'm currently using this in 09/2021 and it's just web search, link, take photo. It only brings up photos, there are no flat 2D images and no option to see more images.
Chris · September 06, 2021
when i import my project it comes bck smaller why
George DeckerPro · October 01, 2023
The generator says "You do NOT need to set the cutout to outside." Does that mean BEFORE creating the inlay components? You have to set it to outside when you do the actual cut, right?
Douglas Dennison · November 26, 2023
how do you invert the colors for inlays. I want the black to be white and the white to be black
Randall HummelPro · September 25, 2024
My version of Easel does not look or work like yours. I get no further than select shape. What gives here?
Wade Boothe · April 06, 2026
Hi Wade, this project is nine years old, Easel has changed a lot! The app icon in the toolbar has changed to a crossed screwdriver and wrench. The inlay app is still there though and should be working.
John McWhirterPro · April 06, 2026