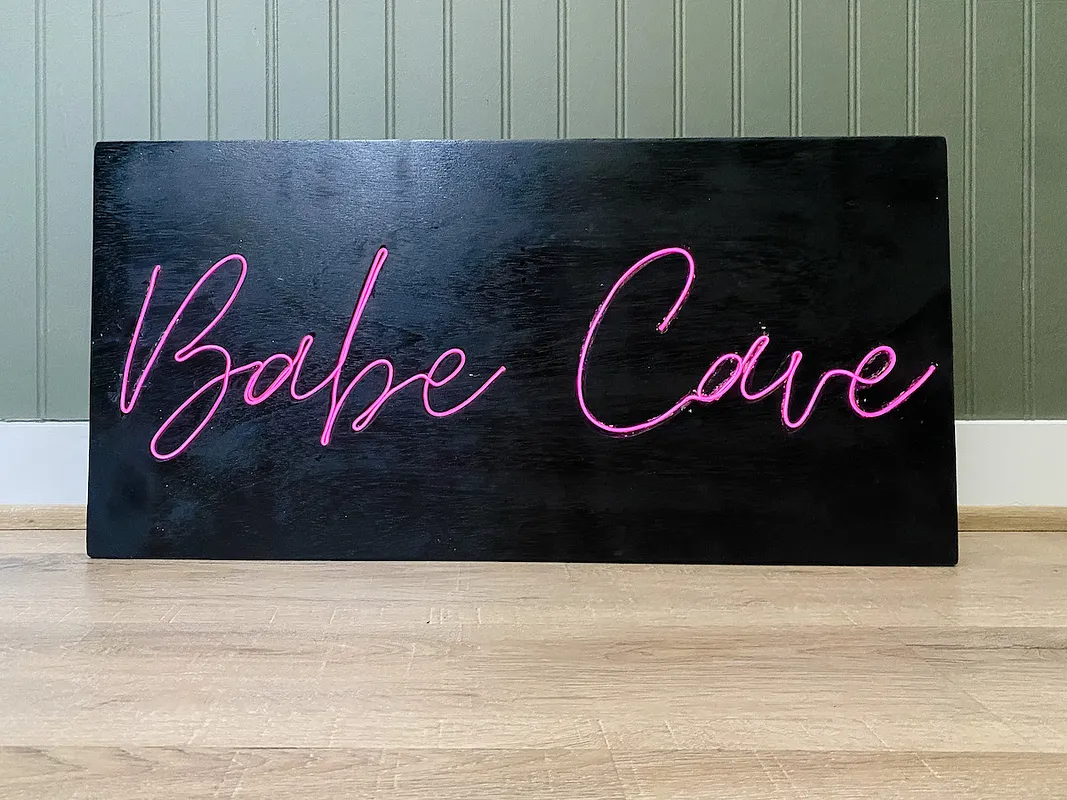
Babe Cave Neon Sign

Instructions
Carve Design
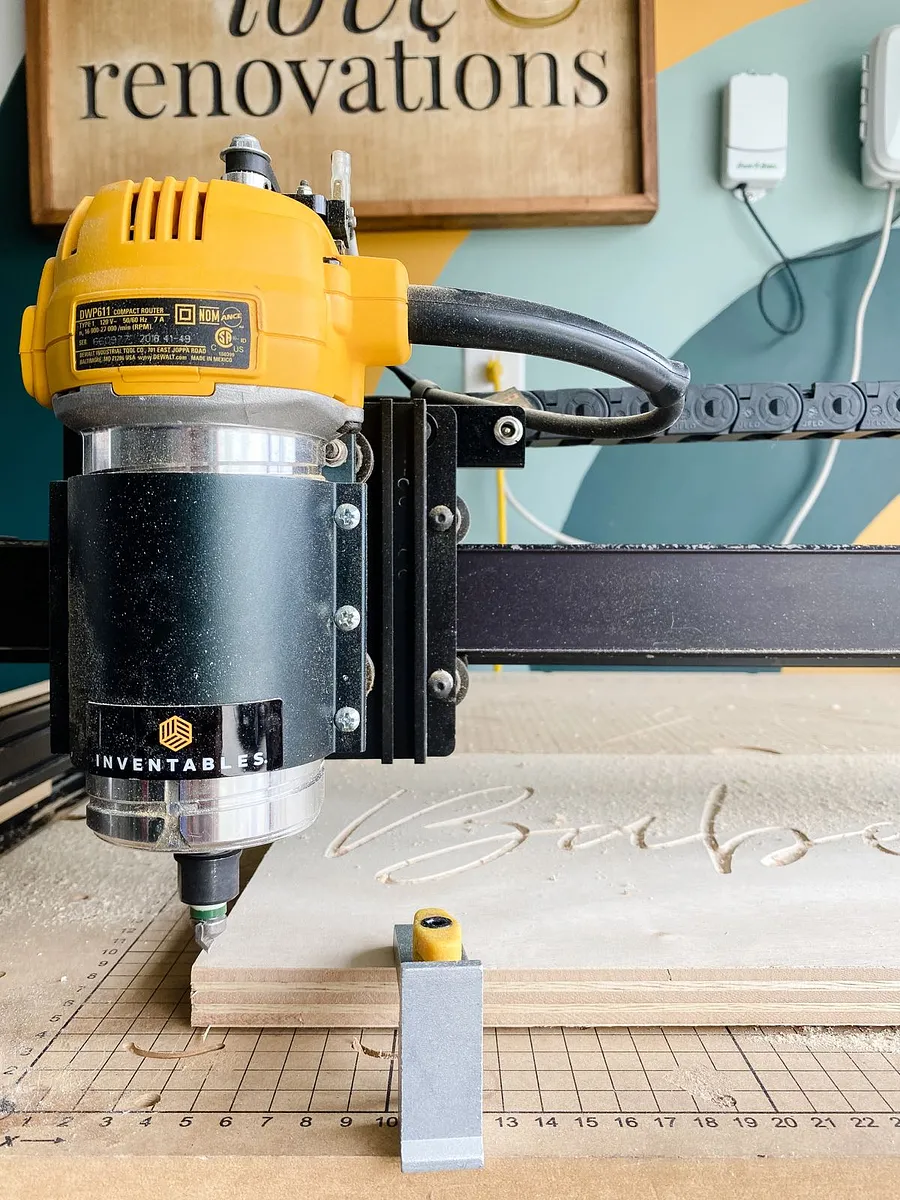
Carve the chosen design - my design is for a home gym that my friend affectionately dubbed the "Babe Cave", but you can obviously adjust to whatever you'd like! The key is to carve using a 90-degree V-Bit and to carve about 1/8" into your plywood or scrap wood.
Estimated time: 30 minutes
Paint Sign
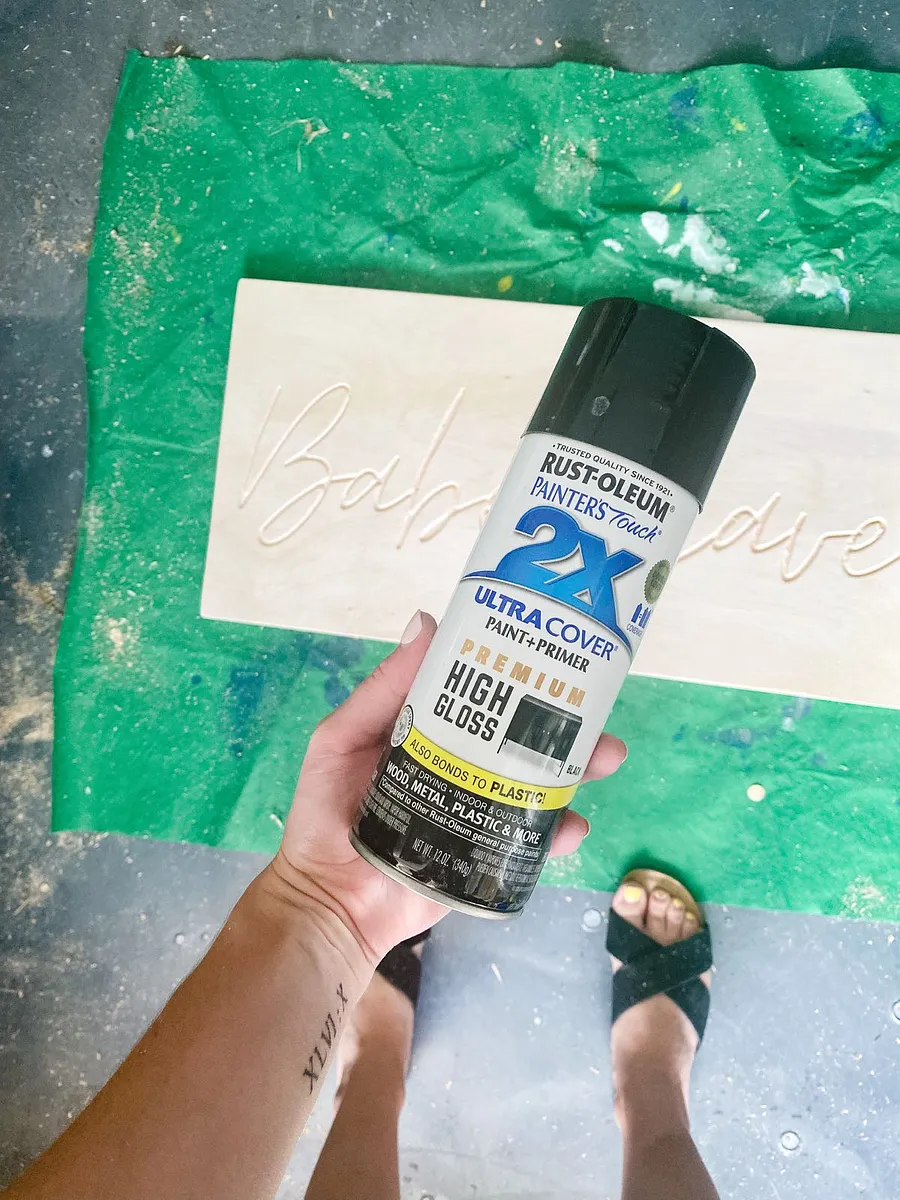
This step is optional, but I painted my sign black so the lighting would stand out a bit more. You could also stain it, or paint the same color as the wall to help it blend in.
Estimated time: 5 minutes
Drill Holes
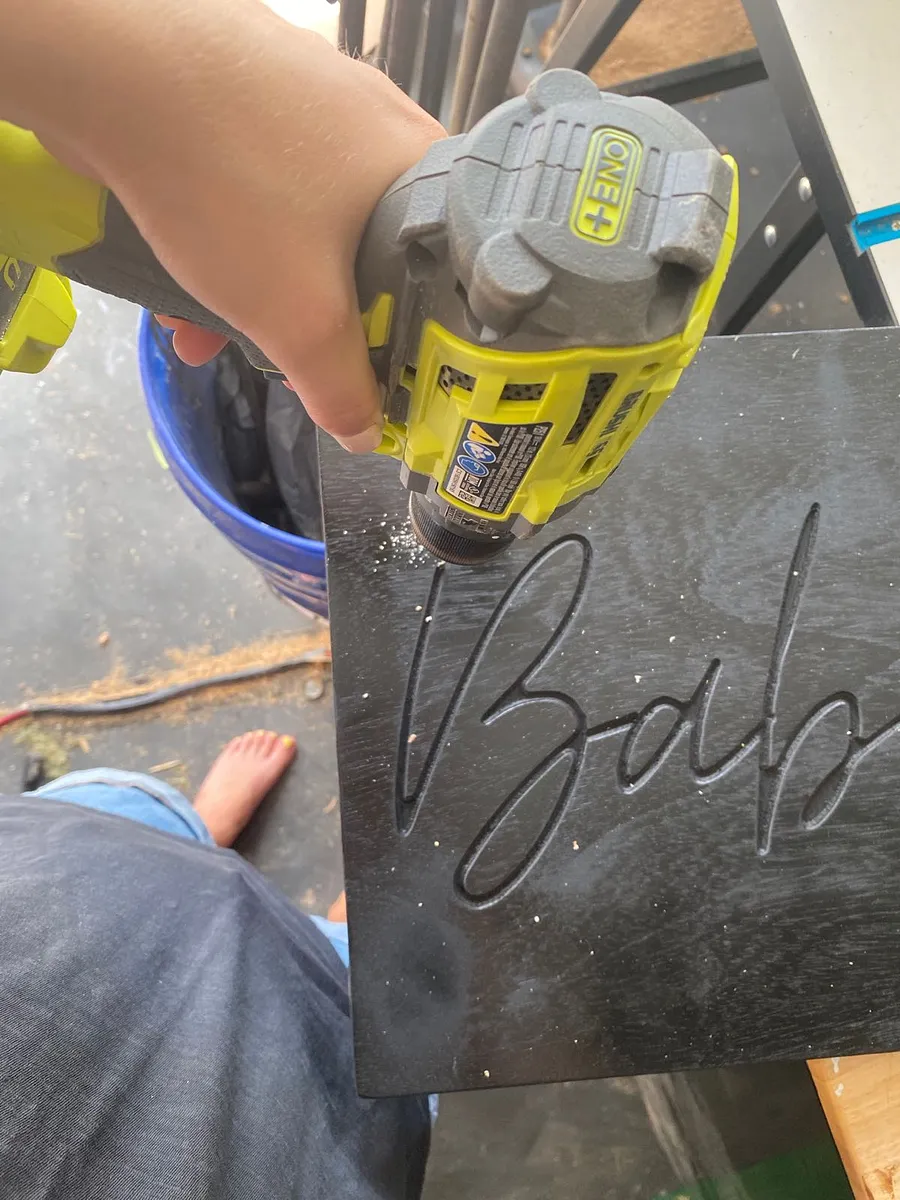
Drill entry and exit holes at the beginning and end of each word in your design. This is what you'll thread your wire through when attaching.
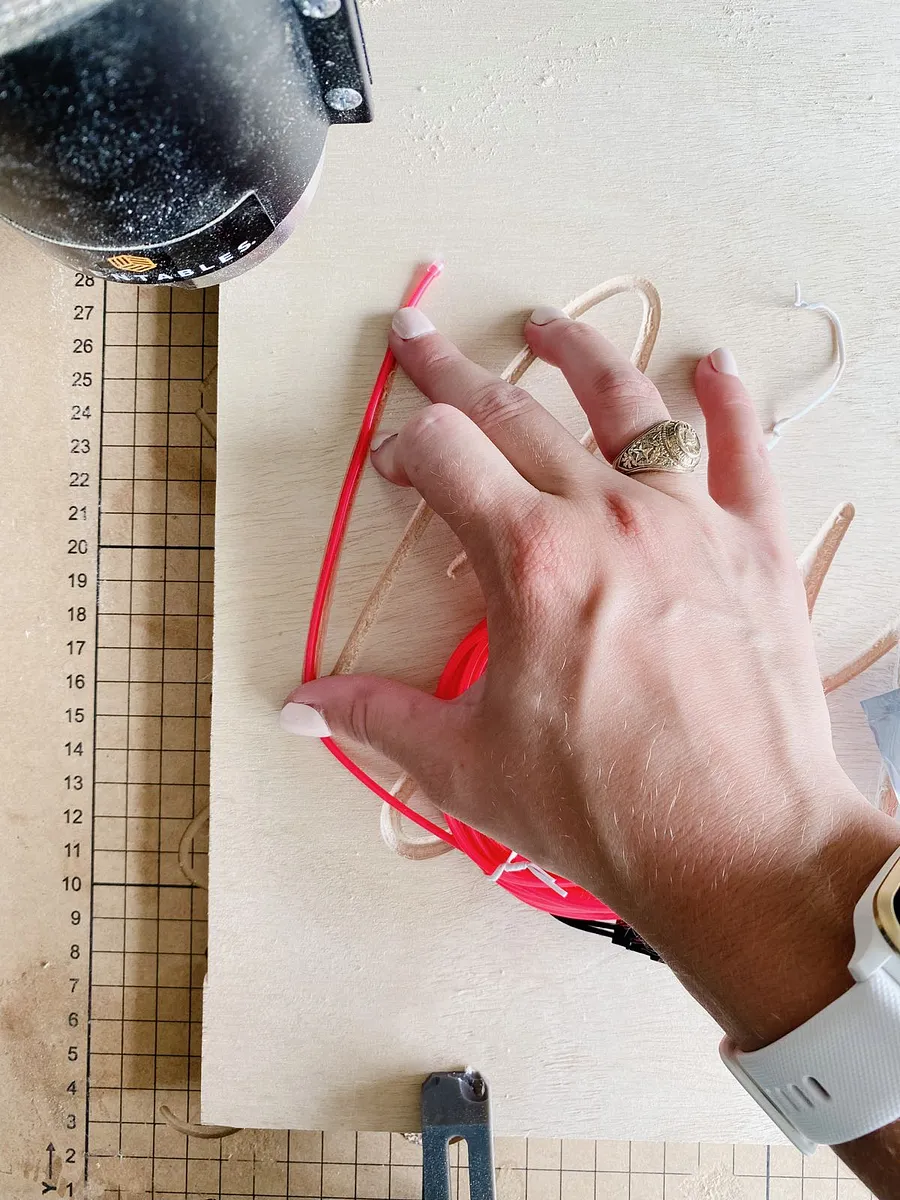
Attach EL Wire
You can find EL wire on Amazon for about $10 - I attached using DAP's RapidFuse adhesive. I found it was the best glue for the sign as it didn't make a mess, it set quickly, and was essentially invisible once it dried. Attach the EL wire all along the channel you carved, then cut off the excess!
Comments
How did you get the text to stay that consistent width in easel?
Anthony BurkenPro · May 19, 2022