Honing Jig

Instructions
Carve out the pieces
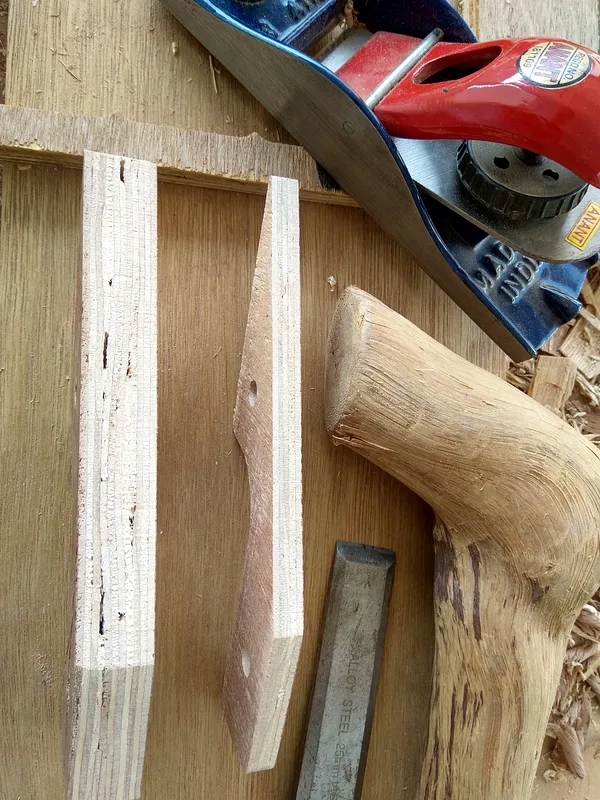
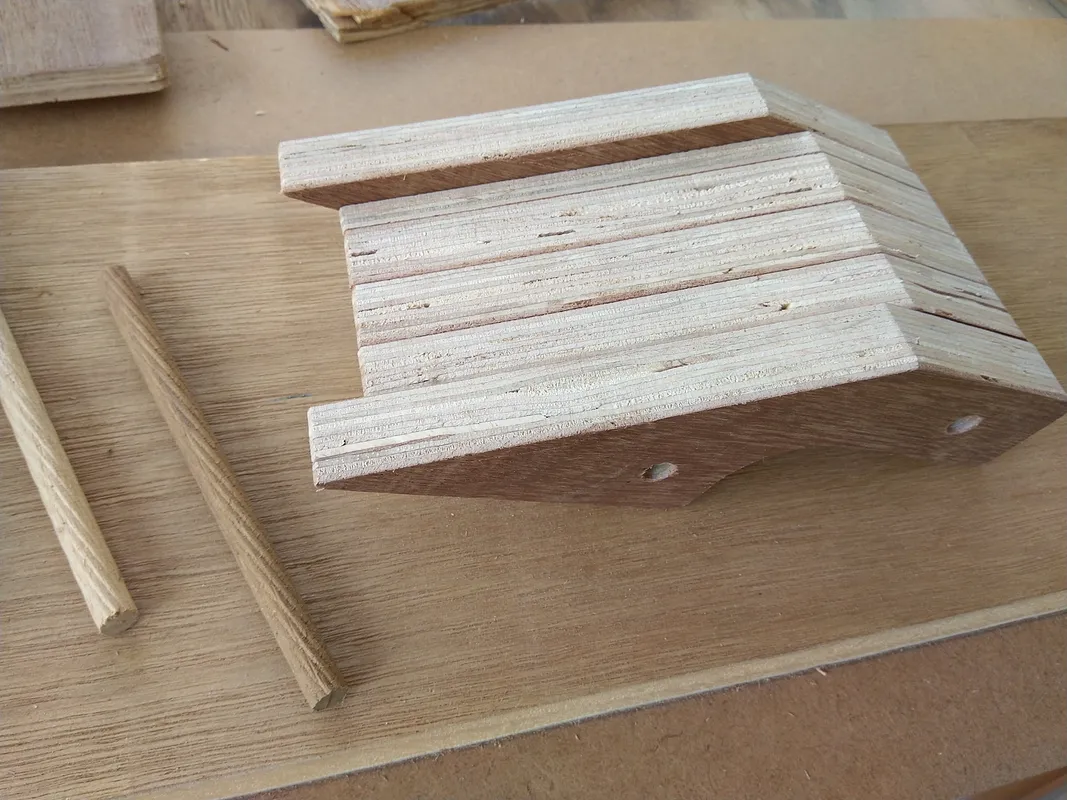
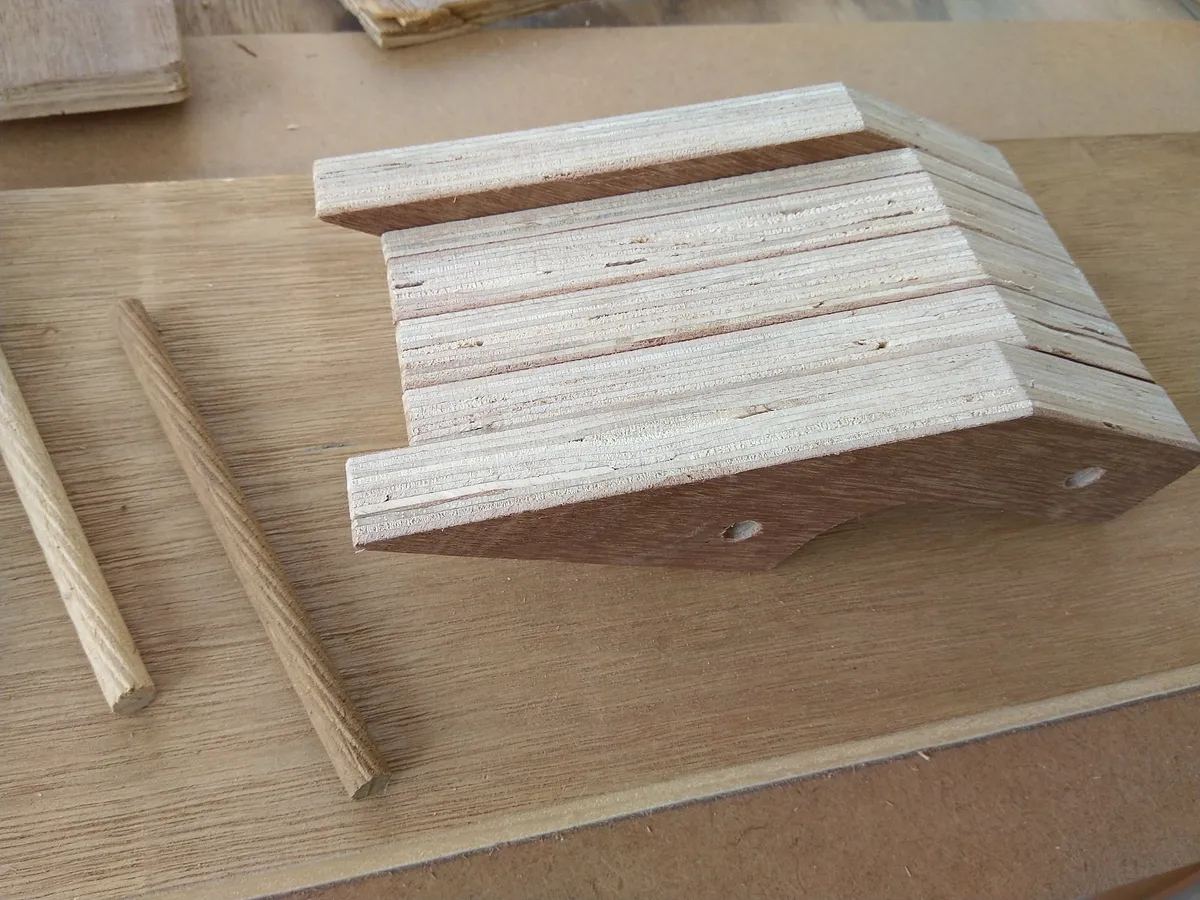
The plywood I used was 18.7mm. There are 4 inner pieces and 2 outer pieces. The total width of the inner pieces was 74.8mm. Depending on the with of your ply and your requirement of blade width, you can decide how many inner pieces you want.
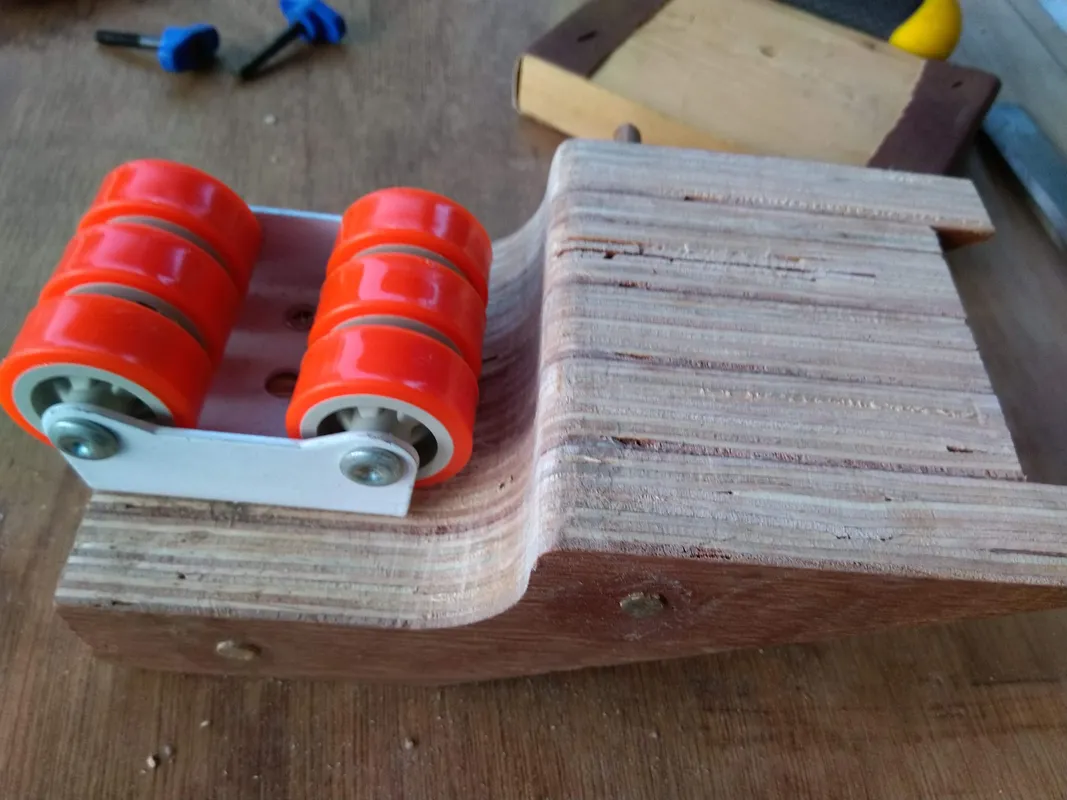
Note the height of the castor wheel. I've given a gap of 3mm from the ground level. If your castor wheel is of different height, then you will have adjust the height of your pieces too.
Estimated time: 70 minutes
Optional: Reduce the width of one piece
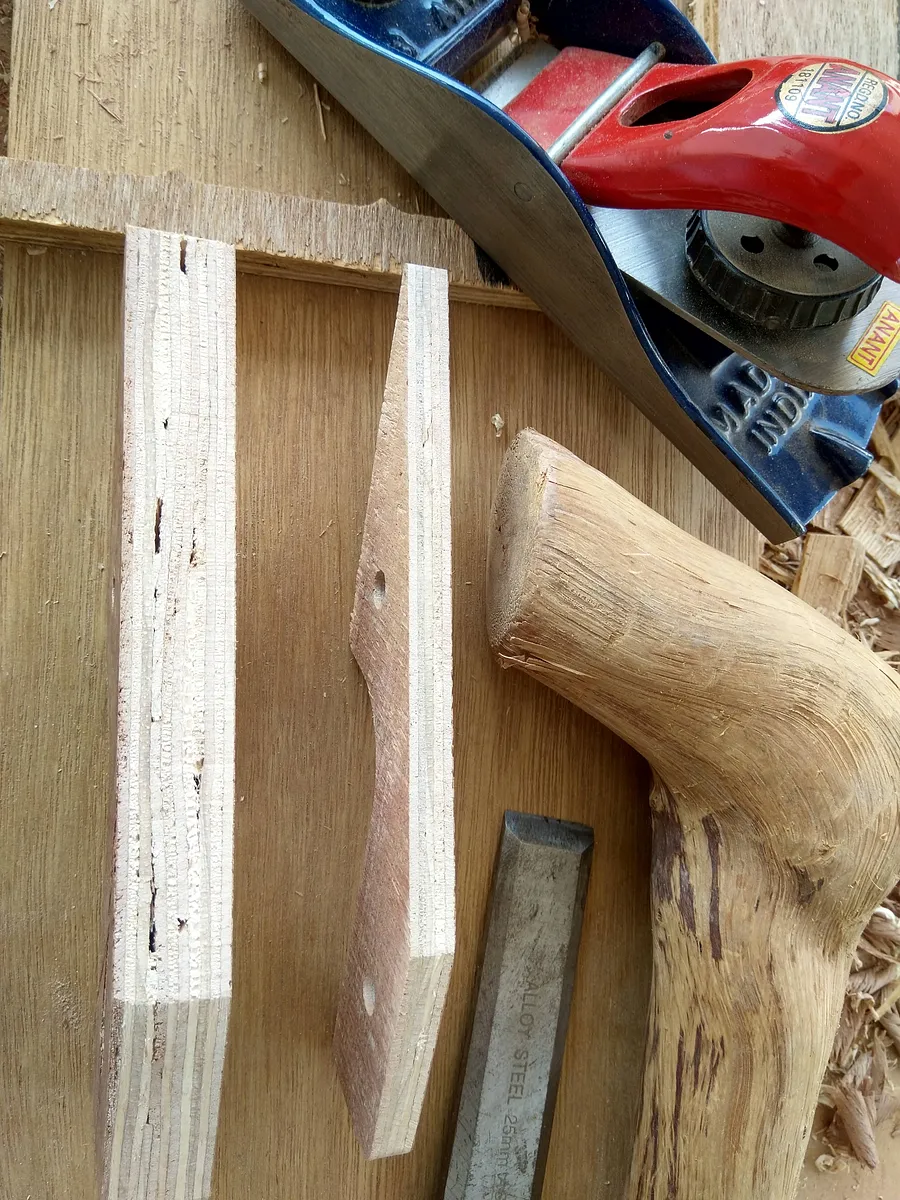
I wanted to fit a 60mm wide blade, so I decided to have a width of 65mm. Well, a 61mm would have be sufficient too. I use a mallet and a chisel to reduce the width of one until the total was 65mm.
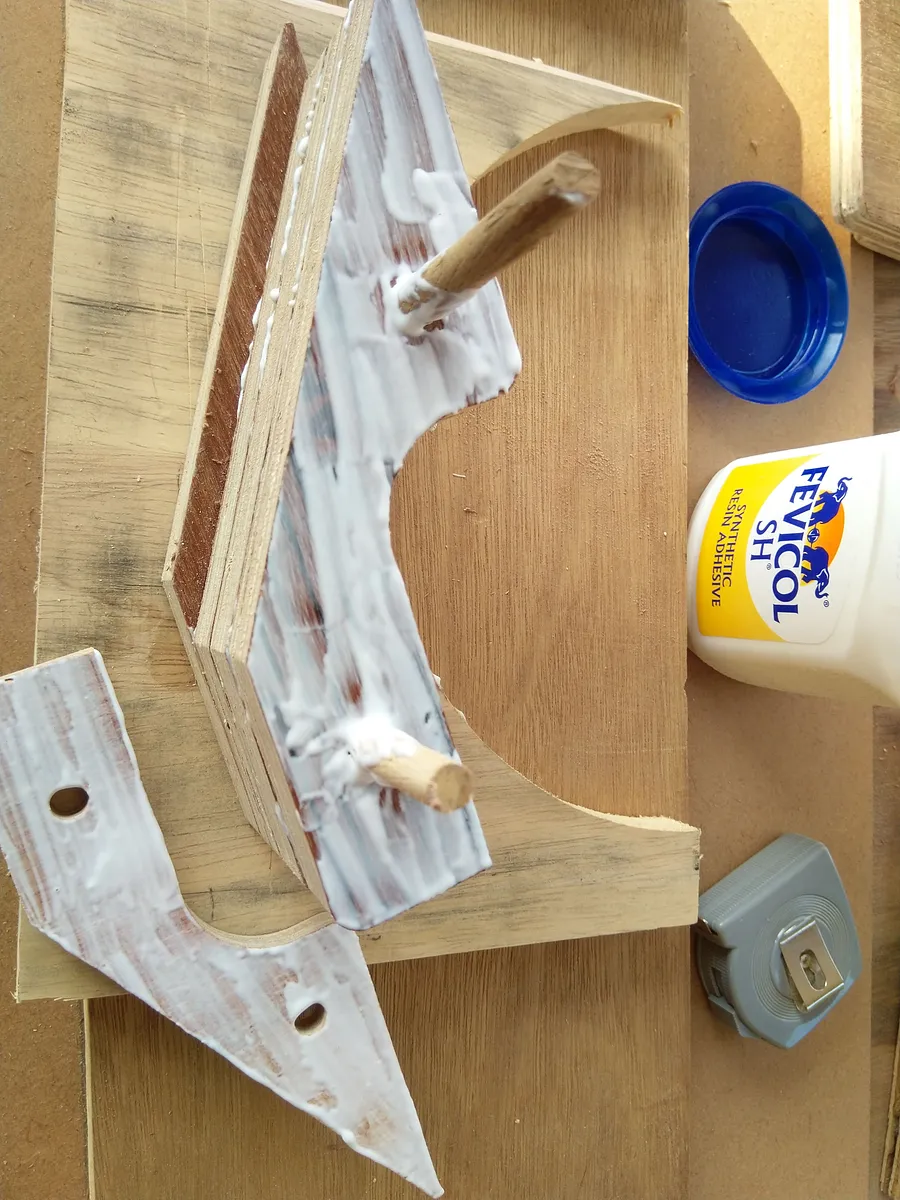
Join the pieces with the dowel
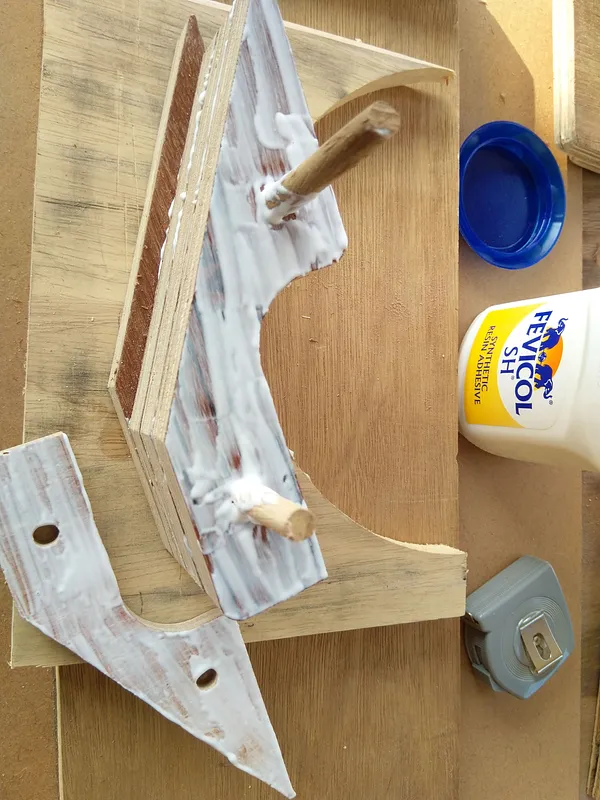
Use the dowel to join all the pieces together and clamp it.
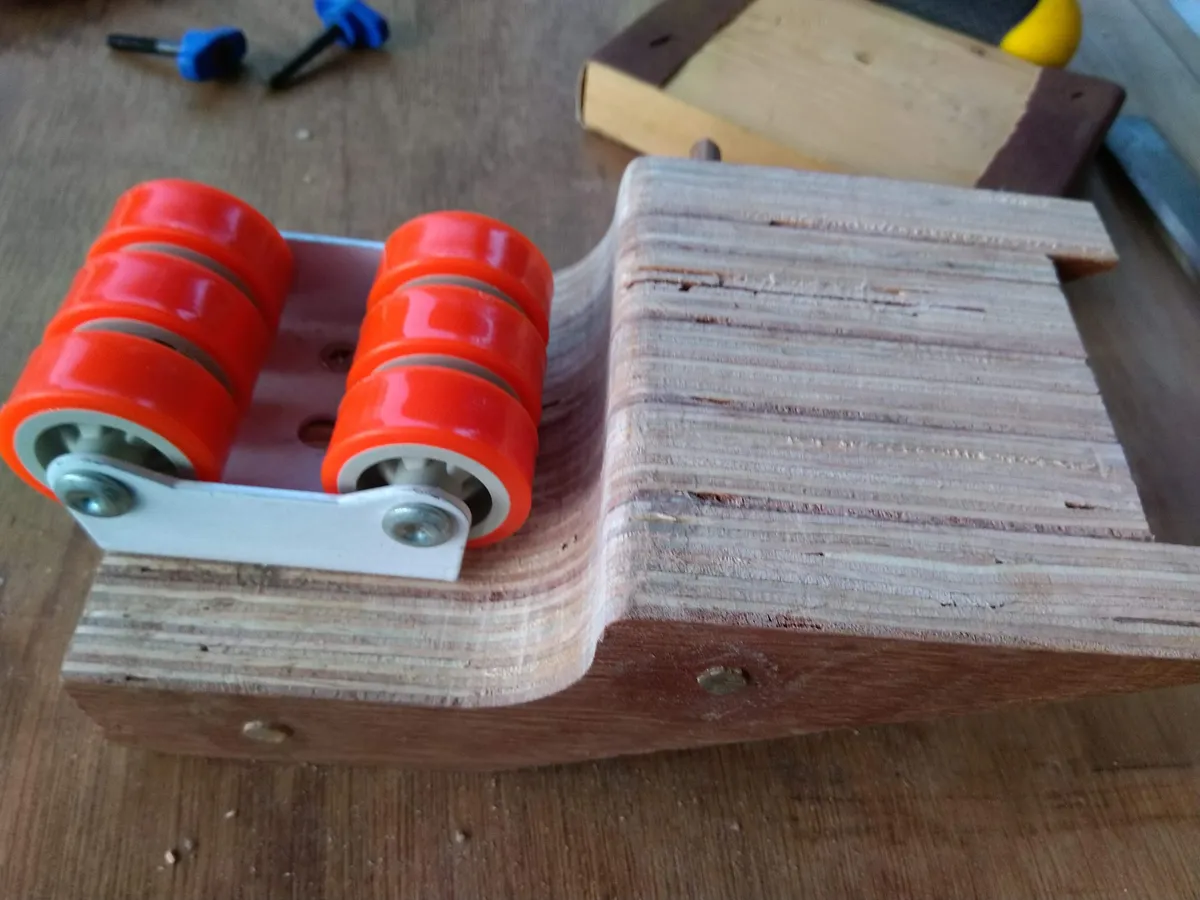
Fix the castor wheel
Yes, castor wheels are available in sets of 4. Hmm.. well, you can make similar jigs for different angles.
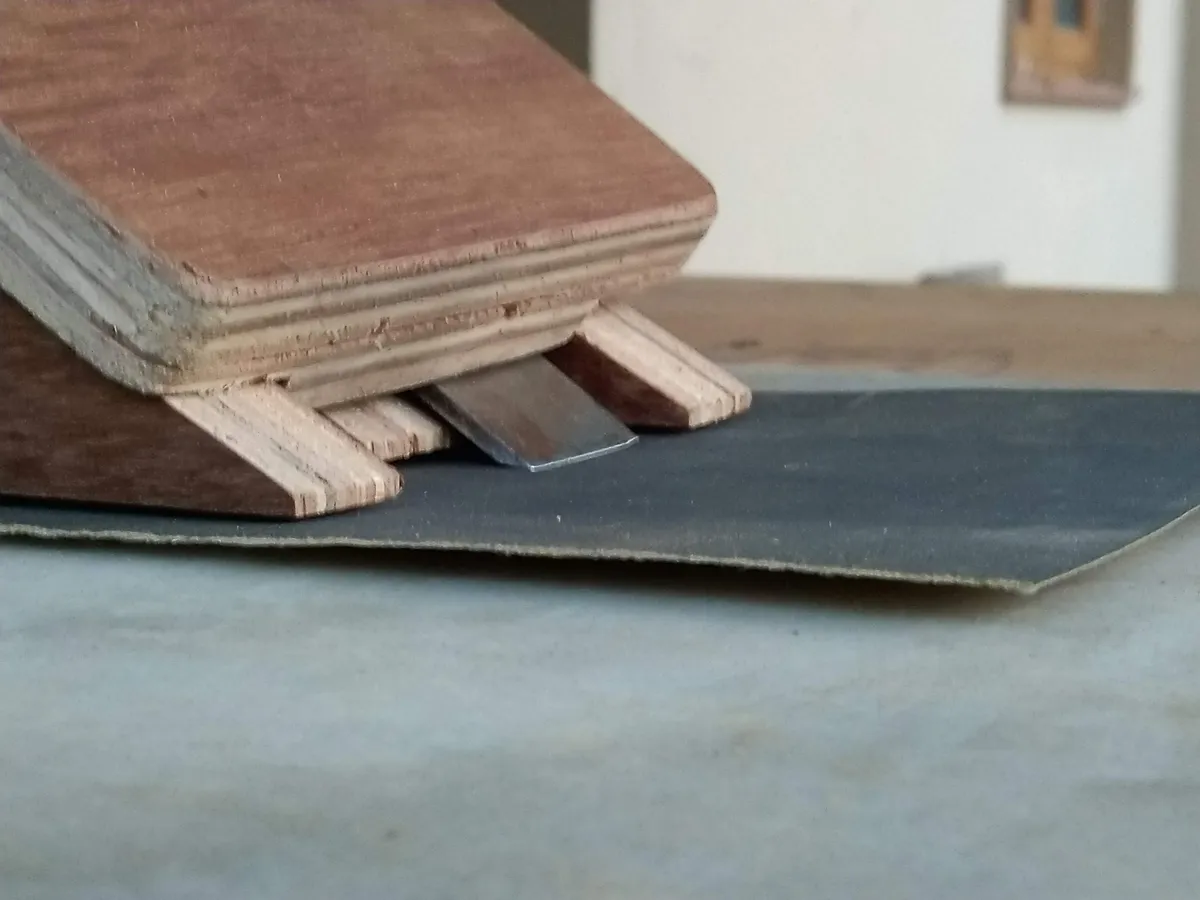
Fix the threaded inserts
I first drilled a hole in the covering piece. Used that to mark the location where I have to drill and fix the Threaded Inserts. The hole for the Threaded Inserts was deep enough to take the remaining Clamp Screw when fixed atop the covering piece.
Finish and Grind
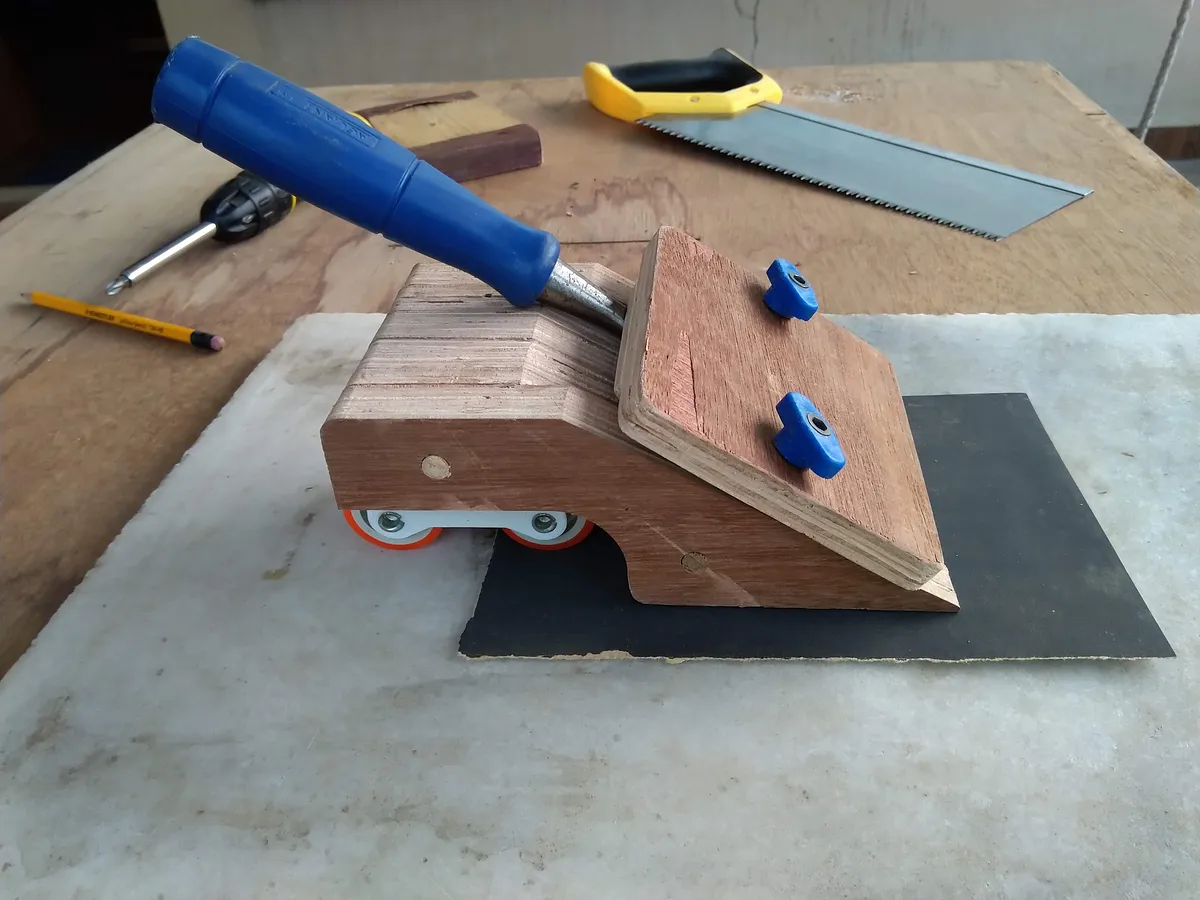
Cut off the extra length of the dowels and round the outer edges.
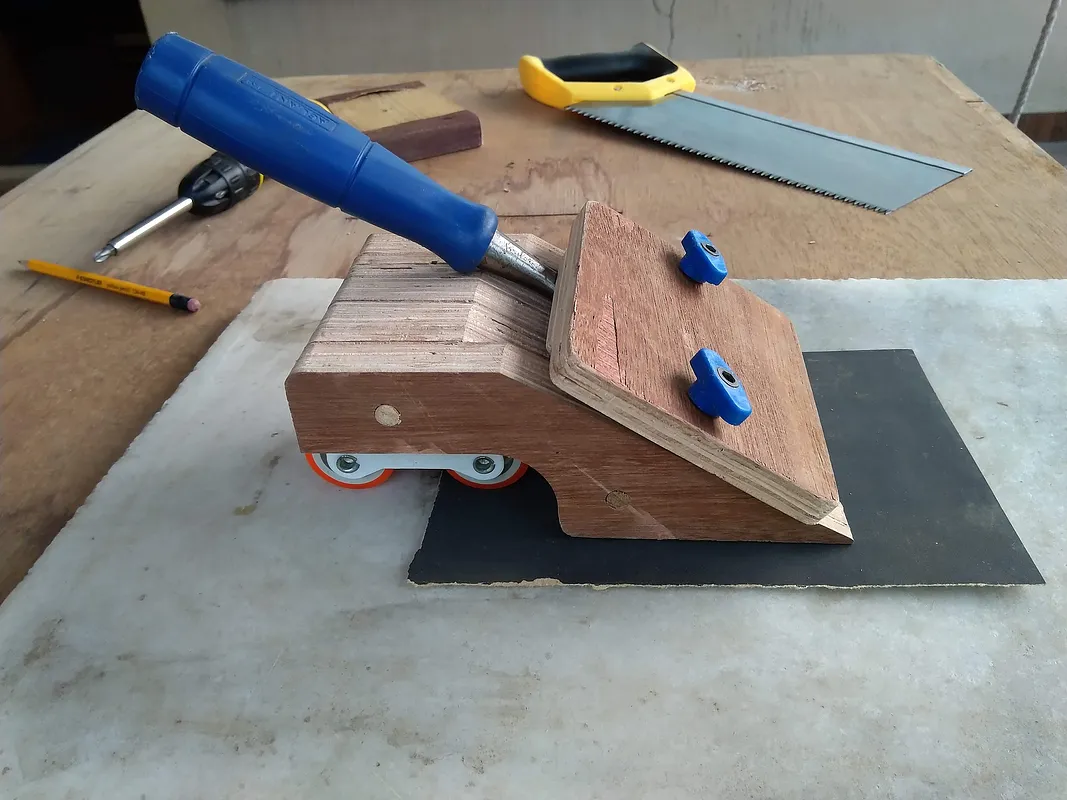
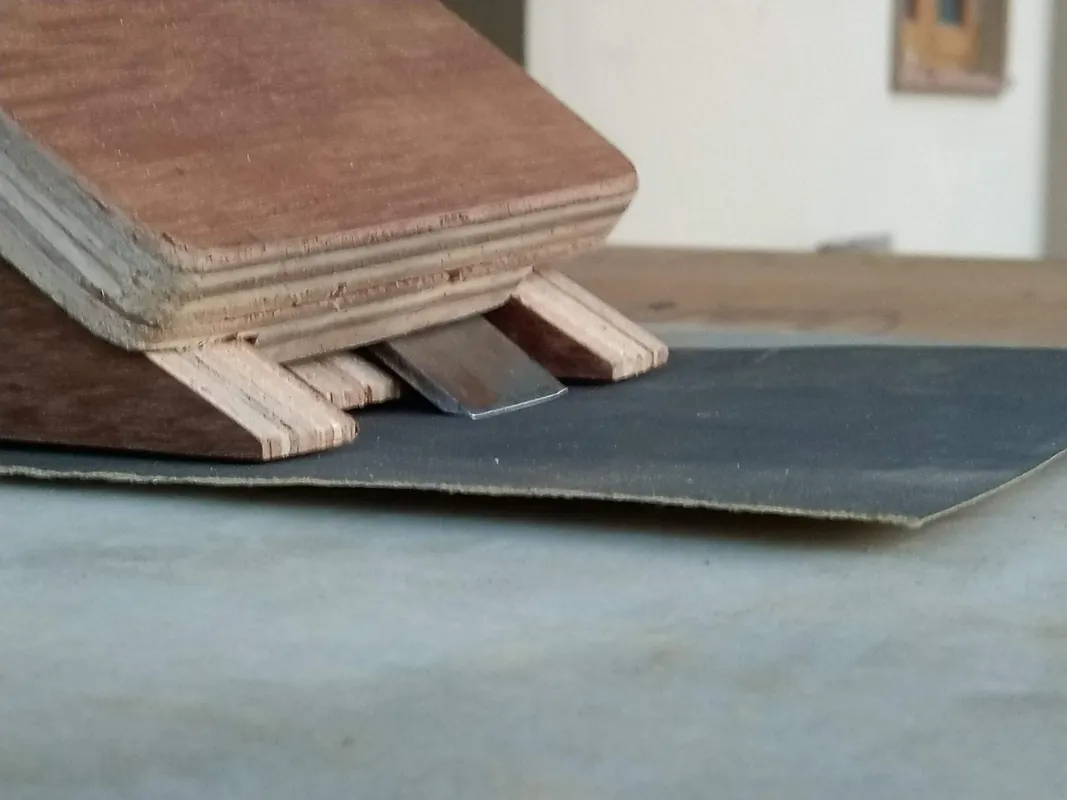
Fix the Chisel or Plane Iron on one of the sides as a guide.
You don't have to remove the covering piece. Just loosen the Clamp Screws and slide the blade in.
Comments
Nice project! Do you have a link for the castor wheels?
Stuart G · August 08, 2022
I could not find the one I used (or a similar one) on Amazon.com. Here is what I used: amazon.in/Lepose-Niylon-Furniture-Trolley-Capicit…
Jayakara Kini · August 08, 2022