Your custom materials now look like the stock you're actually cutting. Give any material in your Toolbox its own wood or metal texture, add a color tint, or set a solid or two-color plastic — and see it everywhere Easel draws that material.
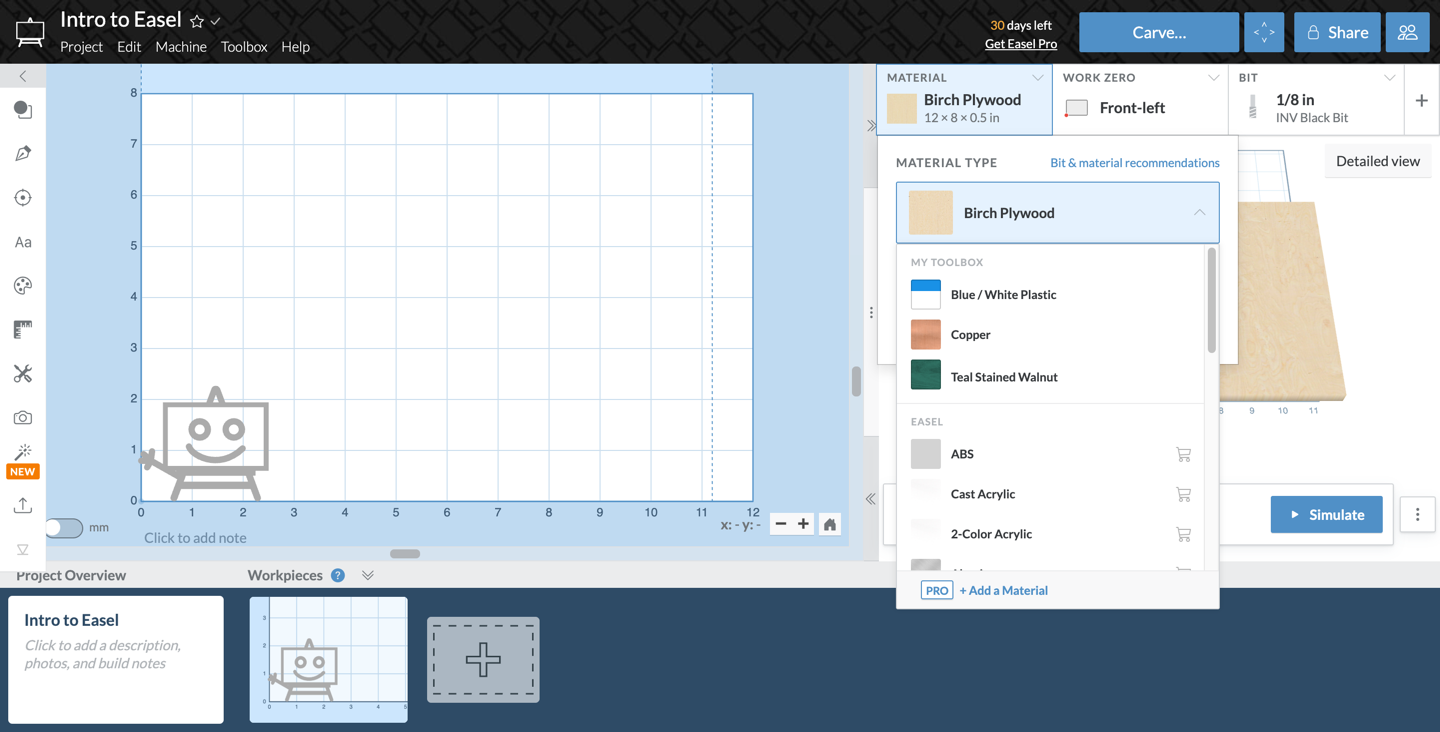
Until now, every custom material you created borrowed a generic photograph of its category, so a shop full of custom stock all looked alike in the Toolbox and in the preview. Now each one carries its own appearance. Setting a custom material's appearance requires Easel Pro.
How it Works
- Open the Toolbox and go to the Materials tab.
- Click Add Materials and choose Custom to create a new material, or click an existing custom material to edit it.
- Choose a Material Type. The appearance controls change to match it.
- Pick a texture or a color (below), and watch the preview at the top of the form update as you go.
- Click Save. The name field suggests a name from your picks — "Walnut (Sage)", "Red / White Plastic" — until you type your own.
Wood and Metal: pick a texture, tint it if you like
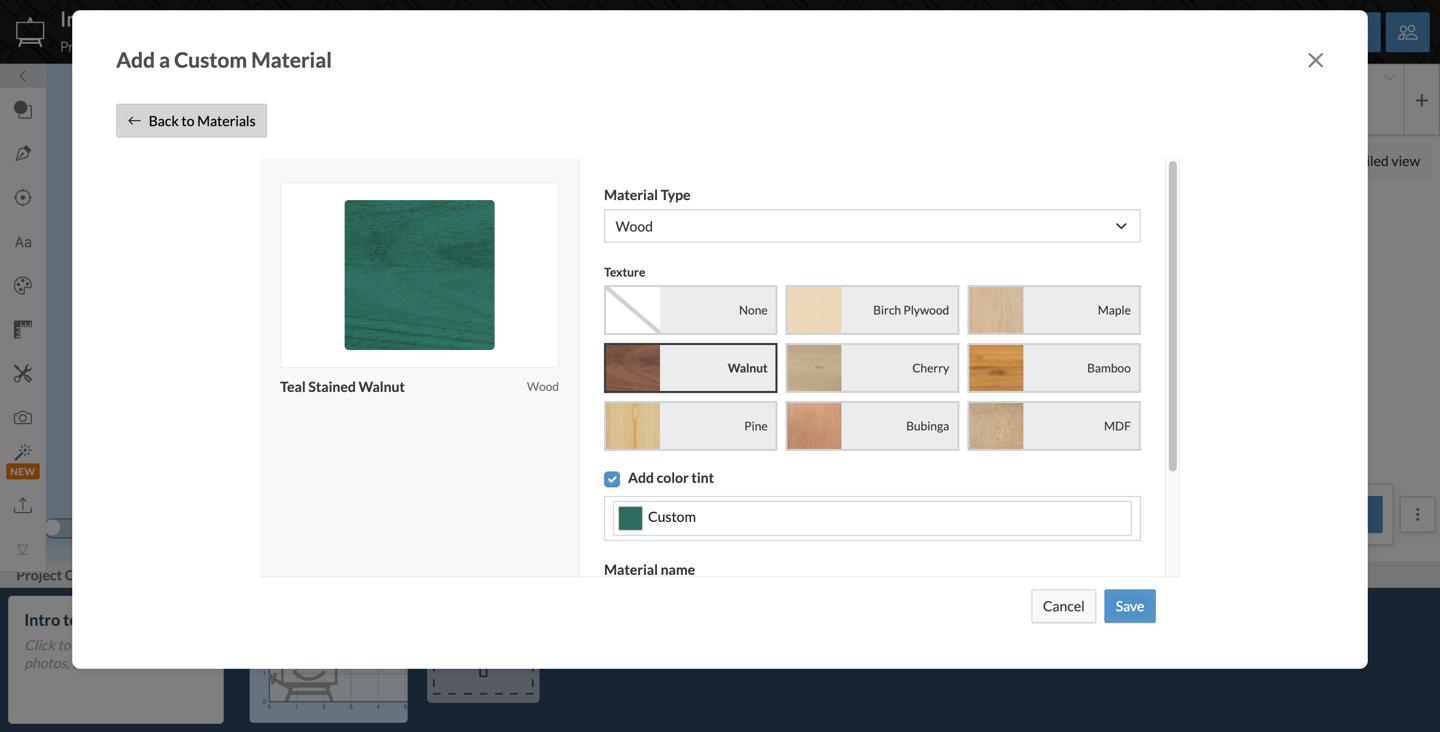
Wood and metal materials get a grid of textures — Birch Plywood, Maple, Walnut, Cherry, Bamboo, Pine, Bubinga, MDF, Aluminum, and Copper — plus None if you'd rather have a flat color.
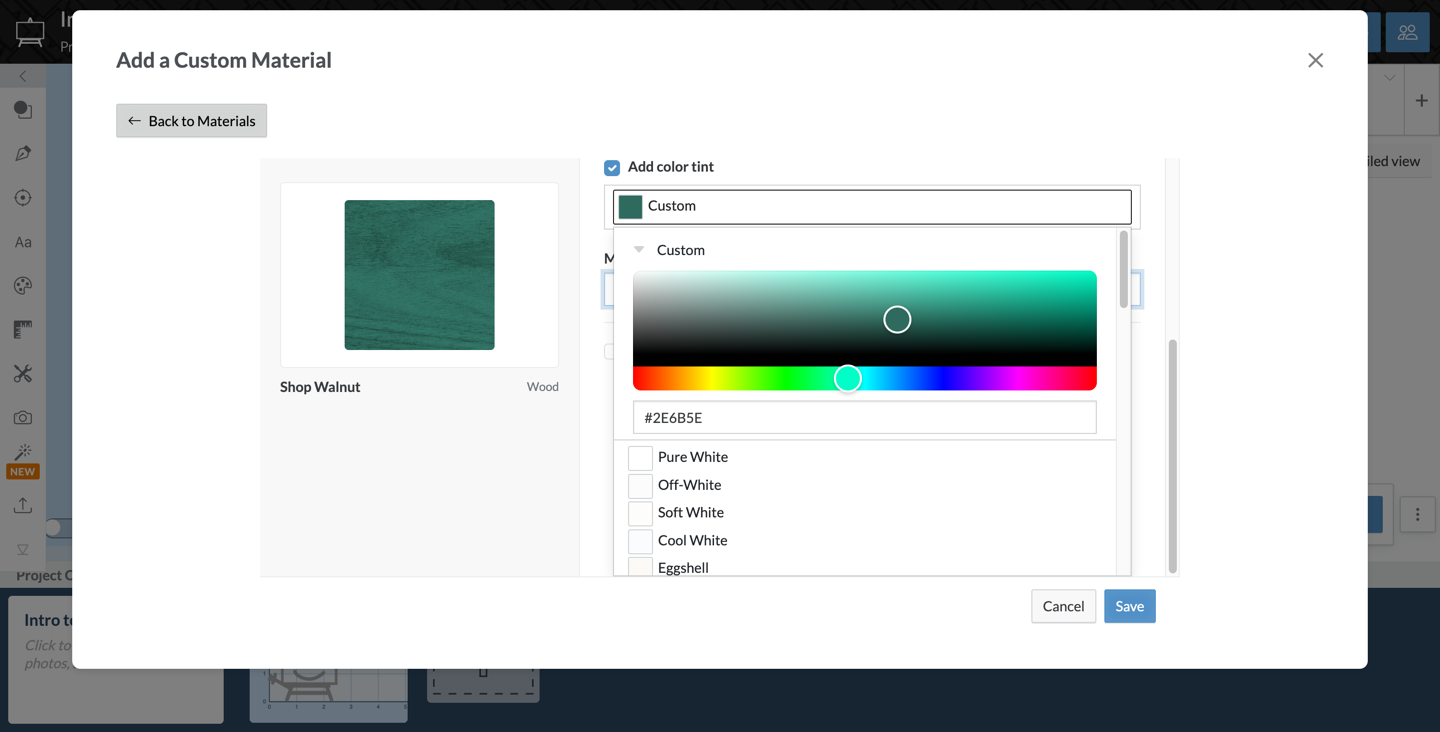
Check Add color tint to color the texture. The tint multiplies through the wood, so the grain and figure stay visible instead of being painted over — exactly what you get when you stain or dye real stock. Pick from the named paint palette or enter a hex value.
Plastics and everything else: Solid or Two-Color
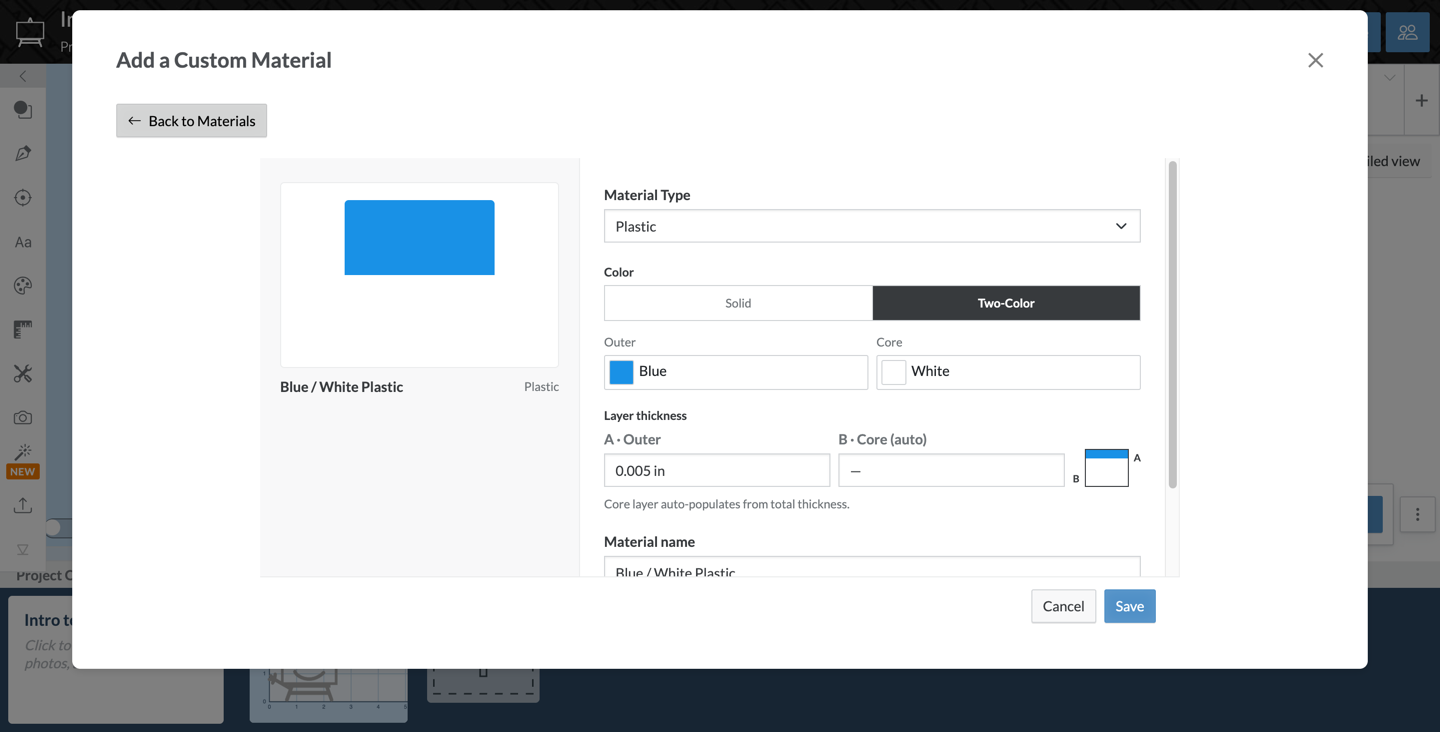
Other categories get a Solid / Two-Color switch instead.
- Solid is a single color.
- Two-Color takes an Outer and a Core color plus the outer layer's thickness. If the material has a total thickness, the core thickness fills in automatically, and a small diagram shows the stack.
It follows the material everywhere
The appearance you save isn't just a thumbnail. It's used by the Toolbox card, the material dropdown in the design view, the 2.5D preview, the 3D preview, and Wall Art — so a carve into your tinted walnut previews as tinted walnut, and a two-color plastic shows its core color at the right depth.
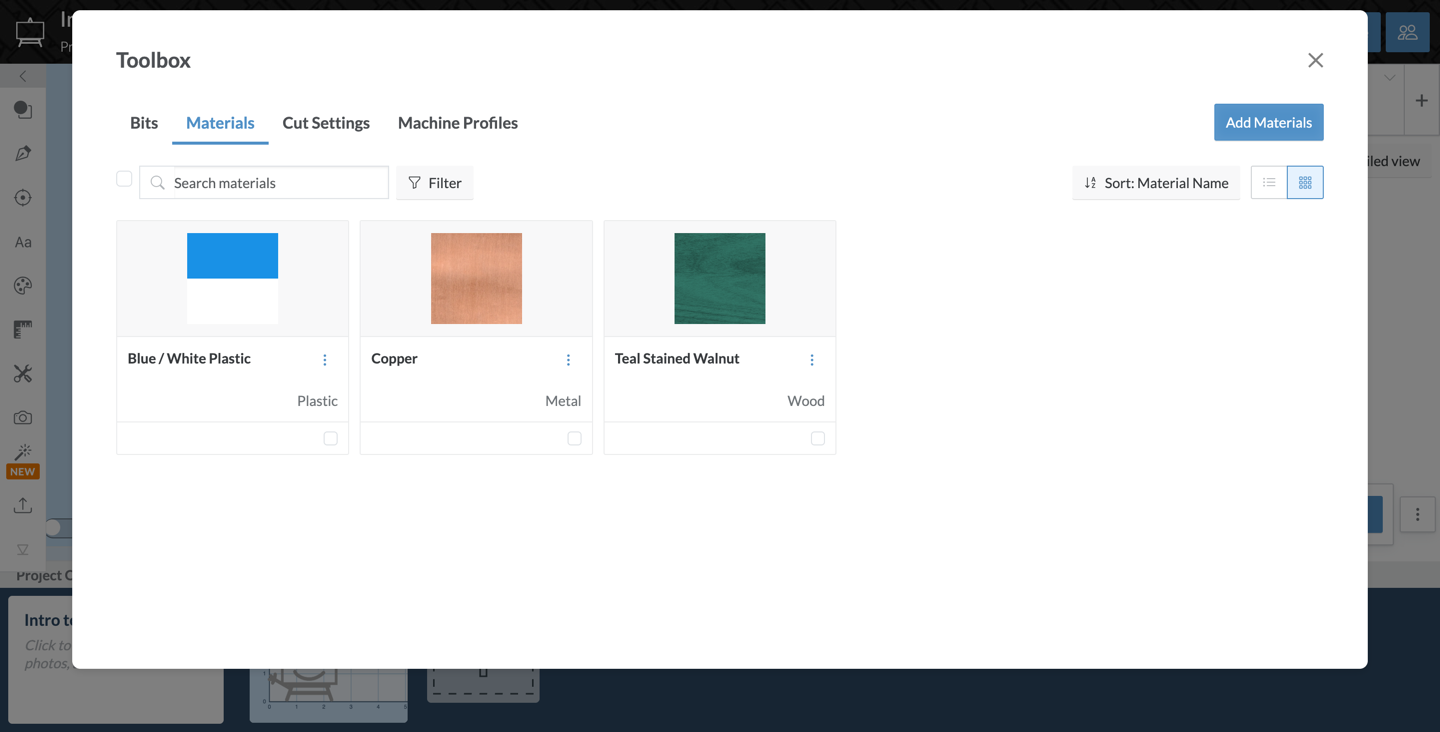
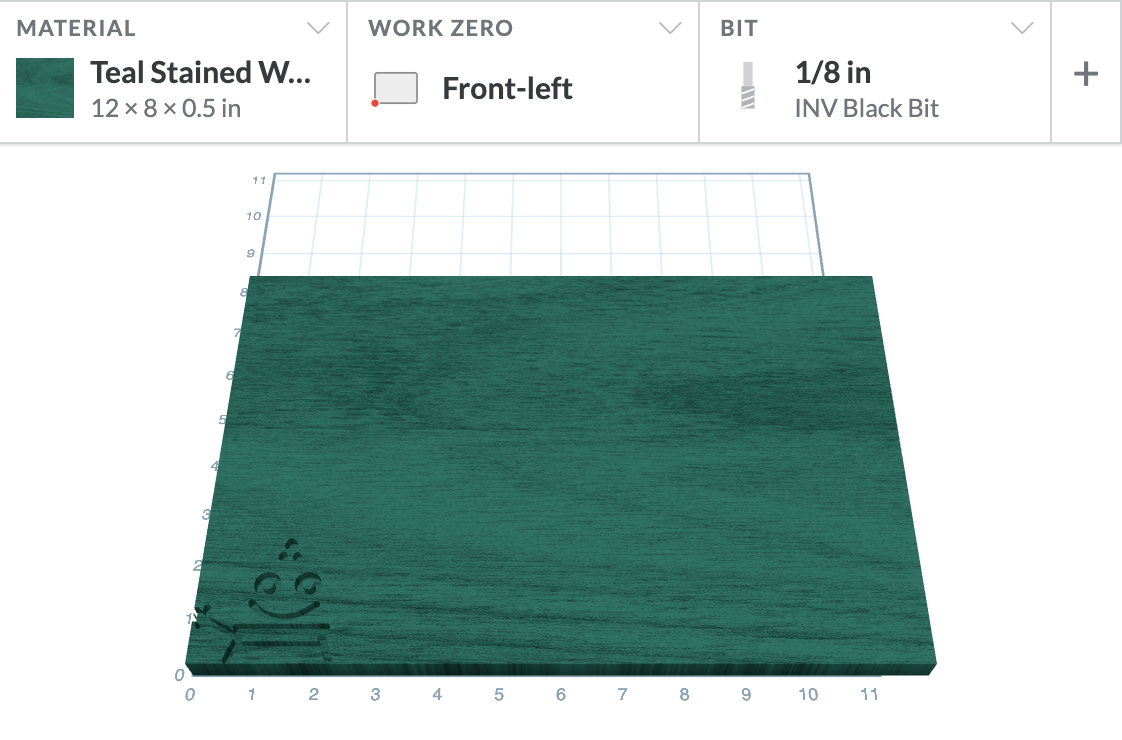
Change a material's appearance in the Toolbox and any open project using it updates right away, so you can dial in a color against a real carve instead of guessing.