Power Hour: Lastname Established Plaque
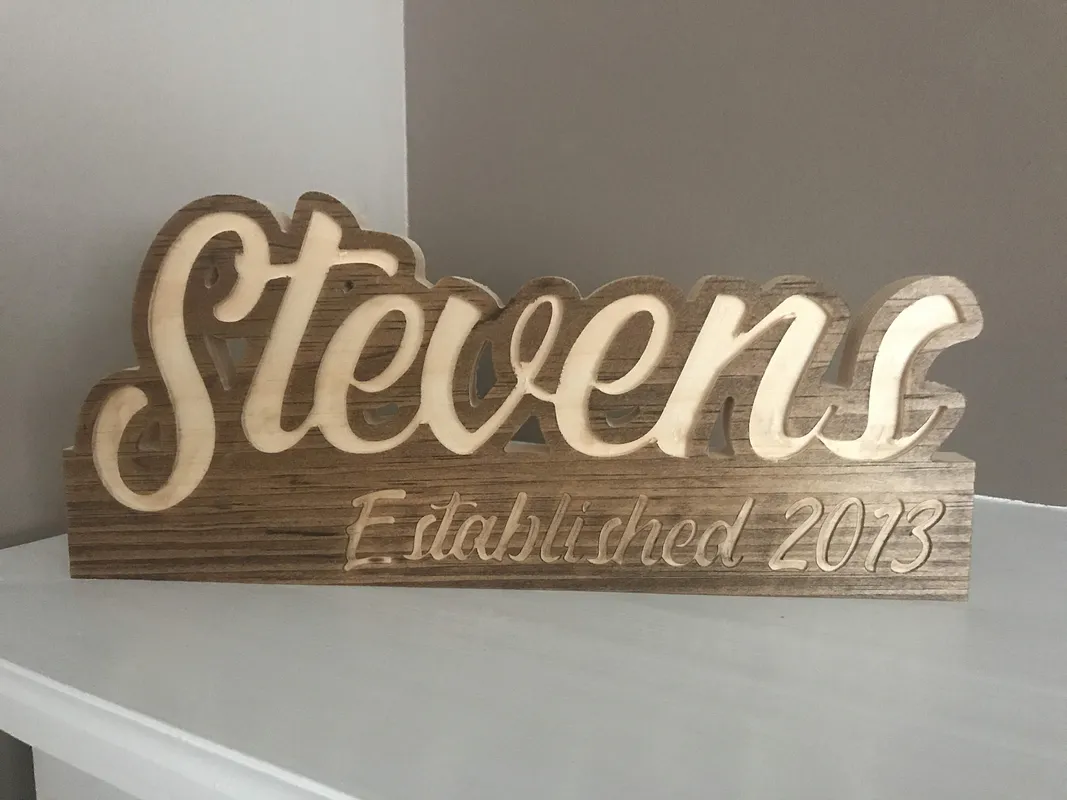
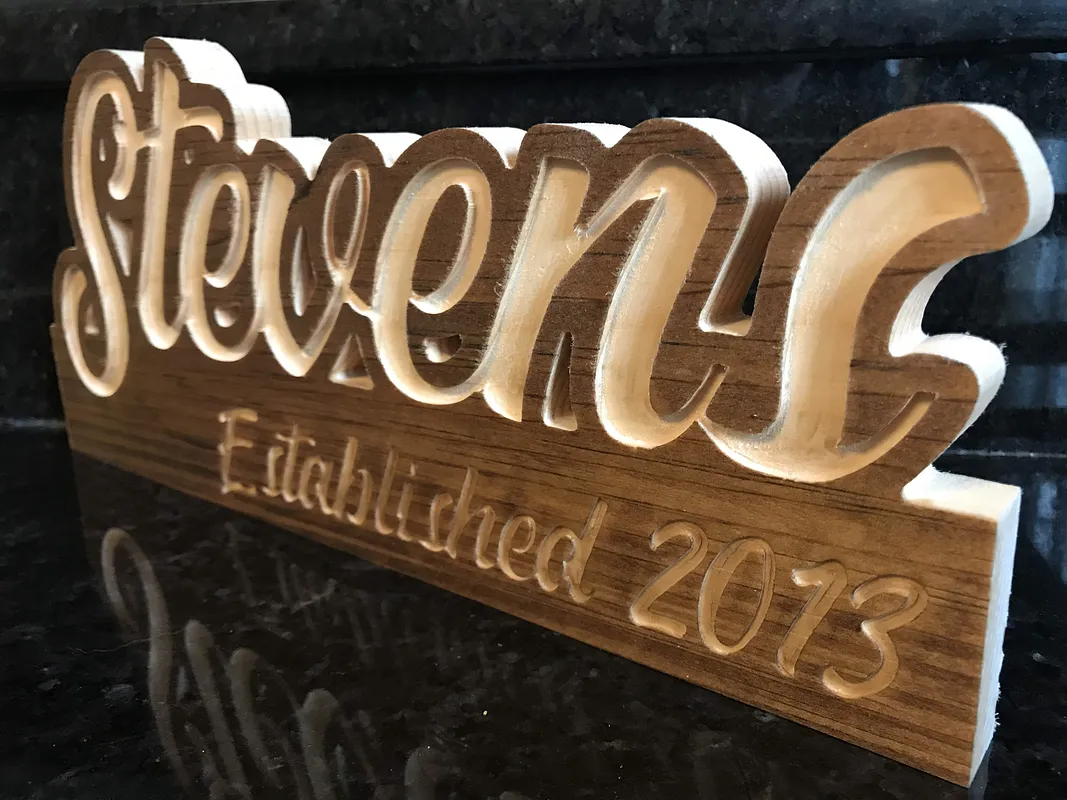
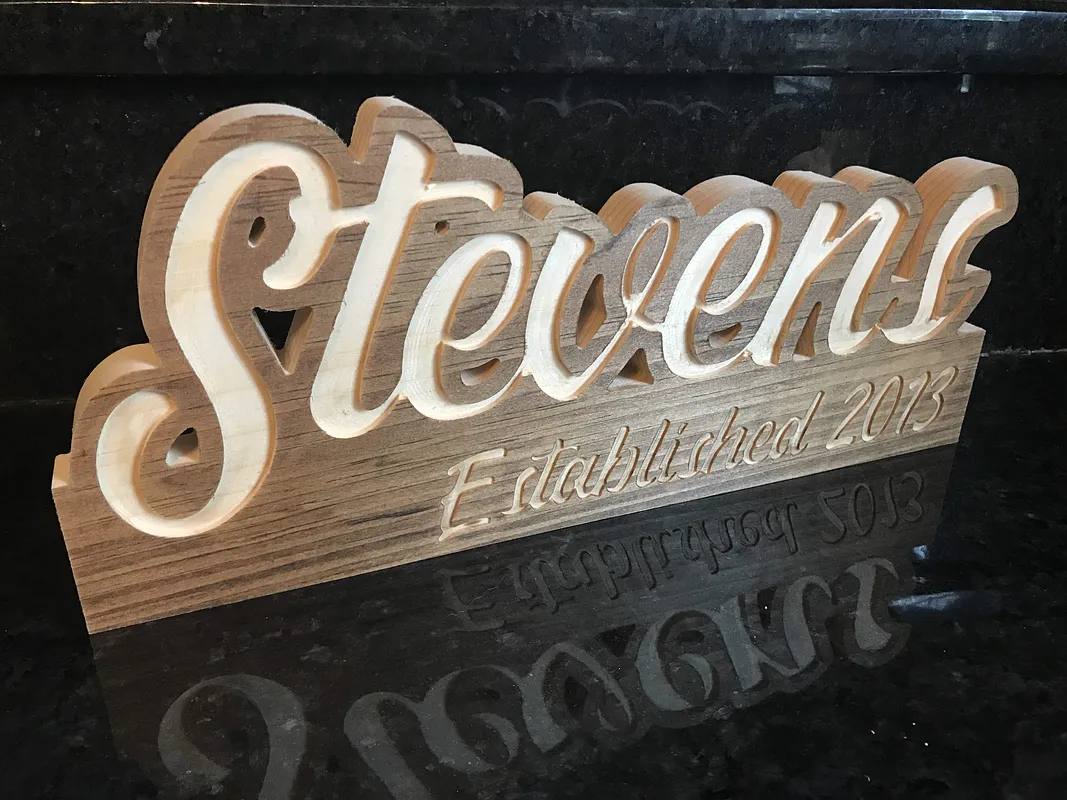

Instructions
Stain the Wood
Using your favorite water or oil-based stain, apply a light coat to the top of your wood, using a paper towel or brush. Let dry, and apply another coat as you see fit. You'll want to ensure that you're applying light coats, so the stain does not creep in too deeply into the wood.
For the example print above, I used Minwax's oil-based stain in the color ENGLISH CHESTNUT 233. Two coats were applied, with a 15 minute drying time in between.
Be sure to wear plastic gloves to avoid staining your hands!
Estimated time: 15 minutes
Re-work the design - Modify the Yourname
Obviously your name isn't "Yourname"...but if it is, feel free to skip this step =).
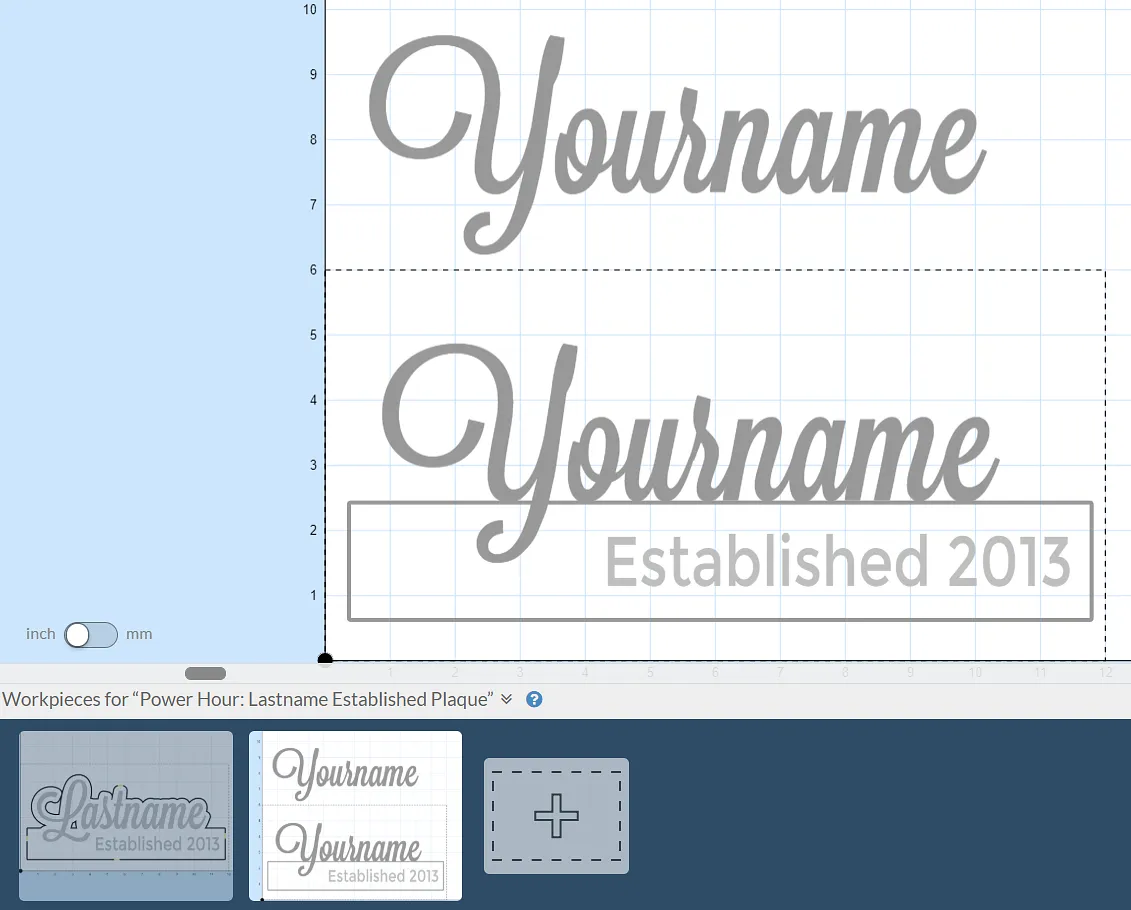
Open up the project, and go to the 2nd tab. Modify "Yourname" to be yours.
Ensure the following: - Text does not extend past the bottom box. - Lowercase letters are touching the bottom of the box (outline).
Now that you have that modified, copy and paste the object, and drag it off of 'wood'.
Estimated time: 5 minutes
Re-work the design - Configure the Yourname Outline
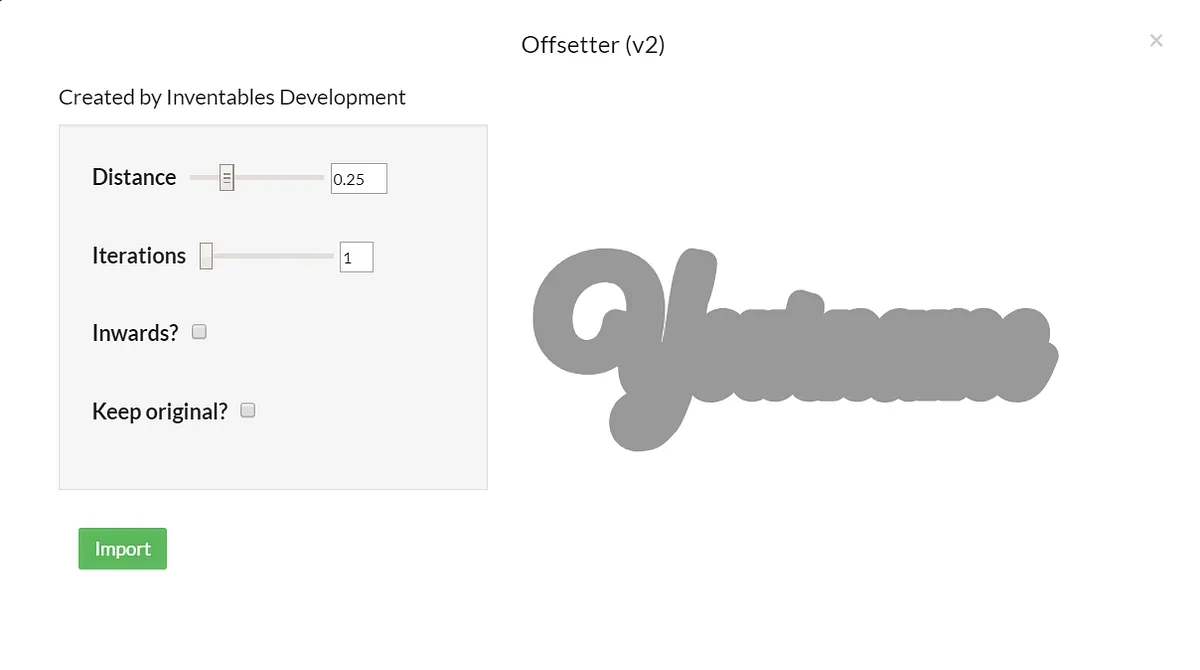
So we need the outline of the text to be much further away from the fill layer, and the best part, is there's an app for that!
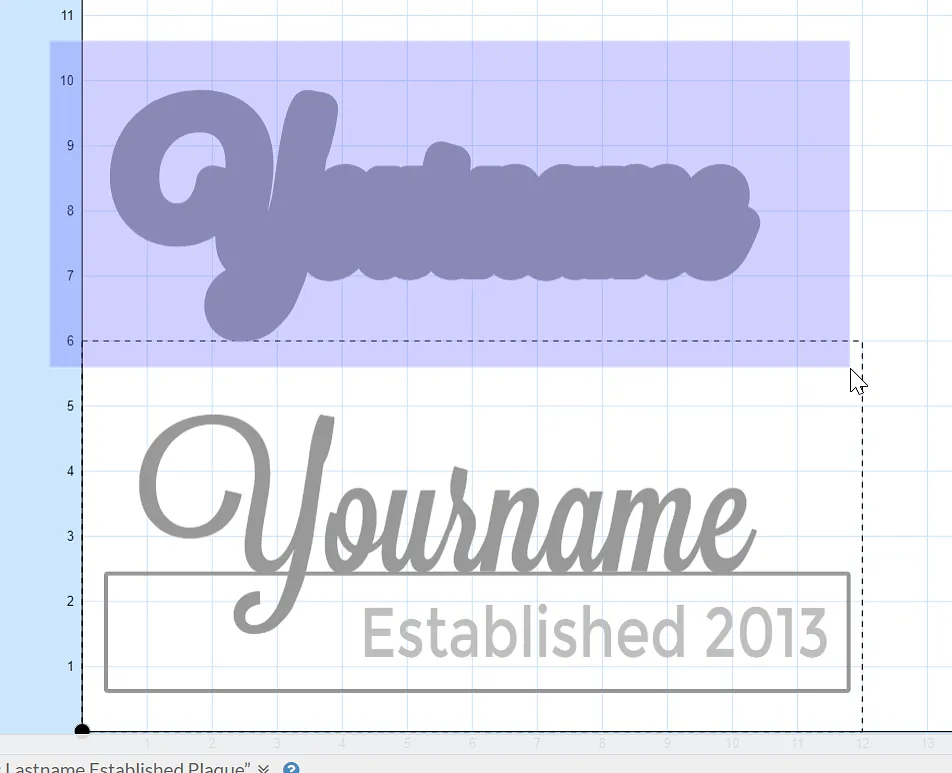
Select the top text, and click Apps. Choose Offsetter (v2). Uncheck Keep Original, and click Import.
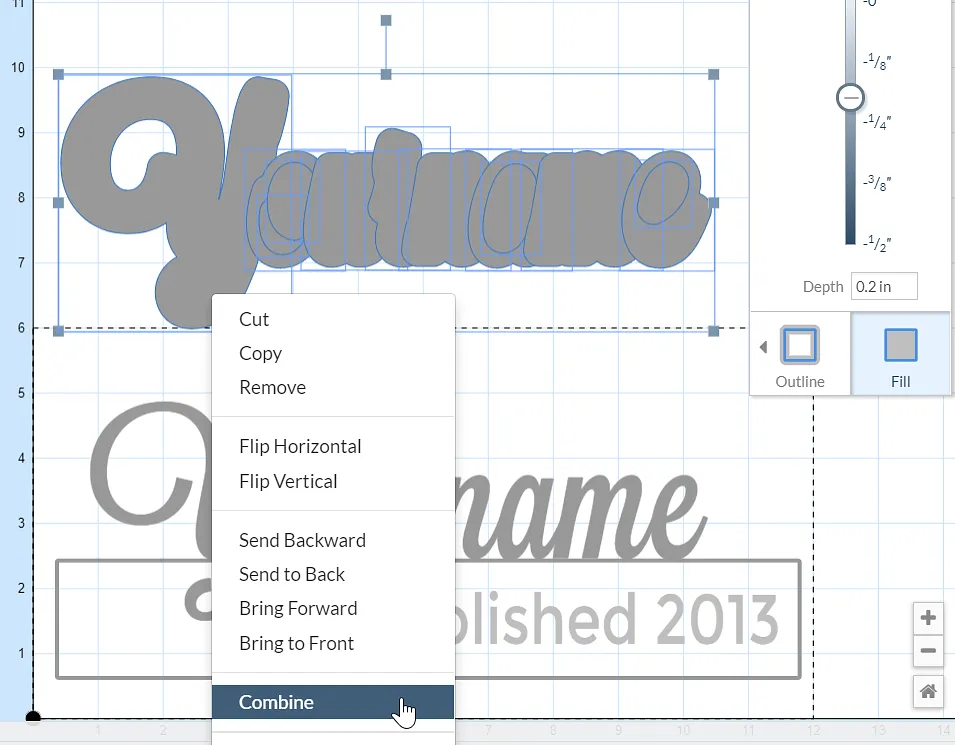
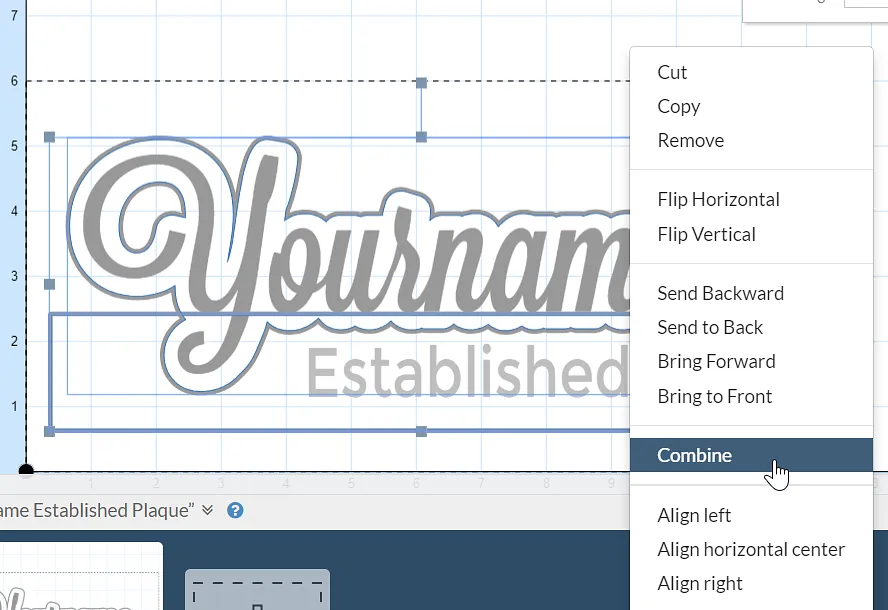
Highlight the newly created object, right click, and choose Combine. Now change that object to be Outline > Outside instead of Fill.
Estimated time: 10 minutes
Re-work the design - Combine the Outline and Base
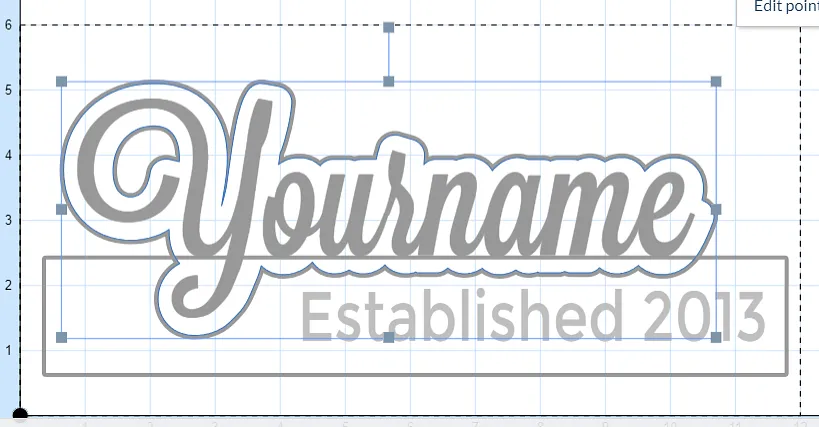
Now that the outline is configured, drag the text down and center it around the Fill text version.
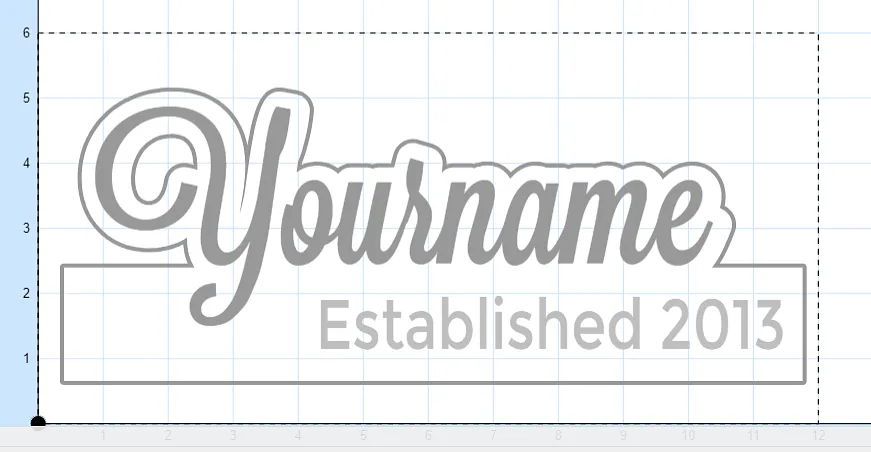
While holding Shift, click on the base rectangle, then right click on it and choose Combine. This will merge the outline and the base, and create a single piece combination that is a Fill. Change this to *Outline > Outside".
We're nearly there!
Set the cutting depth of the outline to 0.5" (all the way through), and the letters to 0.125" (one quarter of the total depth).
Last thing to do is too update the established year, and you're done designing! Let's get carving!
Estimated time: 5 minutes
Stage 1 Carve - 1/8" Straight Flute
This is the roughing bit section. Equip your 1/8" Straight Flute bit, and start carving!
Estimated time: 10 minutes
Stage 2 Carve - 1/16" 2F Fish Tail Upcut
This is the detailed bit section. Equip your 1/16" 2F Fish Tail Upcut bit, and get to carving!
Estimated time: 48 minutes
Clean It Up and Show It Off!
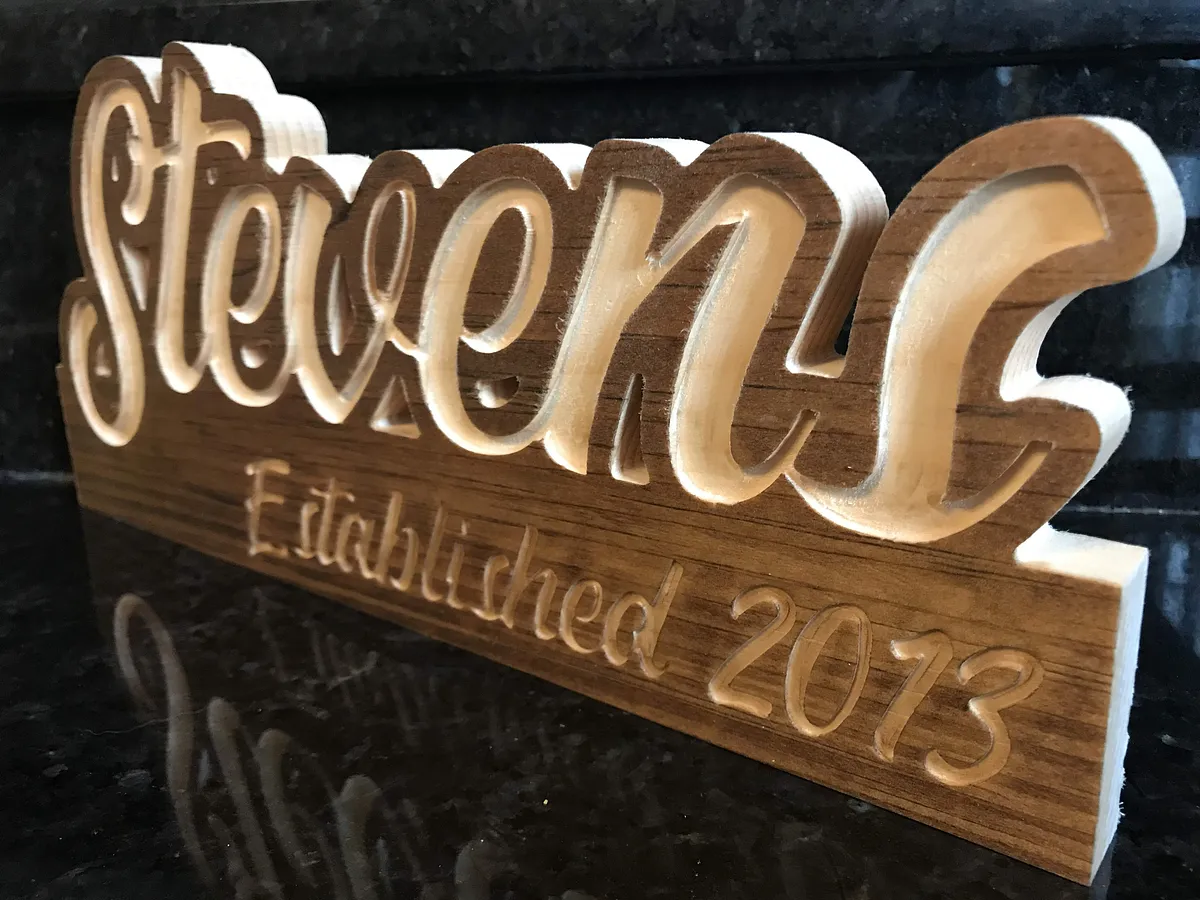
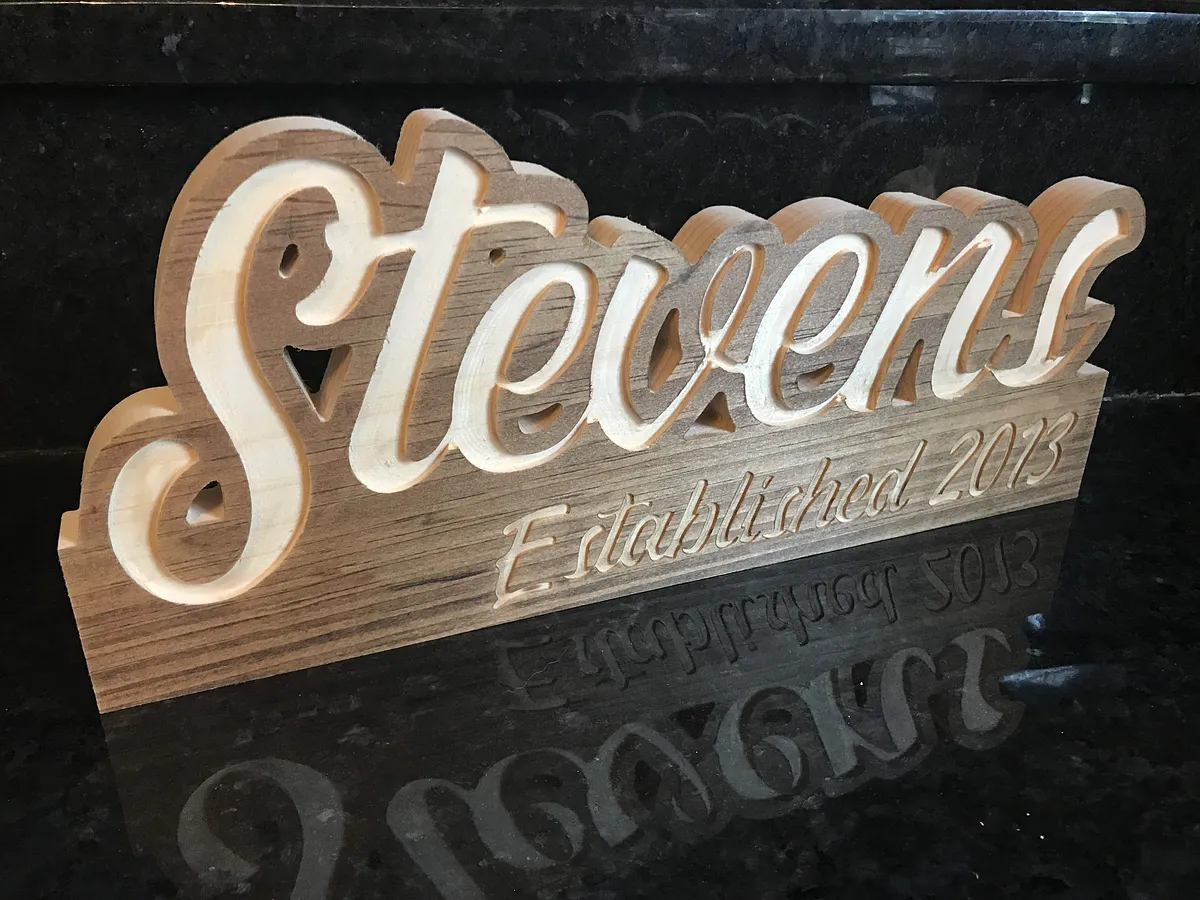
Lightly sand any rough edges (be careful not to remove any stain!). Set it on a shelf or hang it on a wall to display and enjoy!
Estimated time: 5 minutes
Comments
It says that the file is not "Public".
Paul Carson · June 23, 2018
Whoops! It should be accessible now. Let me know if you have any issues still.
Chris Stevens · June 23, 2018
PRETTY NICE THANKS A LOT
Anthony Hunt · March 18, 2019
Thanks - got it now!
Paul Carson · May 25, 2019
What font are you using?
Trevor · October 11, 2019
@Trevor: The Font in use here is Matane. It can be found on dafont.com, or click here: dafont.com/matane.font
Chris Stevens · November 21, 2020
Can fonts from DaFont be downloaded as a font in easel?
Christopher HarmonPro · February 07, 2021
This turns out so nice!! Thank you so much for sharing this and for the instructions on how to complete it successfully!! Appreciate it very much!!
Sheri Kibbe · May 10, 2021