Make a Wall Mounted Tool Rack

Instructions
Select Tools and Design Layout
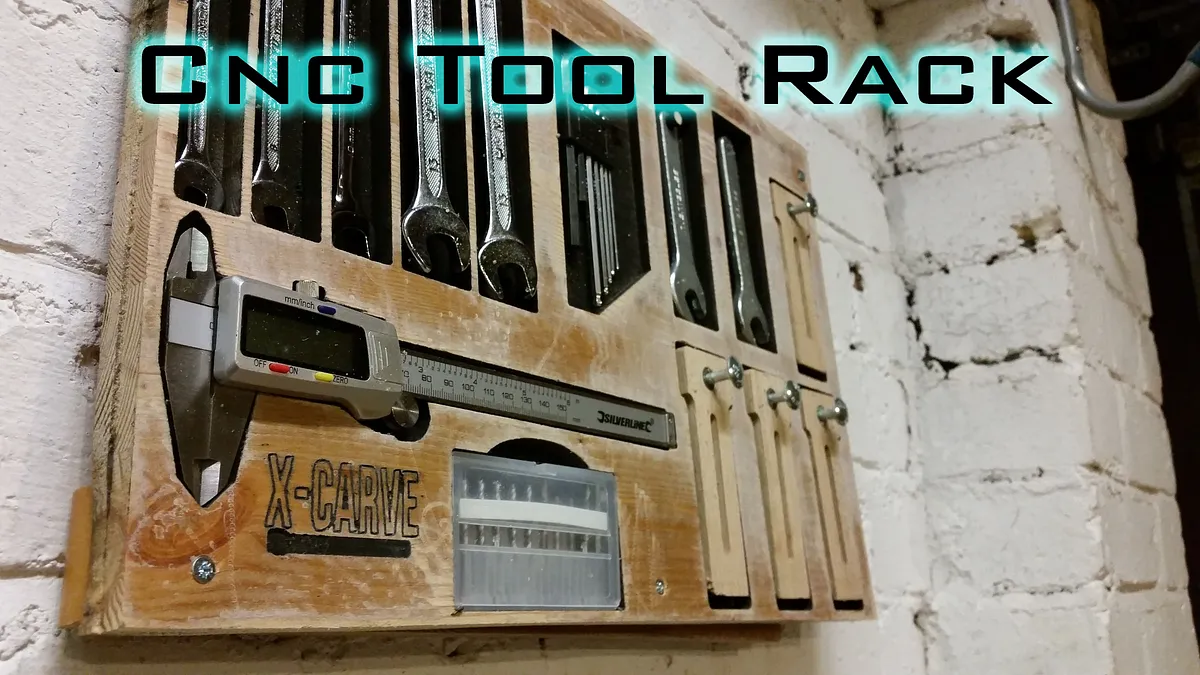
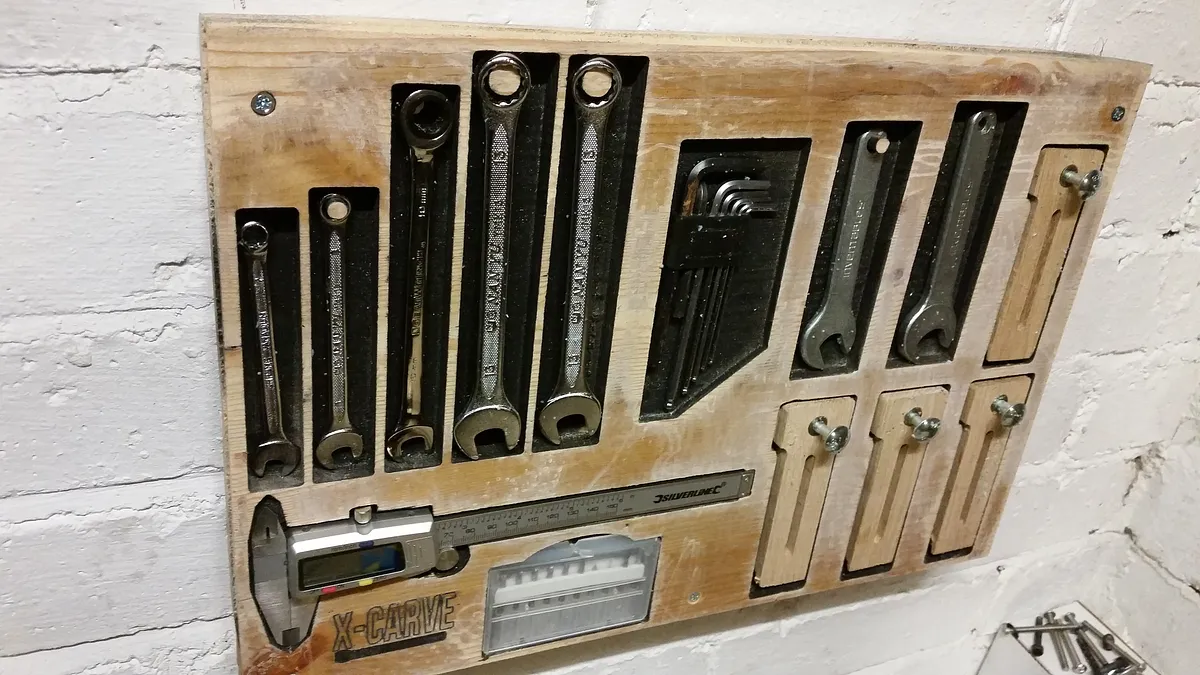
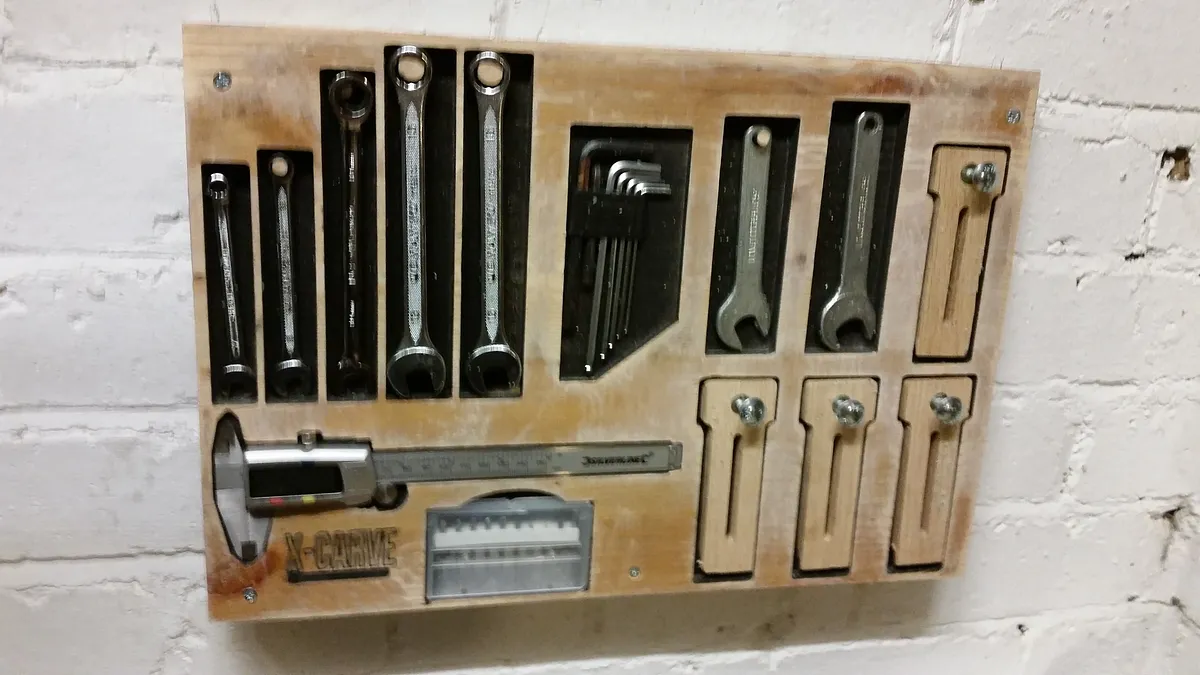
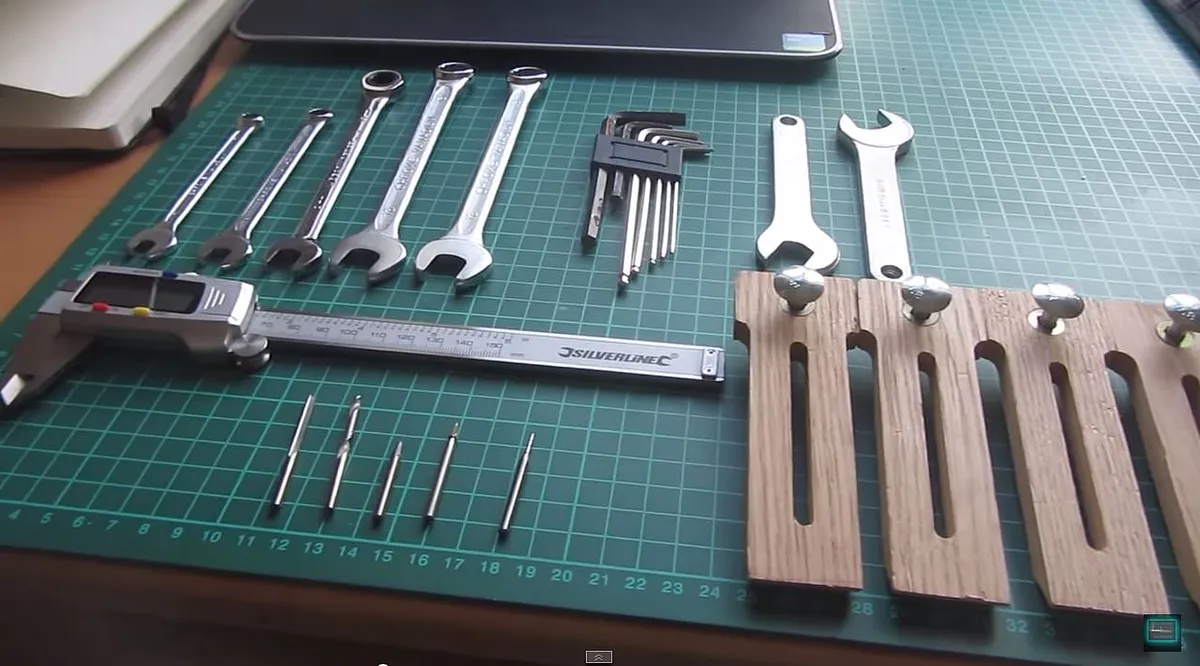
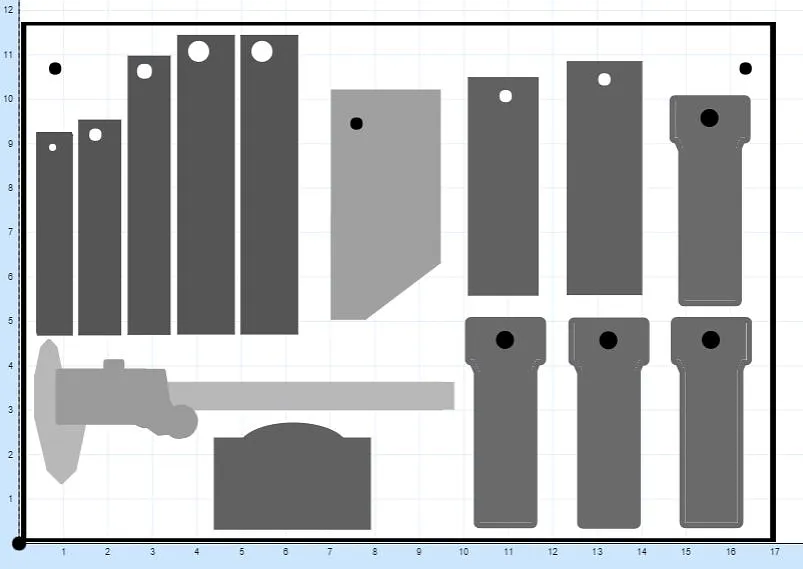
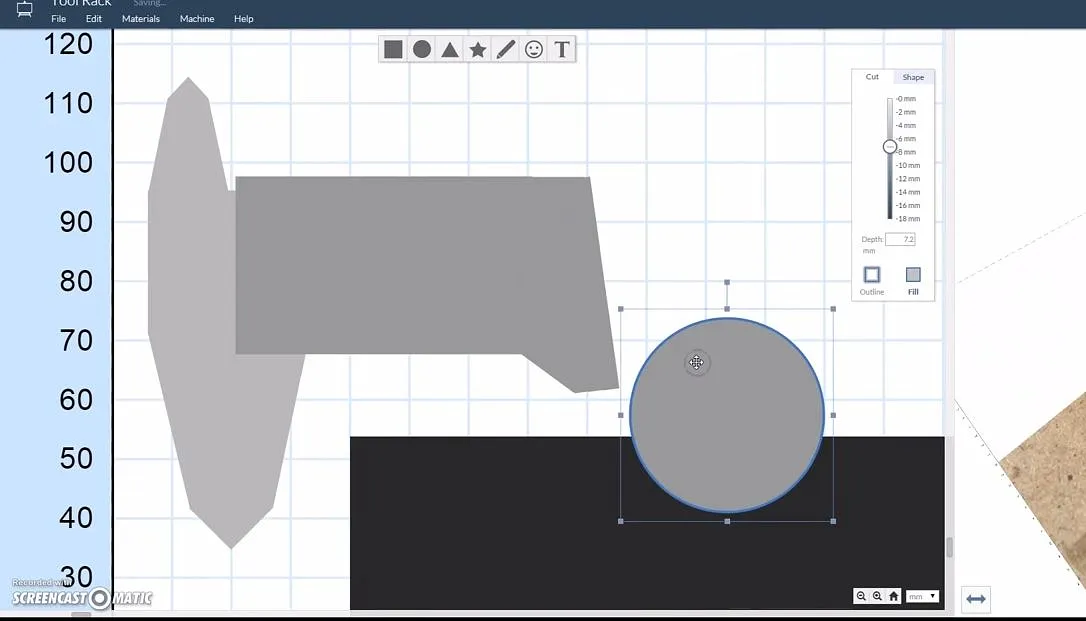
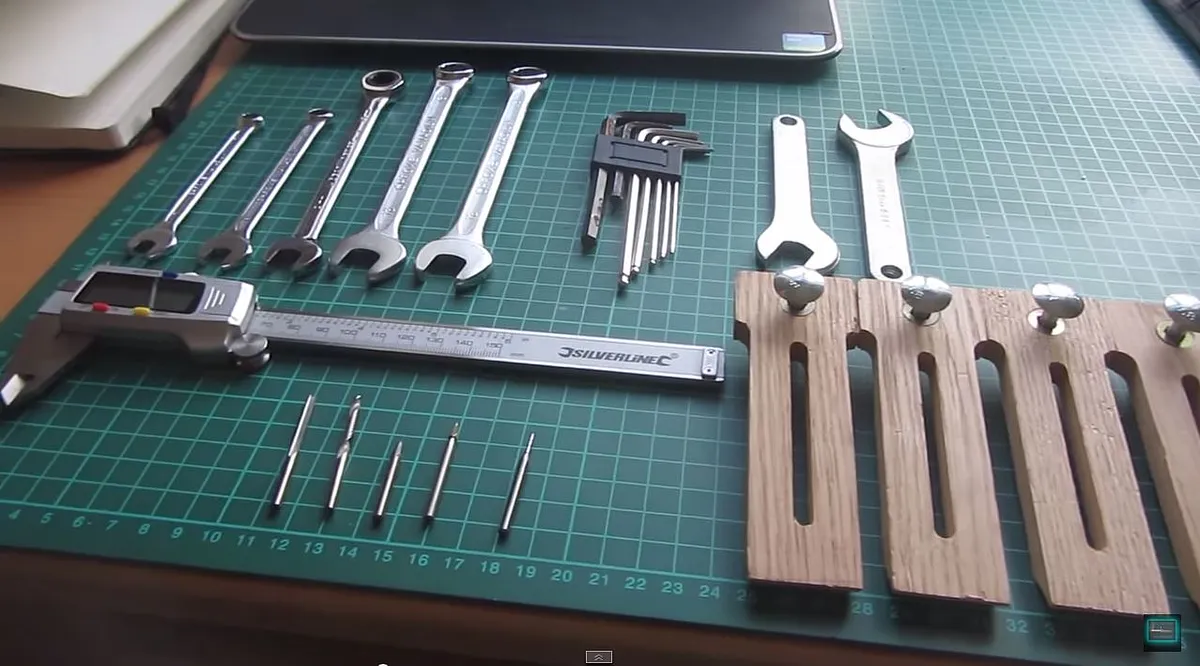
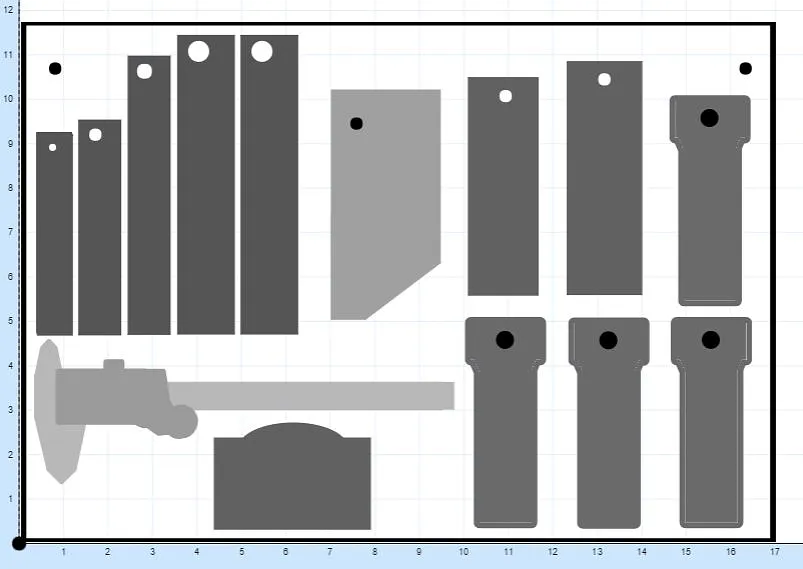
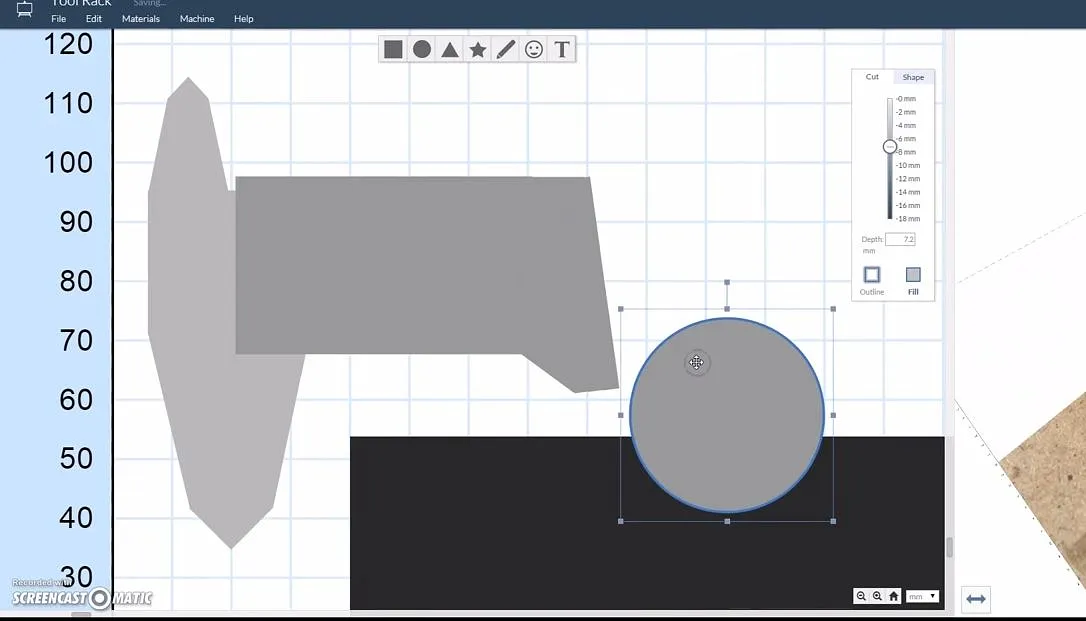
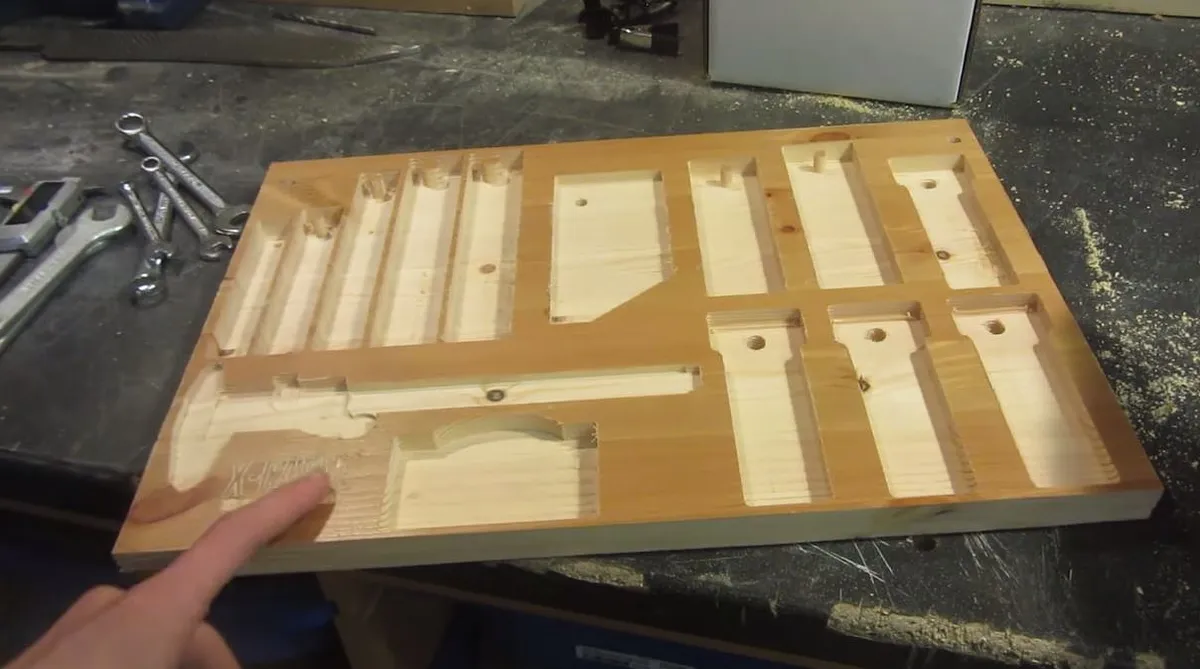
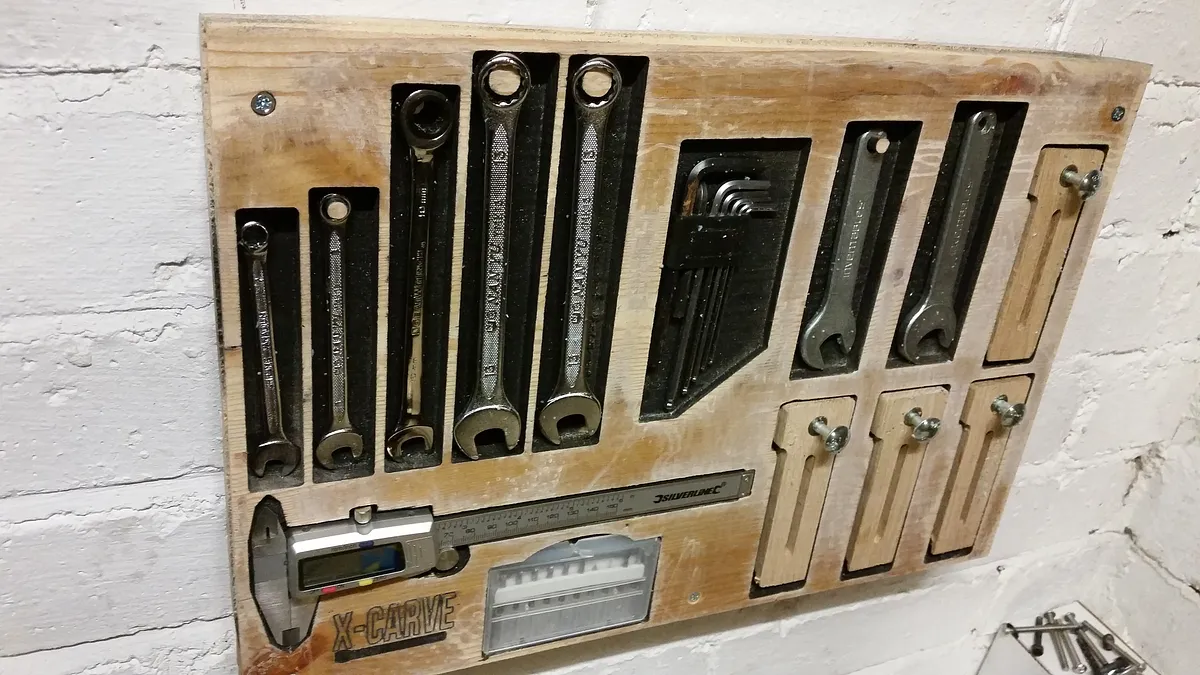
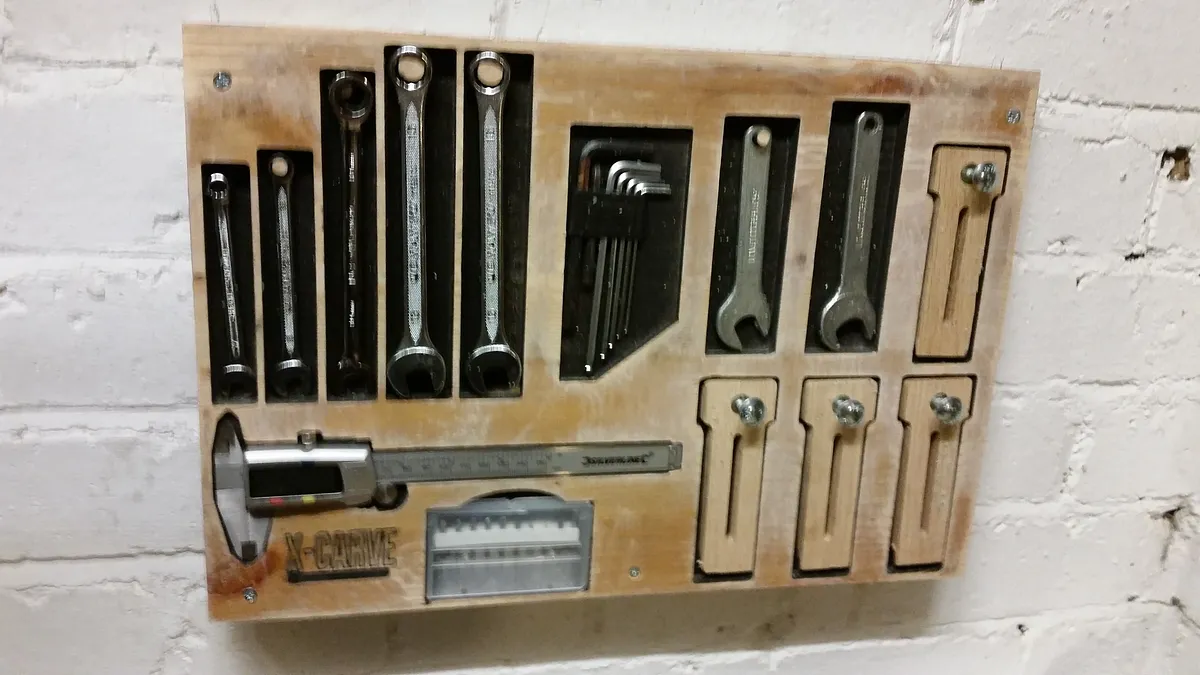
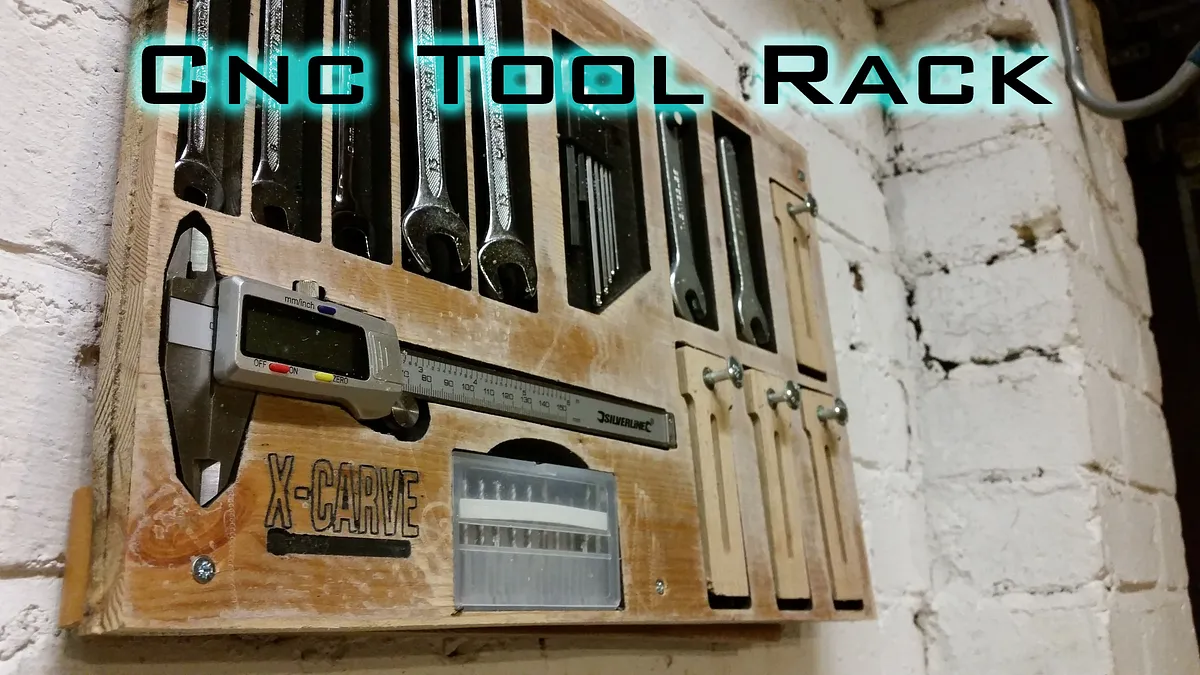
So the first step is do decide on your tool layout. If you are lazy like me and have the same tools that came with the x-carve then you can just skip this step and use my tool rack files. Once you have decided on what tools to use and the layout then you can go on to designing them on any CAD program that can save as an SVG to be imported into easel or simply just create the shapes in easel with a bit of improvisation!
Estimated time: 30 minutes
Carve!
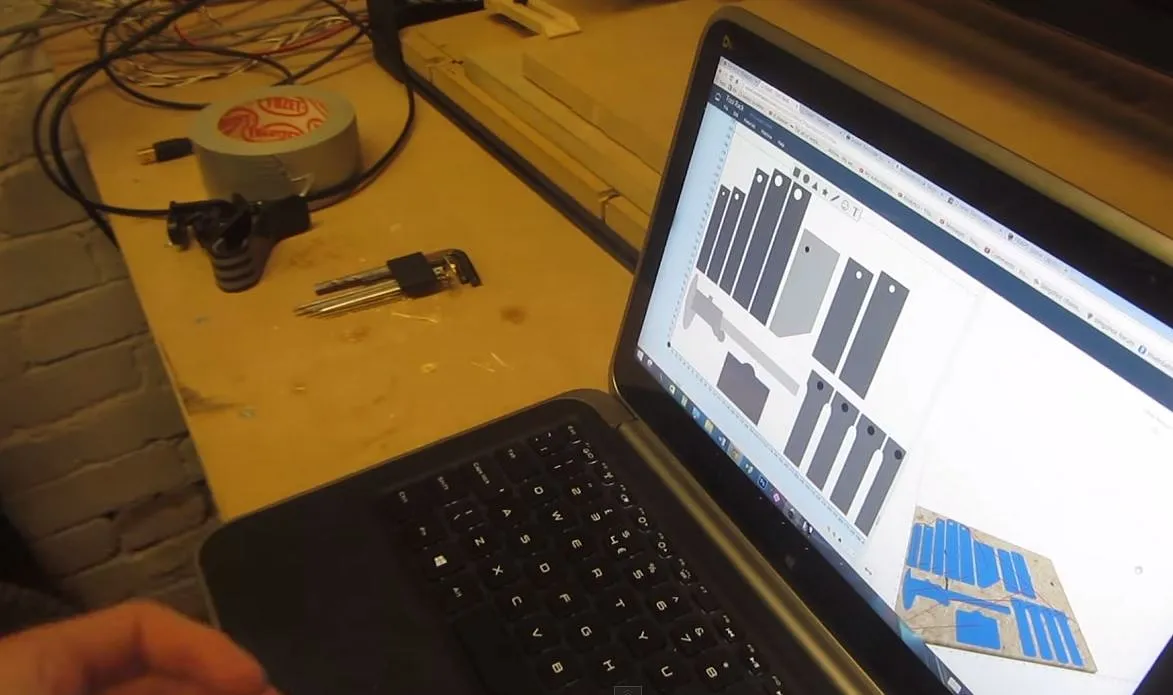
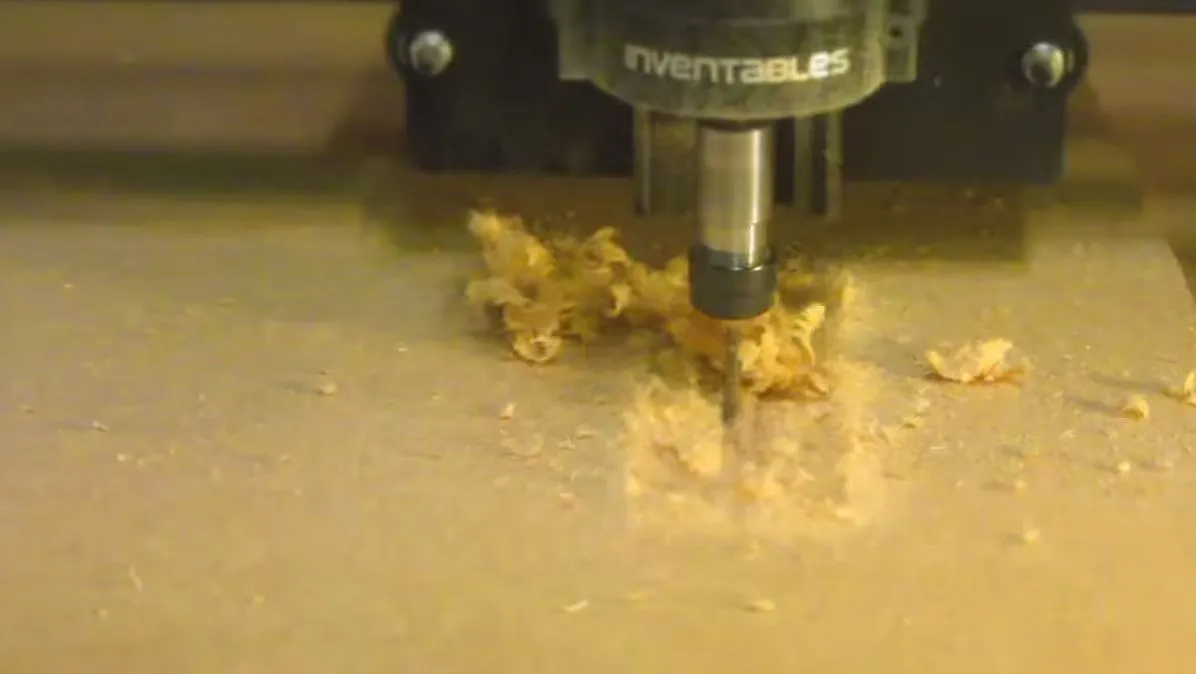
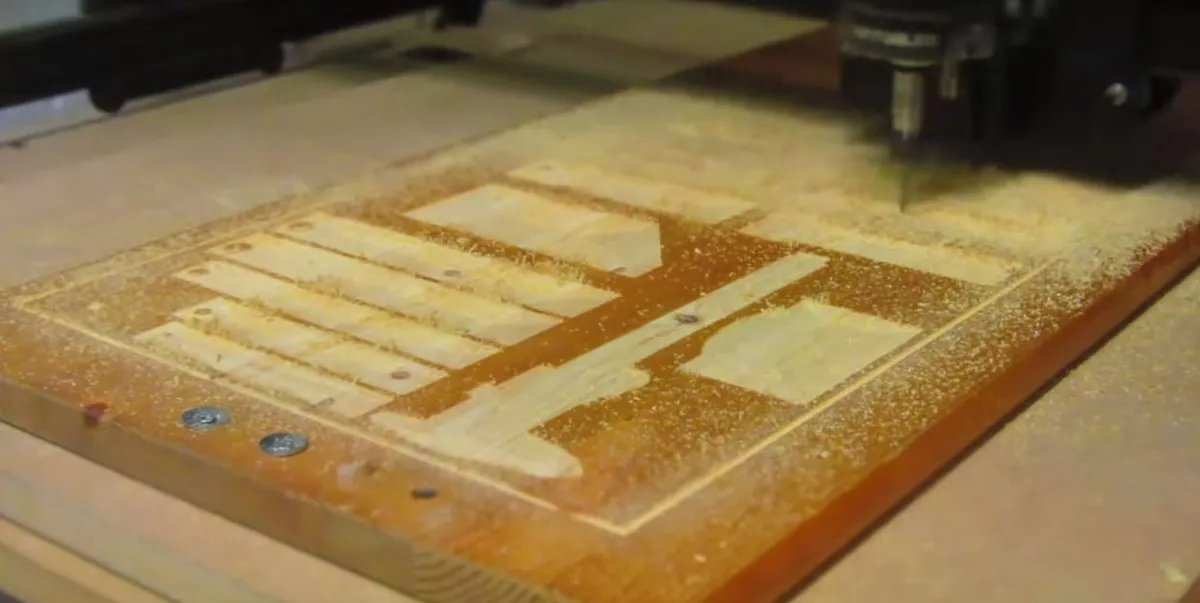
Once in easel, select the appropriate material (for me it was pine wood), then select the feeds and speeds and the spindle bit you are using. Then send it to carve and wait! Depending on the bit size and the material this can take up to 6 hours!
Estimated time: 300 minutes
Paint
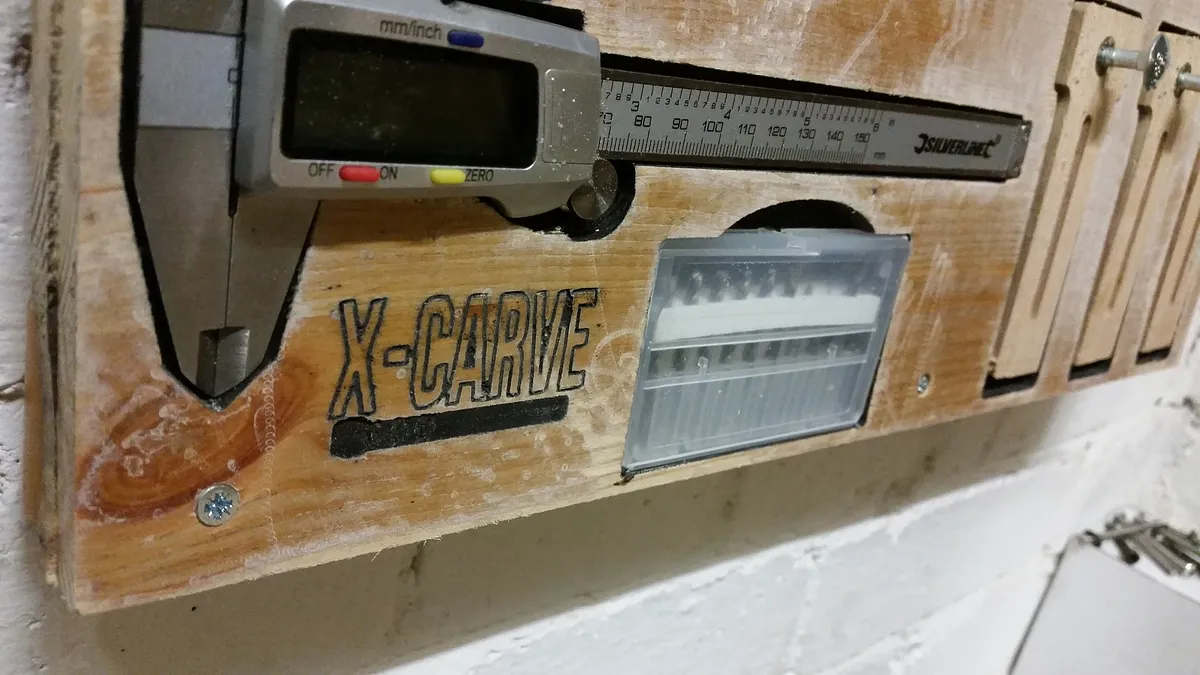
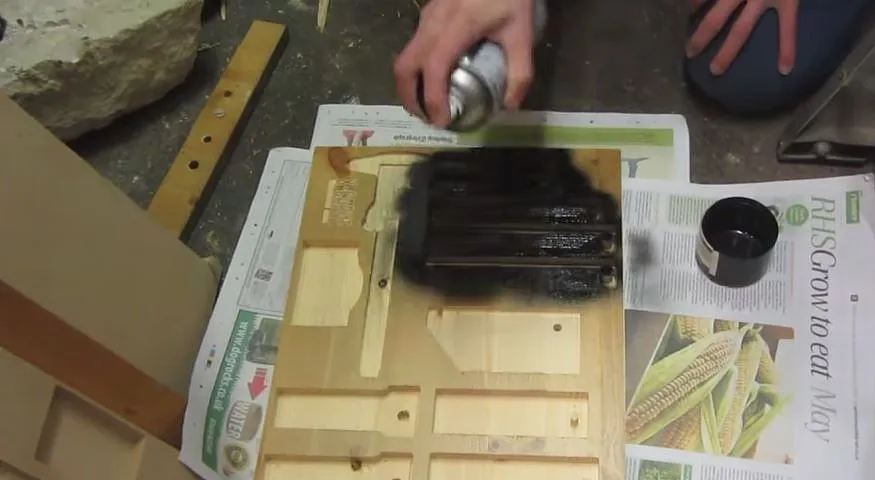
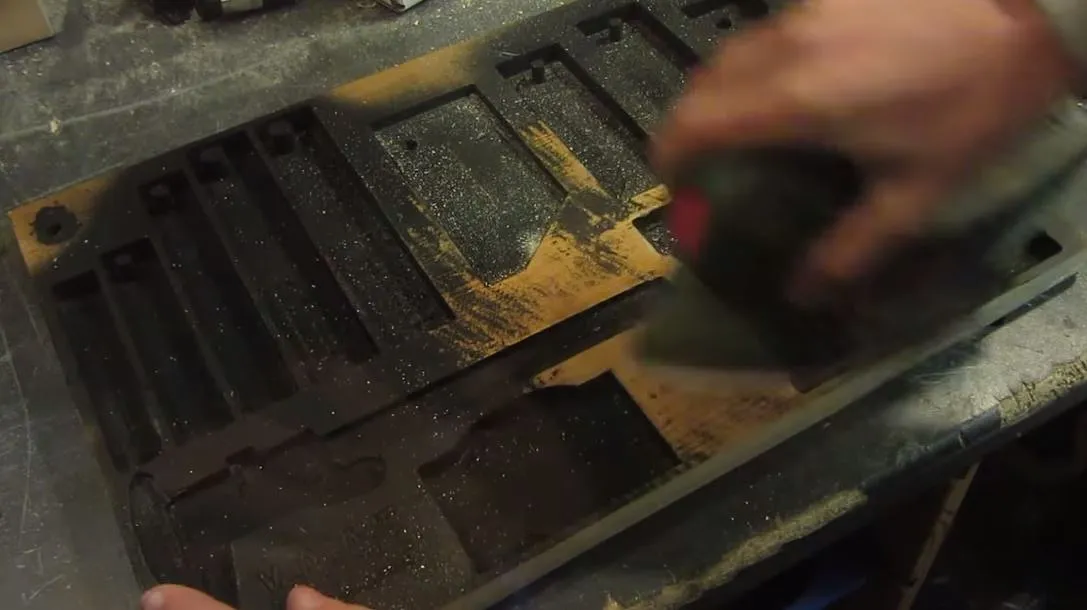
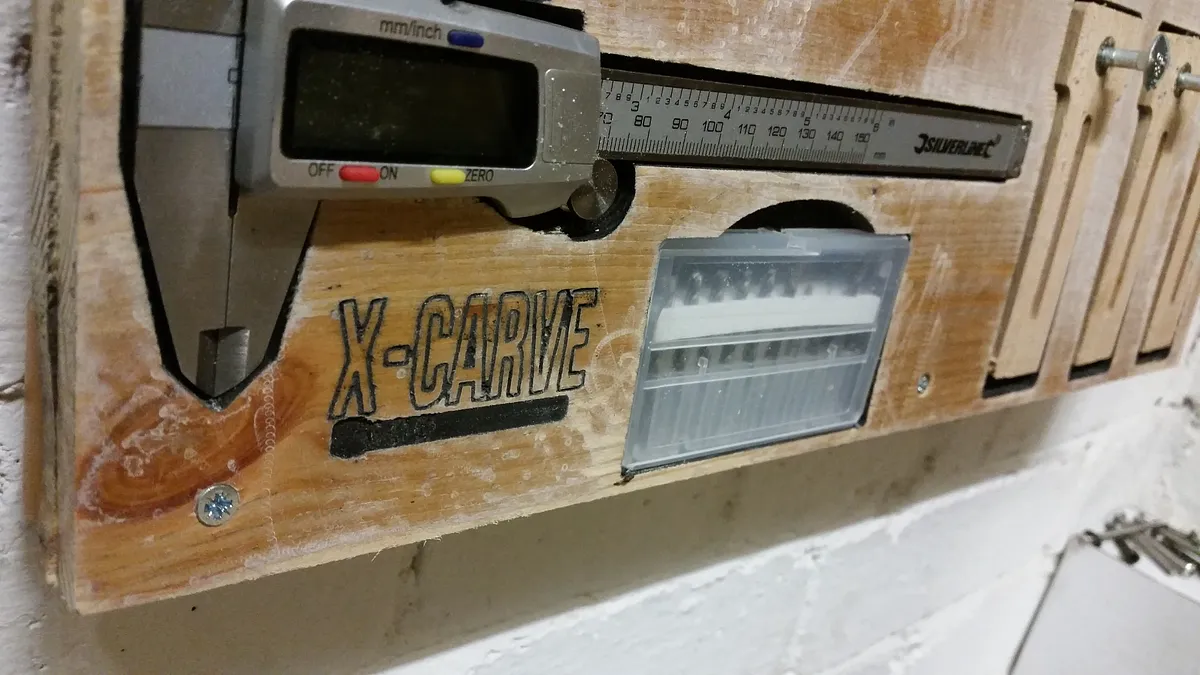
If you want you can paint your tool rack, I opted for black and then sanded the surface back to the wood grain to reveal a cool contrast in the carved areas
Wall Mount
Then you are done! Its as simple as a few rawl plugs and screws and your awesome tool rack is complete! https://www.youtube.com/watch?v=Ktay2yUMnIA Good luck!
Estimated time: 1 minutes
Comments
It can't be opened in Easel because it says "This project has not been shared publicly". Can you fix this please?
David Miles · July 31, 2016
Can you please share this file publicly? Thank you.
Andrew Kowtko · February 26, 2017