Teak Wood Light with Resin Inlay
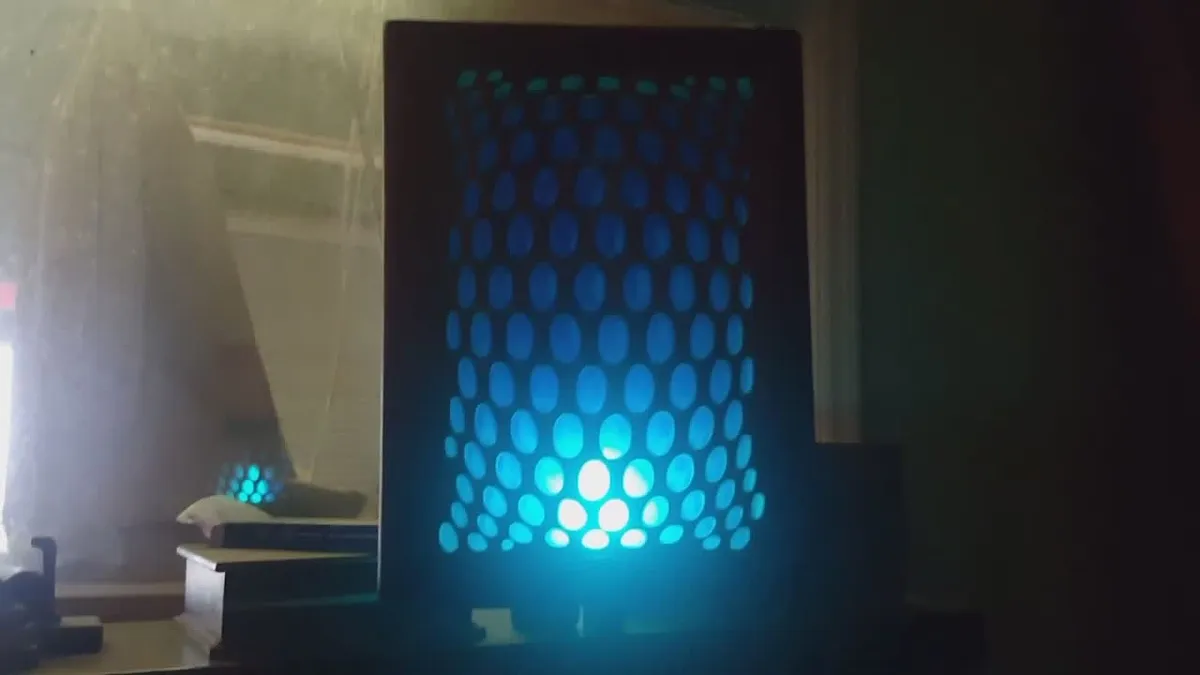

Instructions
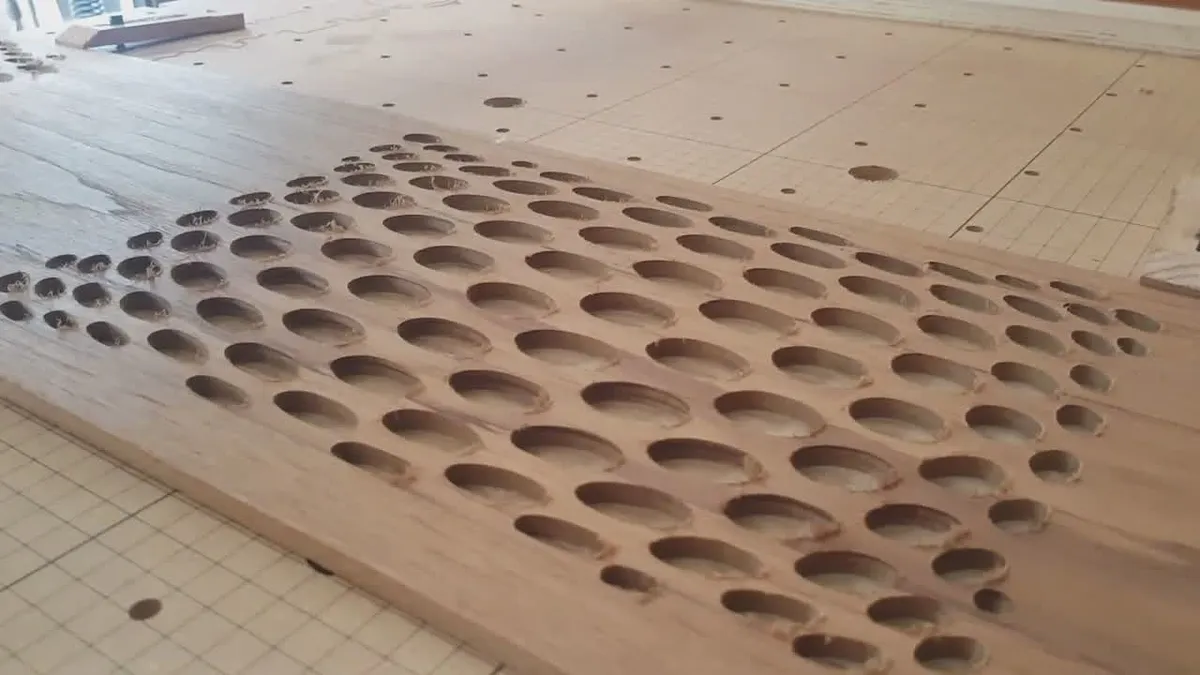
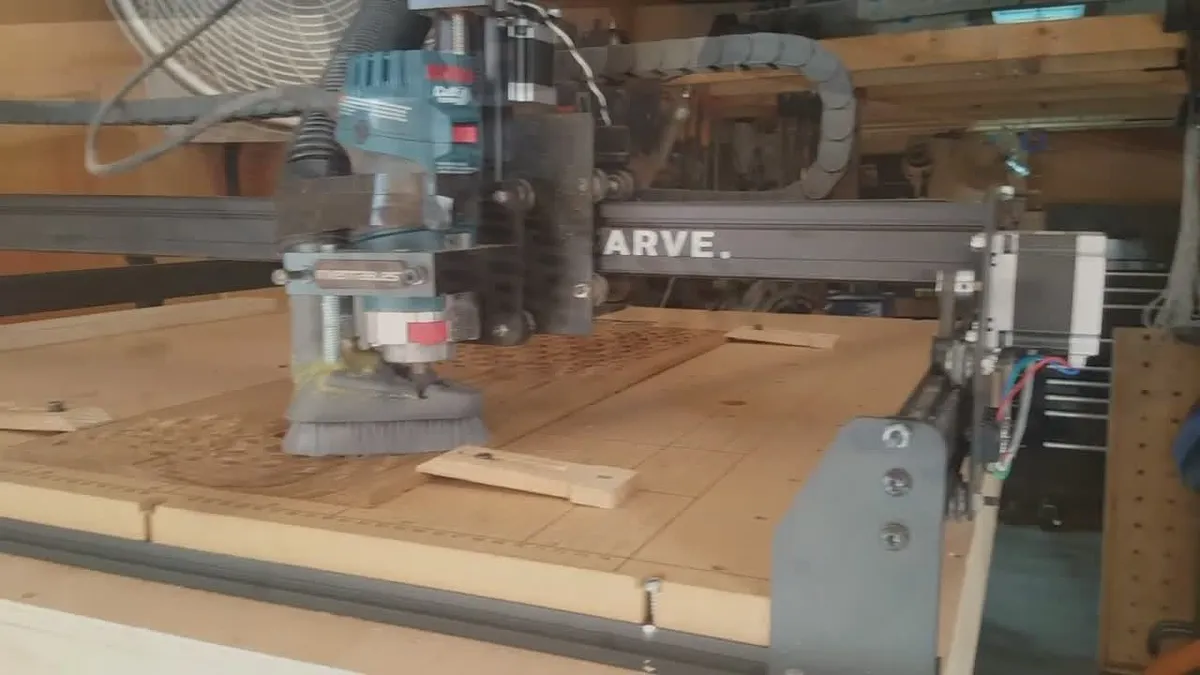
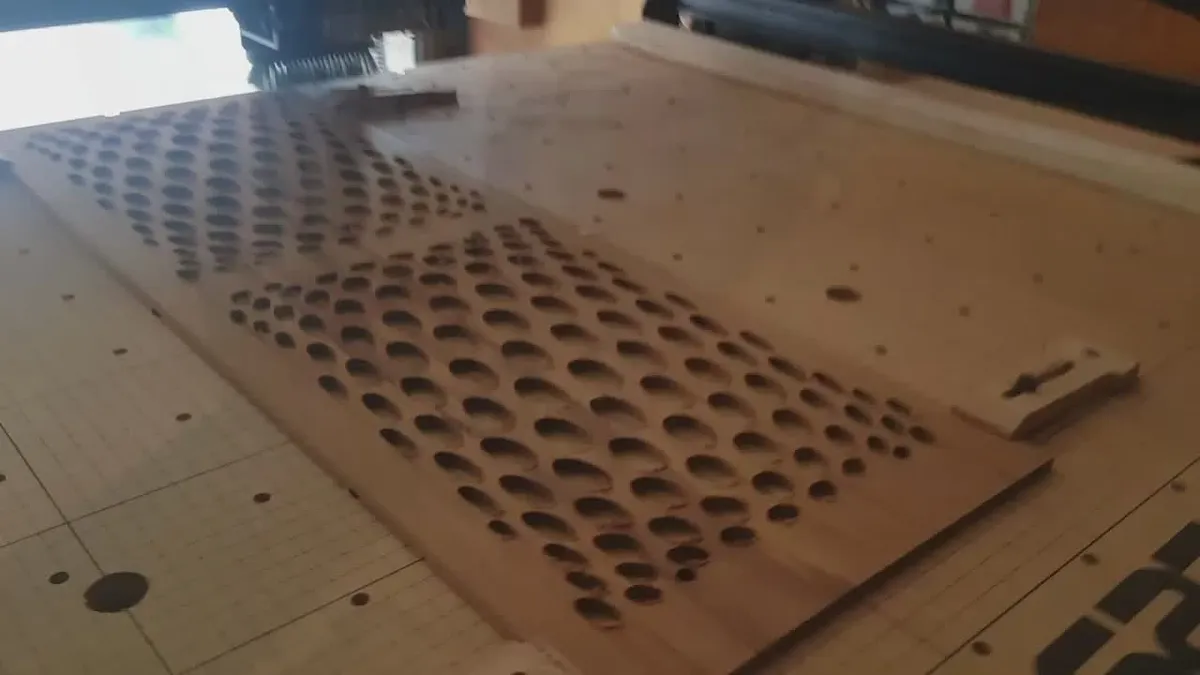
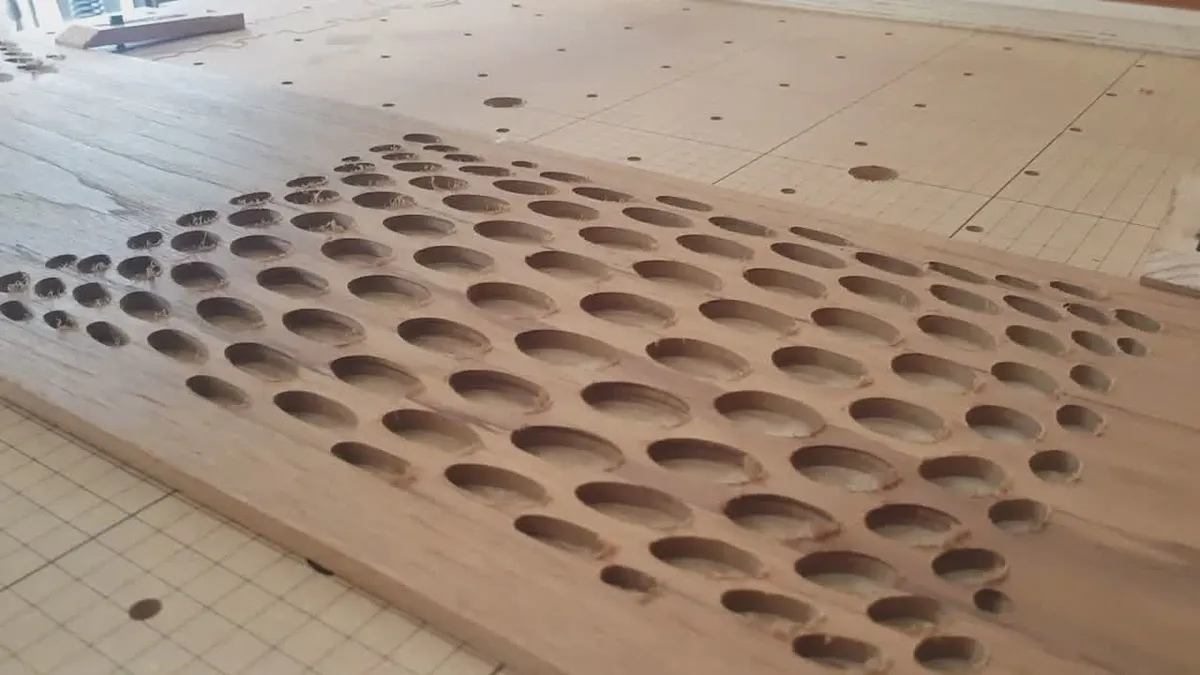
Carve a design in the wood, cutting almost all the way through.
You can really do any design you want. The key is to not cut all the way through the wood so that the epoxy fills up the holes. If a section does cut all the way through, it's ok, just cover the back with masking tape. All kinds of wood work too, I haven't used plywood because I wouldn't want to sand through the layers. I'm sure with some precision it can be done though.
Estimated time: 120 minutes
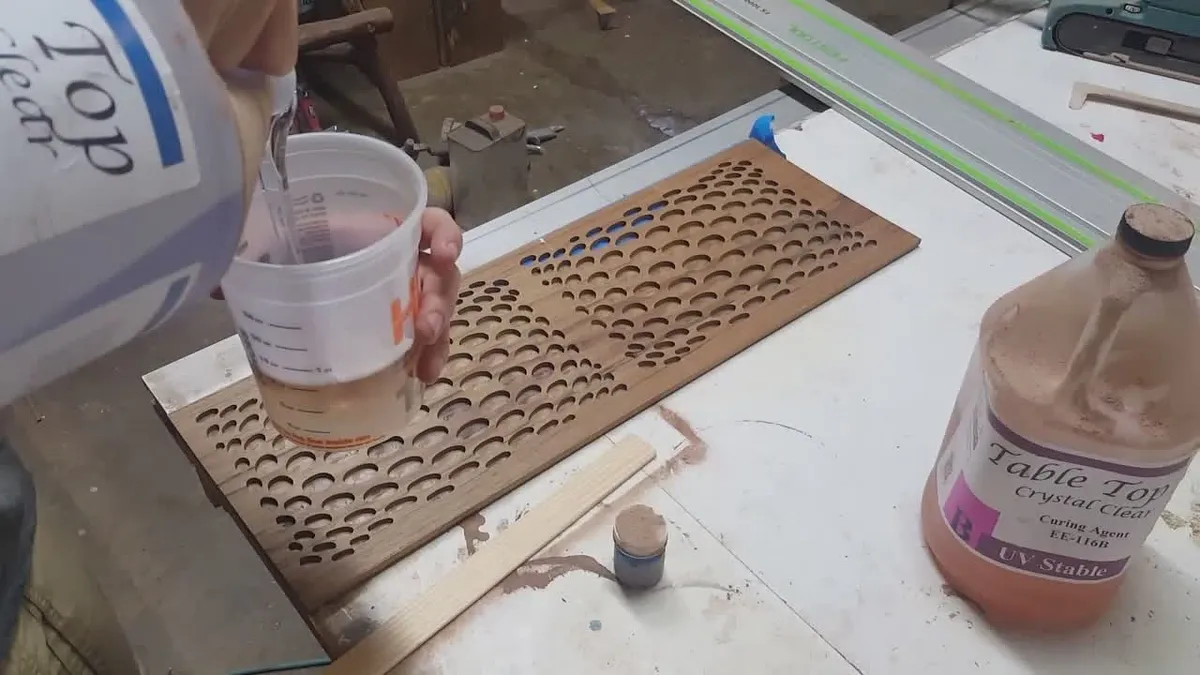
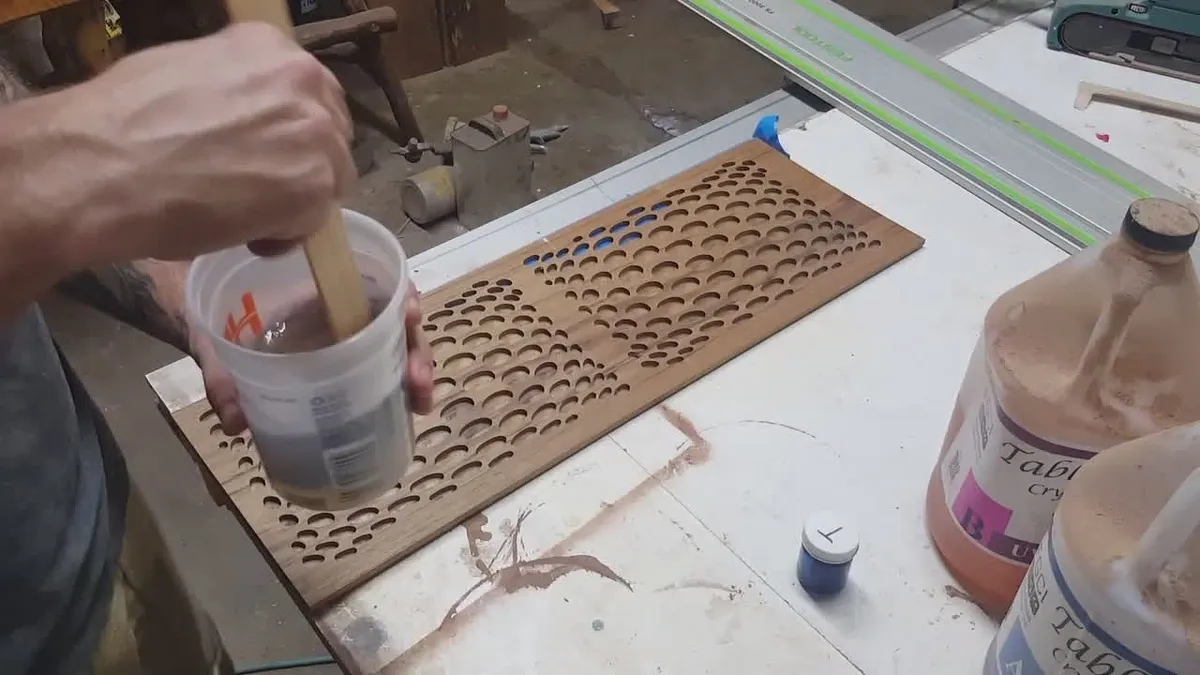
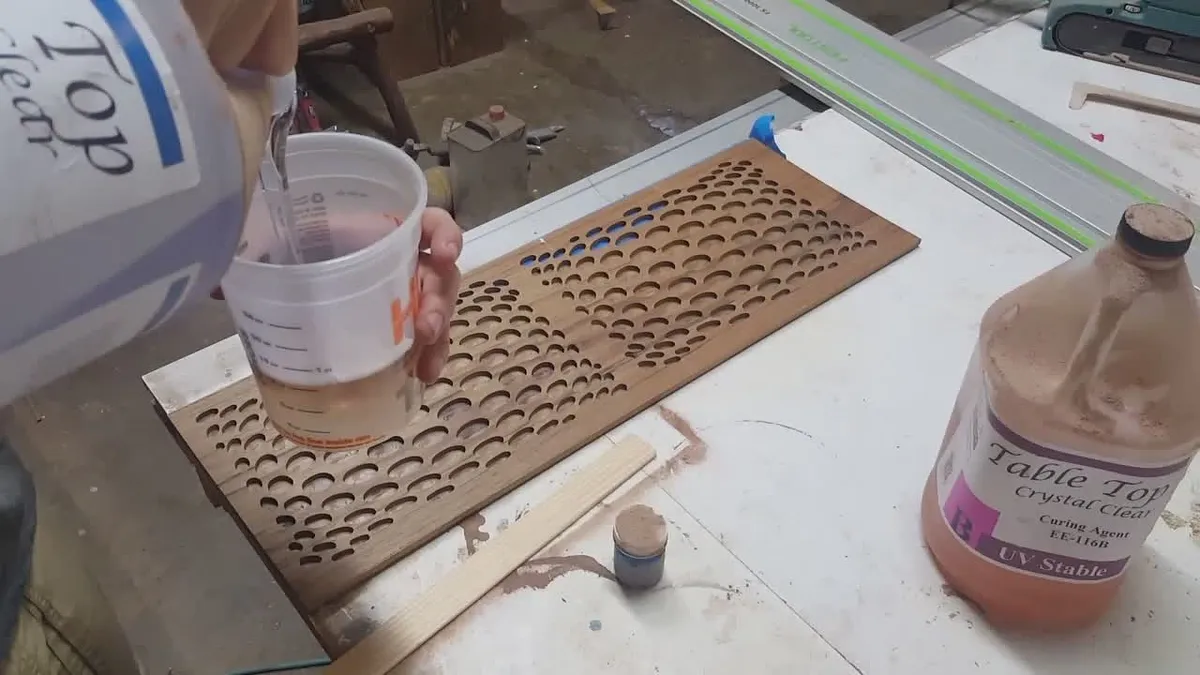
Mix Clear table-top epoxy
There's a few different brands out there. If you haven't mixed epoxy before be sure to mix THOROUGHLY! If it doesn't get mixed all the way it'll never dry.
Estimated time: 4 minutes
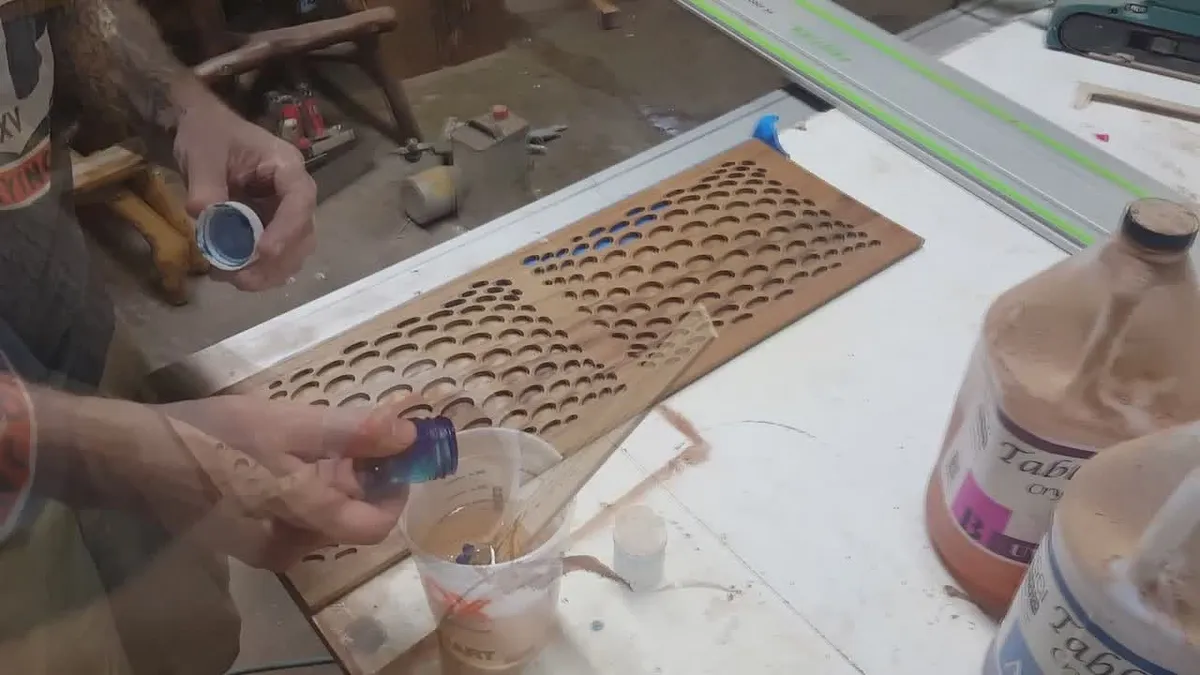
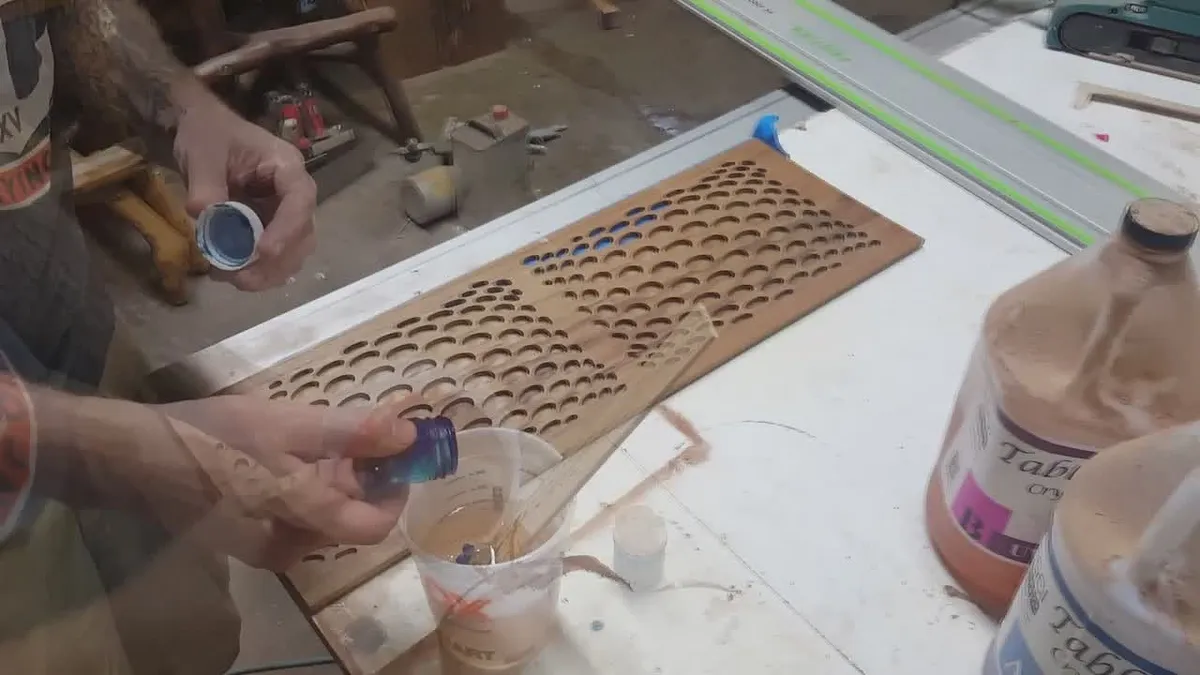
Add colored dye to epoxy
I added polyester dye, but all types of colorant will work. If you're not sure, try it out with a sample. Some colors are opaque and won't work.
Estimated time: 1 minutes
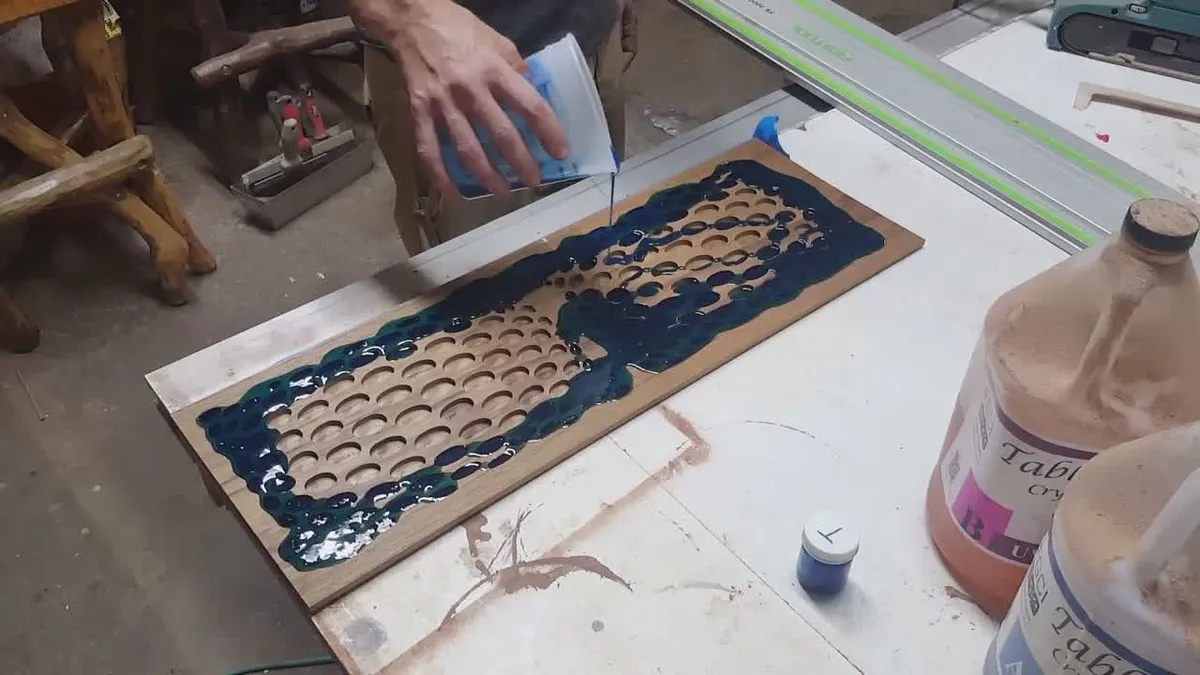
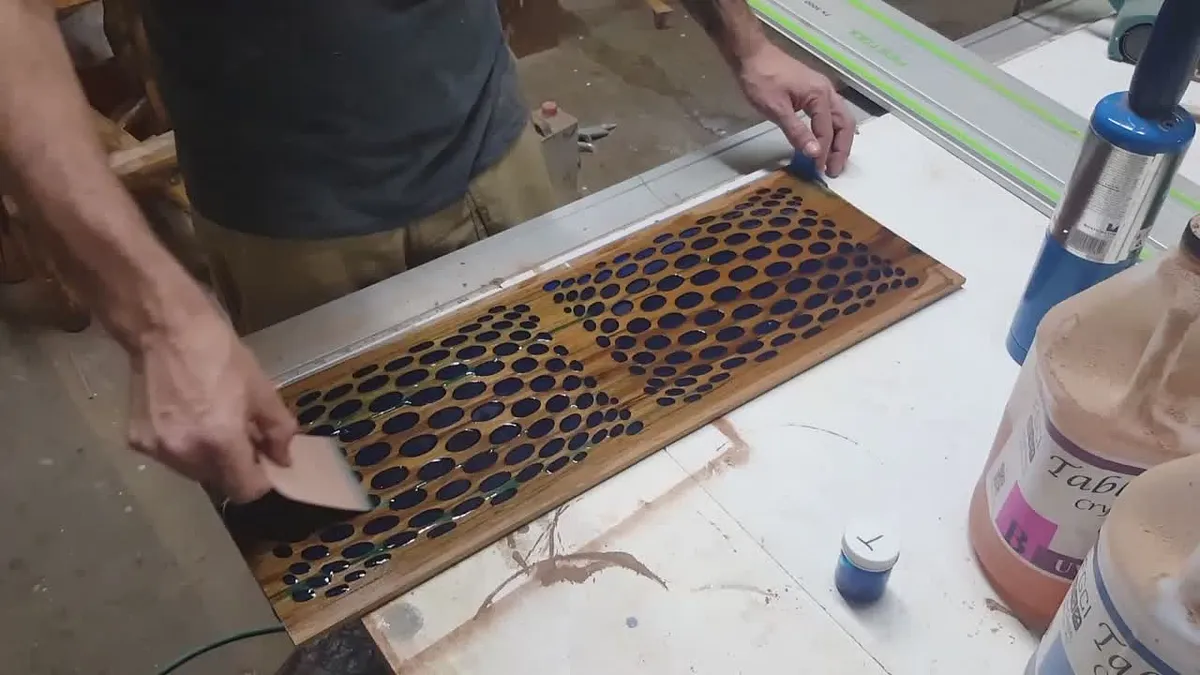
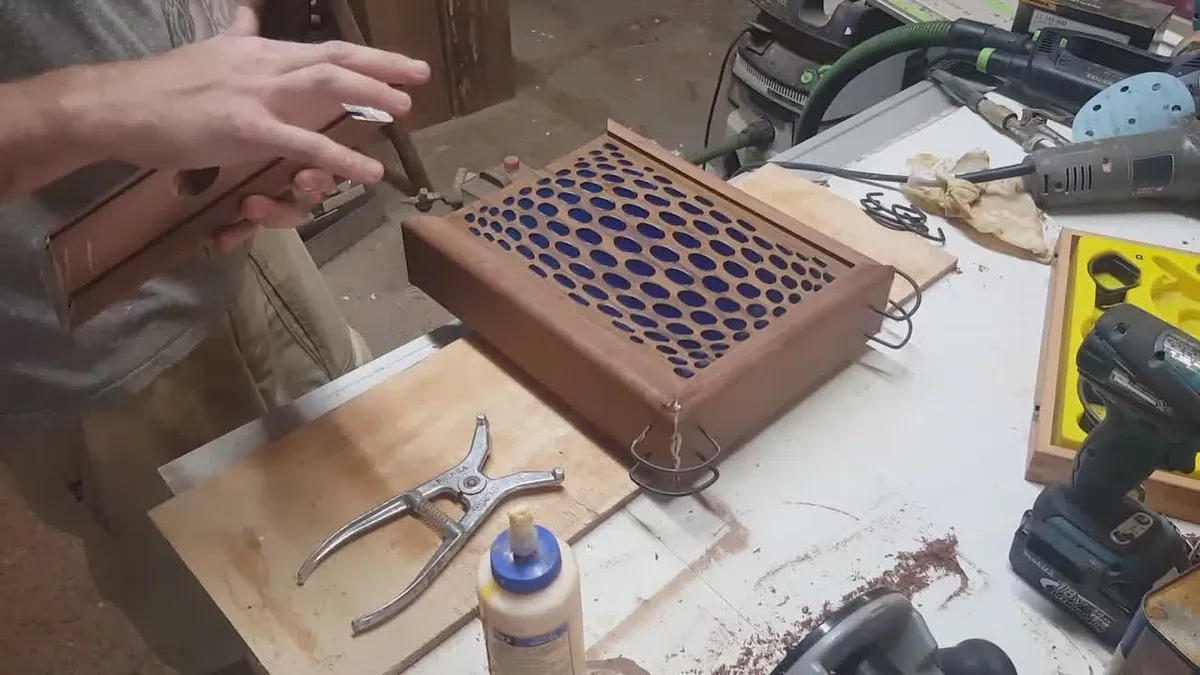
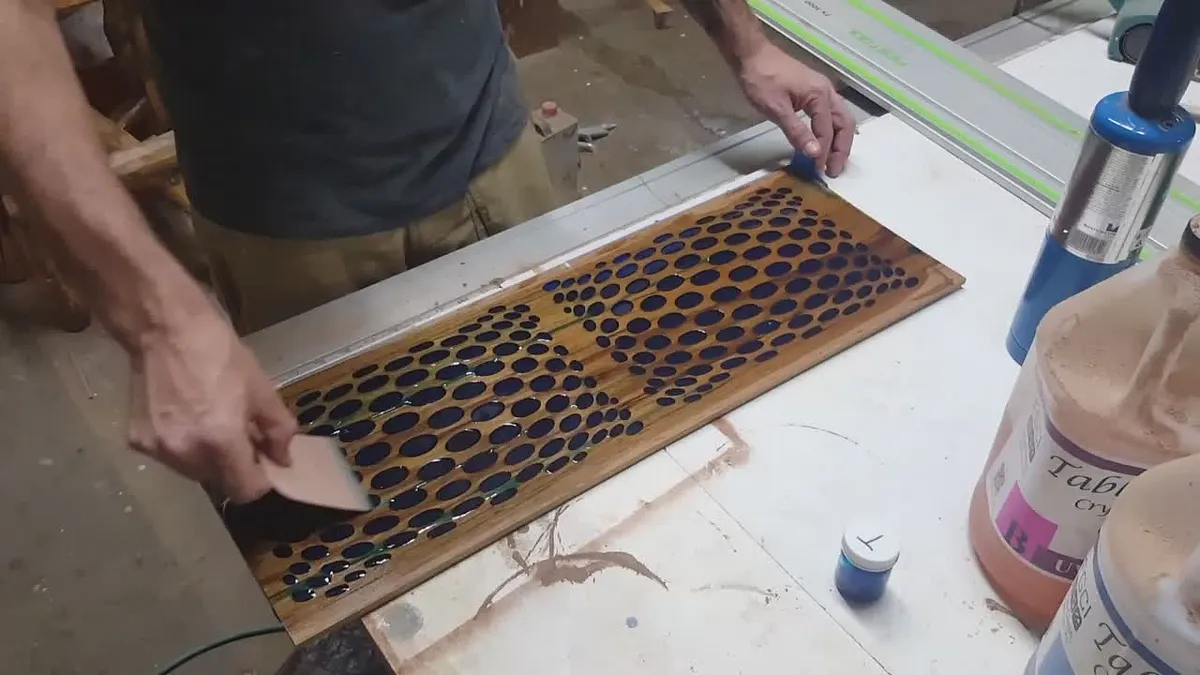
Pour epoxy into your design
Pour the epoxy into your design and squidgy the excess off. Come back tomorrow for sanding.
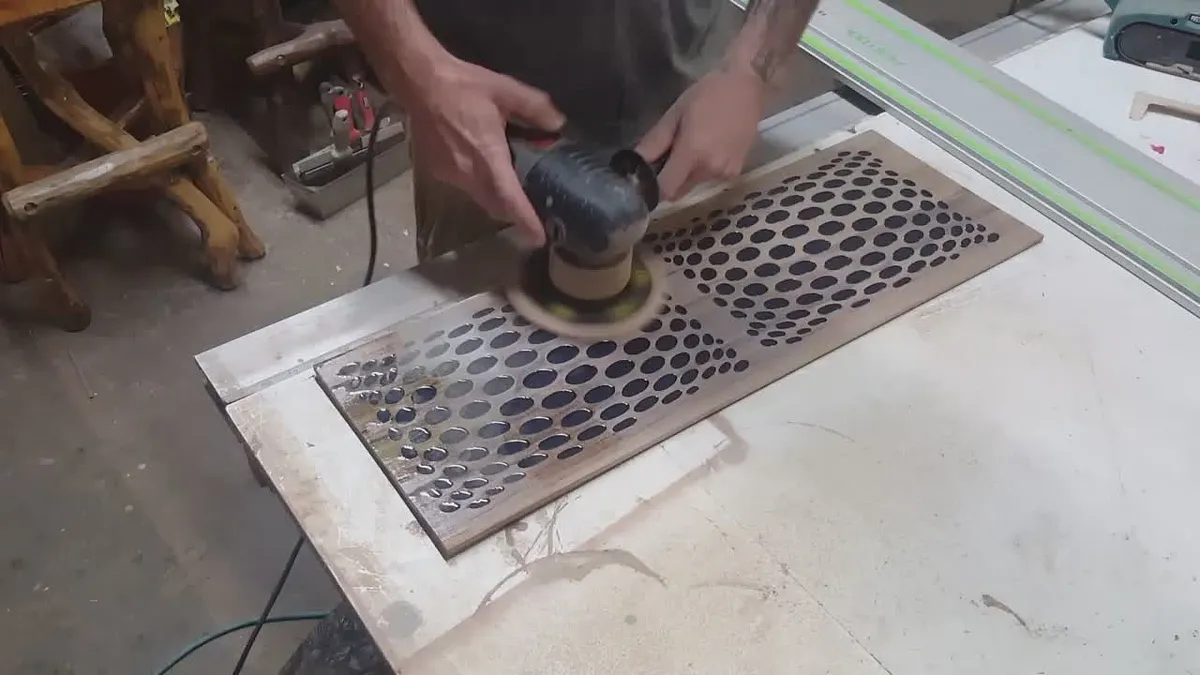
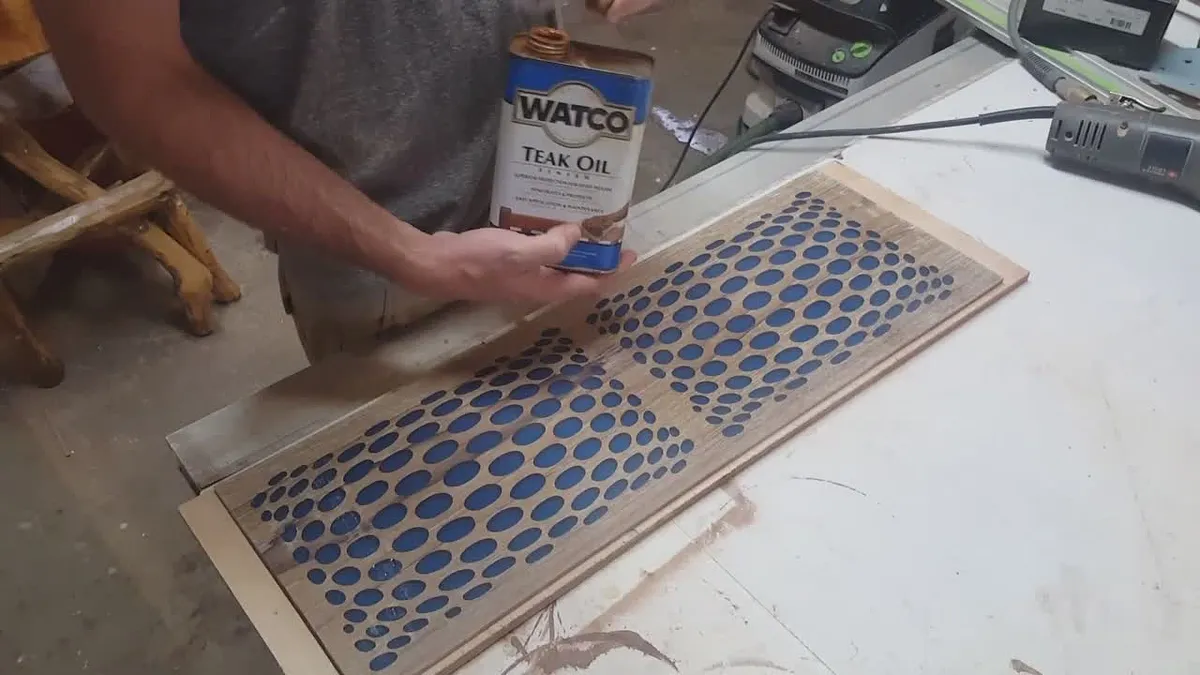
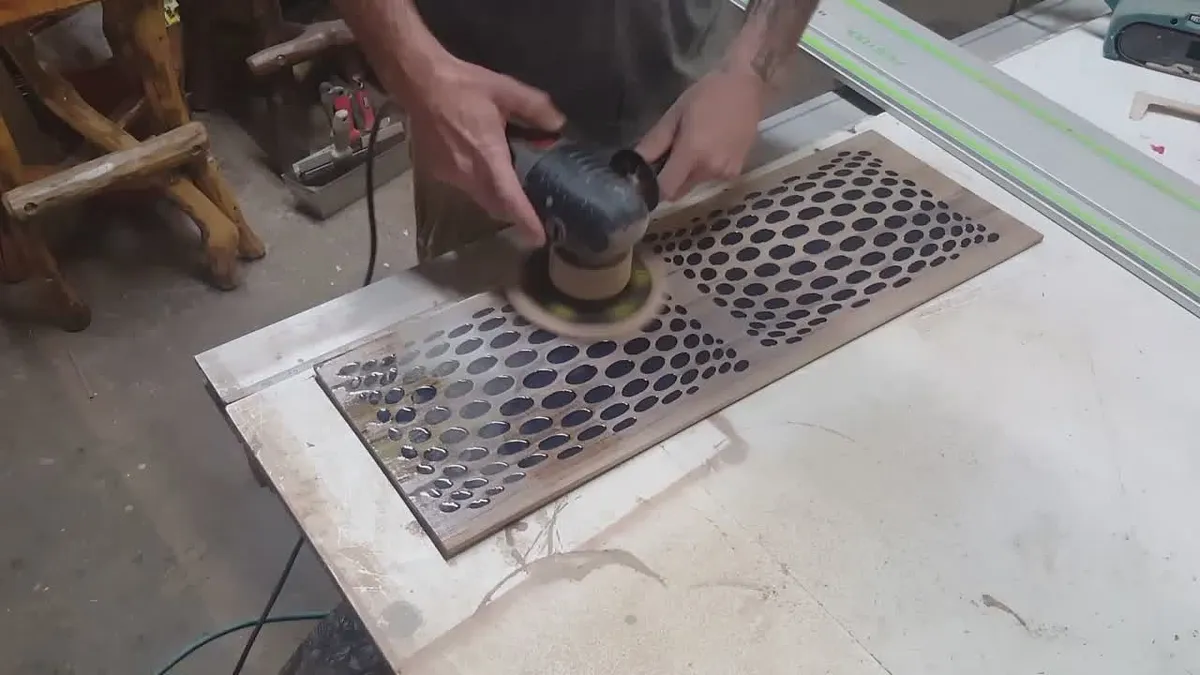
Sand or plane front and back
Sand or plane the front and back to remove the wood on the bottom and any epoxy on the top.
Estimated time: 10 minutes
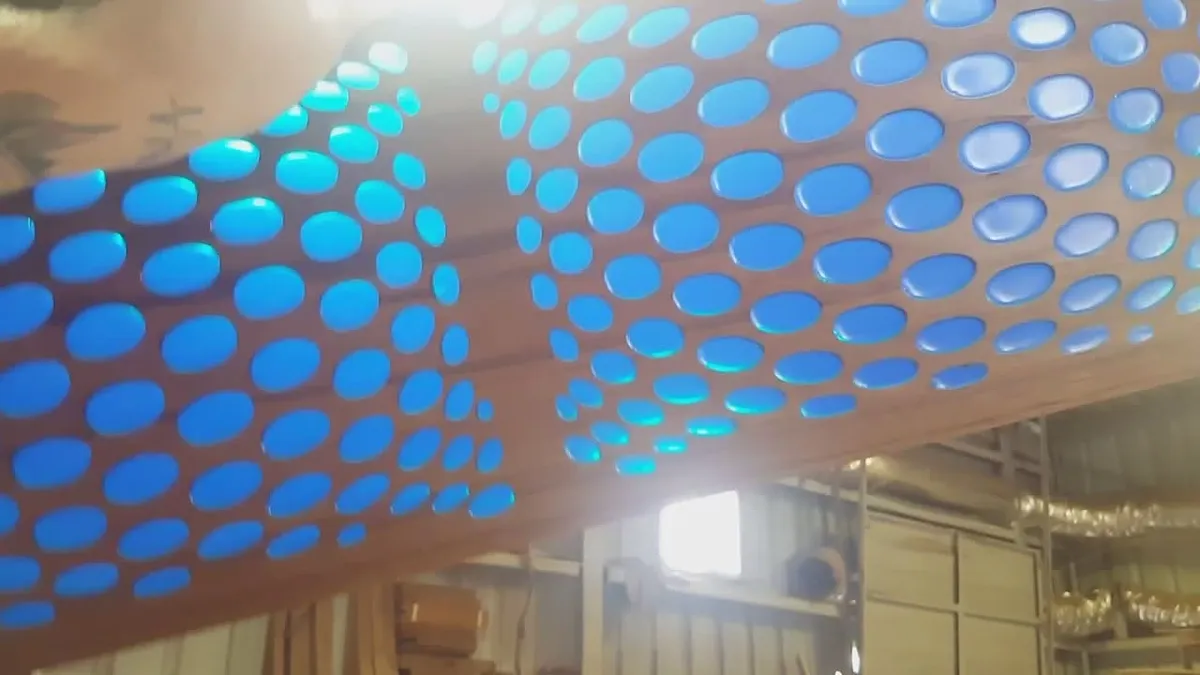
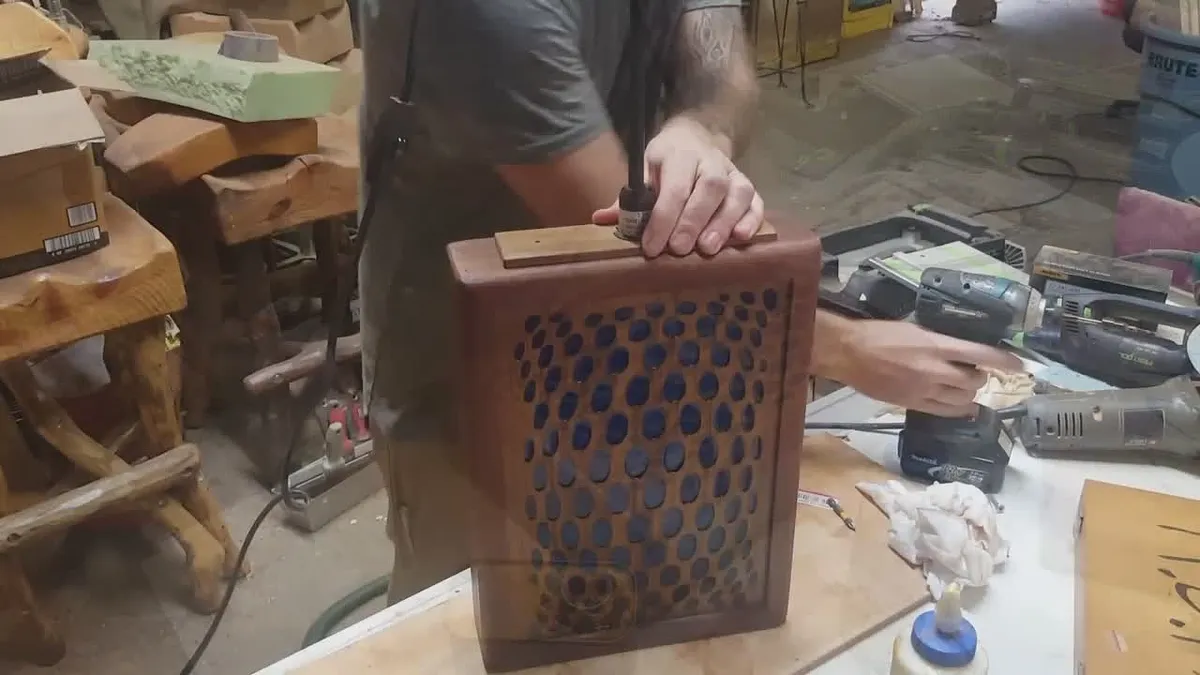
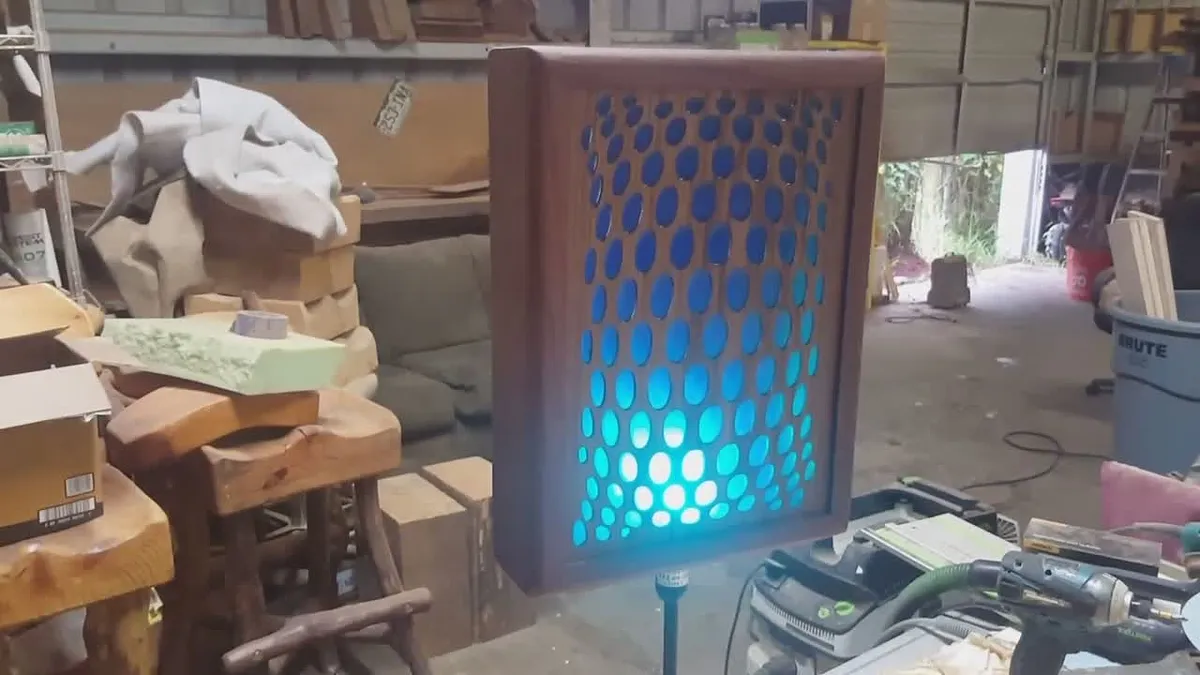
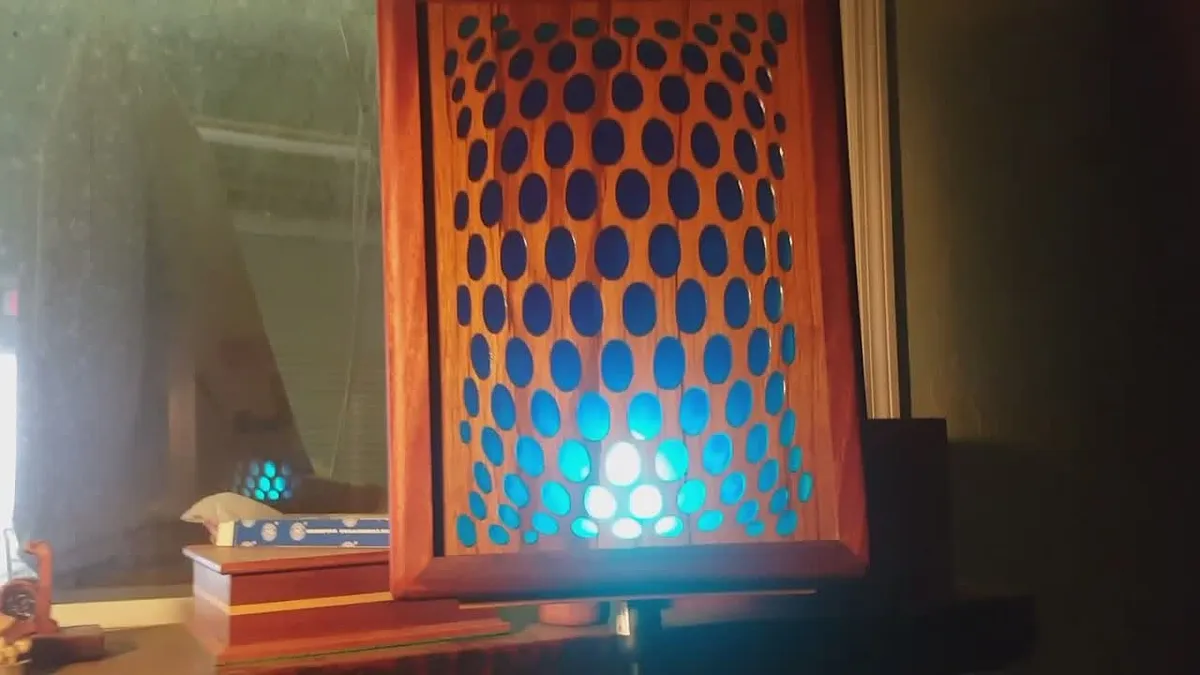
Make a frame and add a light source
If you want you can do 4 designs and have 4 sides light up. There are so many possibilities. Use your imagination. The video of this light from start to finish can be seen here.
Comments
You can see the video from start to finish on my YouTube channel here youtu.be/7mWHd2yEIKk
Aaron Fried · December 08, 2015
How much Epoxy did you use for this? Is there a brand you prefer? Much of what I've found is somewhat cost prohibitive! Awesome project!!
Ryan Parish · December 10, 2015
I used less than a quart. There's a fiberglass place close to me, 2 gallons costs about $80. Home depot sells what I remember being a half gallon kit for $20, I may be wrong.
Aaron Fried · December 10, 2015