Chair
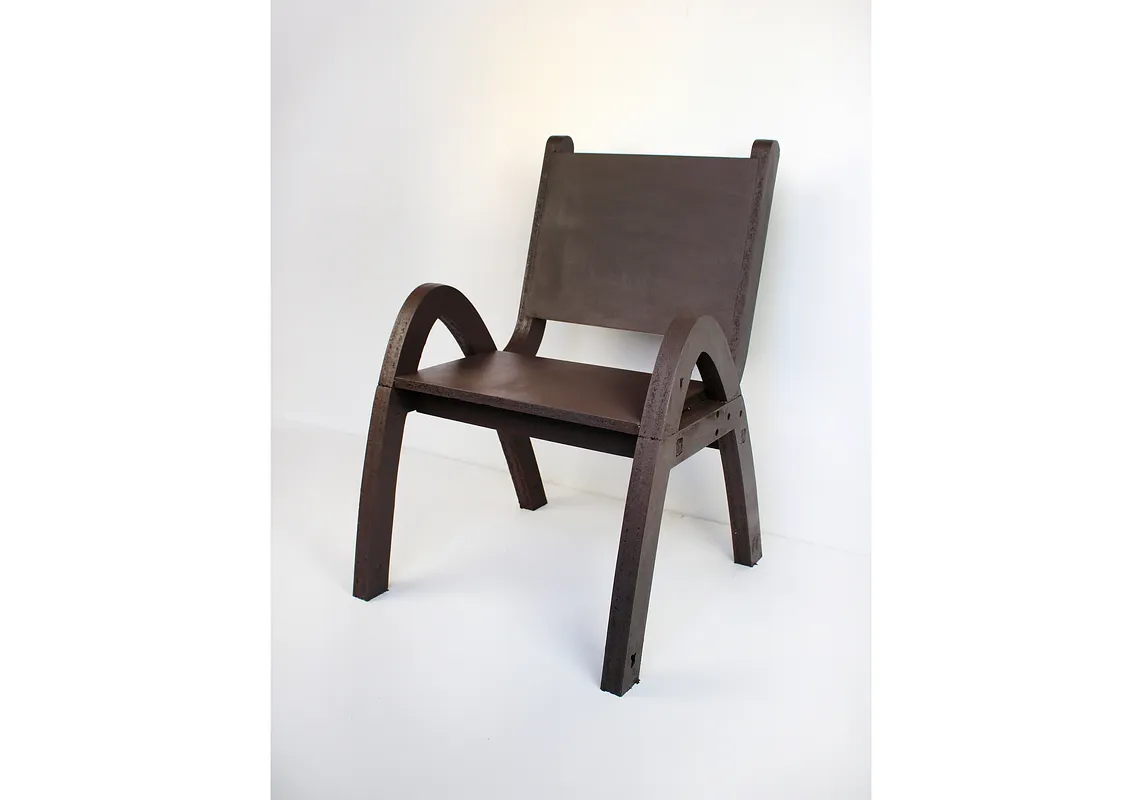
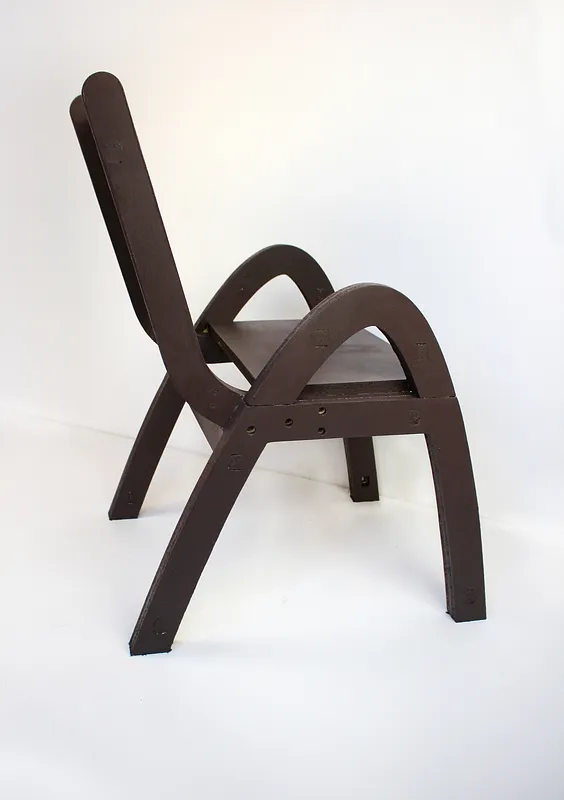

Instructions
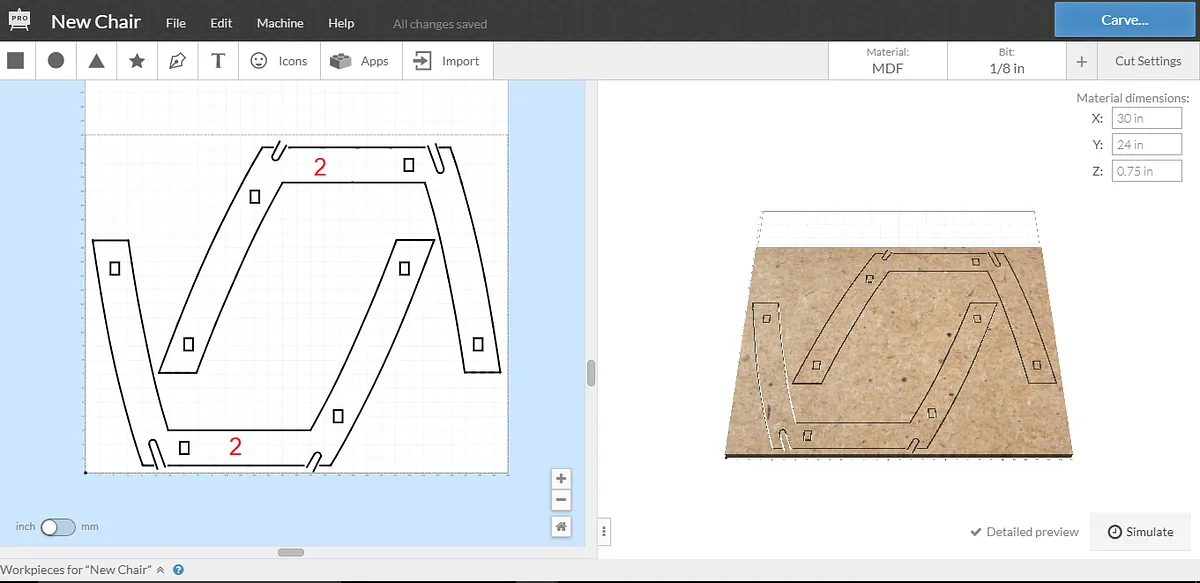
Carve out the parts
Material: 30" x 24" x 3/4" plywood (Qty - 5) 1/4" x 3" Screws with washer and locknut (Qty - 8 )
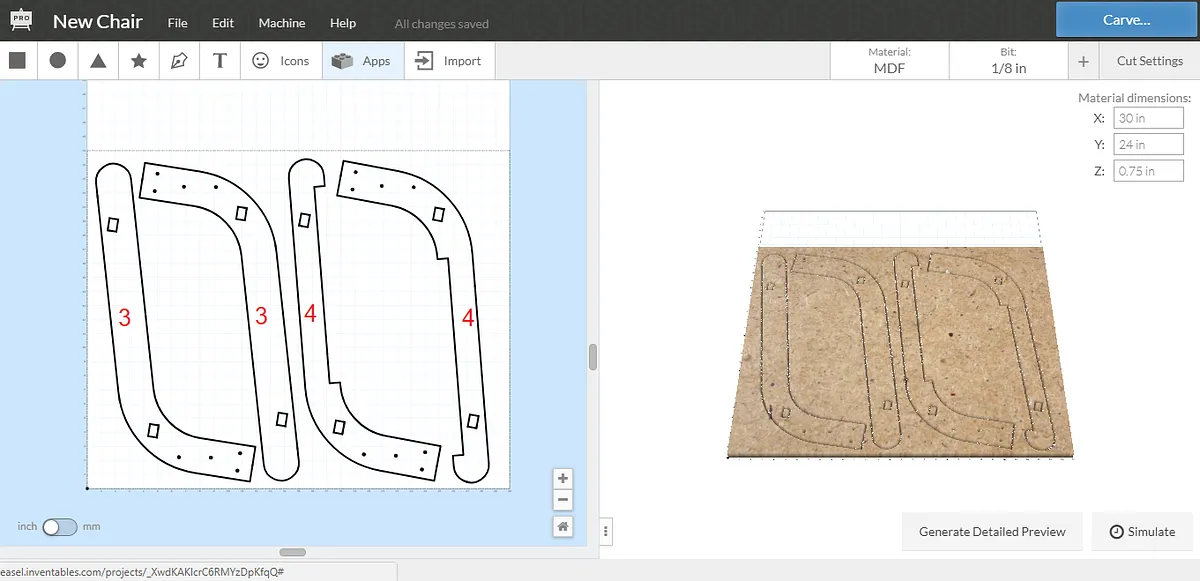
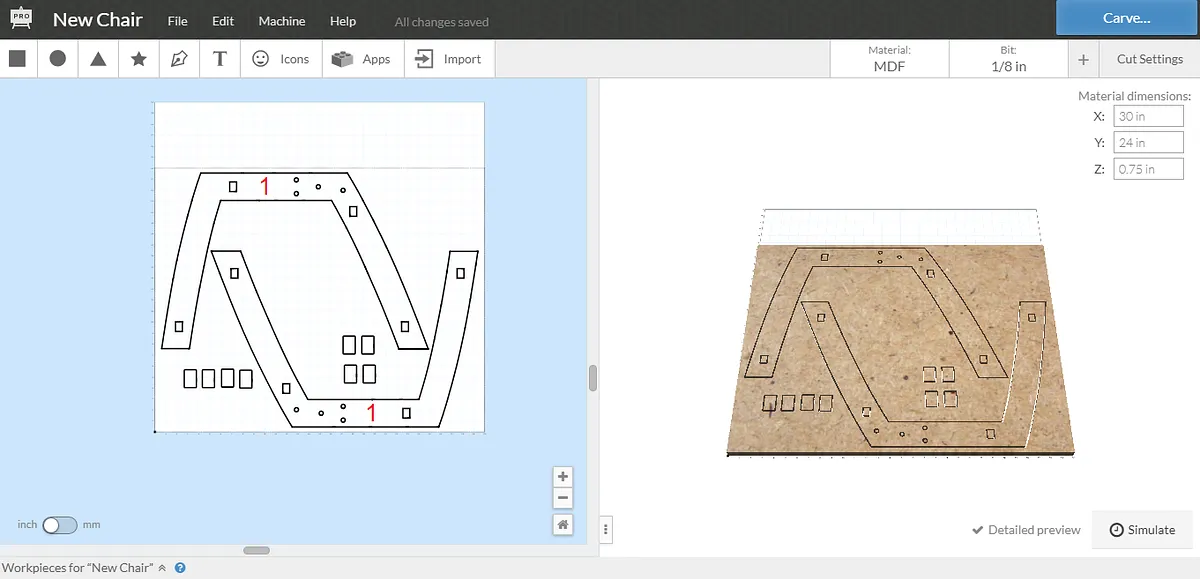
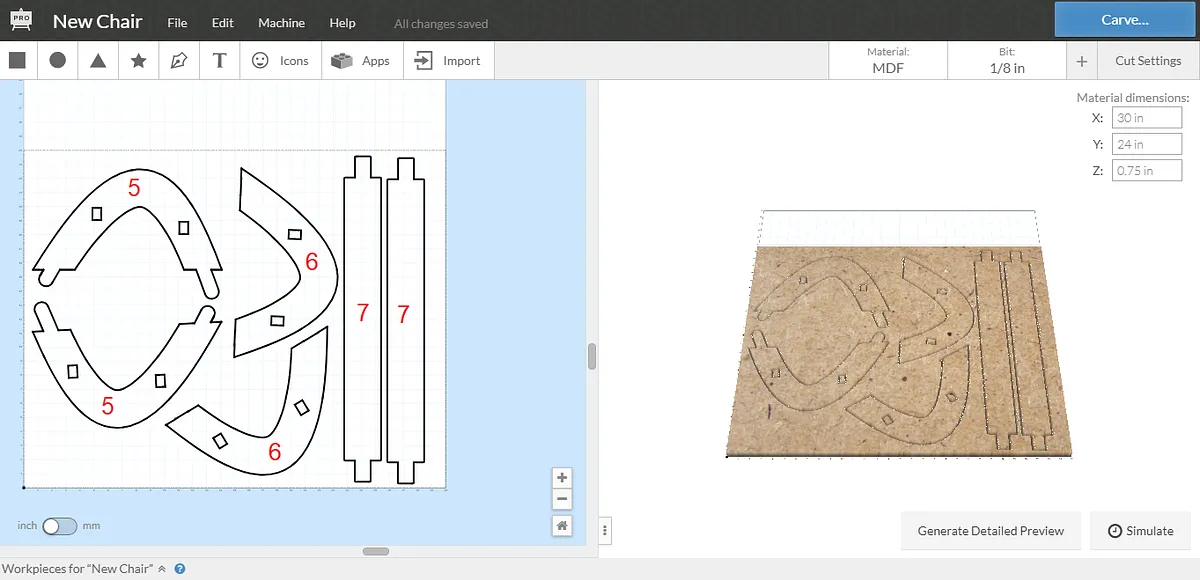
First, open up the Easel project and load the first plywood piece in your X-Carve. Carve out the parts using a 1/8" bit and when the machine is done remove the parts and sand off the tabs.
Repeat the same process for the other 3 workpieces.
You should have 4 parts that make up the legs, 4 for the hand rests and 4 for the back support. Additionally, you should have 8 rectangular pegs which we will use when gluing the parts.
Glue the pieces together
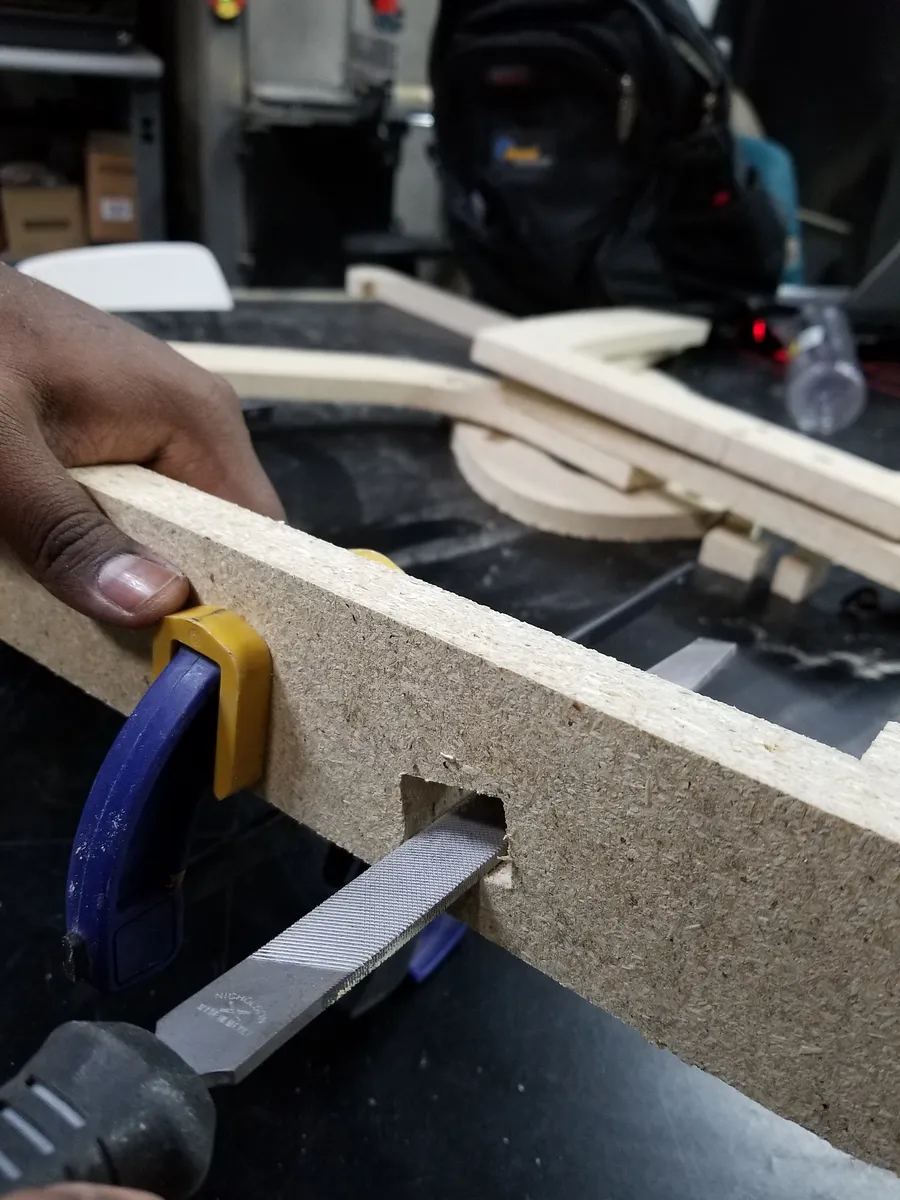
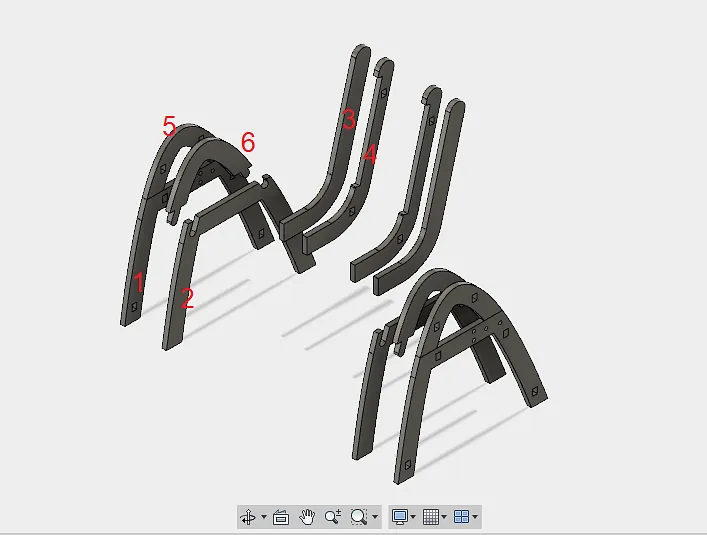
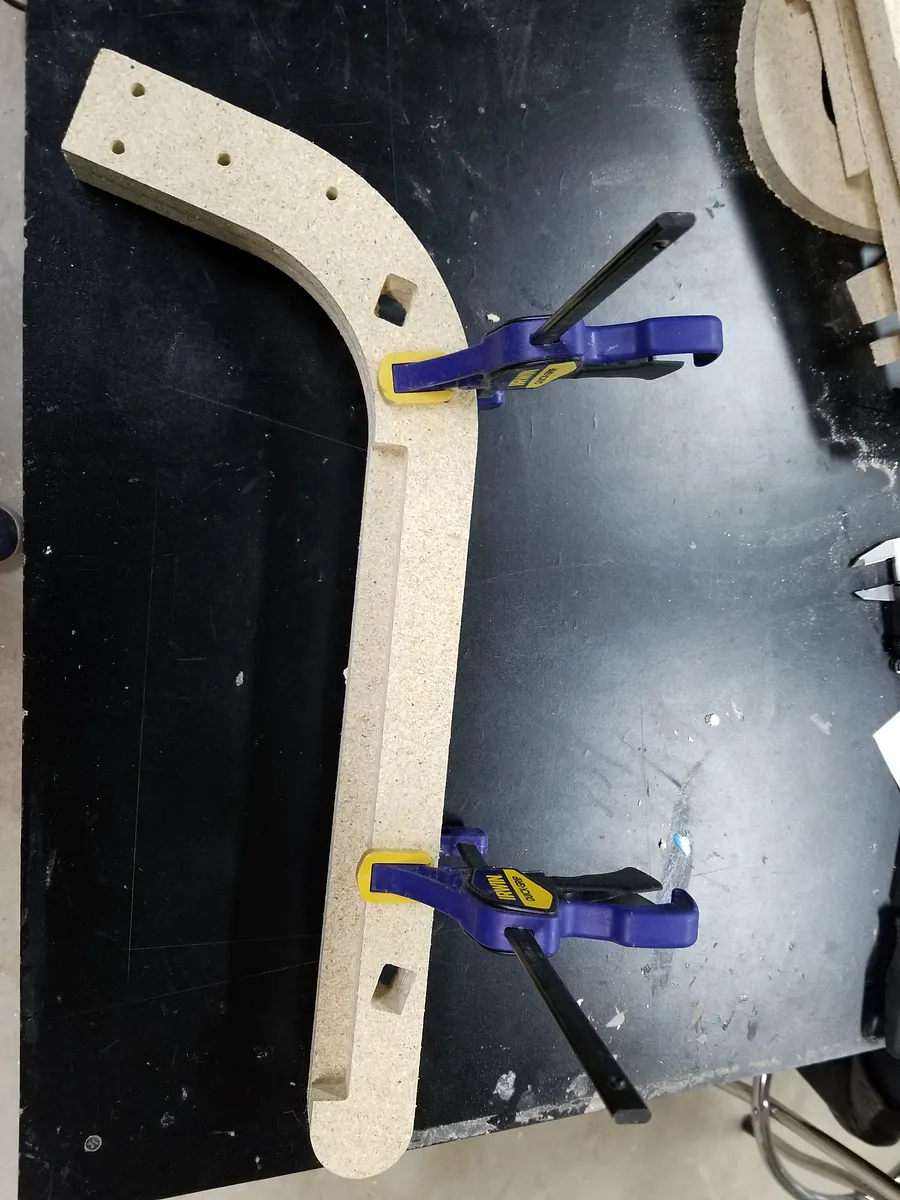
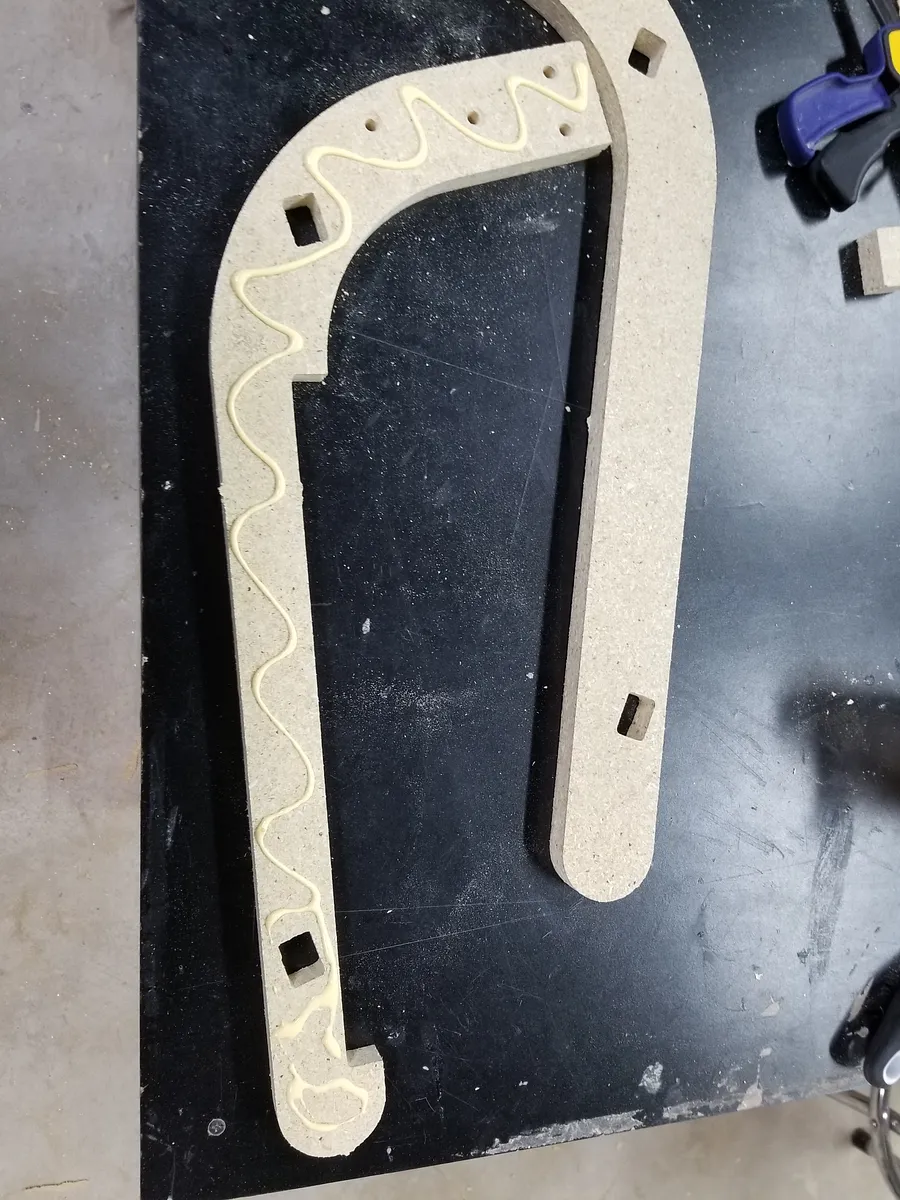
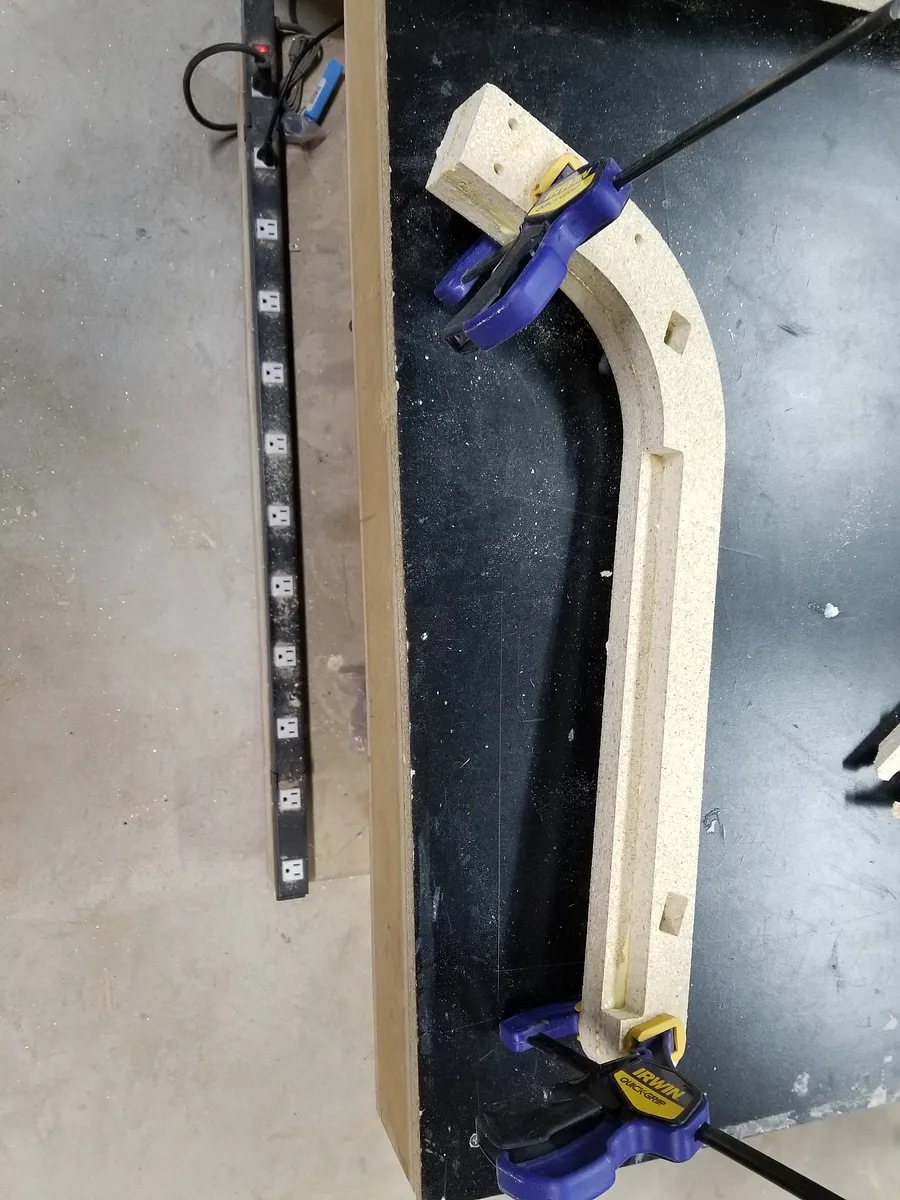
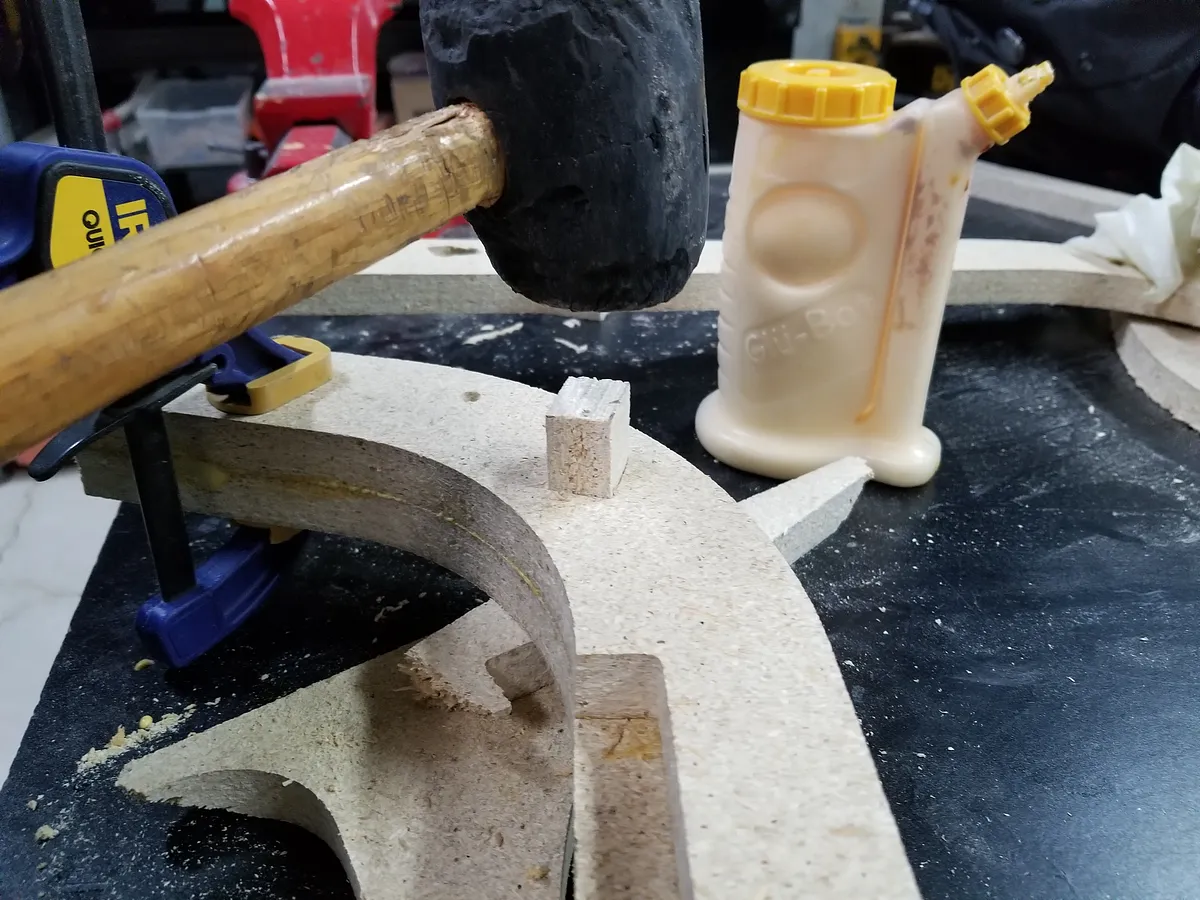
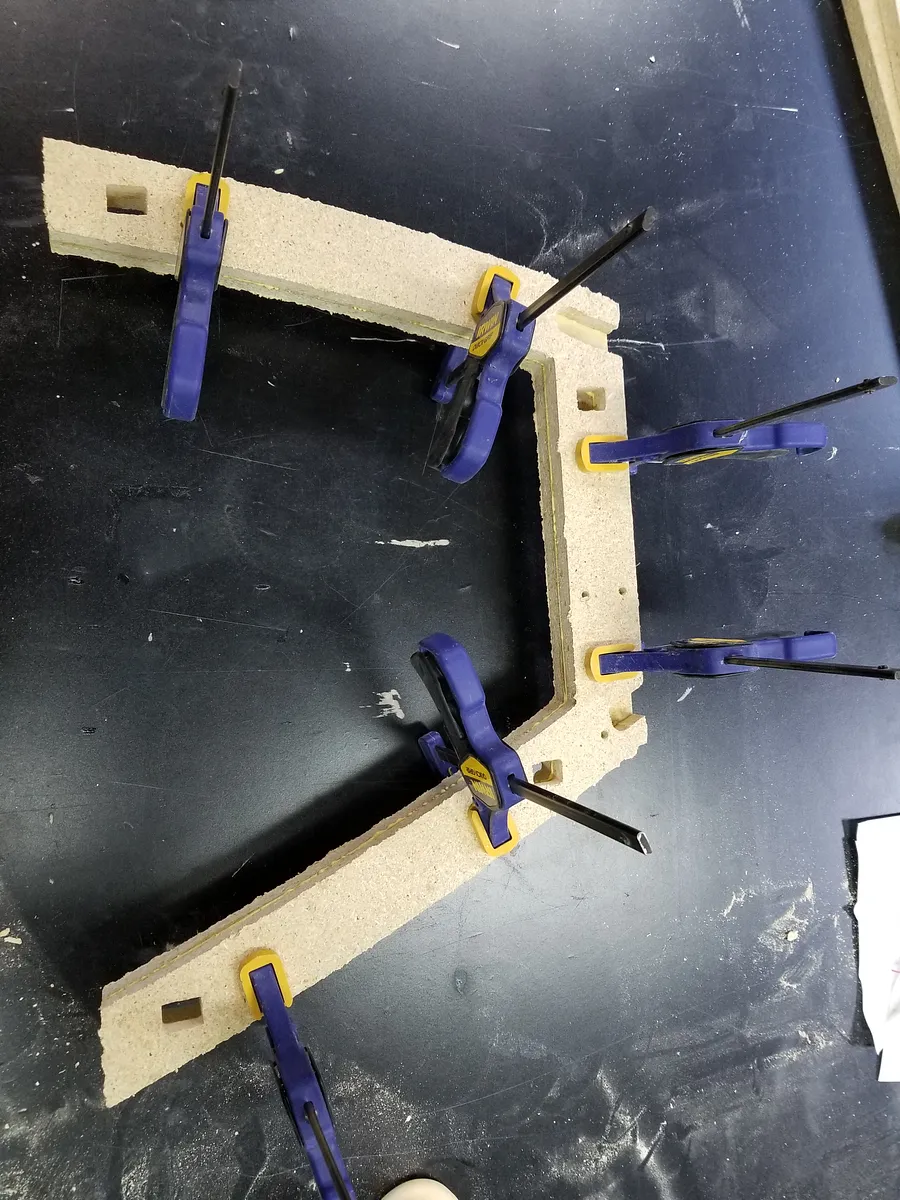
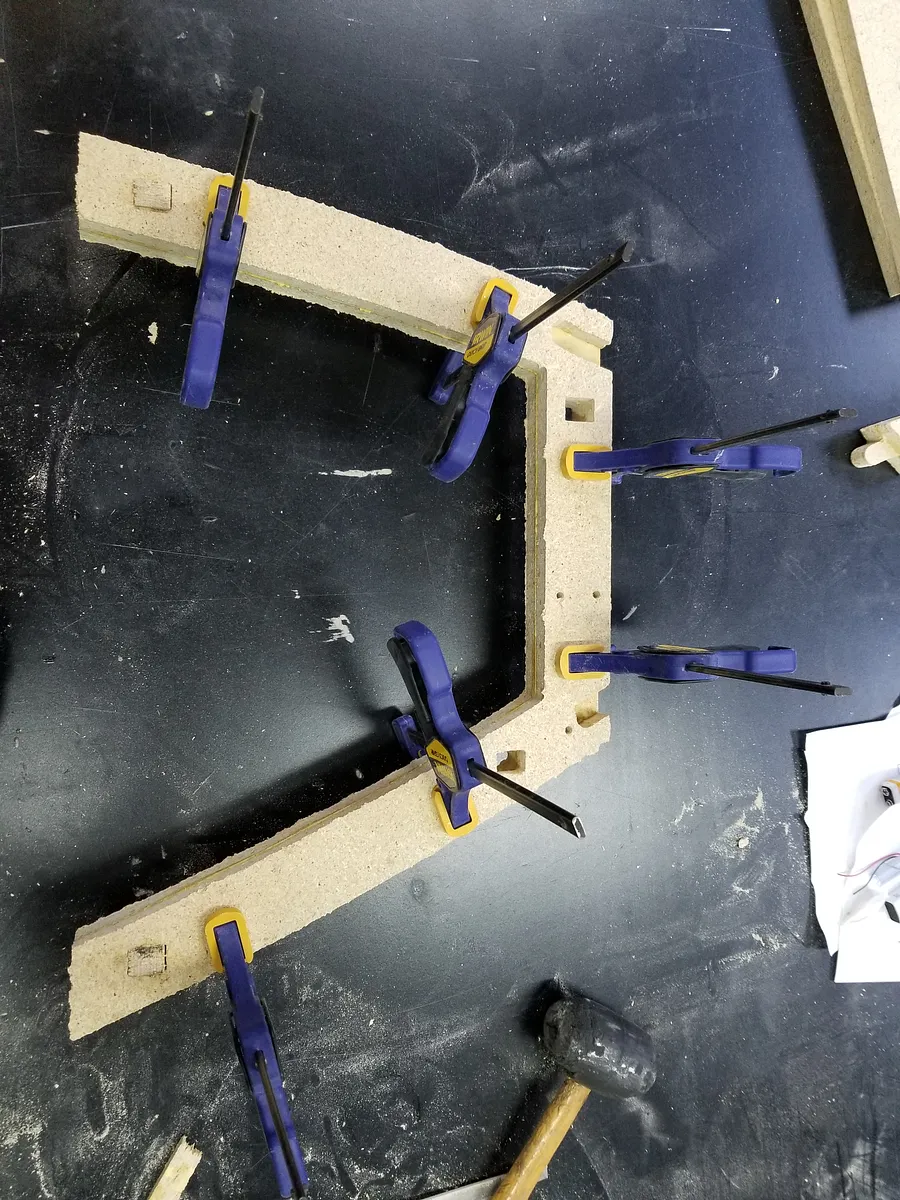
First, take part 1 and 2 and apply glue to them and then lightly clamp them. Next, take a rectangular tab and apply a thin layer of glue on it, then using a rubber mallet hammer it into the rectangular hole. This helps to properly align the two pieces of wood and ensures they do not slide around when putting the clamps. Clamp them tightly and let the glue dry for 24 hours
Repeat the same process for parts 3, 4 and 5,6. Now you have completed one-half side of the chair.
Next, repeat the above steps but make sure the parts you're now gluing mirror the ones you have already glued. Reference the picture below.
Attach the ribs
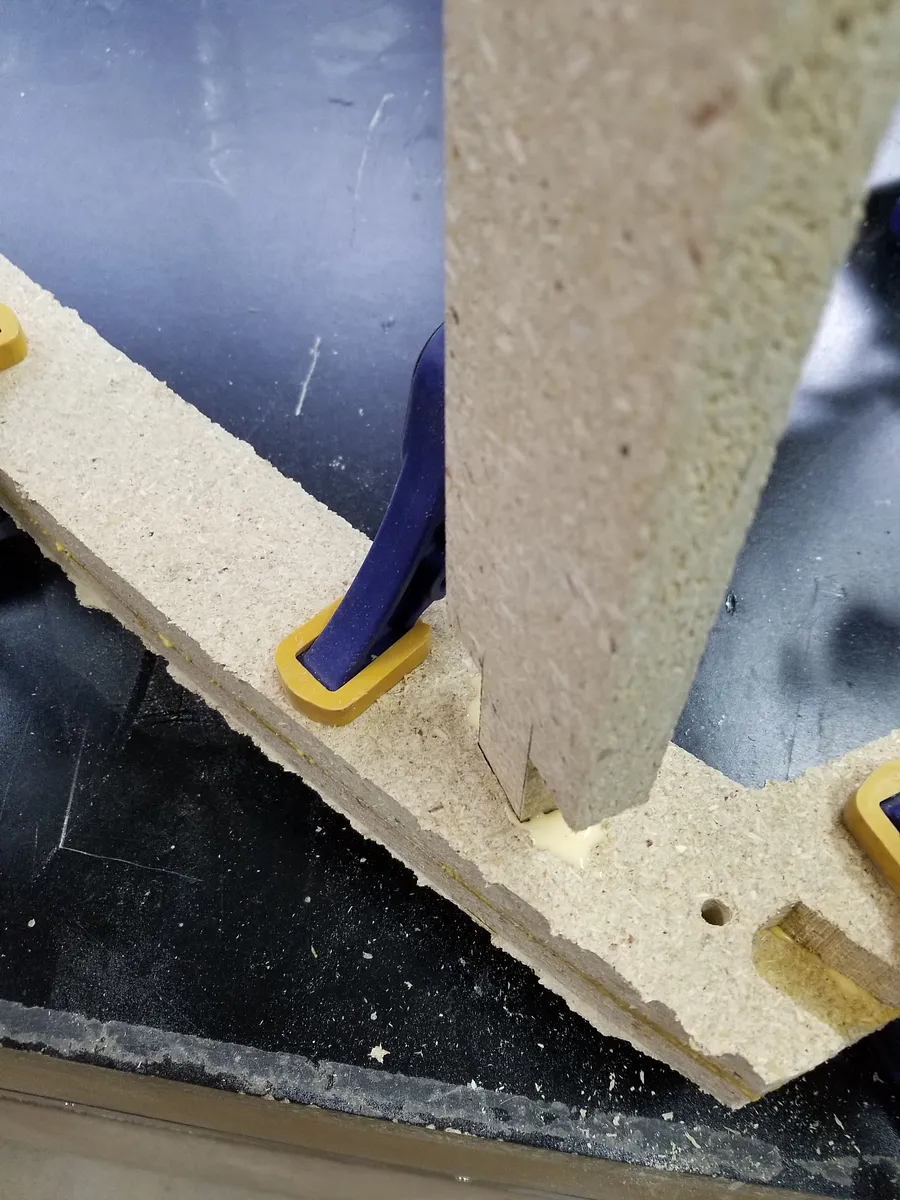
Place one set of legs on the table with the inner side facing up. Next, apply a thin layer of glue on the ribs (Part #7) and hammer it into the rectangular holes toward the top of the holes.
Next, place the other set of legs on the table with the inner side facing up. Apply glue inside the rectangular holes, filp the other set of legs hammer the ribs into the holes.
Glue the hand rests
Using sufficient glue, glue and clamp the hand rests to the legs.
Attach the back supports
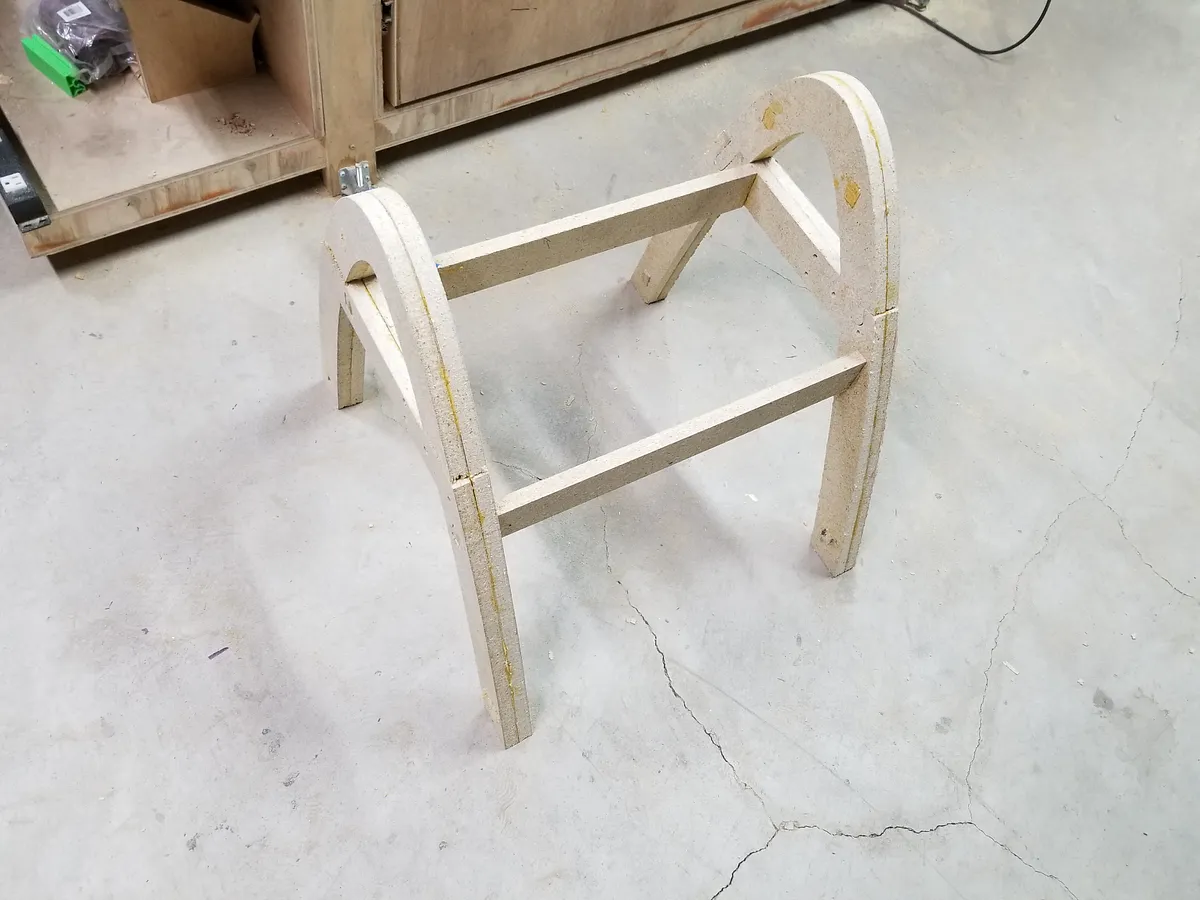
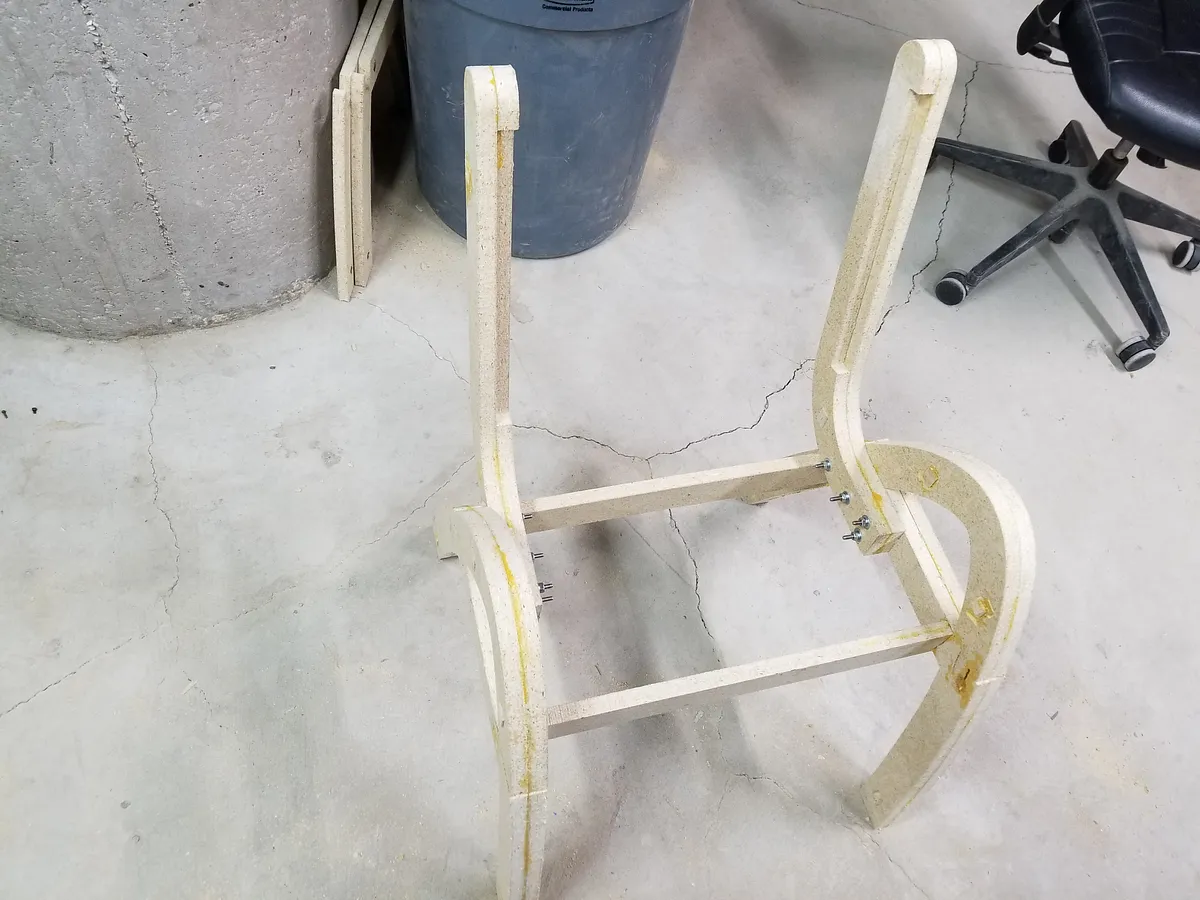
Using the 1/4" screws fasten the back support to the legs. You should have something that looks like this.
Attach the seat and back plate
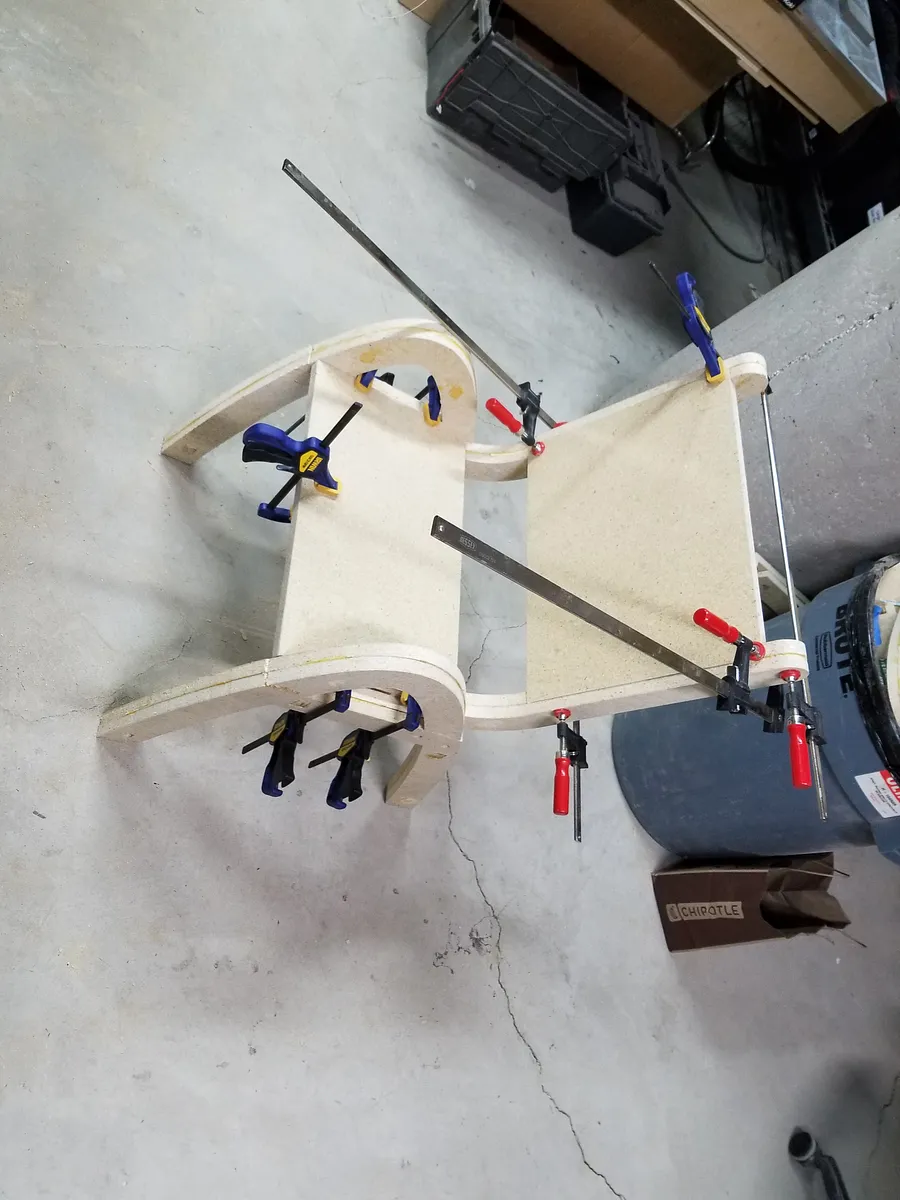
Cut out 2 pieces of plywood measuring 20" x 11.75" and 18.5" x 15". Glue the larger piece to the back and the smaller piece to the bottom.
Sanding and Finishing
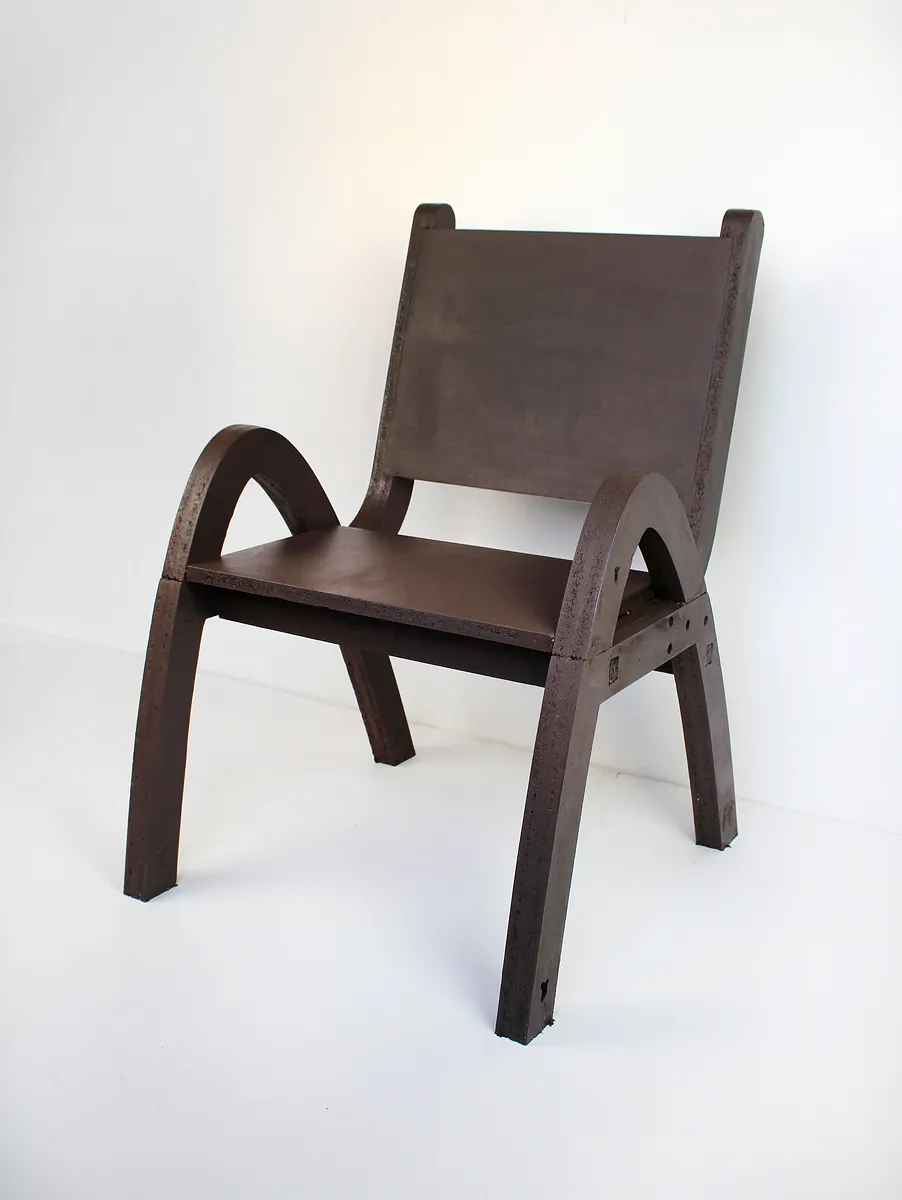
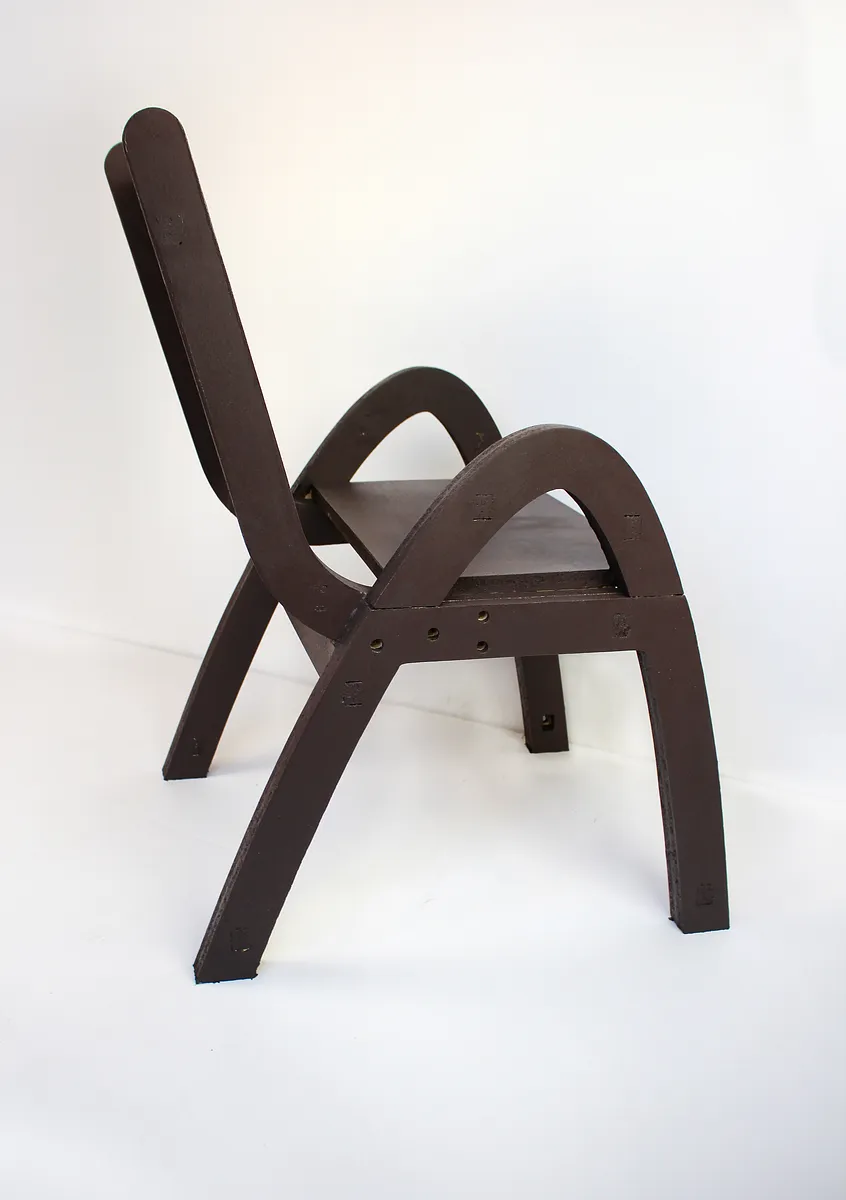
Using wood filler, fill the gaps and holes. After it sets, sand it to a smooth finish and then finish it.
I decided to paint it a dark brown color.
Comments
Can you share the easel file publicly please?
ethan schweizer · December 09, 2017
Sorry about that, you should now be able to access the Easel file.
Sumanth ShekarPro · December 09, 2017
Easel estimates the cut time at around 3.5 hrs for me.
Jacob · November 27, 2020
did you import this design or did you design in easel? have been wondering if you can design simple furniture in easel and how to do it
kerrie gilmorebrown · March 13, 2023