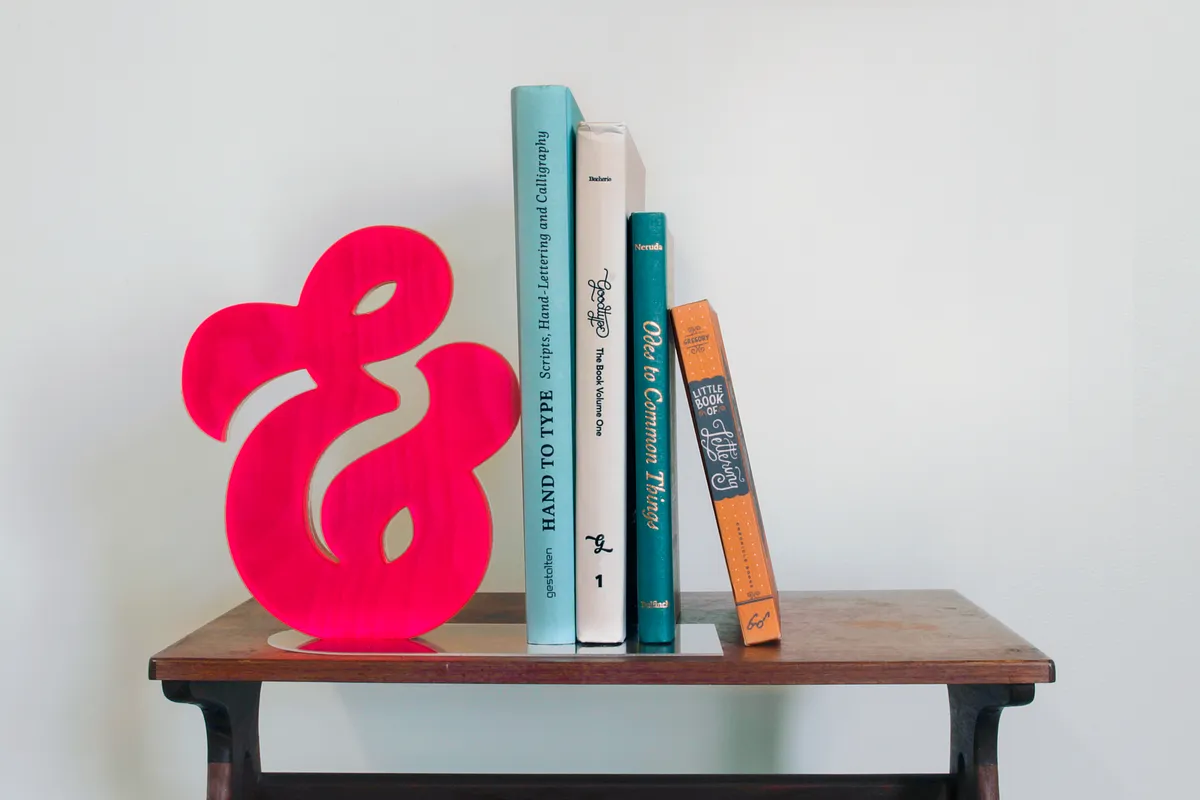
Ampersand Bookend

Instructions
Optional: Draw your own letter
Watch this video to see how I used Easel to draw the ampersand, and follow that same technique to re-create a letter of your own in Easel.
Then, follow the remaining steps using your new files.
Measure the Plywood
Measure the exact size and thickness of your material. The thickness of the material is inconsistent from piece to piece, so this is an important step.
Estimated time: 1 minutes
Secure the material
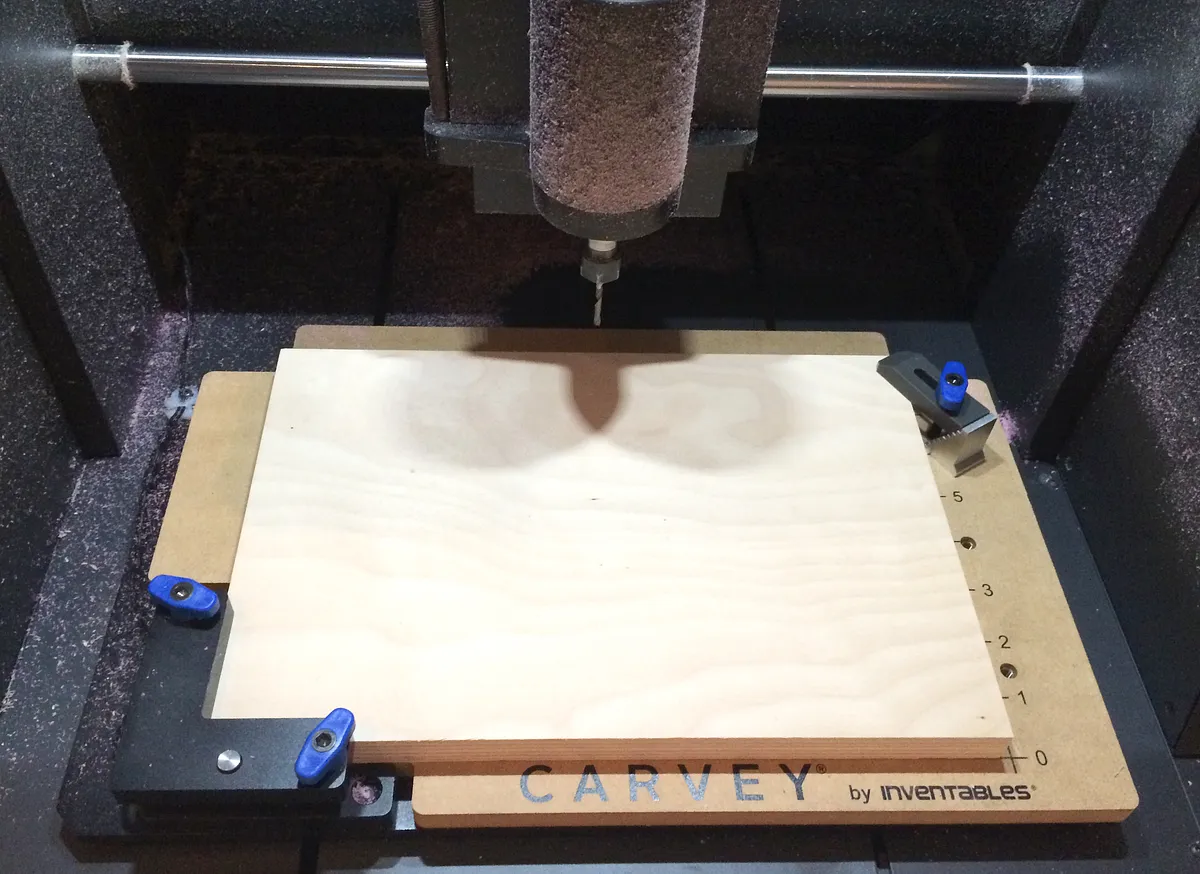
Using double stick tape and carefully positioned clamps, secure the plywood to the wasteboard.
Estimated time: 4 minutes
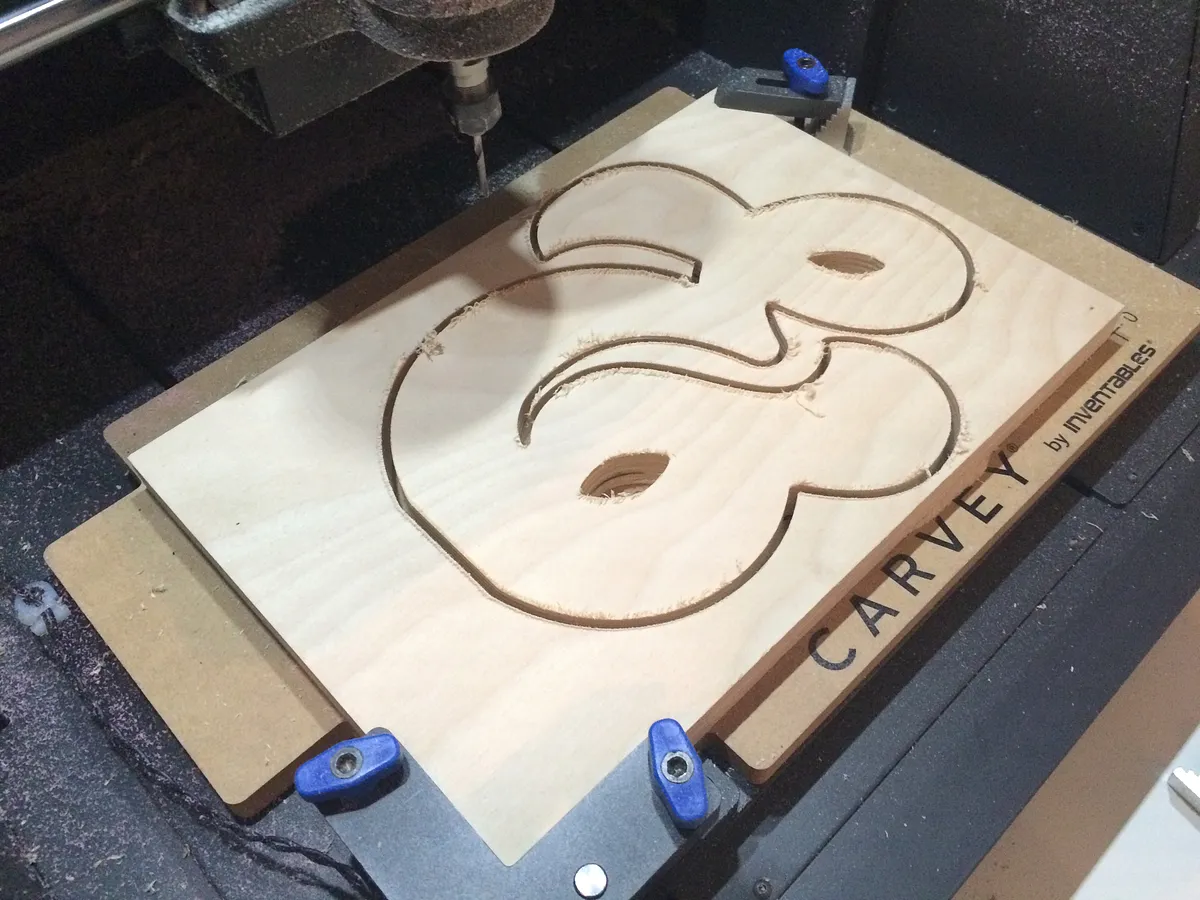
Carve the Plywood
Open "this file":http://easel.inventables.com/projects/A6HIDT3Nql8UQSm4qikUiQ and set the measurements to your specific piece of material, and set the cut depth to the thickness of your plywood. Use the 1/8 1FL Spiral Upcut bit (gray ring) and carve.
Estimated time: 35 minutes
Carve the Acrylic
Repeat steps 2-4, set the material to acrylic and use the 1/8 1FL straight bit (black ring).
Estimated time: 20 minutes
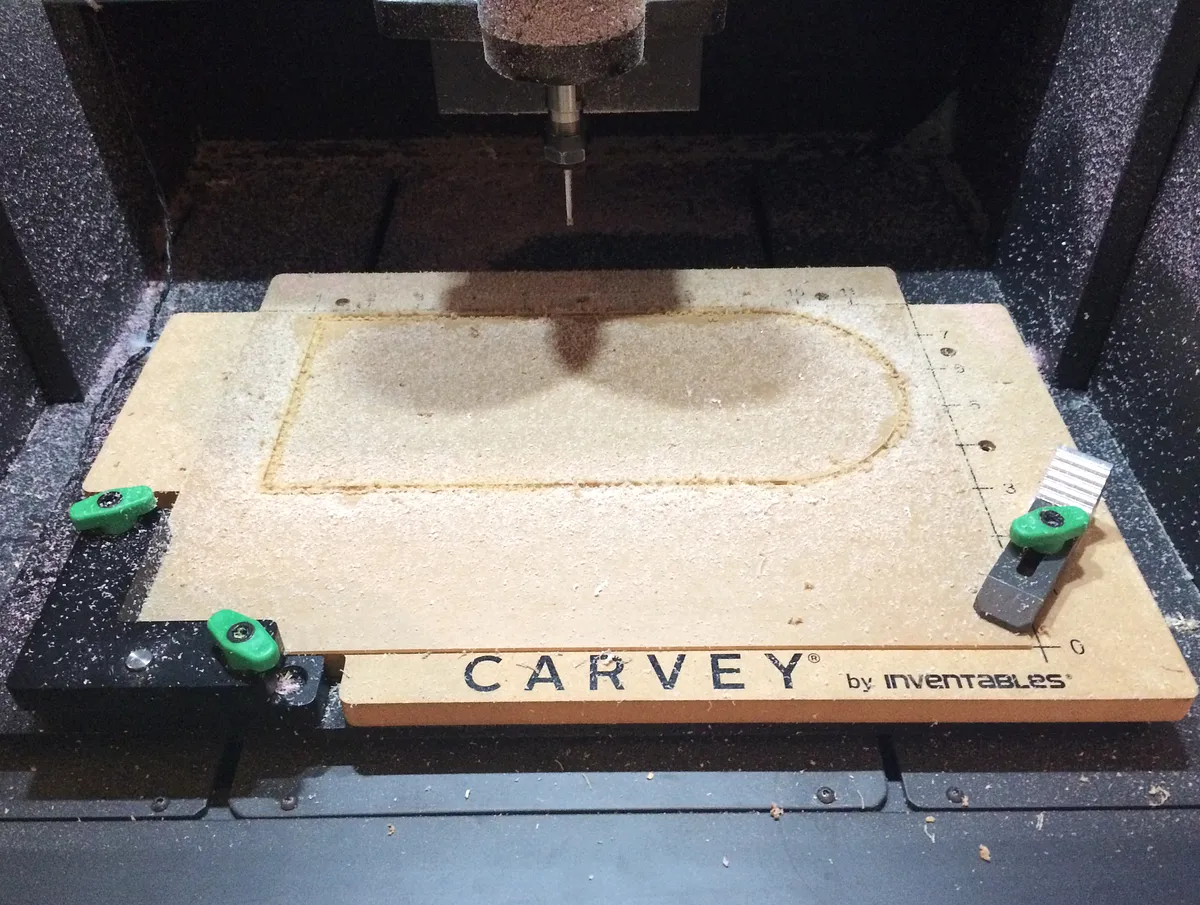
Carve the base
Open "this file":http://easel.inventables.com/projects/2YpYB840waTBt73AHFAL-A, set it to the measurements of your 1/16th clear acrylic and carve using the 1/8 1FL straight bit (black ring).
Estimated time: 5 minutes
Assemble
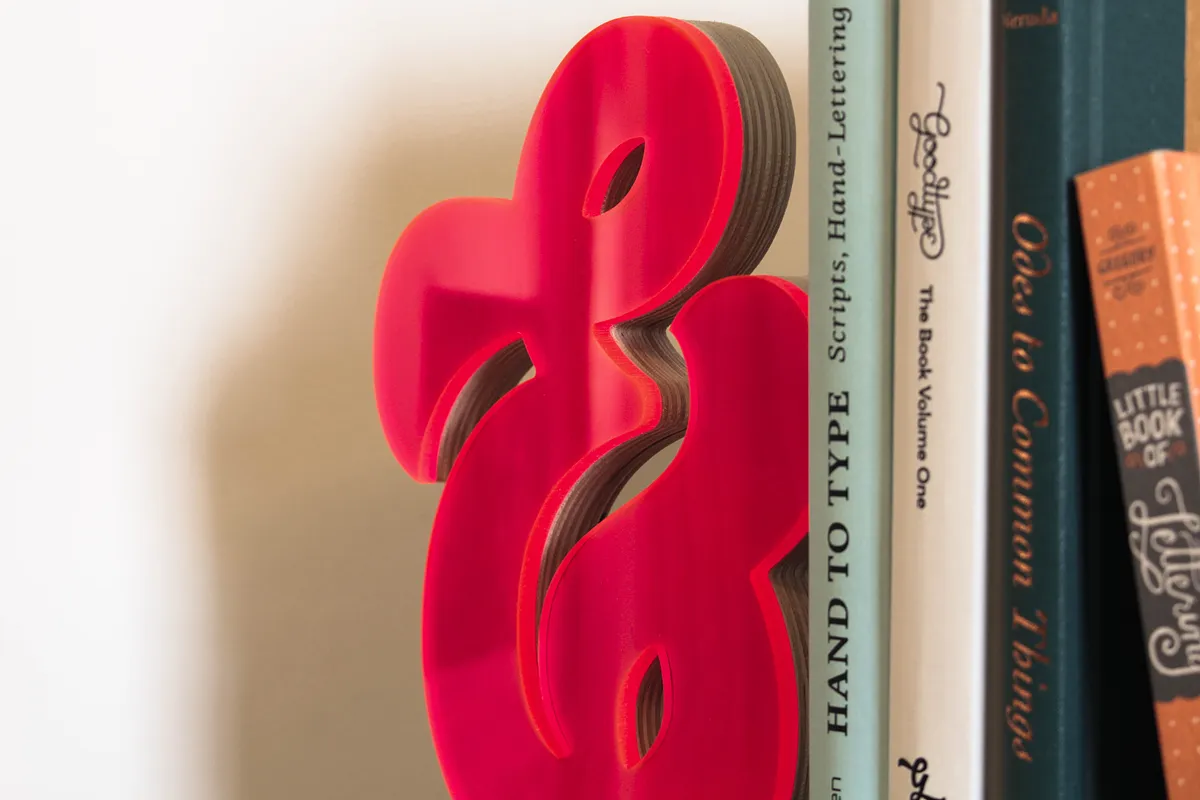
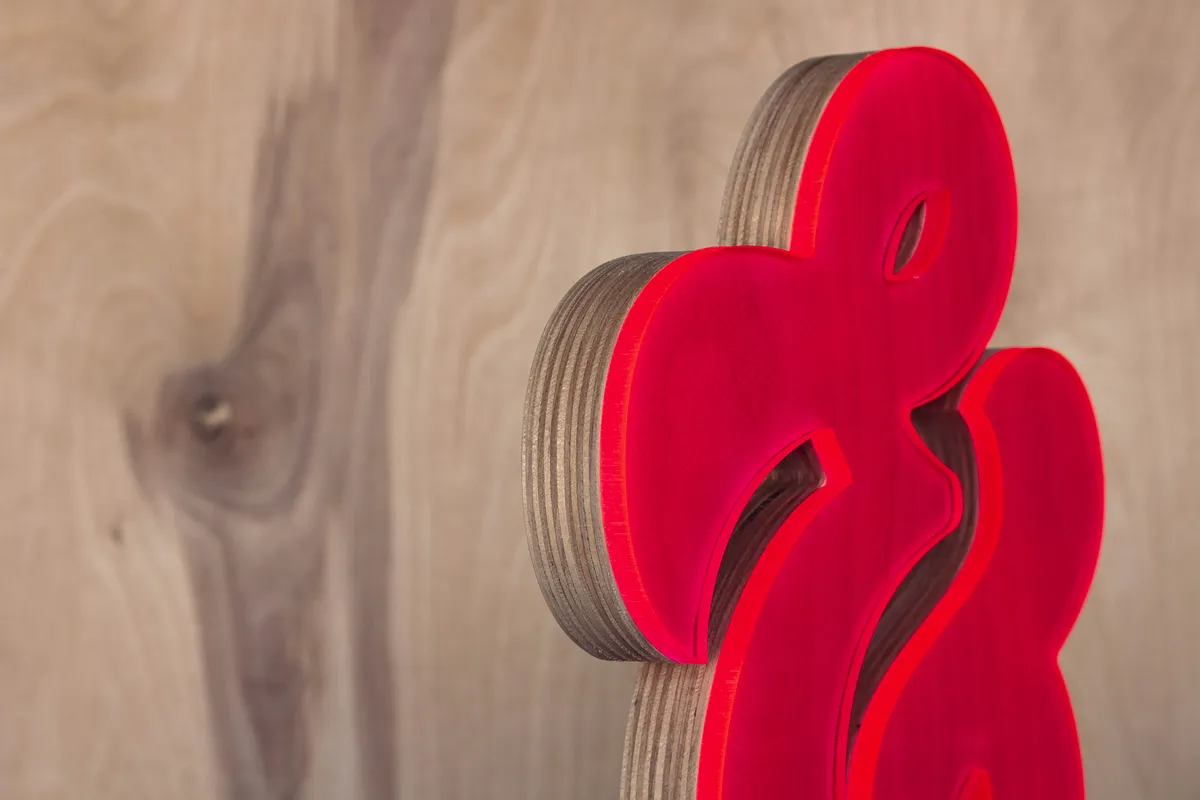
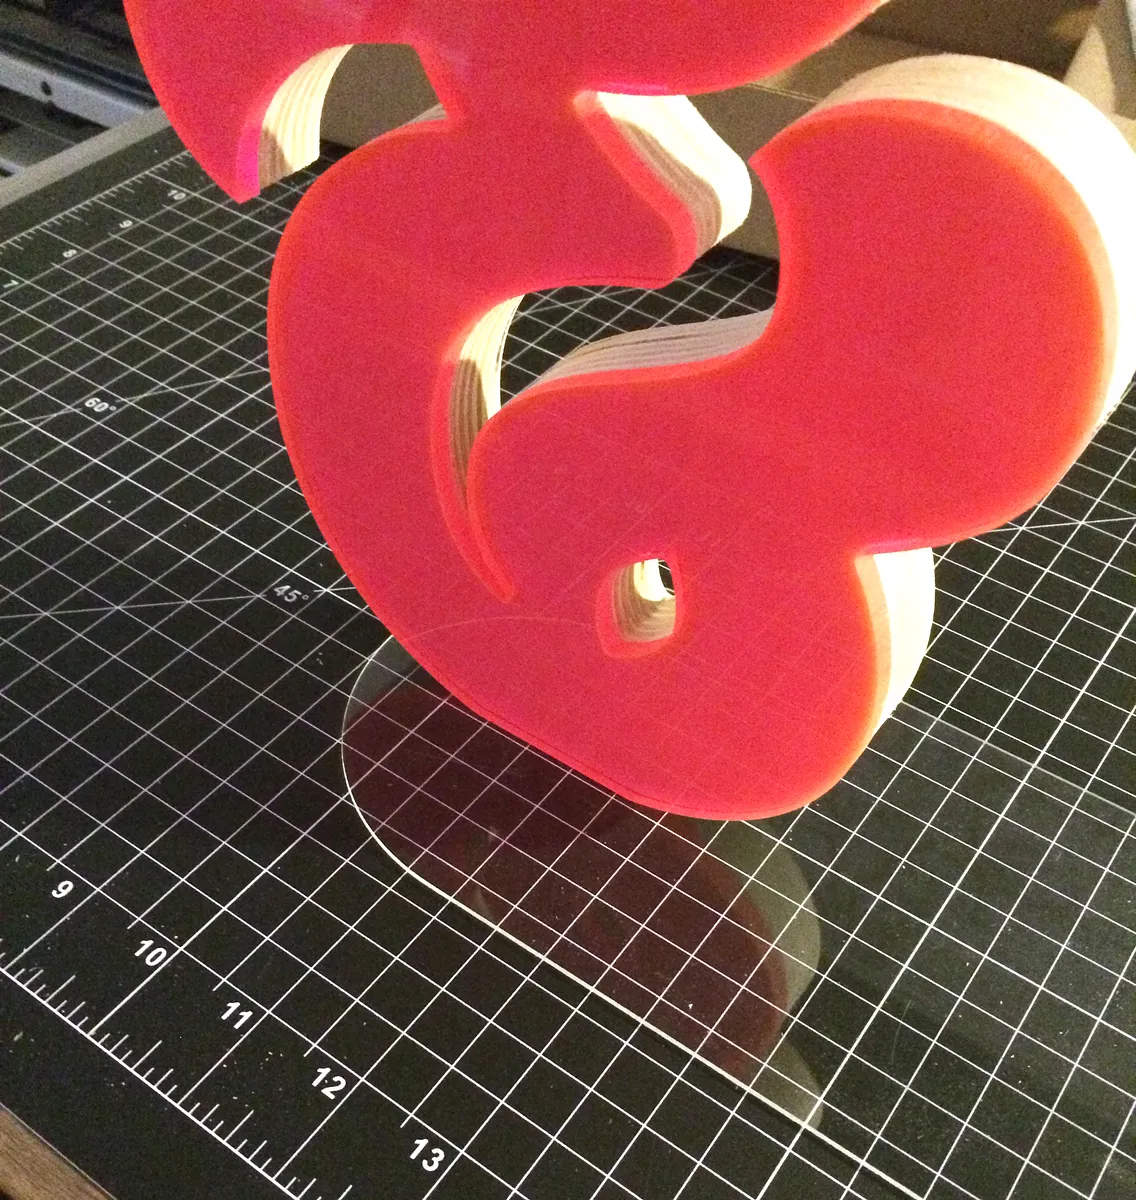
Glue the acrylic ampersand to the plywood ampersand using an even coat of spray adhesive.
Glue the ampersand to the base using super strong glue, I used the Quick Bonding Super Glue - SUPER JET available on the Inventables website.
Estimated time: 10 minutes
Comments
Hi there! I love this project so much! I was wondering if you think using MDF would work for this, or if you strongly recommend the plywood? Thanks!
Sandra Chikerotis · February 03, 2022