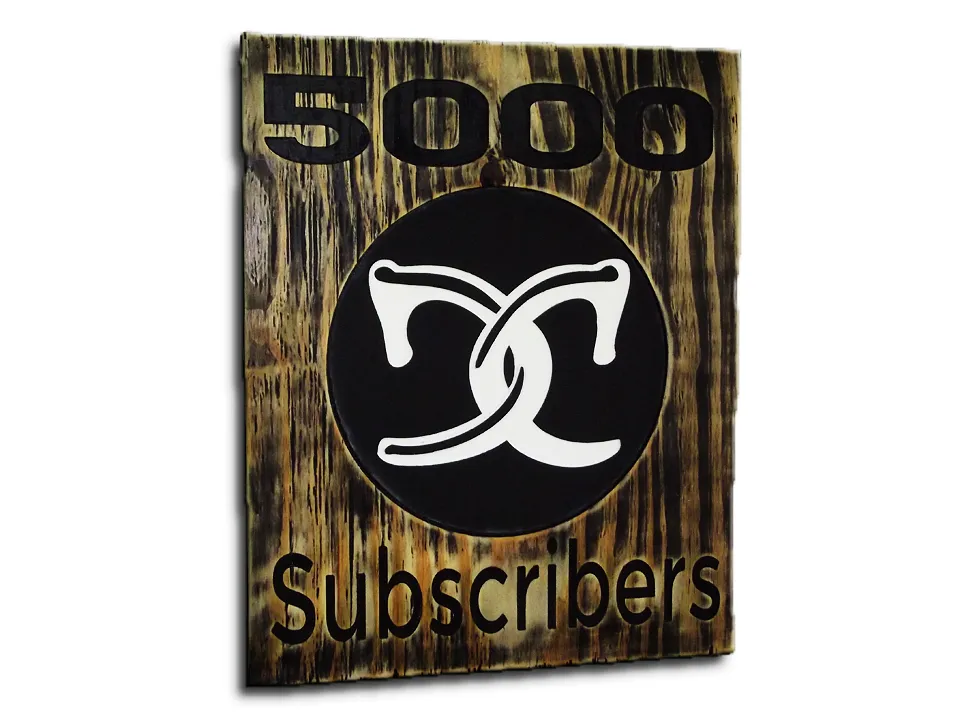

Instructions
Stuff you will need
- 12x12 HDPE black and white
- plywood the size of wood that you want your sign
- spray paint back and clear
- glue
Tools - X-Carve - sander and sandpaper - Easel - razor blade or scraping tool
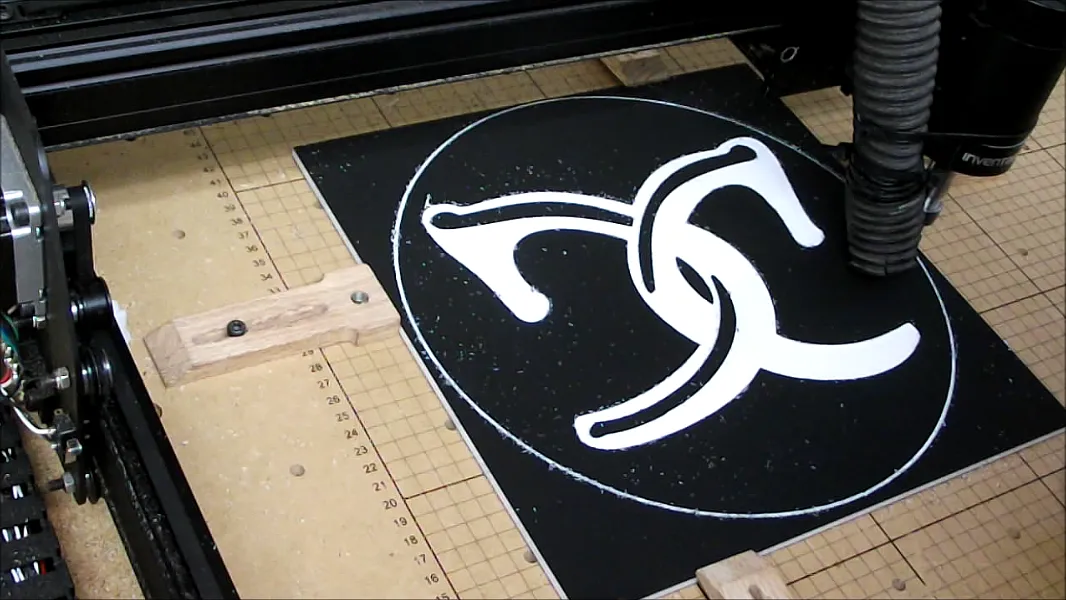
Cutting the Logo
Set up your logo in Easel and Cut it out. Simple!
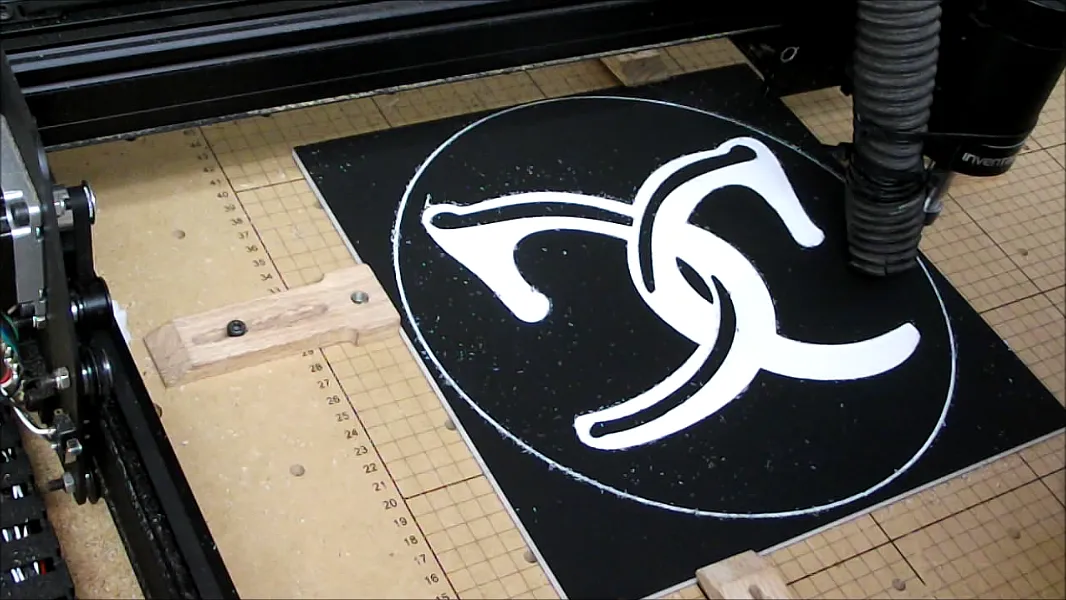
Set the Home point
Set the home point to make the circle come out where you want ..
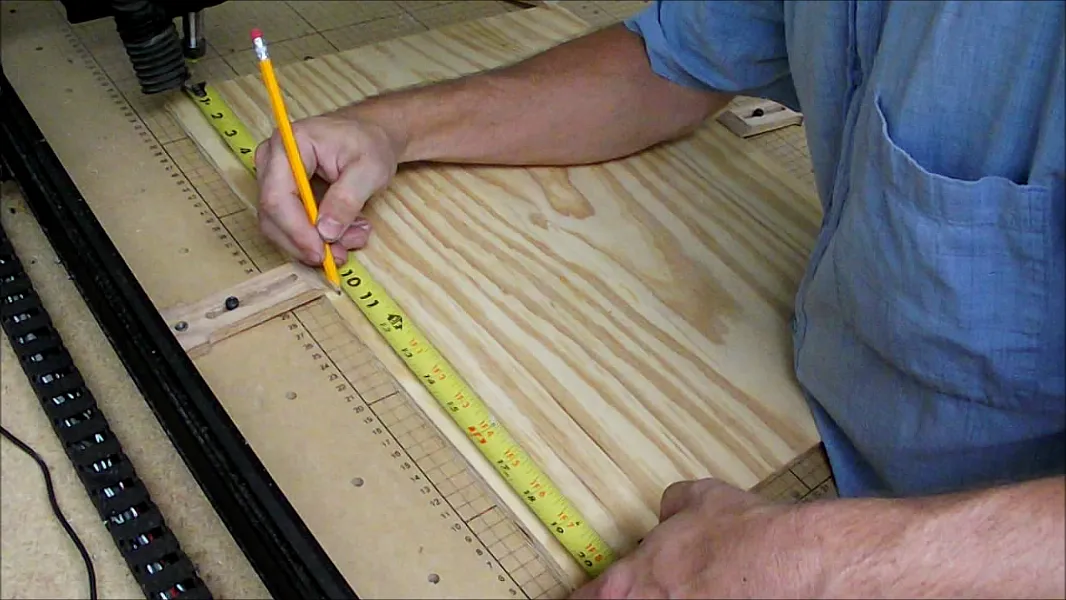
Cutting out the plywood
Set up Easel to cut on the inside of the circle all the way though the plywood.
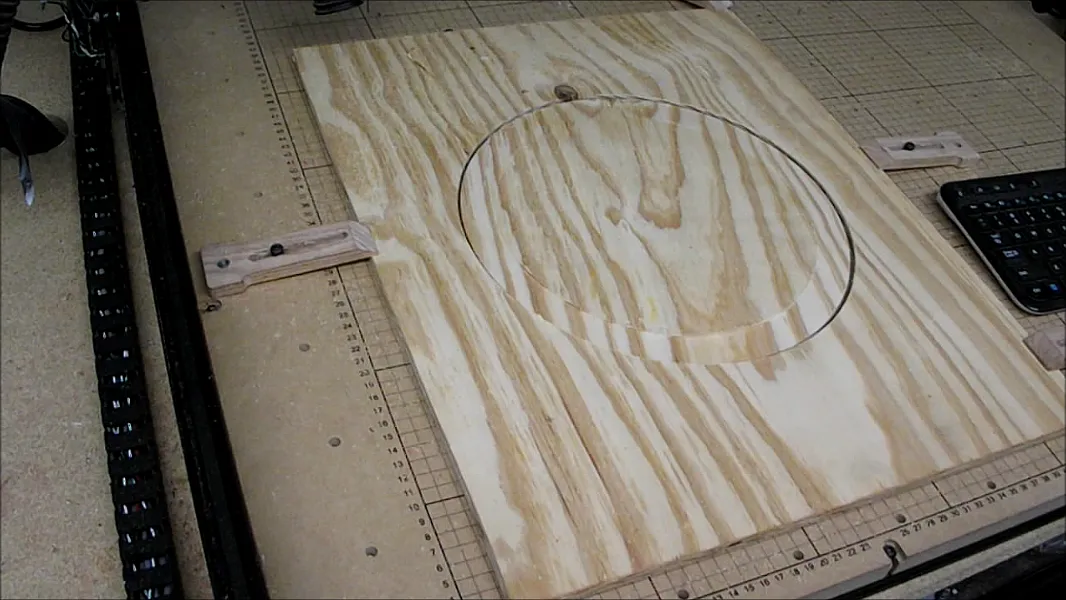
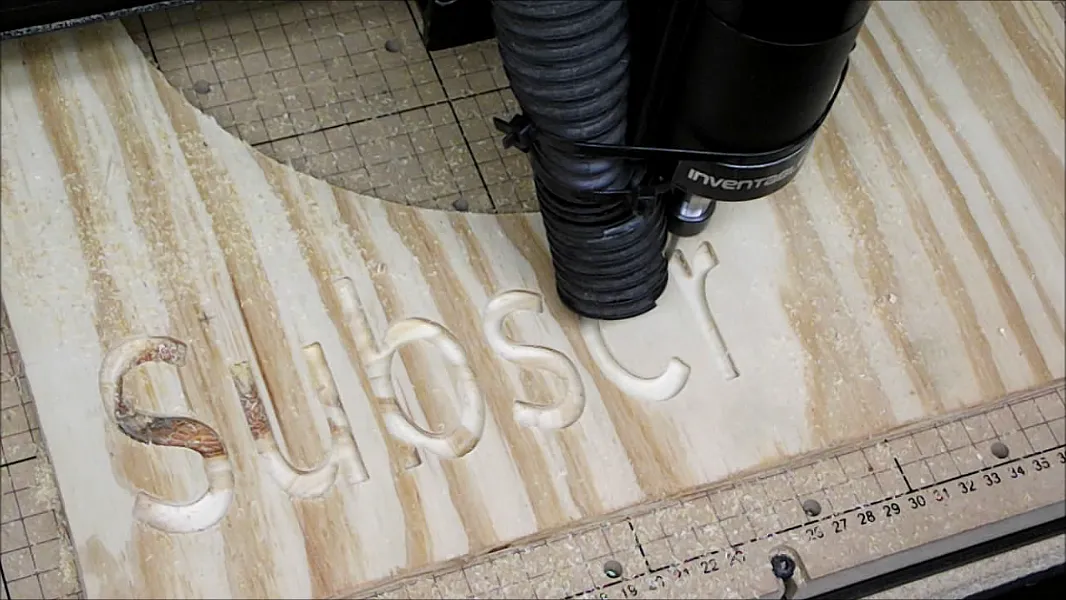
Carve out the Text
Lay out the text in Easel and set back and relax. Remember to select all objects in Easel and center them.
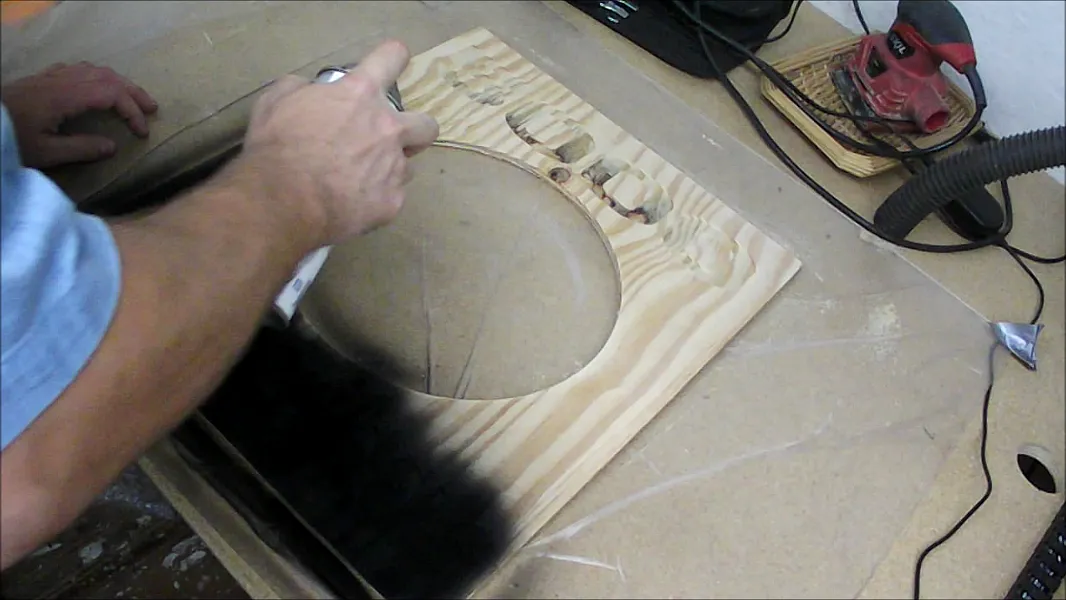
Paint
Paint the plywood black or any color of you choice. Make sure to spray it form all angles. This will ensure maximum coverage.
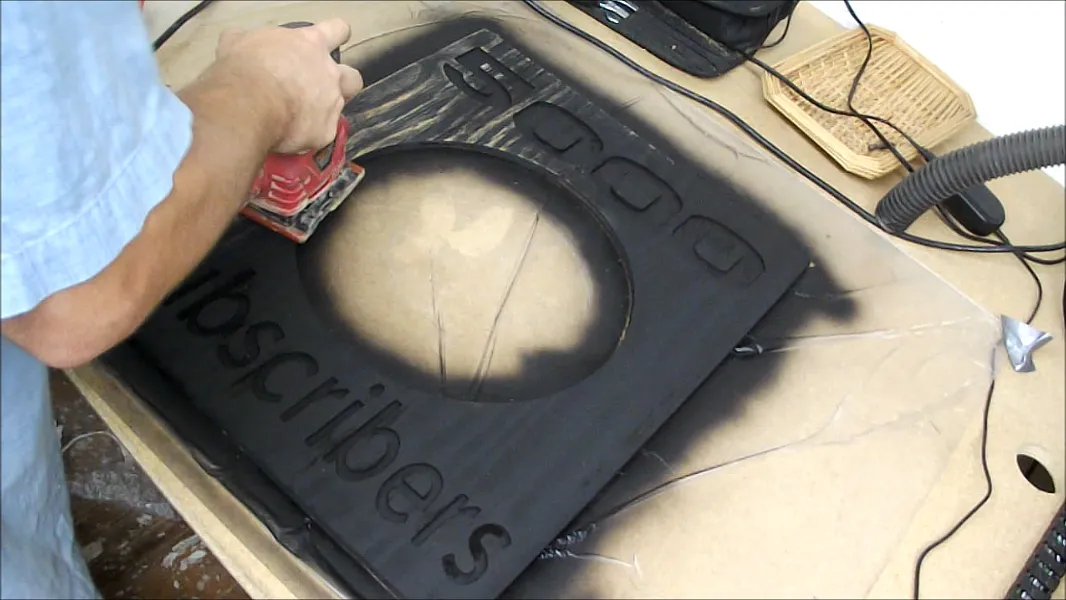
Sand and clear
Sand down the paint to the desired look, remove dust and spray a coat of clear to seal in all the goodness.
Tabs
Use whats left of the HDPE and make tabs for gluing.
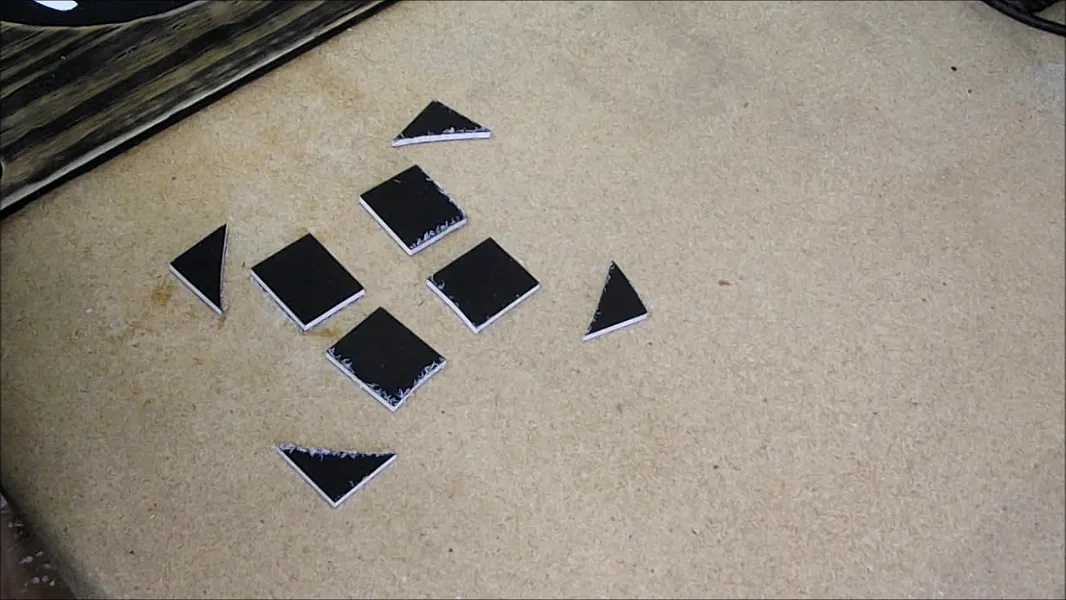
Glue on the tabs
Glue the tabs to the logo and to the plywood.
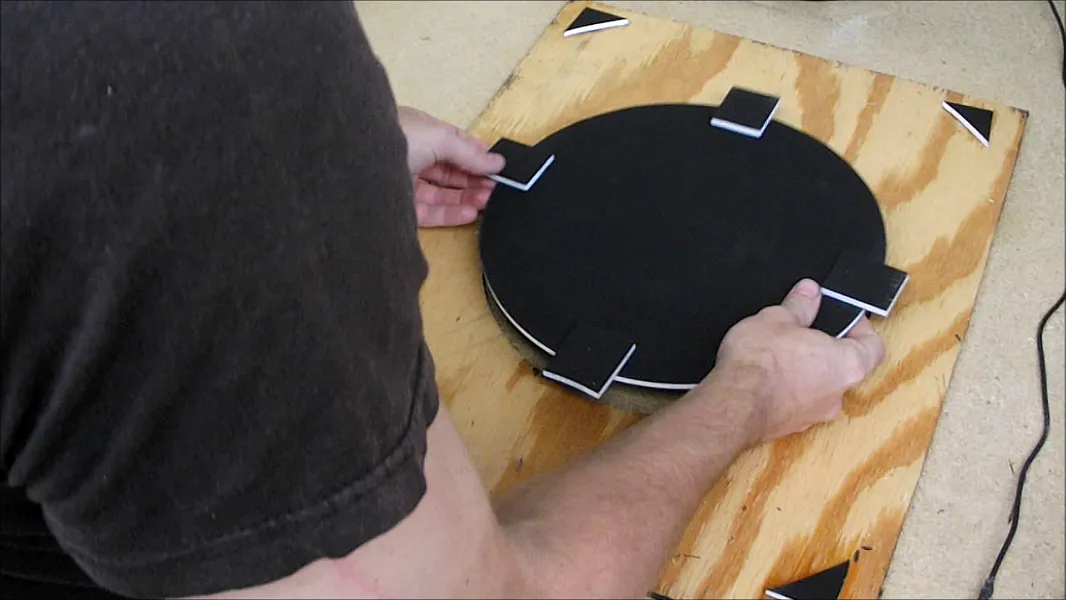
Glue it all up.
Glue the logo into the plywood using the tabs. I used super glue/CA glue in my project I would advise to use epoxy not CA clue.
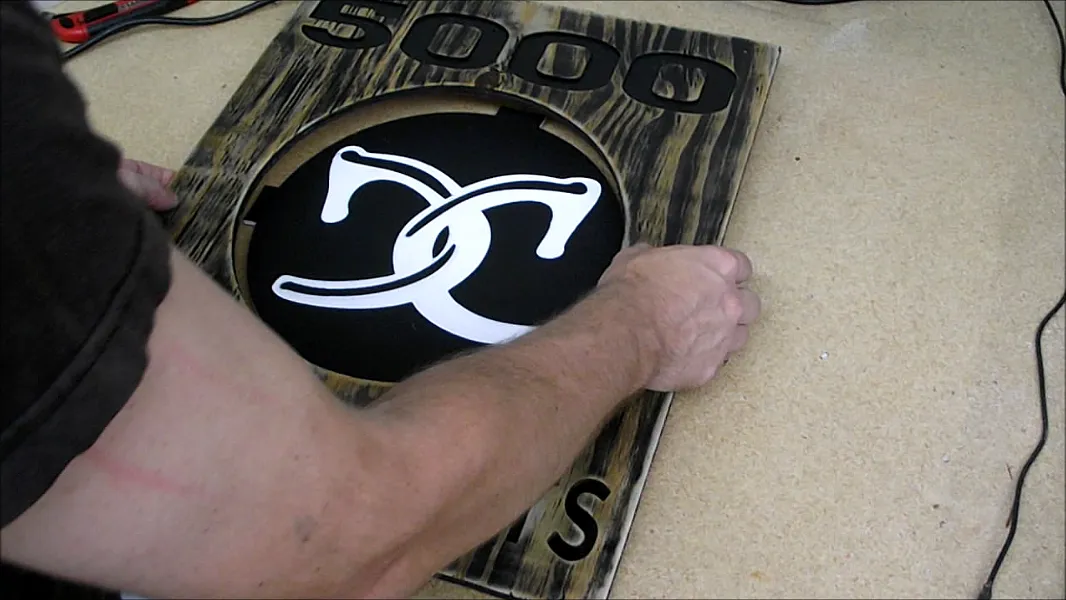
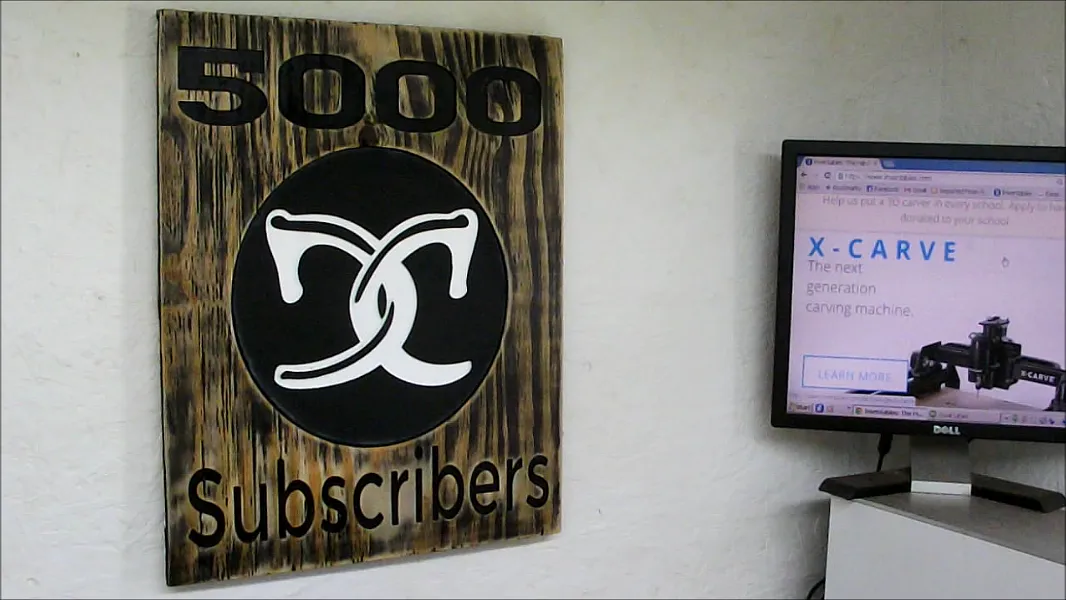
Your Done
Hang it up and set back and admire all your hard work.
Comments
Log in to post a comment to the designer