Workstation Organizer

Instructions
Tool Layout
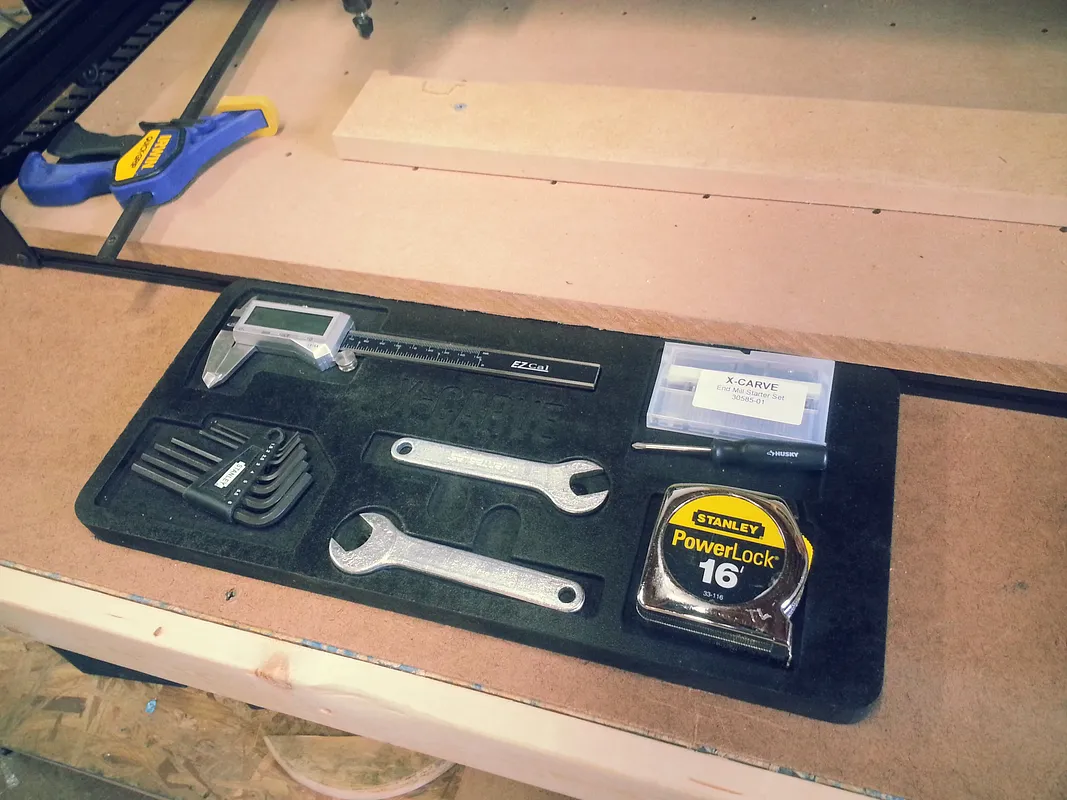
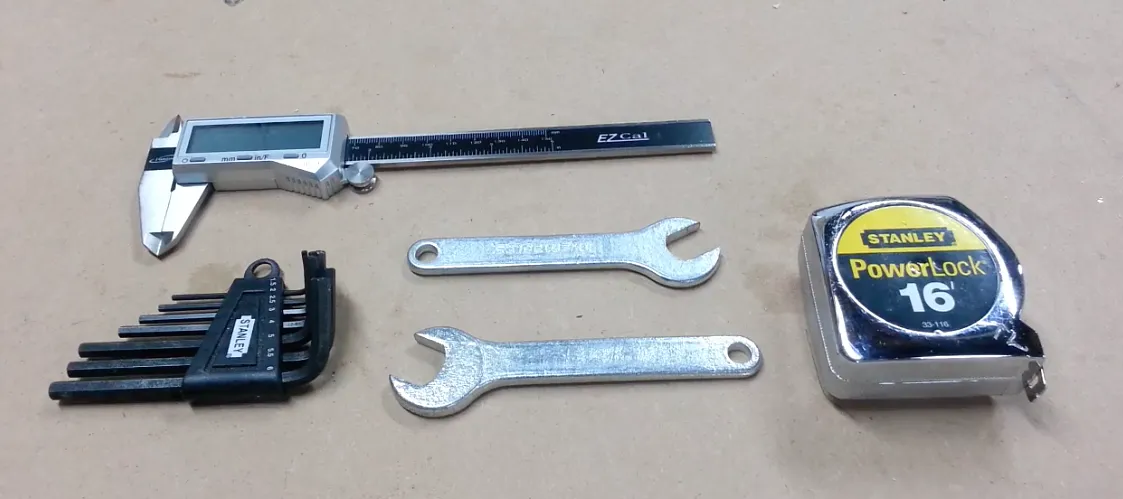
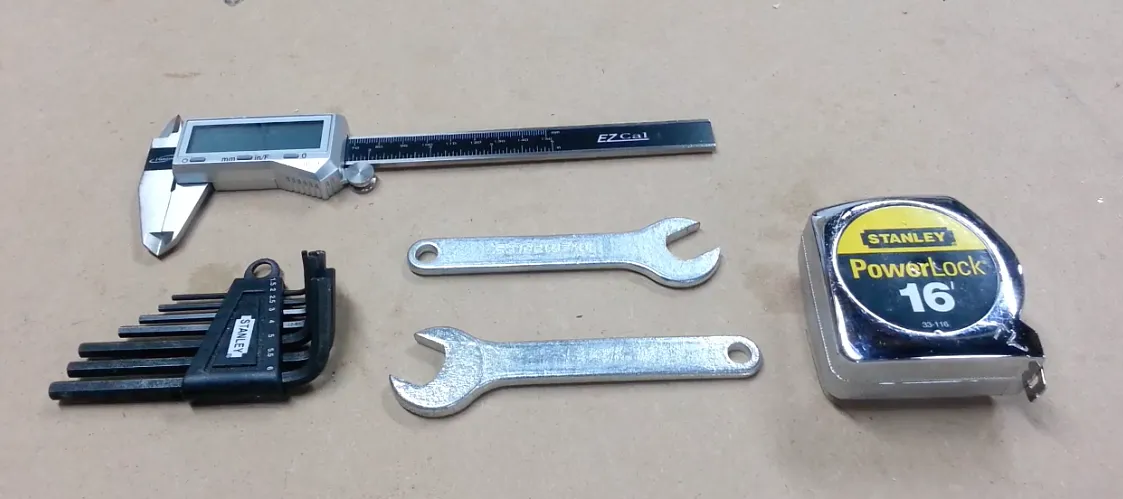
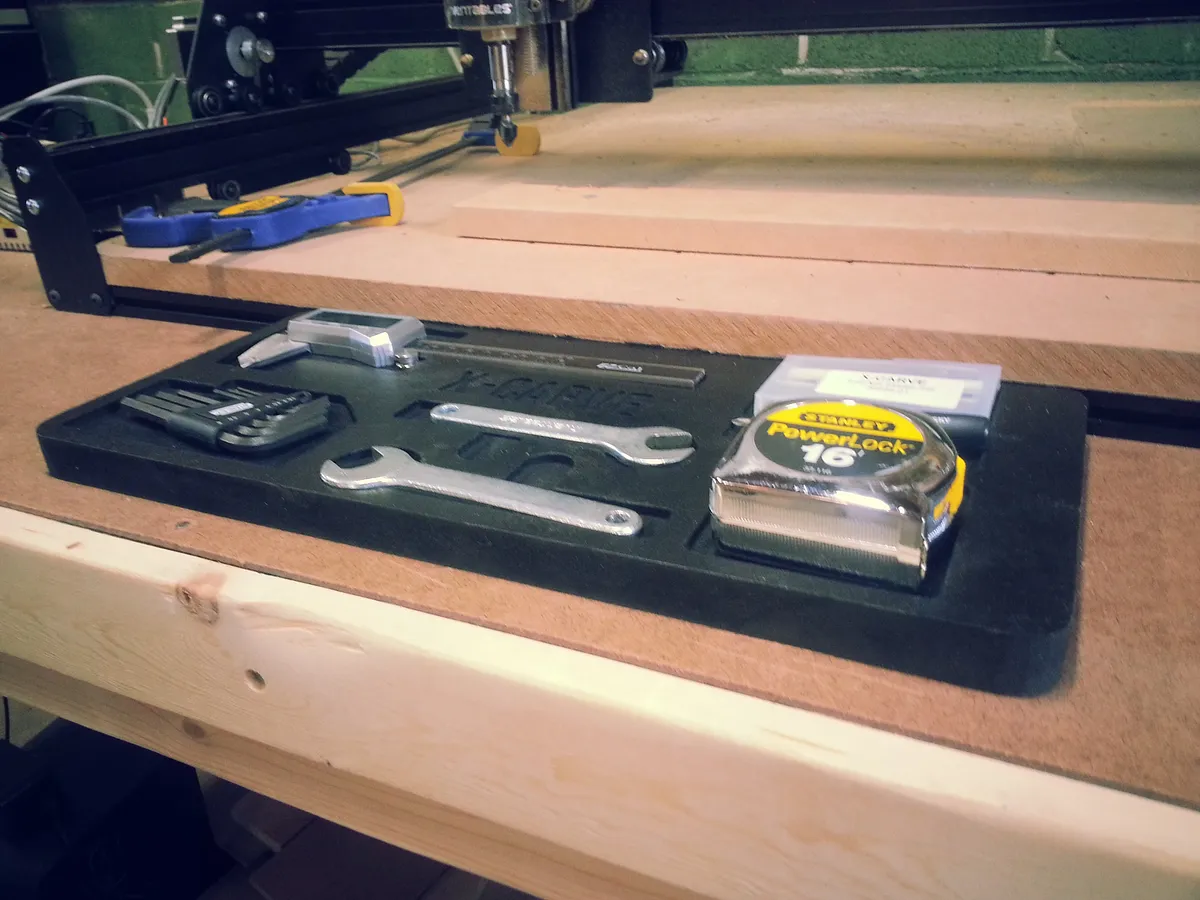
Gather all the tools you would like to incorporate into your organizer. The organizer I created has space for my Digital Calipers, Collet Wrenches, Tape Measure, and allen wrenches plus a small tray for misc. pieces.
Arrange them in a visually pleasing and functional manner. On cardboard or paper create a rough tracing around all tools, we will us this tracing to determine spacing and measurements in our CAD program.
Estimated time: 10 minutes
Designing in CAD
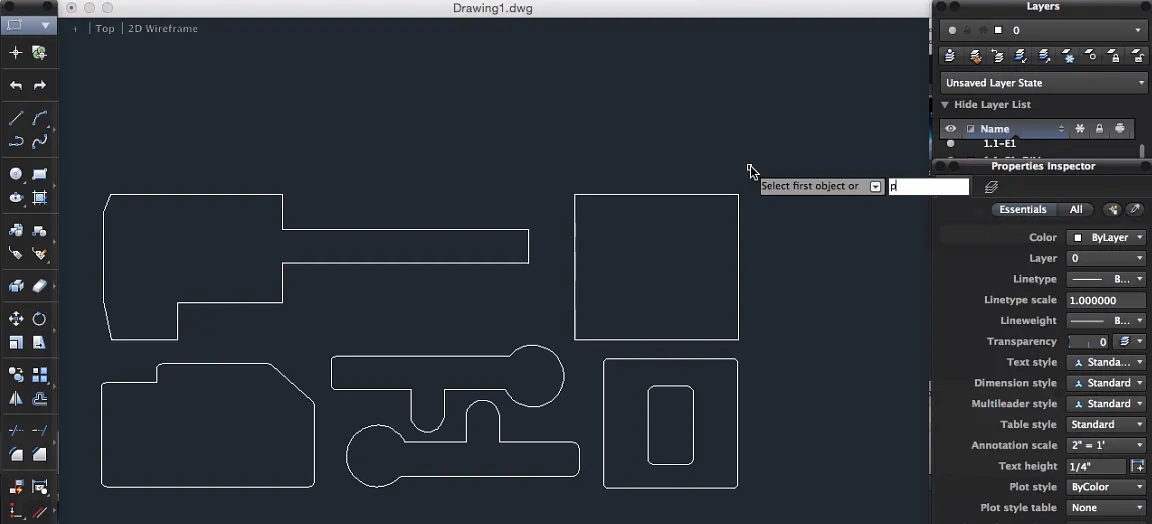
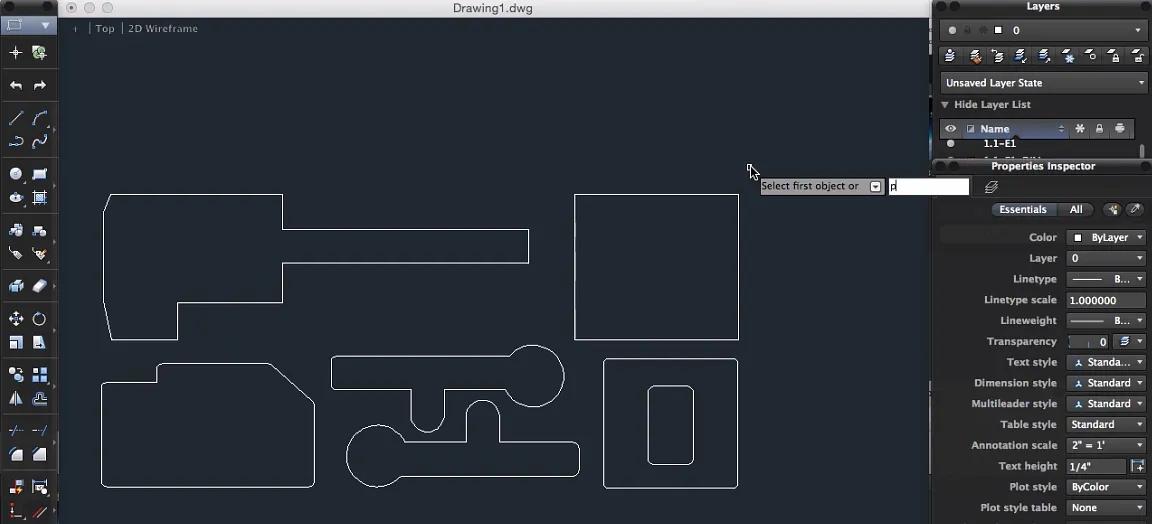
My preferred program for designing parts like this is AutoCAD 2015, however there are my free programs available that can preform similar functions. Using our tracing and the parts themselves design 'pockets' for the tools to fit inside. Imagine that some tools, such as the collet wrenches, may sit below or flush with the surface and would be much easier to access given a slot for your finger.
I exported my file as a .DWG and converted it to an .SVG in Adobe illustrator. It is important to note that your final file type must be a .SVG in order to import into Easel.com.
Estimated time: 30 minutes
Importing to Easel, Test Carve and Final Carve.
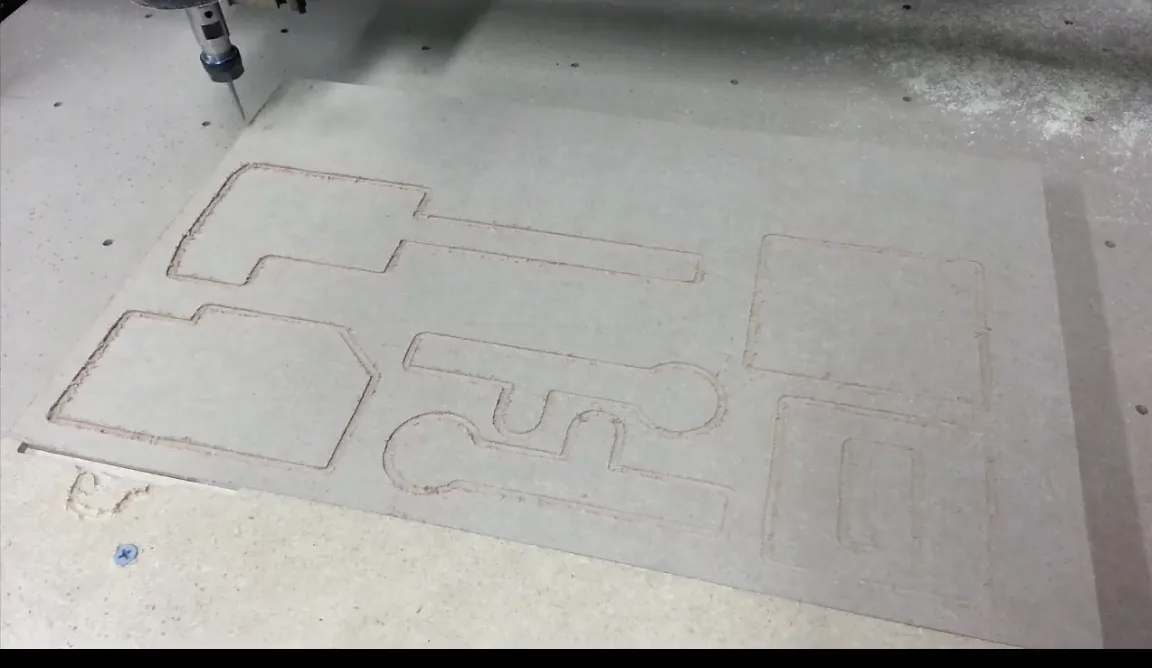
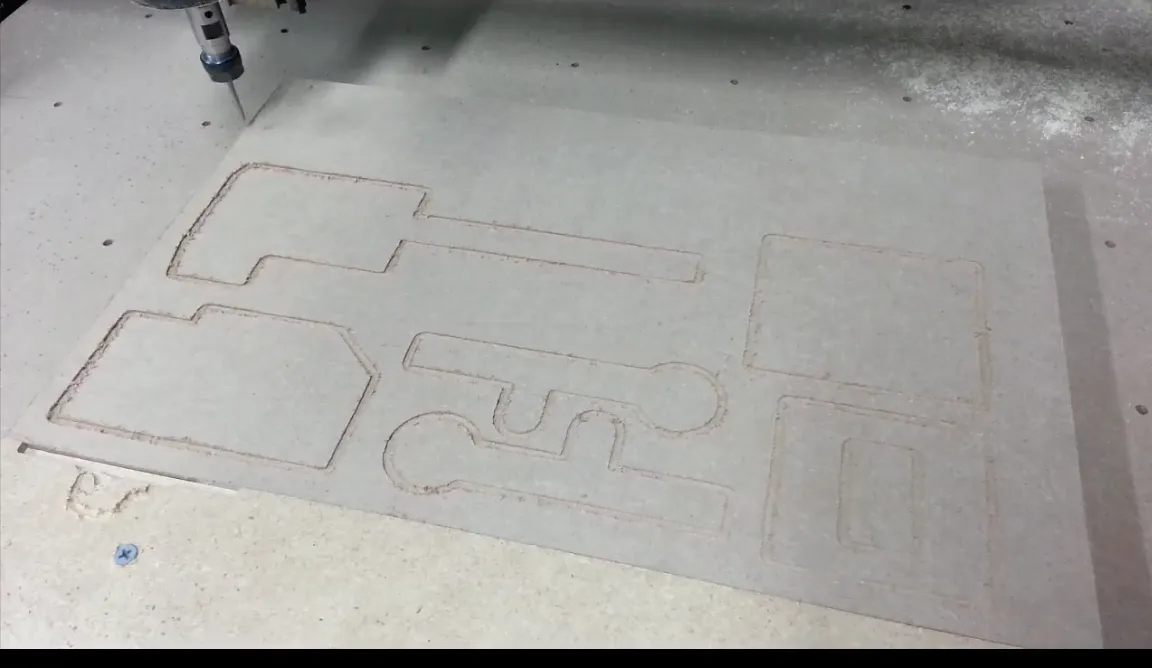
As mentioned previously importing in order to import your design to Easel your file type must be a .SVG. Once imported Select all of your shapes and preform a 'pocket operation' or 'fill' and set your depth 1/4" (0.25)
I recommend preforming a test carve on the back side of your final project or a scrap piece to ensure all tools will fit in there designing location.
Square up your final substrate and Carve out the project.
Estimated time: 20 minutes
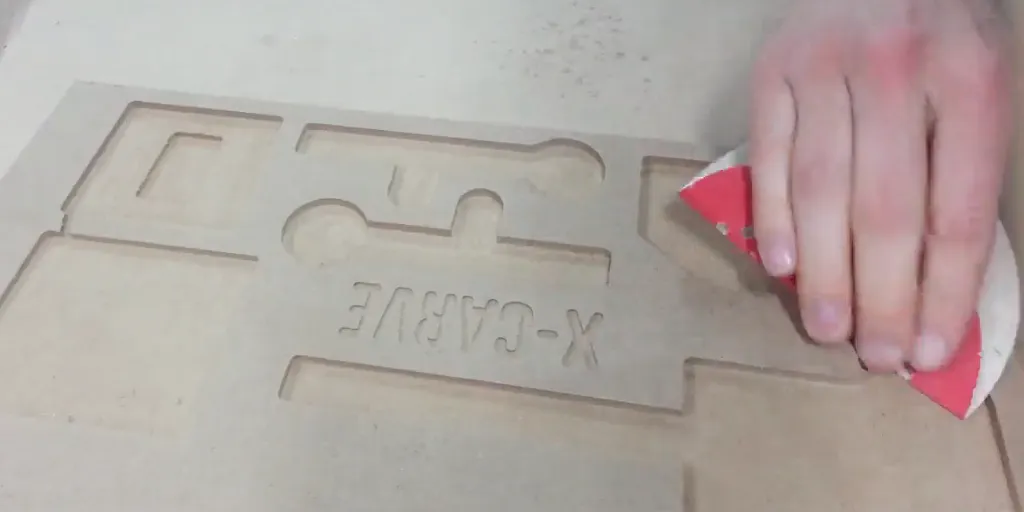
Sand Interior Edges
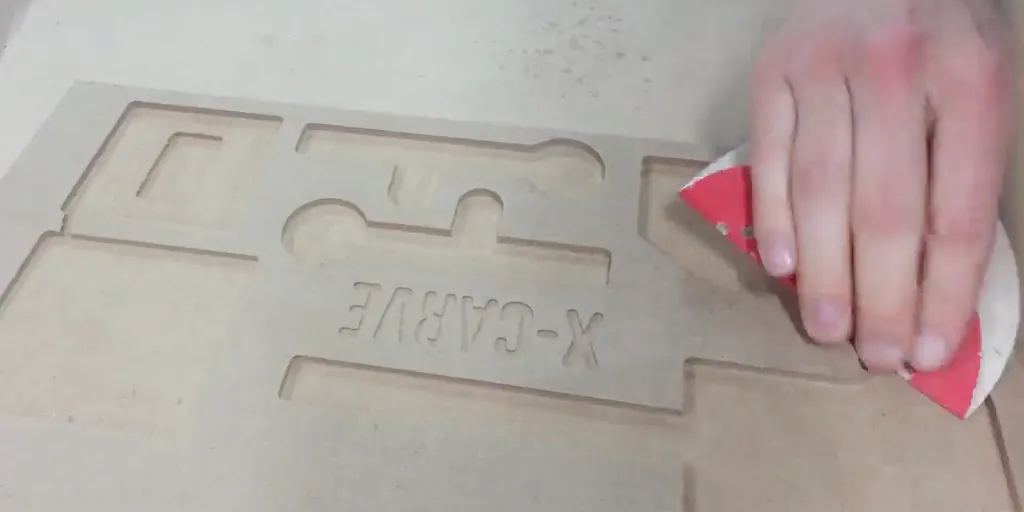
MDF has a tendency to tear out or get small "fuzzies" around the carved edges that are easily and quickly removed with sandpaper.
Estimated time: 3 minutes
Cut to final Size and Round Corners
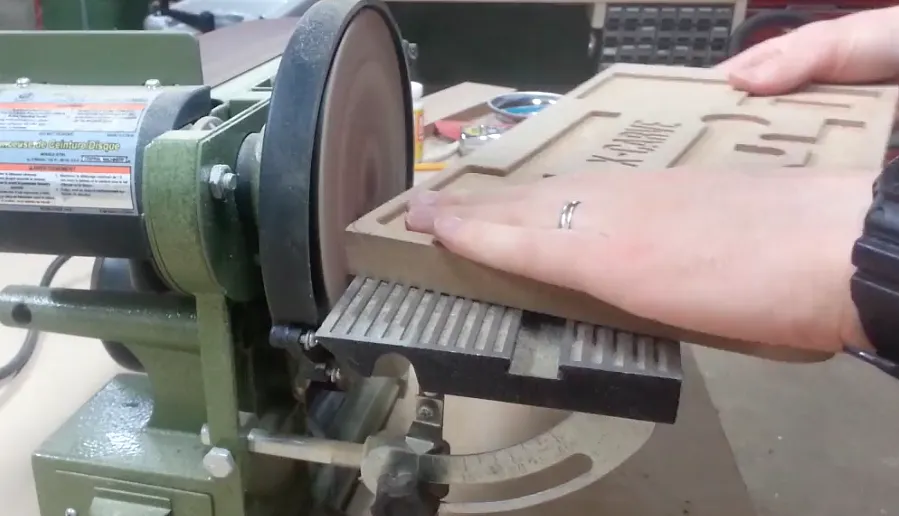
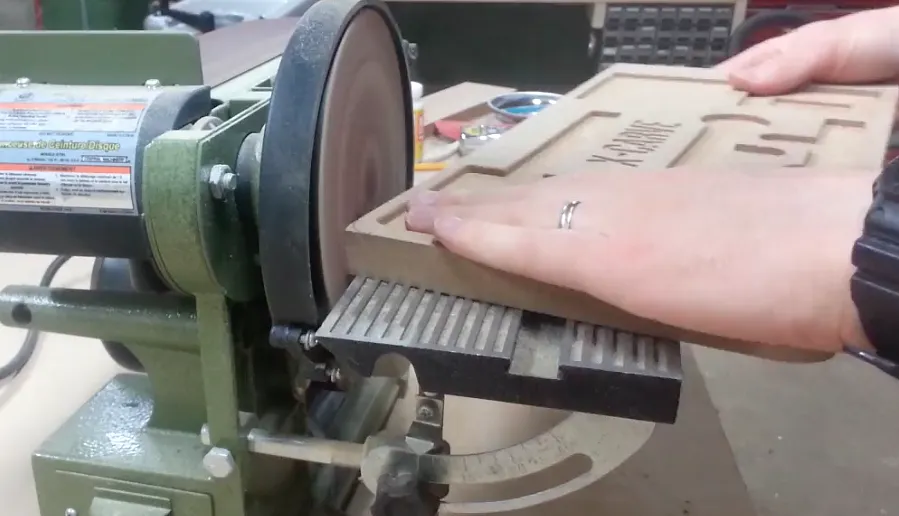
Cut any extra MDF from top bottom or sides of your organizer to minimize its footprint on your workbench.
Mark the corners and cut/sand away the corners to create a rounded edge.
Attach Magnets
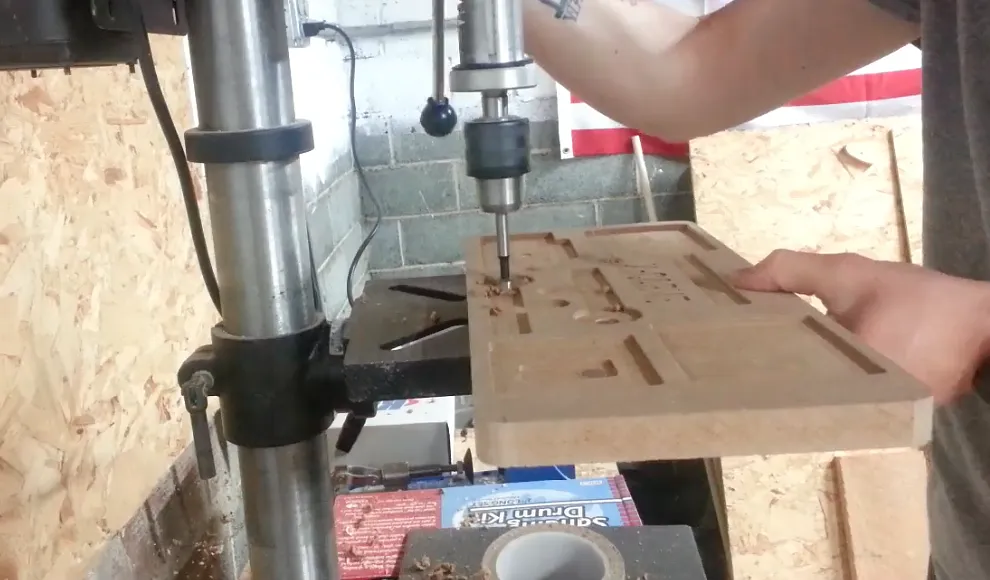
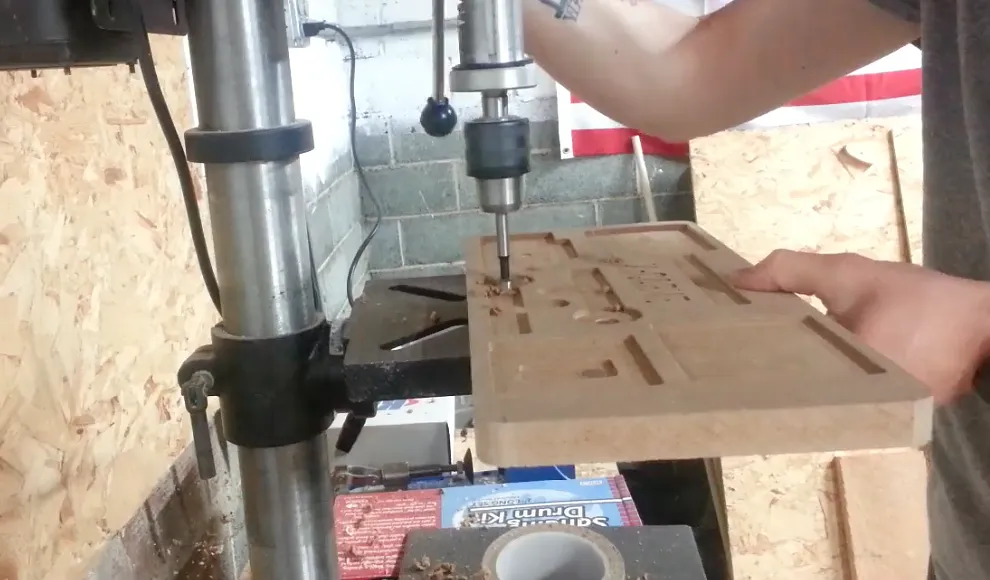
Drill out pilot holes within the tool pockets to snuggly fit a rare earth magnet. Hot glue the magnets in place. Adding magnets helps the tools snap back into the organizer as well as giving you the option to hang the organizer on the wall saving you space on your bench.
Estimated time: 5 minutes
Paint and Finish
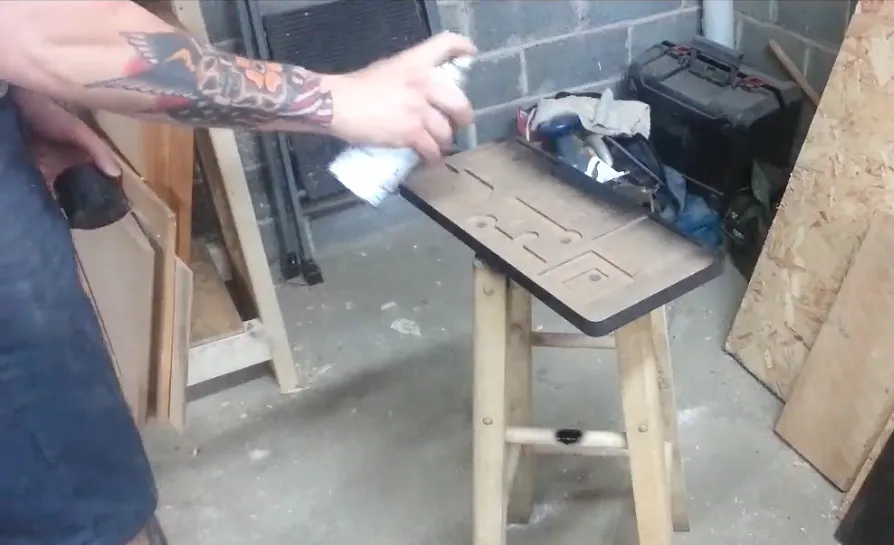
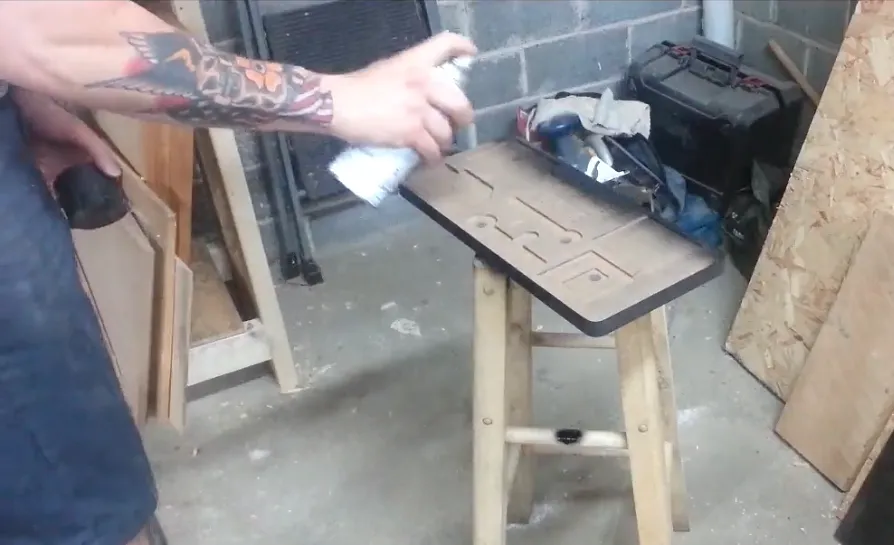
Wipe away and debris or dust and spray paint your organizer starting with the outside edges and then spraying the top.
I used two coats of flat black paint and one coat or clear spray on polyurethane.
Estimated time: 5 minutes
Organize your Tools
Add all your tools and get back to Carving!
Estimated time: 1 minutes
Comments
I will present it my dad)
Easel User · June 22, 2017
Instead of a groove to for your finger you can make make a pocket under one end of the tool. Push down on the tool at that end, the pocket edge acts as a lever pivot point and the other end of the tool pops up. No extra finger space required, your tool holder can be more compact or have MORE tools.
norman mcgeoch · October 20, 2017