Honeycomb Tealight Candle Holders

Instructions
Overview
I designed these sets as part of Christmas gifts for my family. If you like these and want to make them, go for it! If you plan to sell these, please credit me in all of your product descriptions by linking to this project page. That’s all I ask!
I designed these in Illustrator/Easel to compliment large candles and a hexagonal snowflake trivet that I also made. I went with sets of three, but something like 6 would be cool too.
For materials, you’ll need something like a 3/4 board, a 1/4 sheet of corian, some CA glue and whatever you want to finish with. I usually just finish with mineral oil and beeswax, though.
For simplicity, I made the pockets in this Easel file fills instead of cuts. If your comfortable with it, I would definitely recommend using a cut instead of a fill here, but you'll want to use tabs if you do that.
Estimated time: 1 minutes
Cut Corian Bases
Using the 1/8" straight bit, cut the corian bases. Pretty simple. I used tabs here. Depending on how comfortable you are with cutting the corian, you might consider slowing down the speeds a bit.
Estimated time: 10 minutes
Cut Wood Pieces
Using the same 1/8" bit, you used to cut the corian bases, cut the wood pieces. I setup this Easel file for a 3/4 board, but you'll want something like 17-20mm here.
NOTE: I made the center pockets fills here for the public project, but if you're cool with using tabs, save yourself some time and mess by changing the circles to paths instead of fills, and add some nice beefy tabs to keep that leftover circle in place.
Estimated time: 45 minutes
Assemble & Finish
After you've cut all the pieces, use CA glue to mount the bases to the wood. I used one line of glue in a hexagonal shape so no residue was visible on the corian base.
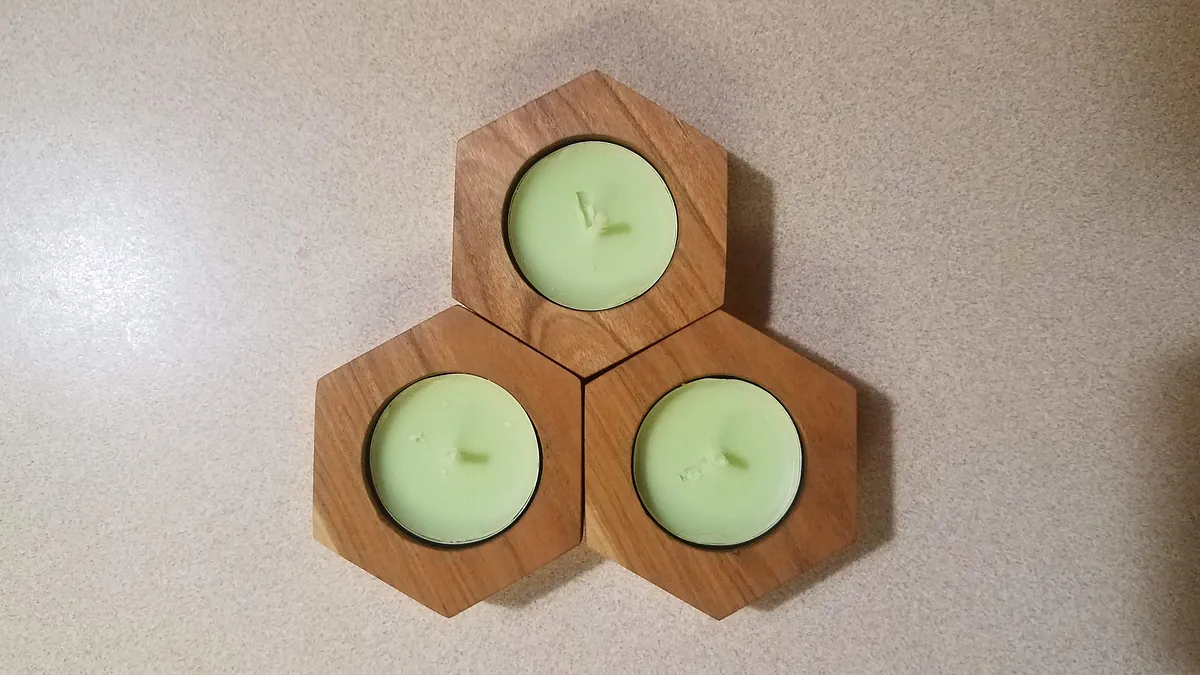
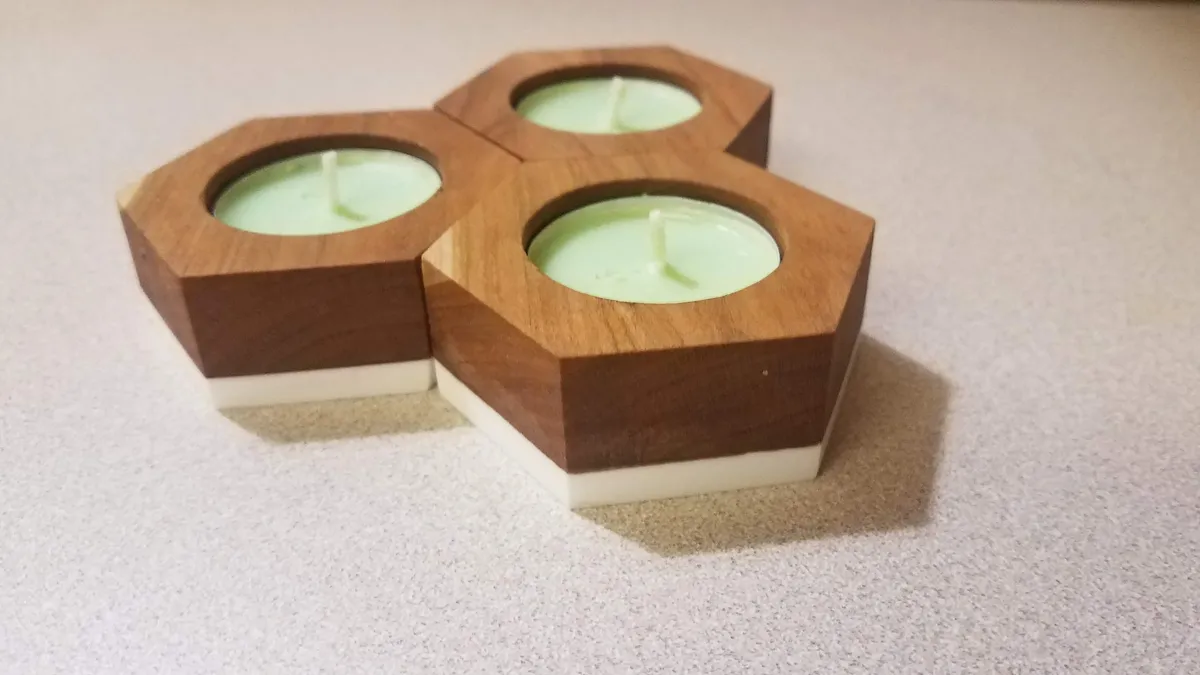
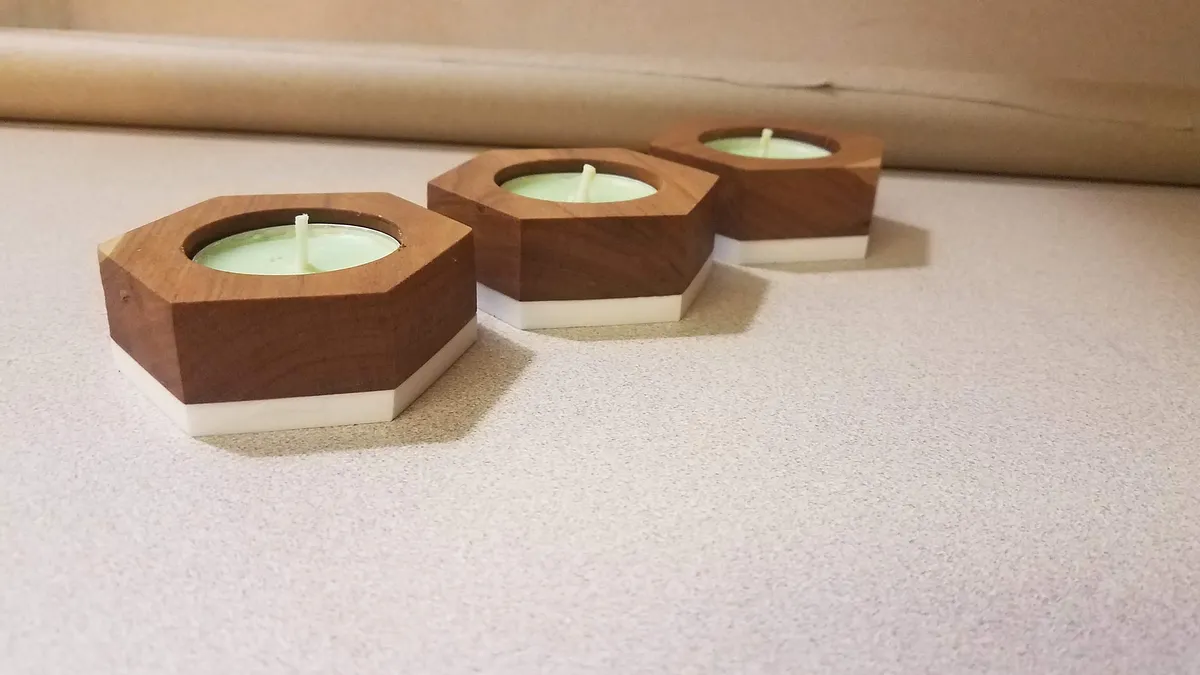
After the glue has setup, use a disc sander on each edge to make sure the pieces are flush and straight. You'll notice in the pictures above, I didn't do this and got a wonky side. You can sand these by hand, but that's the risk you take. It was also a good reminder to take photos of the nice work, instead of the practice work if you're going to post online, but whatever. They still convey the idea here.
After making sure all of the sides are sanded square, hit the piece with some fine grit like 320 grit and finish with whatever you like. It's not like tealight candles are a huge source of heat, but fire is fire. Don't use anything that is like extra flammable haha. I just used my go to mineral oil and beeswax.
Estimated time: 20 minutes
Comments
Hey Fred, looks like the projects not shared out? It's awesome and would love to give it a shot, maybe play with different materials. By your description it sounded like it was intended to be public, so just wanted to see if you were able to switch it? Thanks for sharing, regardless!
Camry Fedei · February 08, 2019
Hi Camry, I apologize. I'm not sure why you wouldn't be able to access it? I have it checked as public :/ Can you tell me if you're unable to access my other projects? Maybe someone on here or from Inventables can help me get that working for you.
Fred Housel · February 09, 2019
Nah, I had the same problem accessing a couple others of yours that I tried (thinking the same way you were). No worries though, I made one similar enough this weekend and still got something similar. Thanks for your quick response! Cheers
Camry Fedei · February 10, 2019
I'm sorry... I put in a ticket earlier today with Inventables. I've gone through everything and can't see where I went wrong. Definitely want people to be able to use and build off of my projects. Hopefully they can show me what happened and I can save you some time on another project down the road.
Fred Housel · February 10, 2019
Hey Camry, I reached out to Inventables and they showed me where I went wrong. I assumed checking public and posting the link was all I needed to do. I didn't realize I also had to share in the easel project. I think I fixed all of my projects! Still would like to see your candle holders!
Fred Housel · February 11, 2019
Hey Fred, I love these I thought the time was a little long. I wanted to point out that if you brake the wood cutting into to runs; 1/8 in for the outline and a bigger for the inside hole (I have a 1/2 in bit) the time can be cut down to under 10 min for each thanks for sharing
Rafi BernsteinPro · October 02, 2019
Thanks for the suggestion Rafi. In my note I suggest doing this, but for anyone just getting started I wanted to make it as simple as possible. Definitely recommend doing what you're talking about here.
Fred Housel · October 22, 2019
Rafi, if you made some of these and have some time, I'd love it if you're able to add a picture or two to this project page!
Fred Housel · October 22, 2019