Simple Sign
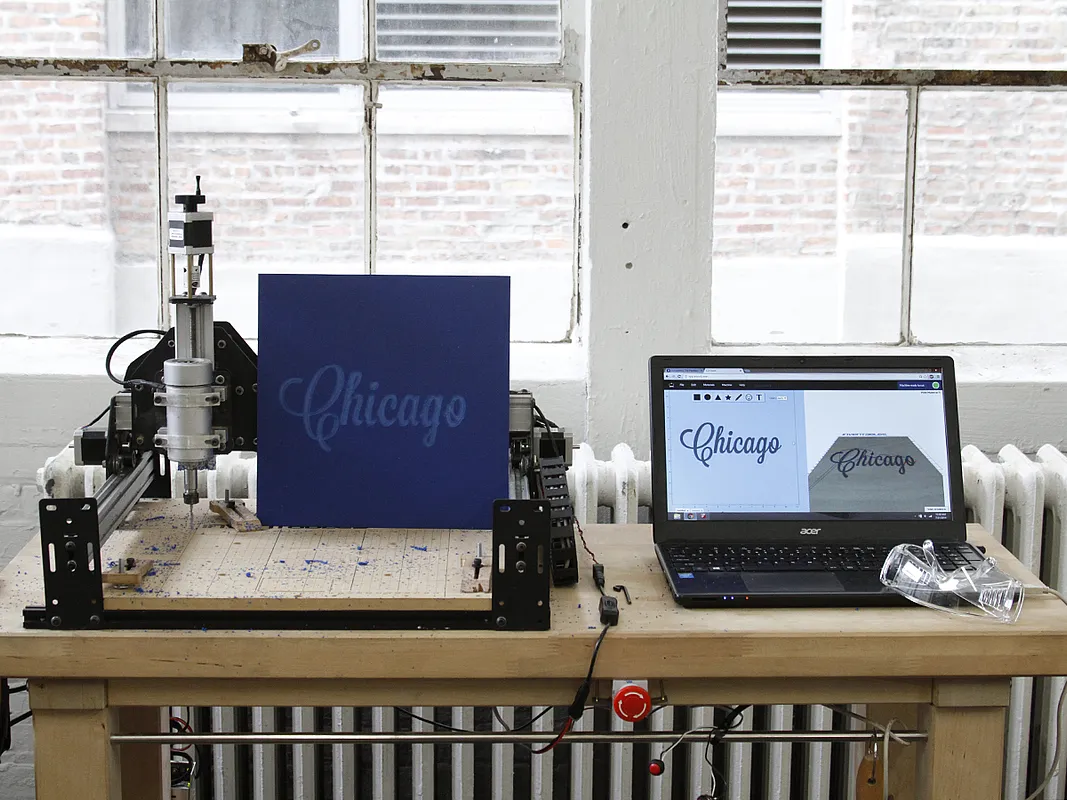

Instructions
1
Step 1: Material Setup
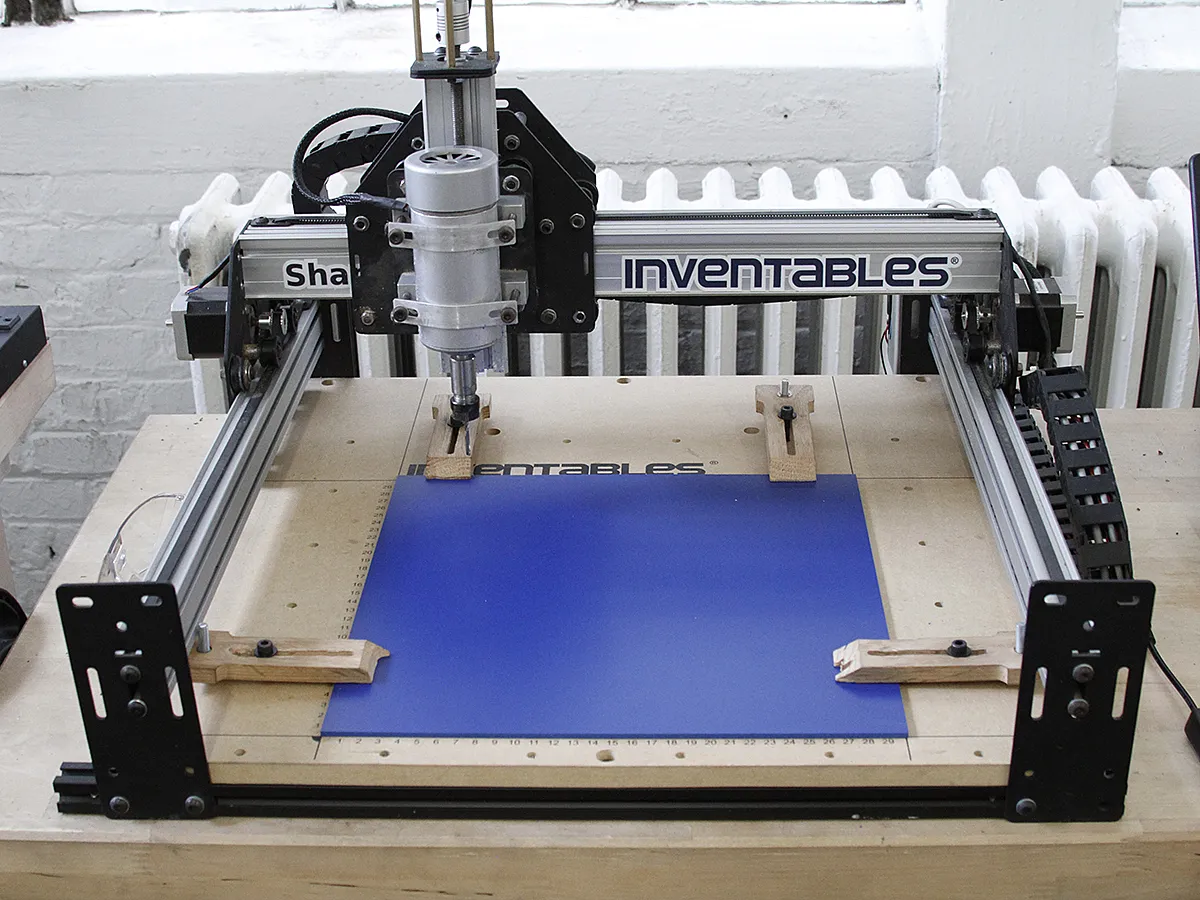
Clamp your material down on all four corners like this:
2
Step 2: Install your bit
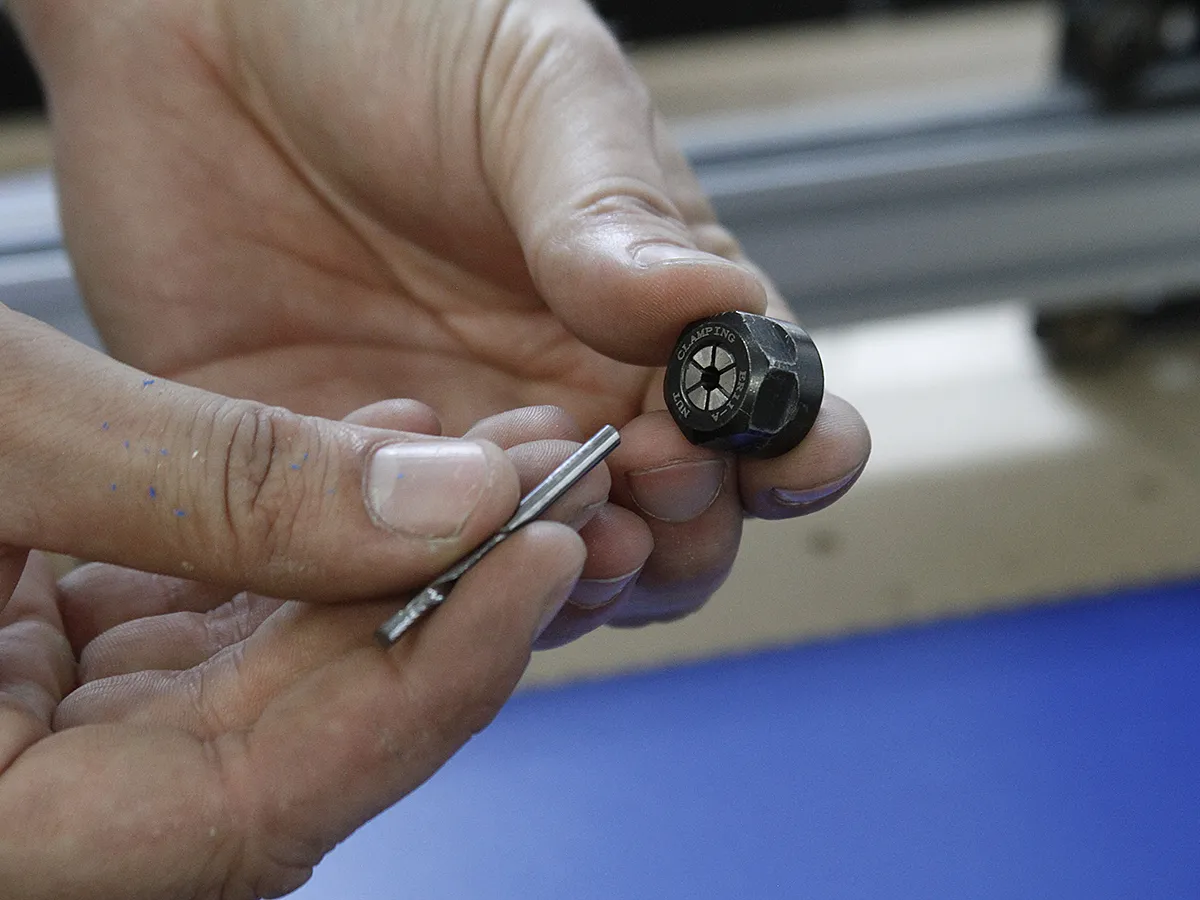
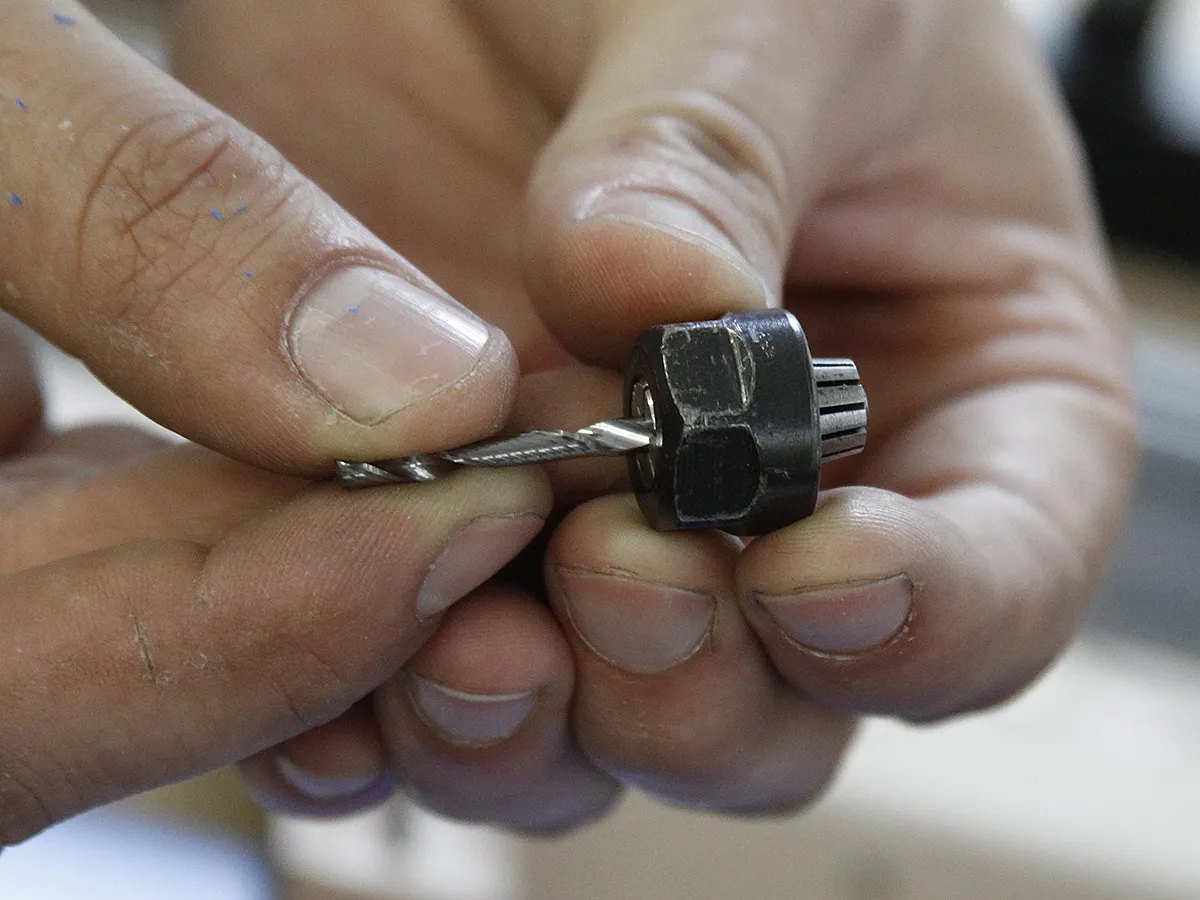
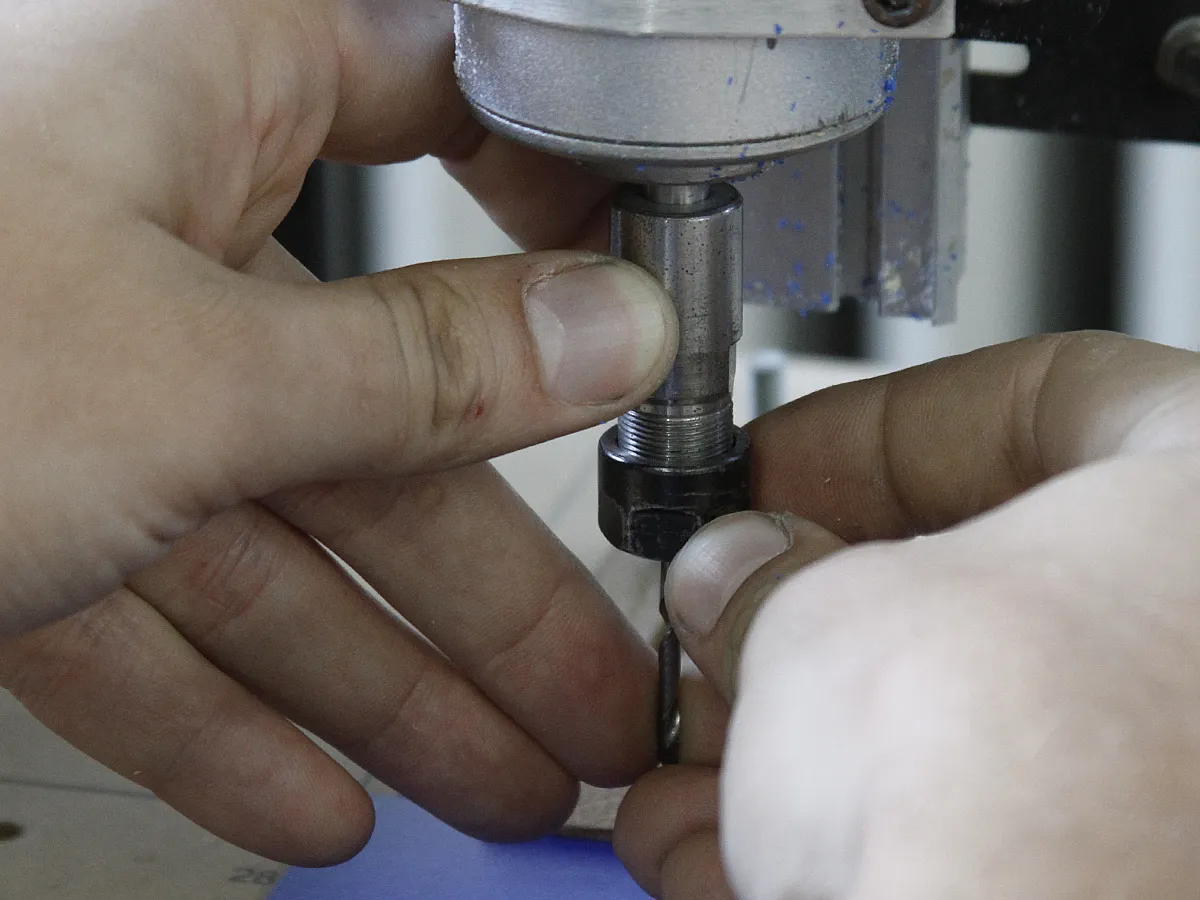
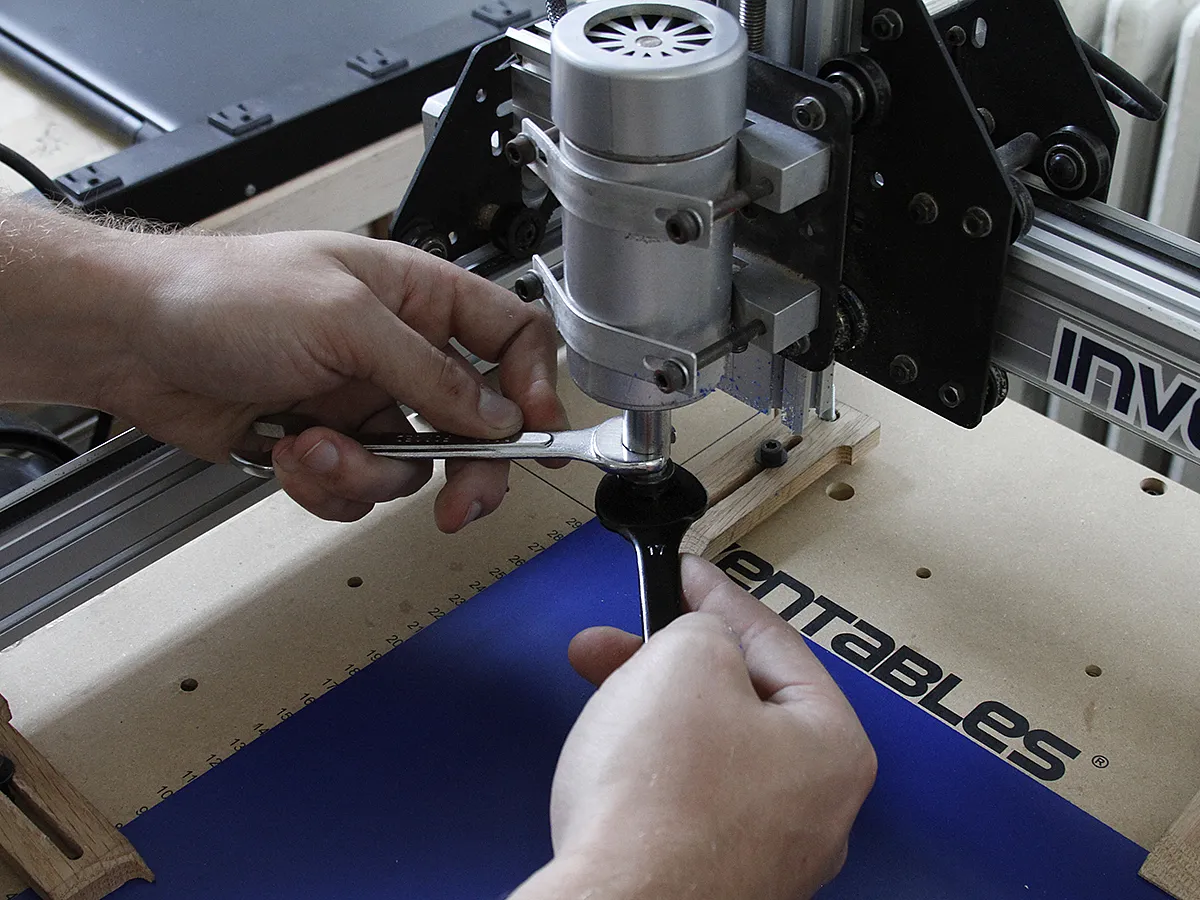
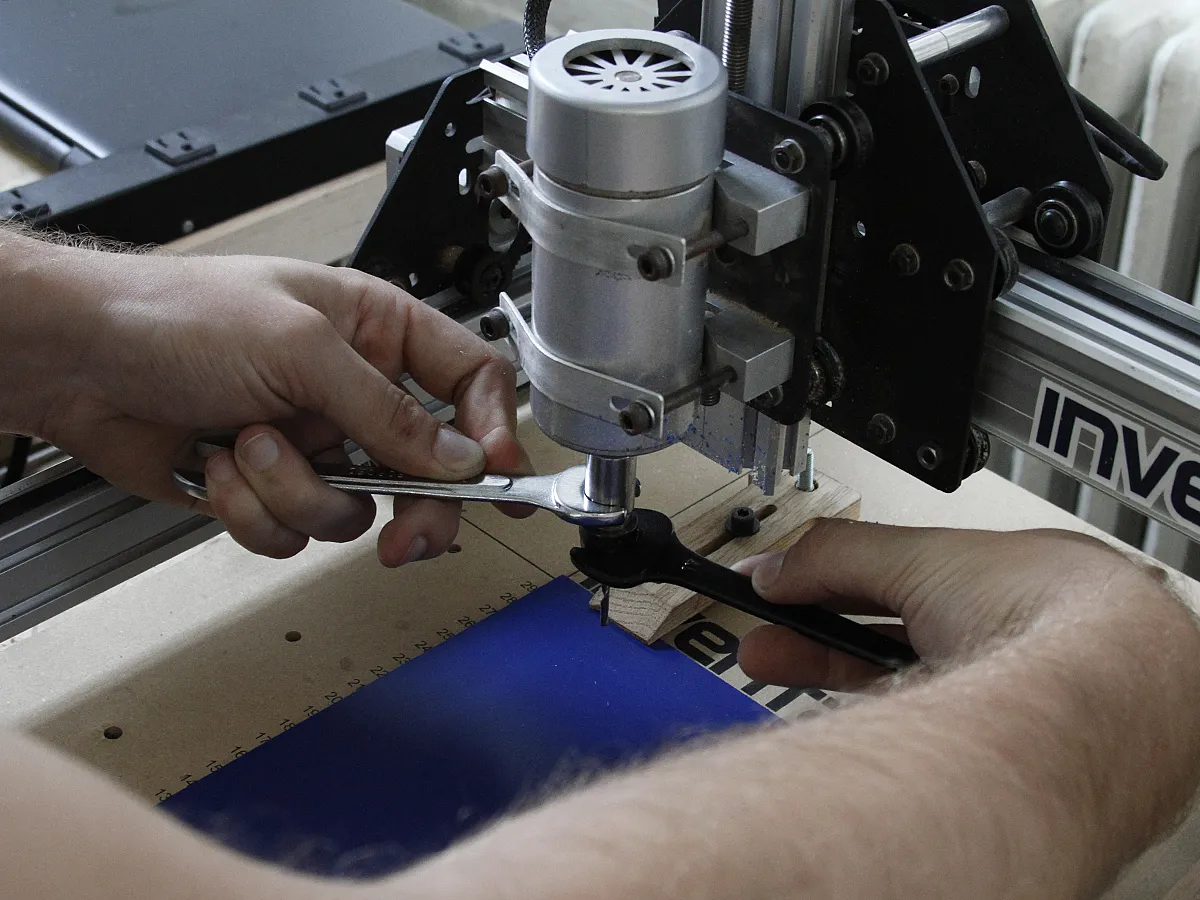
Slide the bit that came with your machine into the spindle and tighten it like this:
3
Step 3: Machine Setup
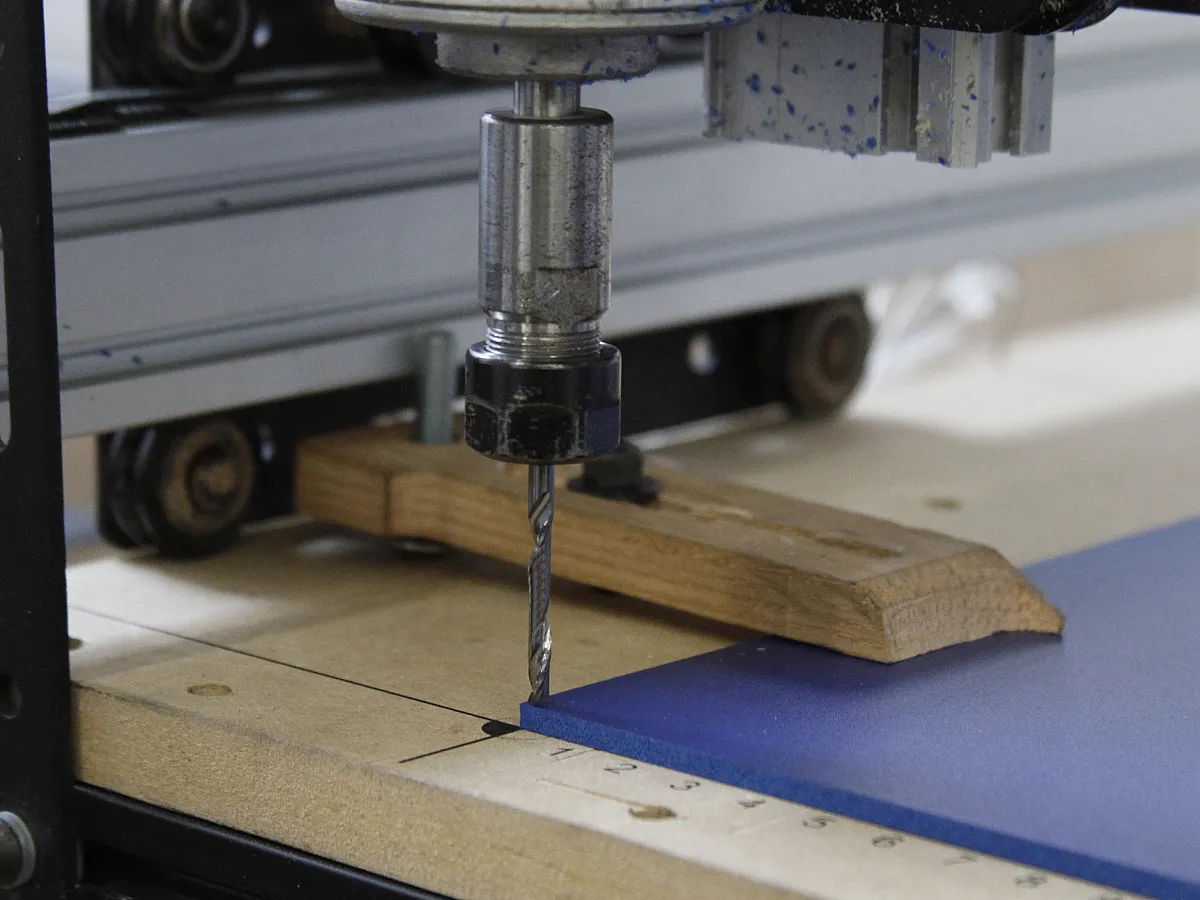
Gently move the bit to the origin. If it's hard to move check to make sure that there is no power to your machine.
4
Step 4: Easel
Power up your machine and start designing in Easel. When you're satisfied with your design click "Ready to Carve" in the upper right hand corner and follow Easel's instructions. Don't worry about the material and bit measurements, they're preset to the correct values.
Comments