Coffee Wall Art with Changable Color Insert
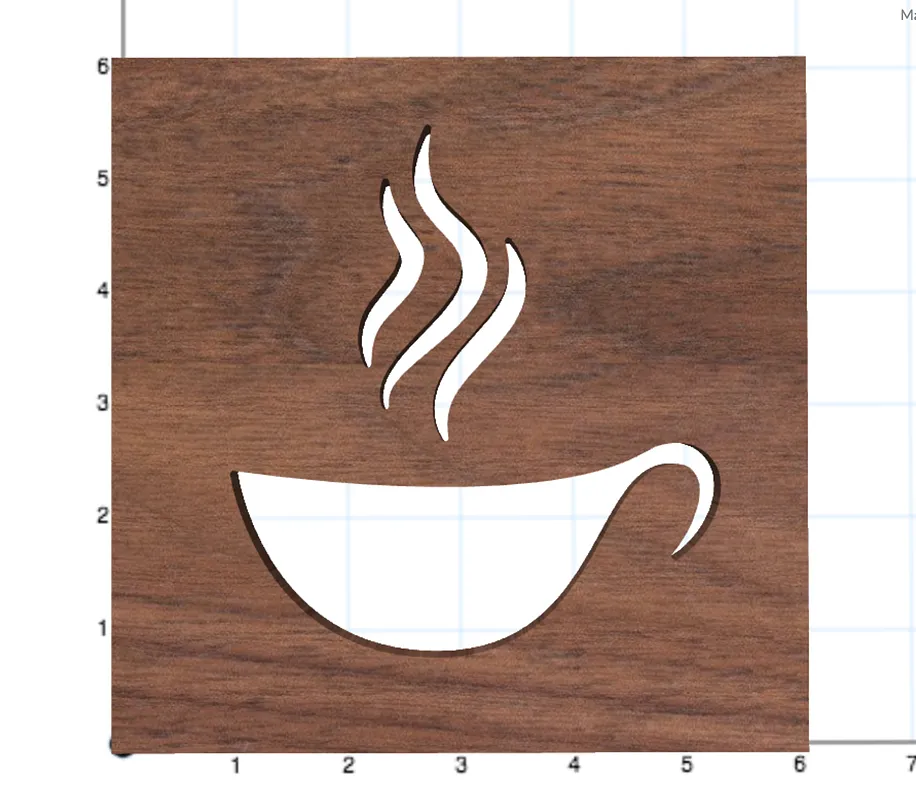

Instructions
Plane
Start this project off by buying or planing sheets of material to .375 and 1.25.
Estimated time: 3 minutes
Dimension
Cut both pieces of material to 6 inches by 6 inches.
Estimated time: 5 minutes
Mount the Work Piece
Mount the thicker piece of wood to the X-Carve using double sided tape and set your zeros.
Estimated time: 3 minutes
Cut
In Easel, run the work piece that is labeled "body."
Estimated time: 36 minutes
Mount the 2nd Work Piece
Mount the thinner piece of wood to the X-Carve using double sided tape and set your zeros.
Estimated time: 3 minutes
Cut
In Easel, run the work piece that is labeled "Back."
Estimated time: 4 minutes
Sand
Sand both pieces where needed.
Estimated time: 10 minutes
Apply Finish
Apply your favorite finish. I suggest a spray on poly for this one.
Estimated time: 10 minutes
Assemble
Apply wood glue to the three ledges. Attach both pieces together using clamps, making sure even clamping pressure is applied.
Estimated time: 4 minutes
Select a color
Use your favorite paper to add a pop of color to the art piece!
Paper should be cut to slightly less than 5 by 5 inches with the bottom corners rounded off. I suggest picking a few of your favorite colors and cutting them all to size at the same time. That way you can store them together in the slot and switch them out on a whim.
Estimated time: 5 minutes
Hang and Enjoy
Now that all of your hard work is done, select a choice spot on the wall and use either a screw or nail to hang your project. Once it is hung, feel free to switch out the colors as the seasons change or for whatever occasion arises.
Estimated time: 1 minutes
Comments