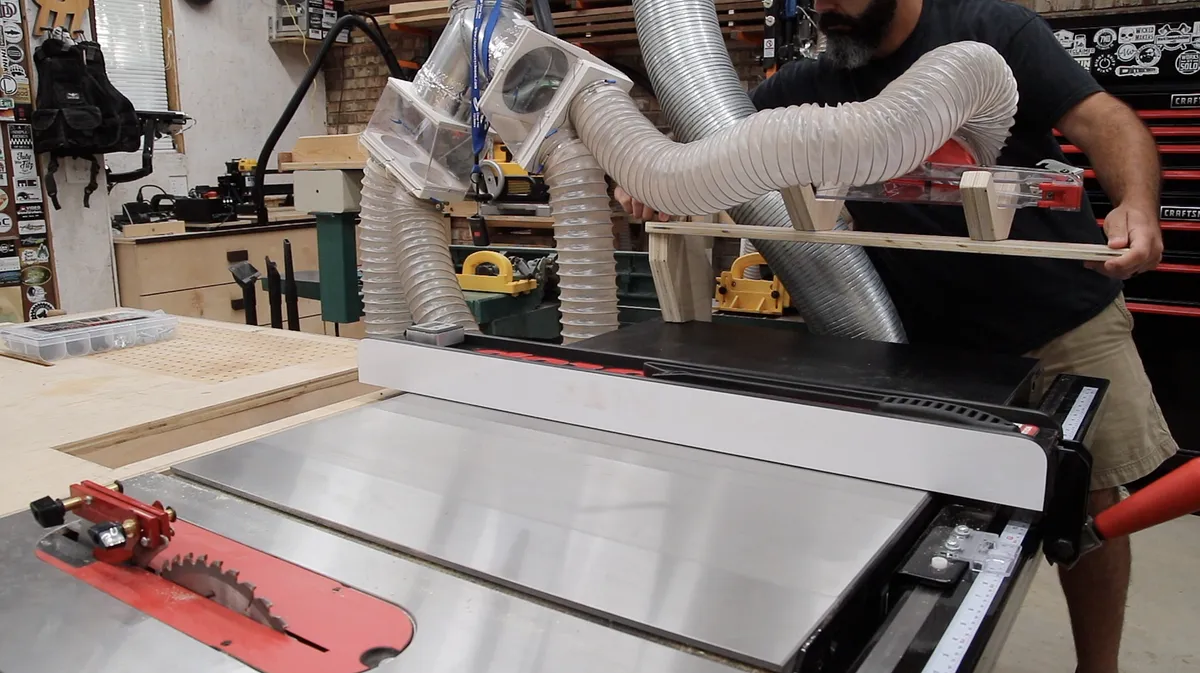
TableSaw Dust Arm & Bonus Fence Caddy (video)

Instructions
1
Step 1
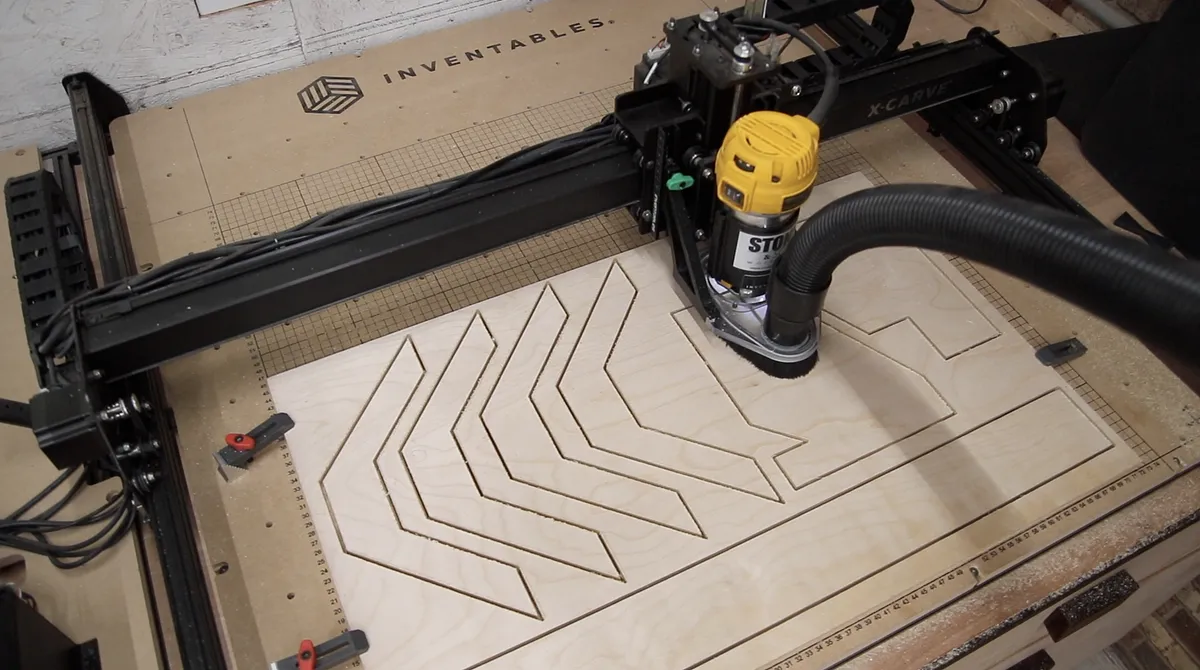
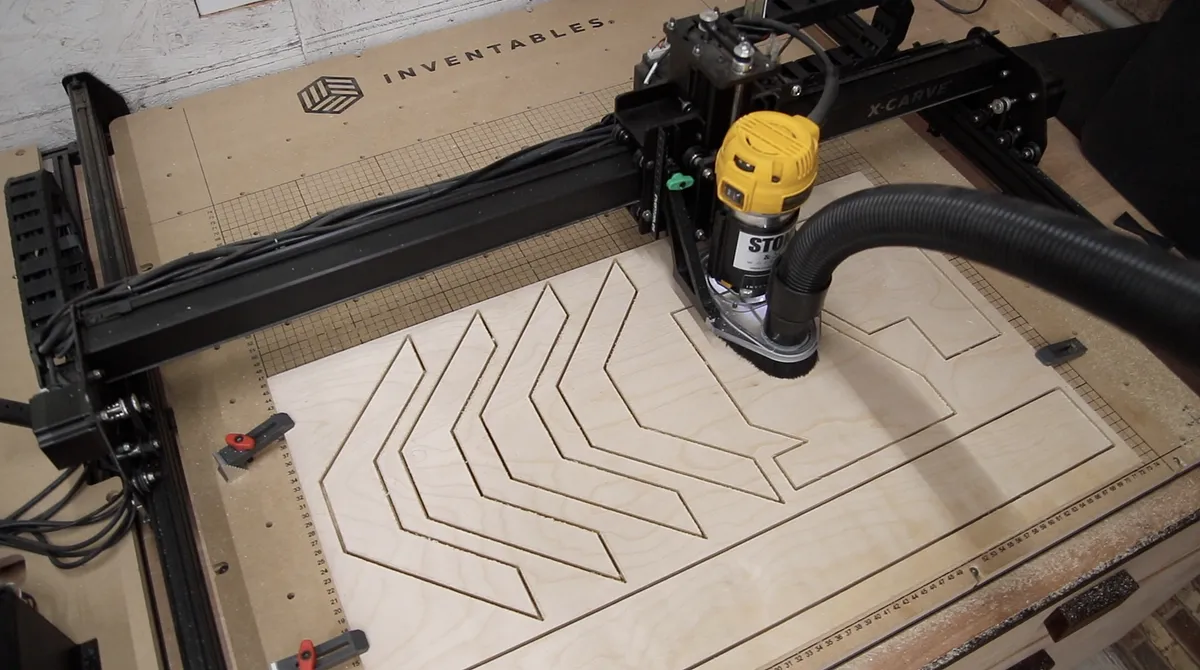
Use the Easel file "Dust collection support arm for table saw" to cut out the parts. Plywood dimensions are 28" x 20" x 3/4"
Estimated time: 90 minutes
2
Step 2
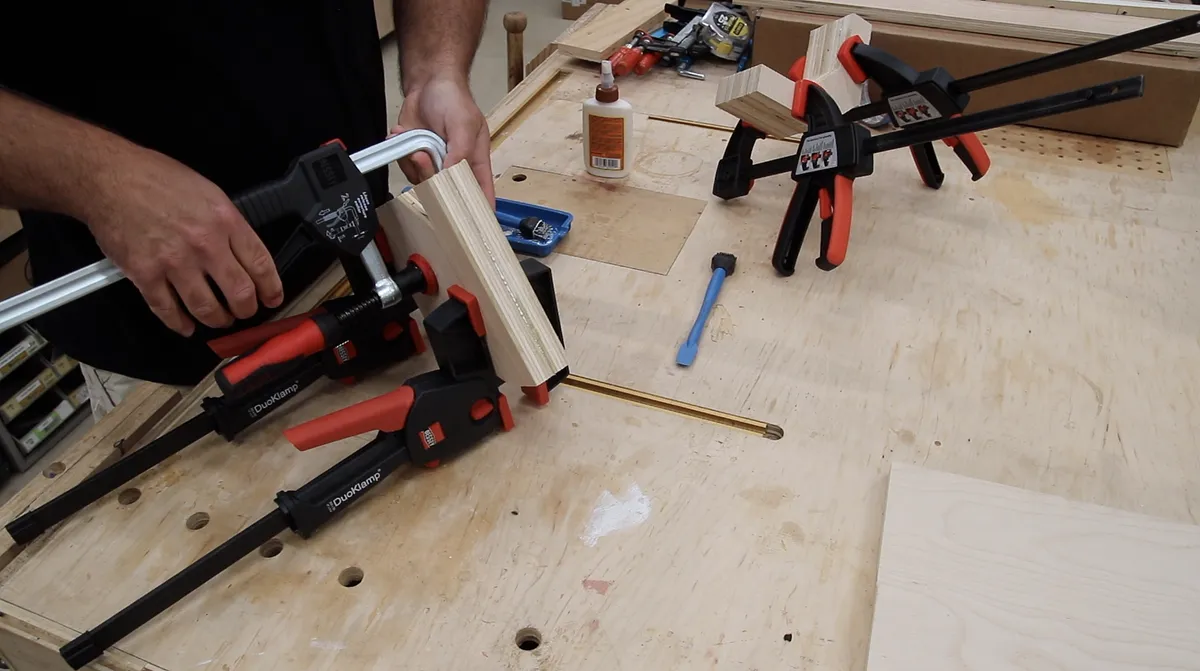
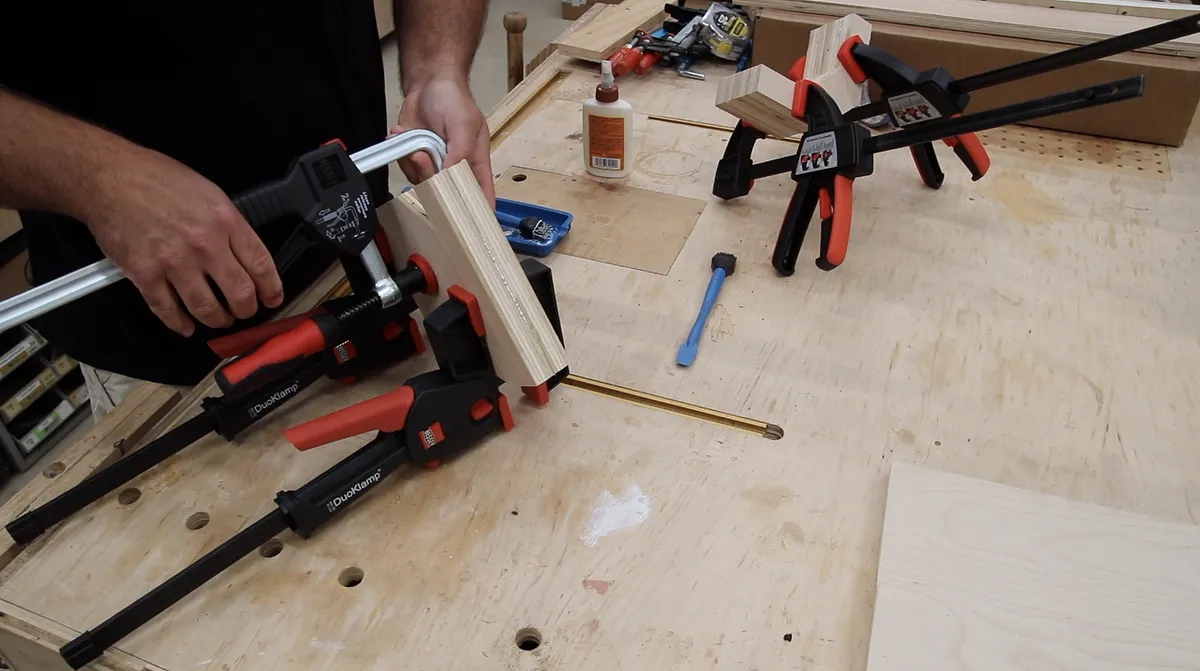
Glue two hose brackets together, resulting in 2 total wide brackets. Also glue the main bracket together.
3
Step 3
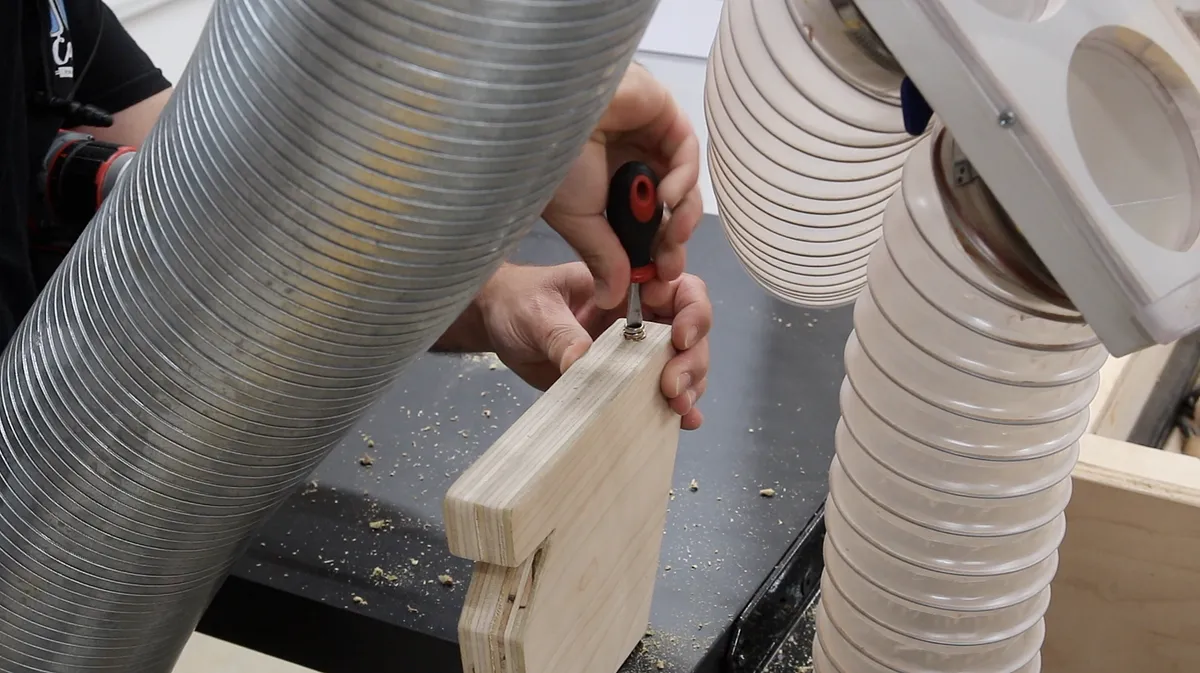
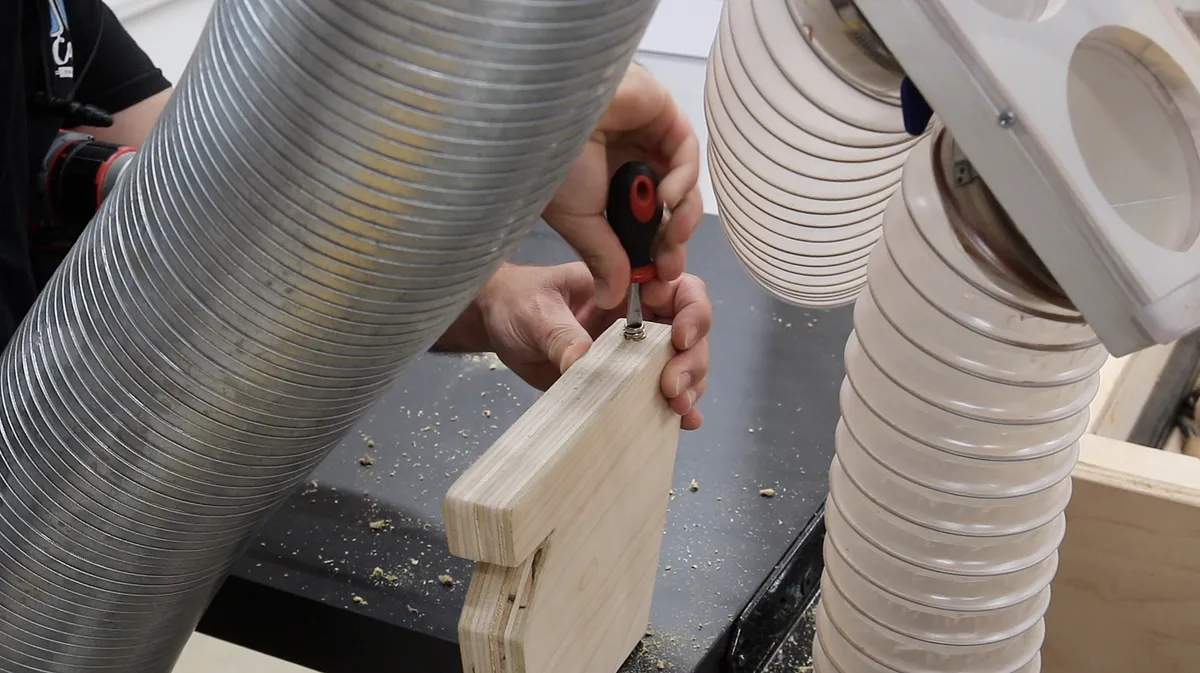
Install threaded insert by drilling a hole and screwing the insert into place.
4
Step 4
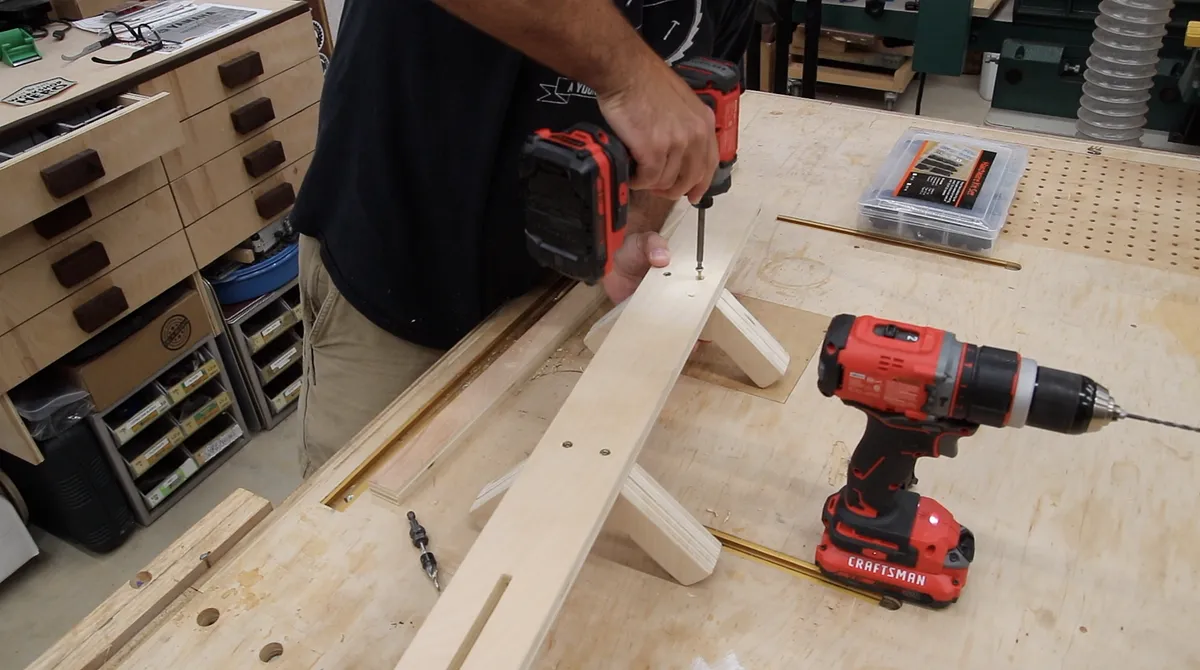
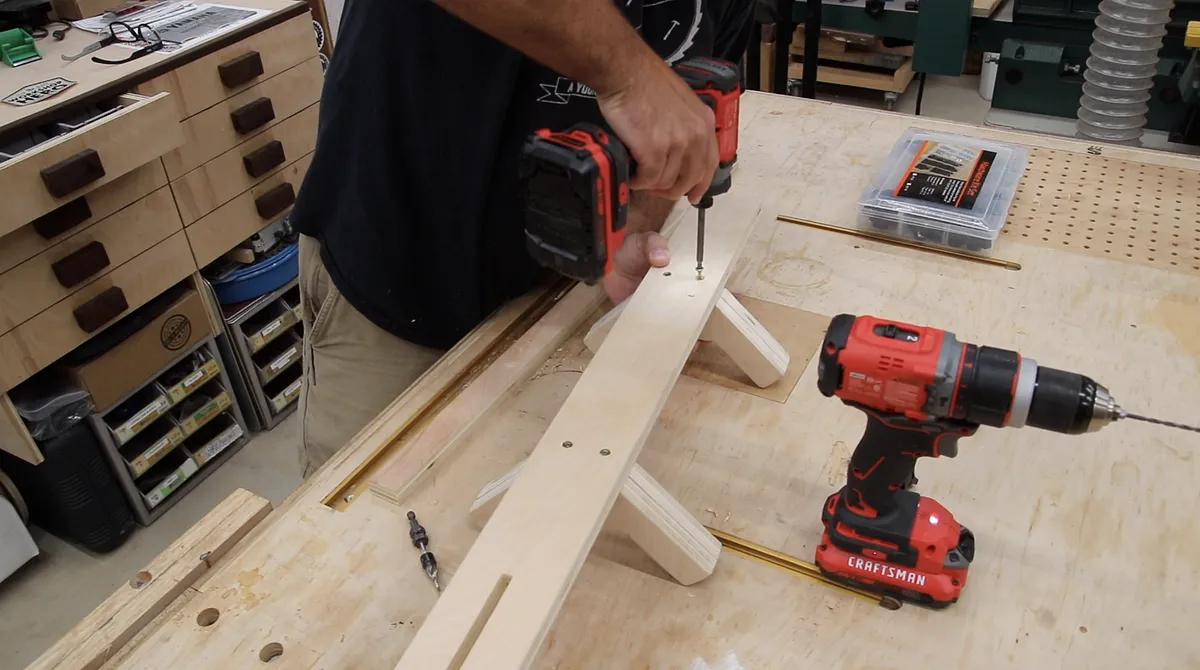
Attach hose mounts to support arm.
5
Step 5
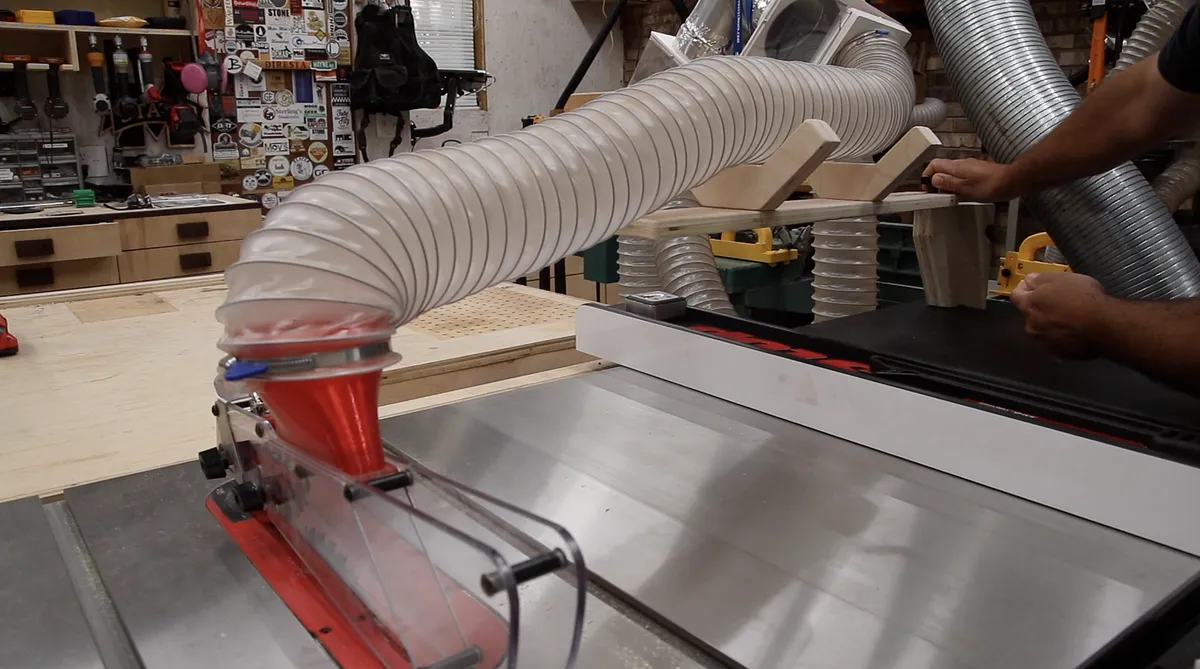
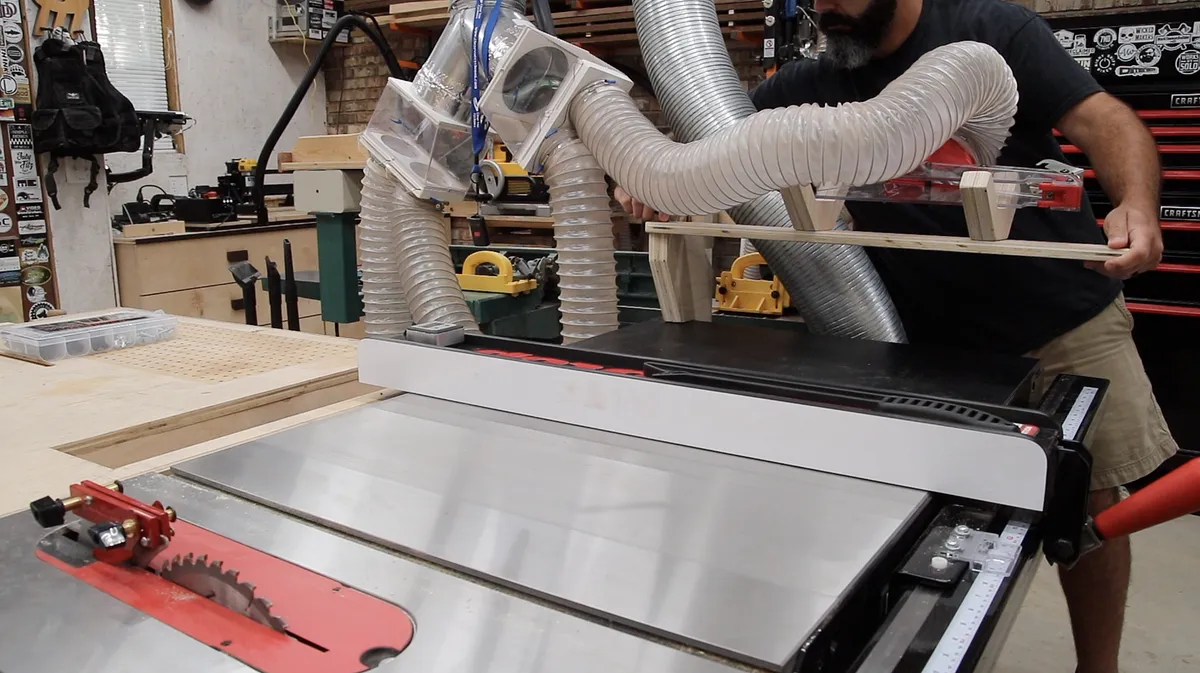
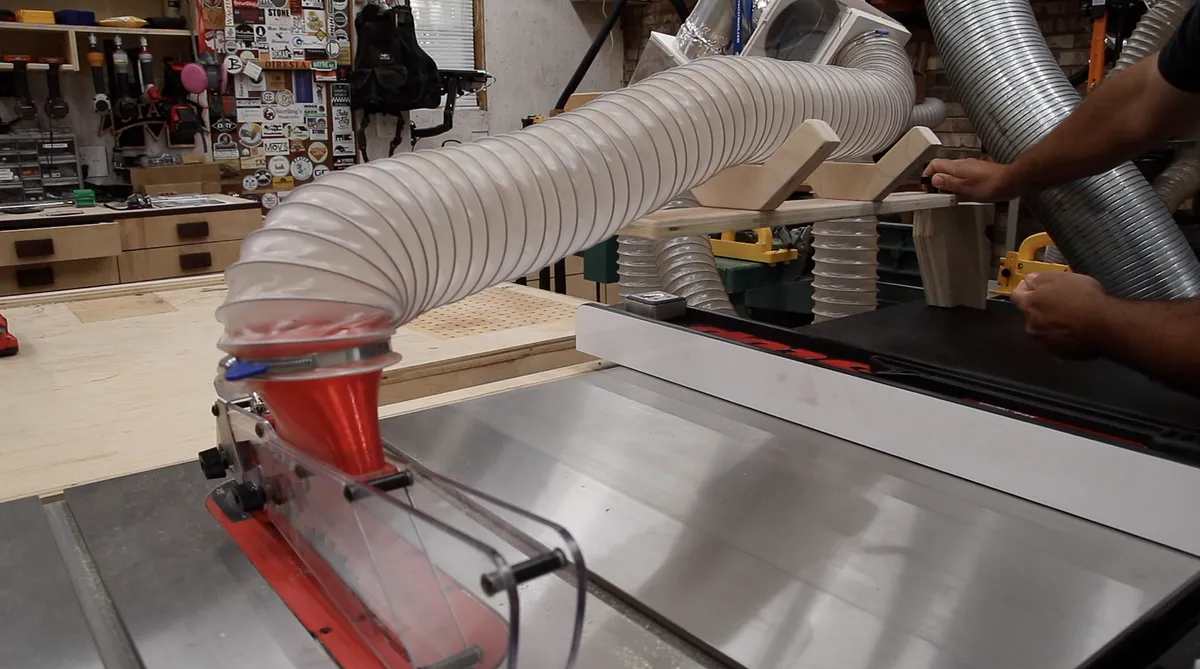
Attach support arm to main bracket with threaded knob.
6
Step 6
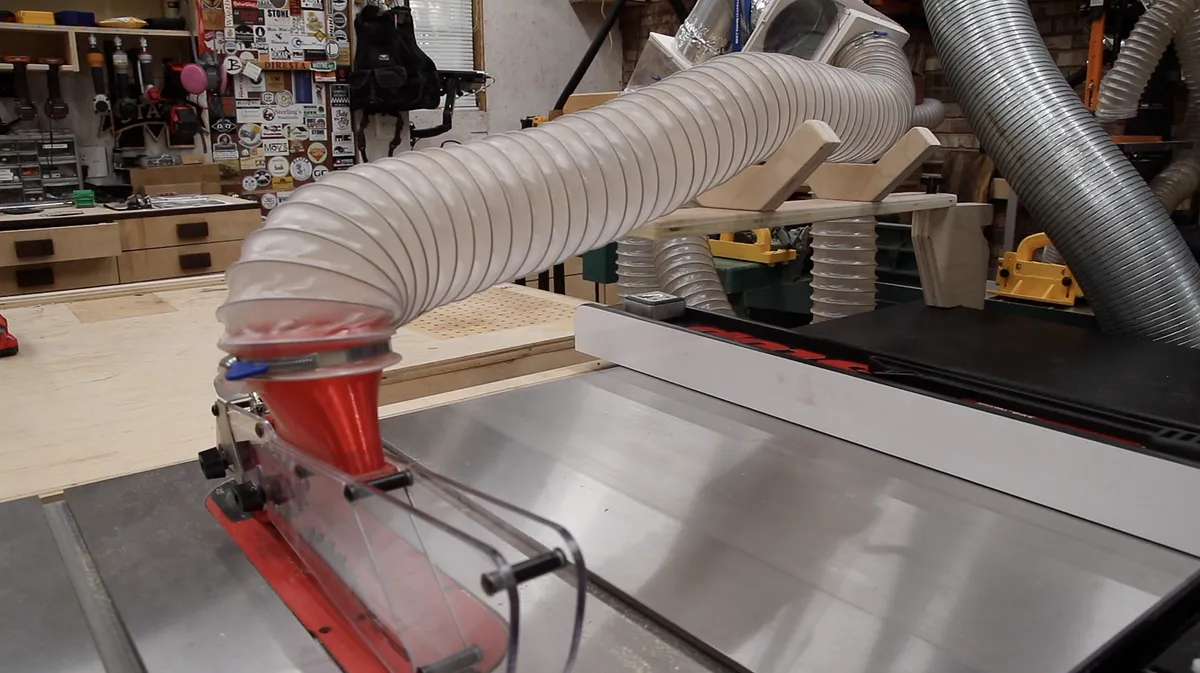
Project complete
Comments