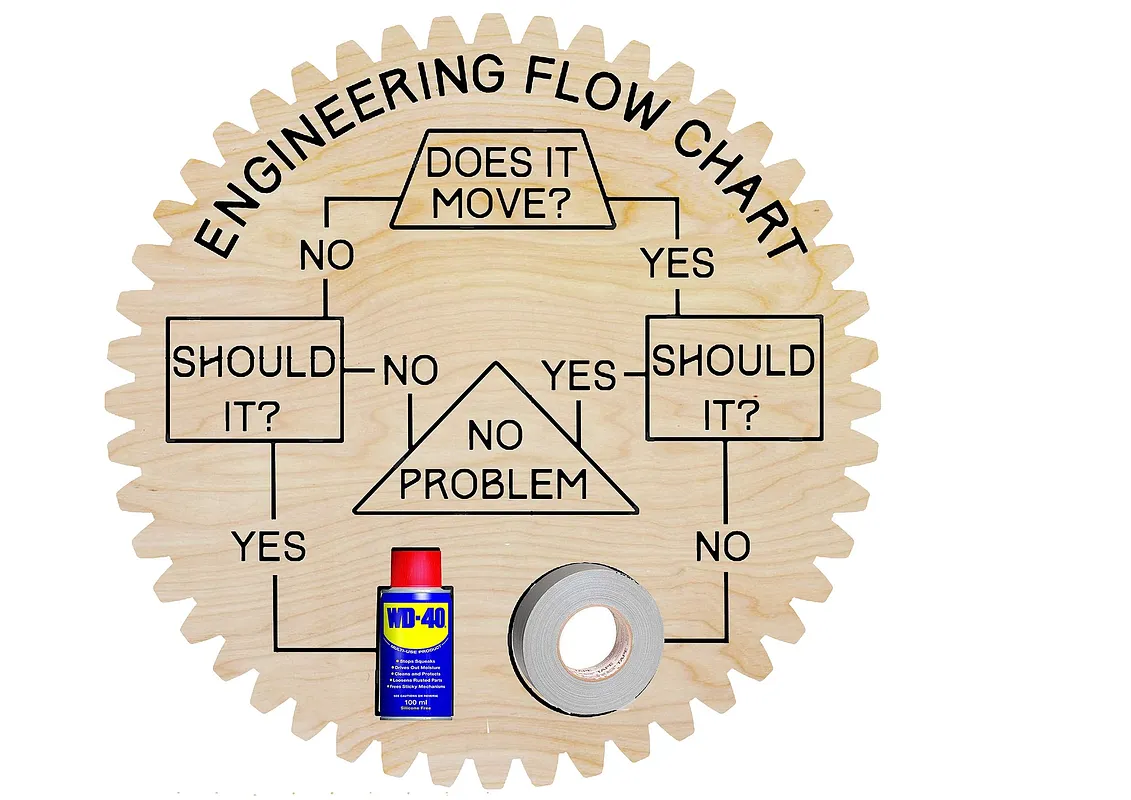
Engineering Flow Chart

Instructions
Select Materials
This is 20"X20" so standard size plywood to use would be 24X24 (materials selection of this project did not have 24x24 so please keep that in mind). This is based off of Maple, but any material will work well.
Estimated time: 1 minutes
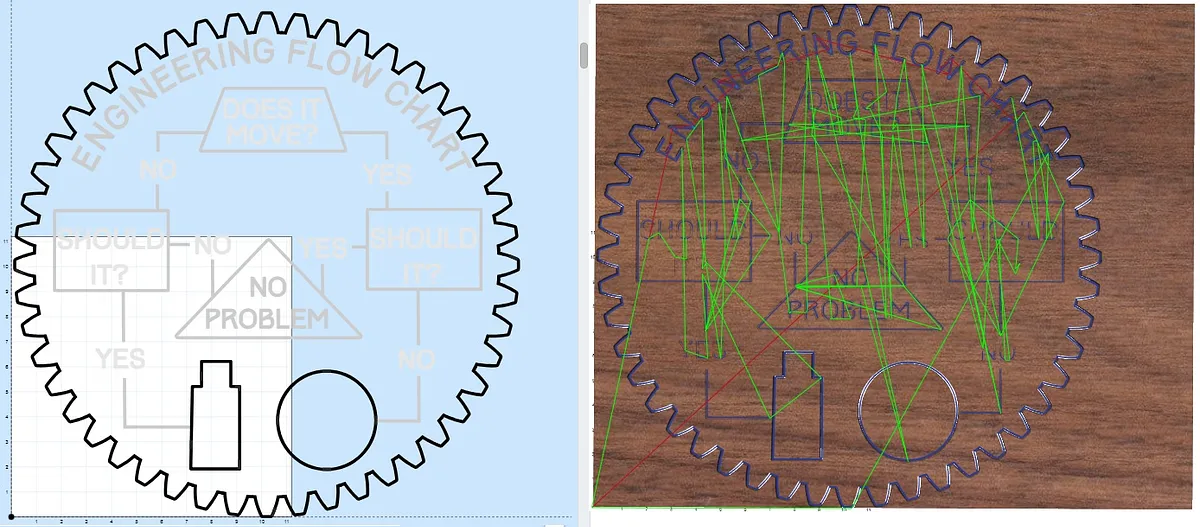
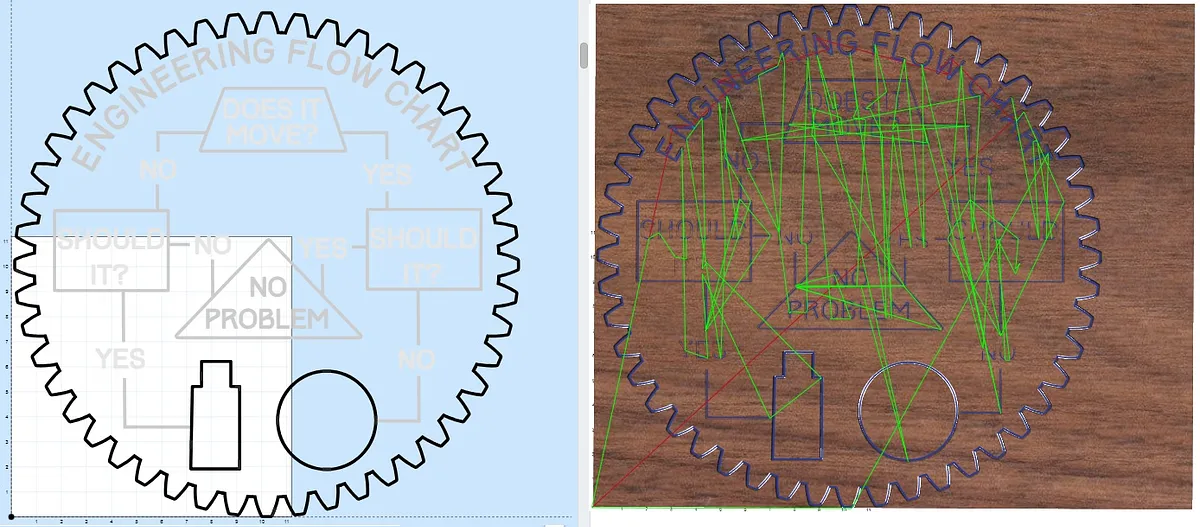
Cut it out
Cut it out!
Estimated time: 60 minutes
Color and stain
Highlight the lettering with stain or paint to help it pop from the wood, staining the wood itself a different color also helps it show!
Estimated time: 20 minutes
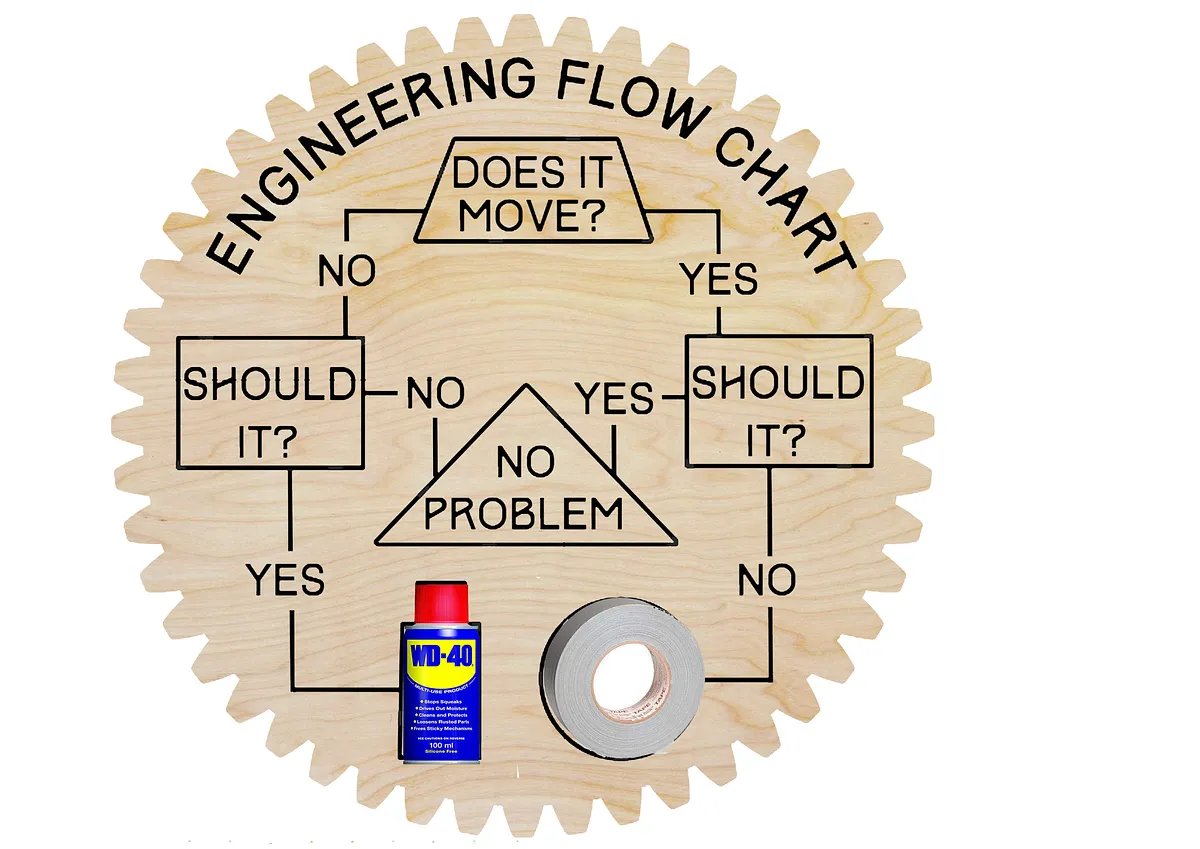
Insert WD-40 and Duct Tape
The hole are sized to take a standard sized roll of duct tape, and the smaller can of WD-40.
Estimated time: 1 minutes
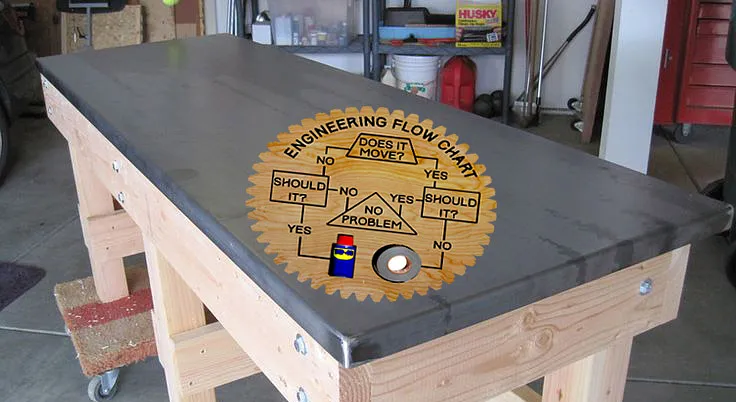
Hang it up!
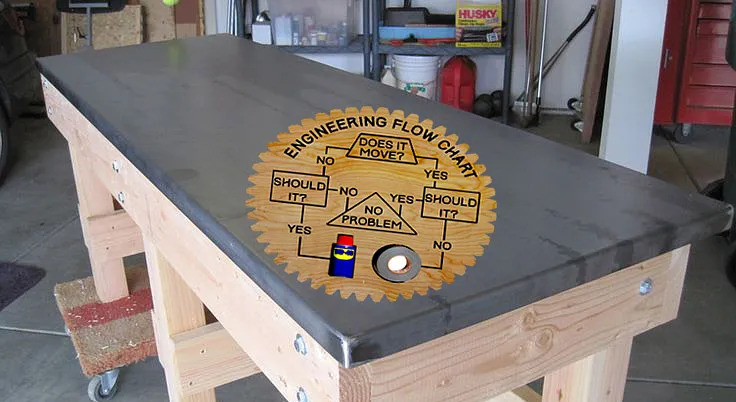
One option if you do not just lean this against something is to hang it on the wall. Attach hangers in the back or just nail it to the wall!
Estimated time: 5 minutes
Comments