Adjusting Dust Rails

Instructions
Introduction
This is a remake of some wonderful design work over at Inventables "https://www.inventables.com/projects/mwp-y-axis-braces":https://www.inventables.com/projects/mwp-y-axis-braces and "https://www.inventables.com/projects/mwp-y-axis-belt-dust-guards":https://www.inventables.com/projects/mwp-y-axis-belt-dust-guards There wasn't any source files so modification wasn't very easy. So I remade it from scratch and narrowed down the materials needed.
Be sure to reference Robert Rieke work in the links above for more detailed instructions since this is really just a variant of his work and all credit should go to him.
I also posted these files over on thingiverse "http://www.thingiverse.com/thing:1844698":http://www.thingiverse.com/thing:1844698
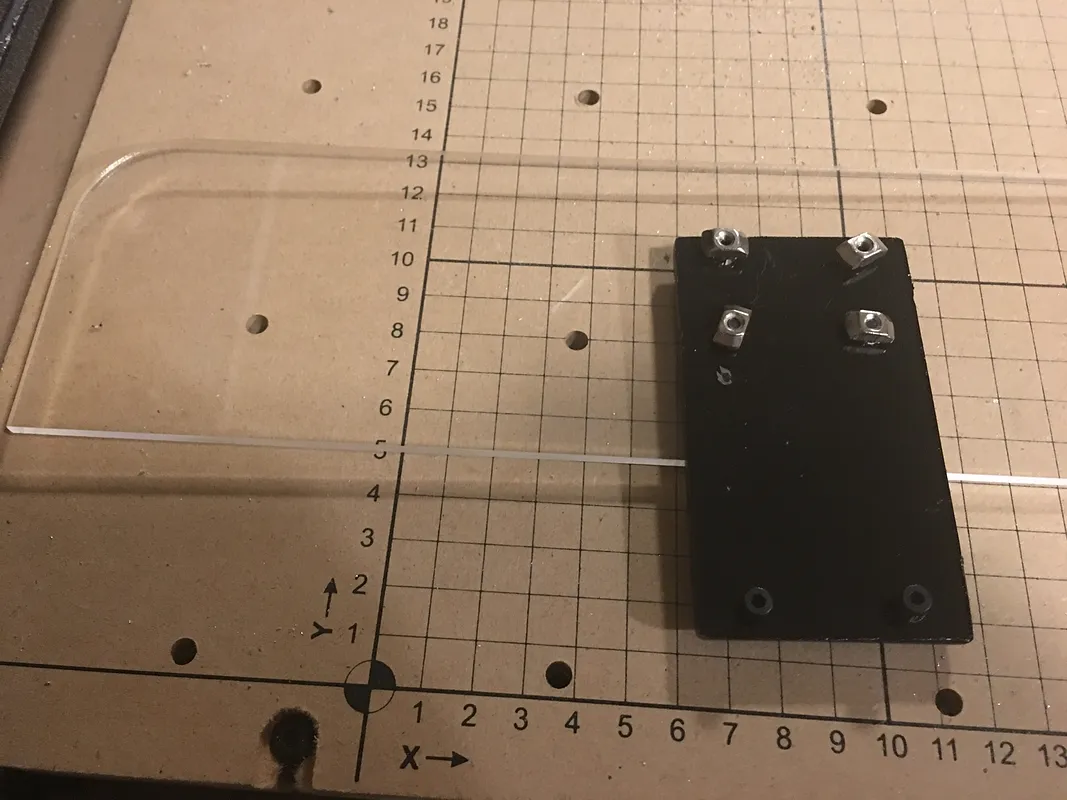
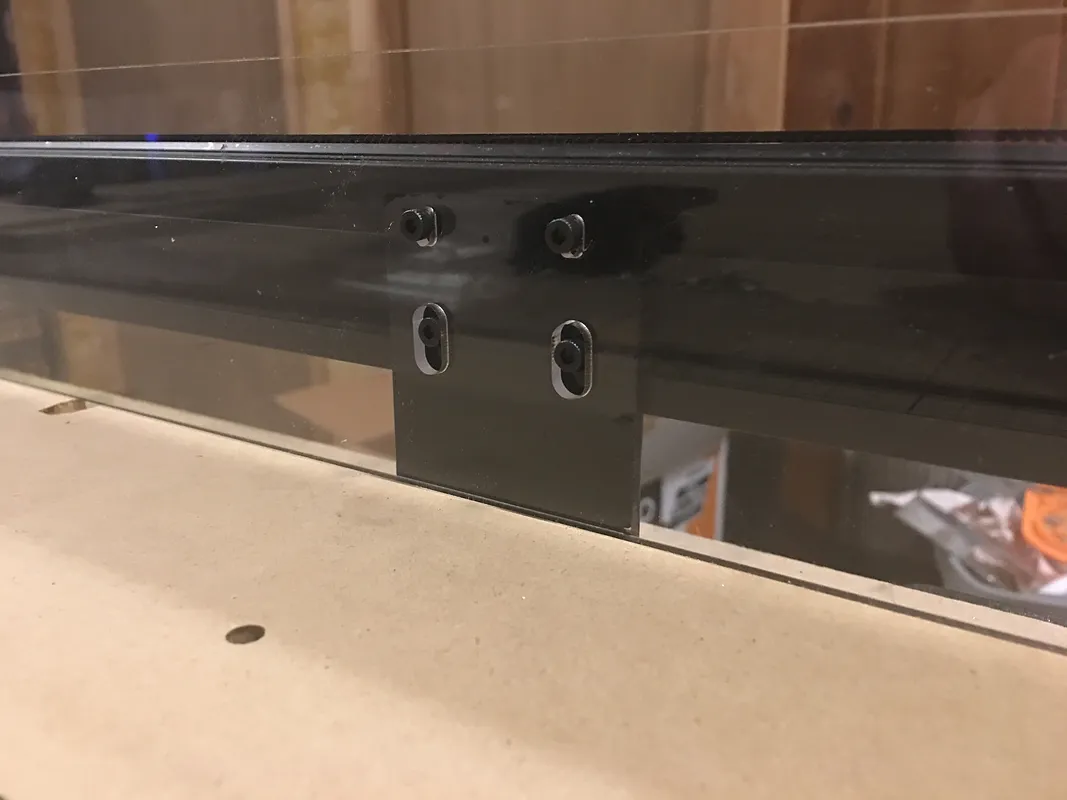
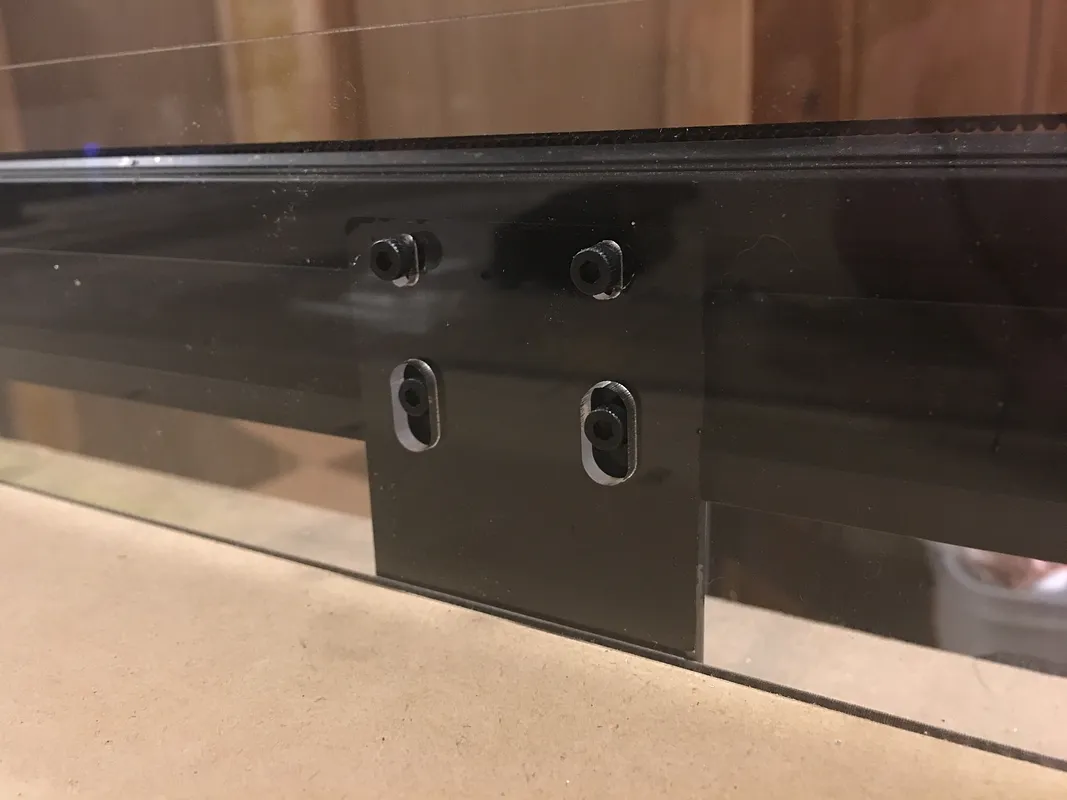
If you have a large enough laser cutter you can cut these as one piece. I changed the holes to fit M3 hardware and slotted them so you can move the side rails up/down and flush to the wasteboard.
I also made a front/rear variant that you can use the same braces to hold them in place.
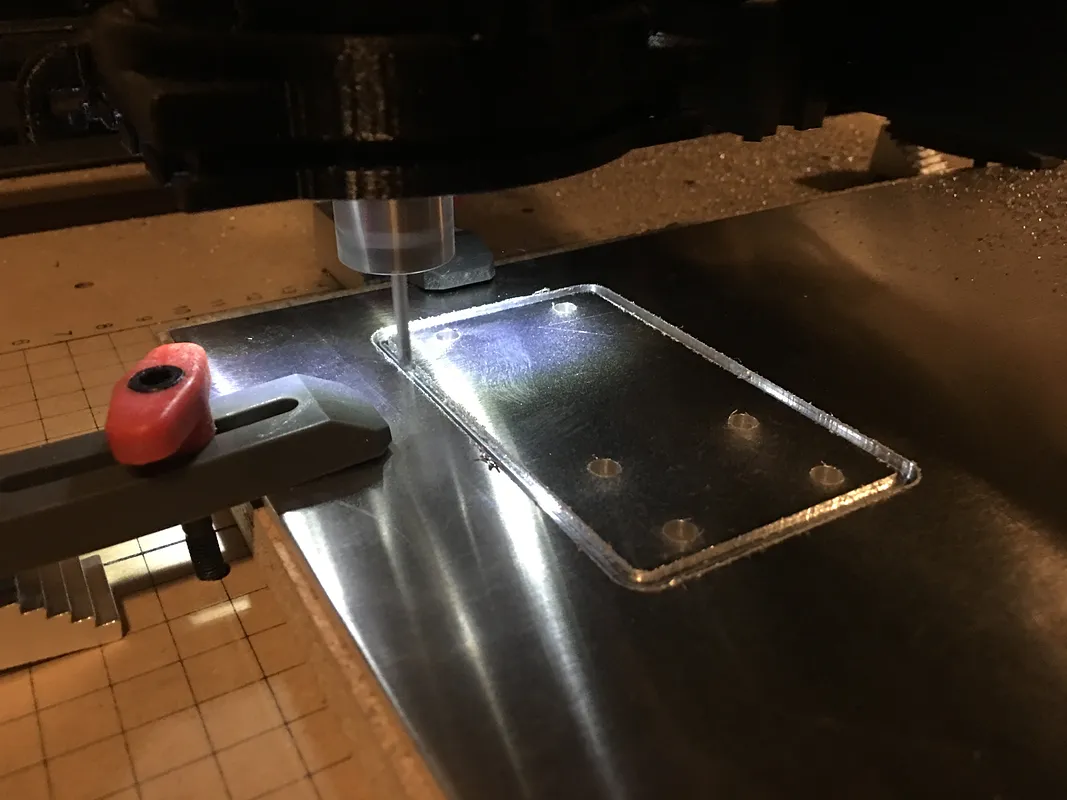
.25" 6061 aluminum sheet to mill out 9 or 12 pieces of the stiffeners. .125" acrylic sheet to mill or laser cut out the side plates and front/rear plate. 54 M3-10mm Bolts 36 M3 Drop-in extrusion nuts 2020 size 18 M3 regular nuts
Estimated time: 60 minutes
Comments
I picked up the materials, and about to start this. What bit did you use, and what were your cutting settings?
Geno Nemetz · March 01, 2017
Ended up following Robert's write up. Almost finished with mine. Thanks for the files!
Geno Nemetz · March 04, 2017
thank you for the files , it was my 1rst cut , I use 3mm vinil
Bug BolitoPro · May 30, 2024