Christmas Tree

Instructions
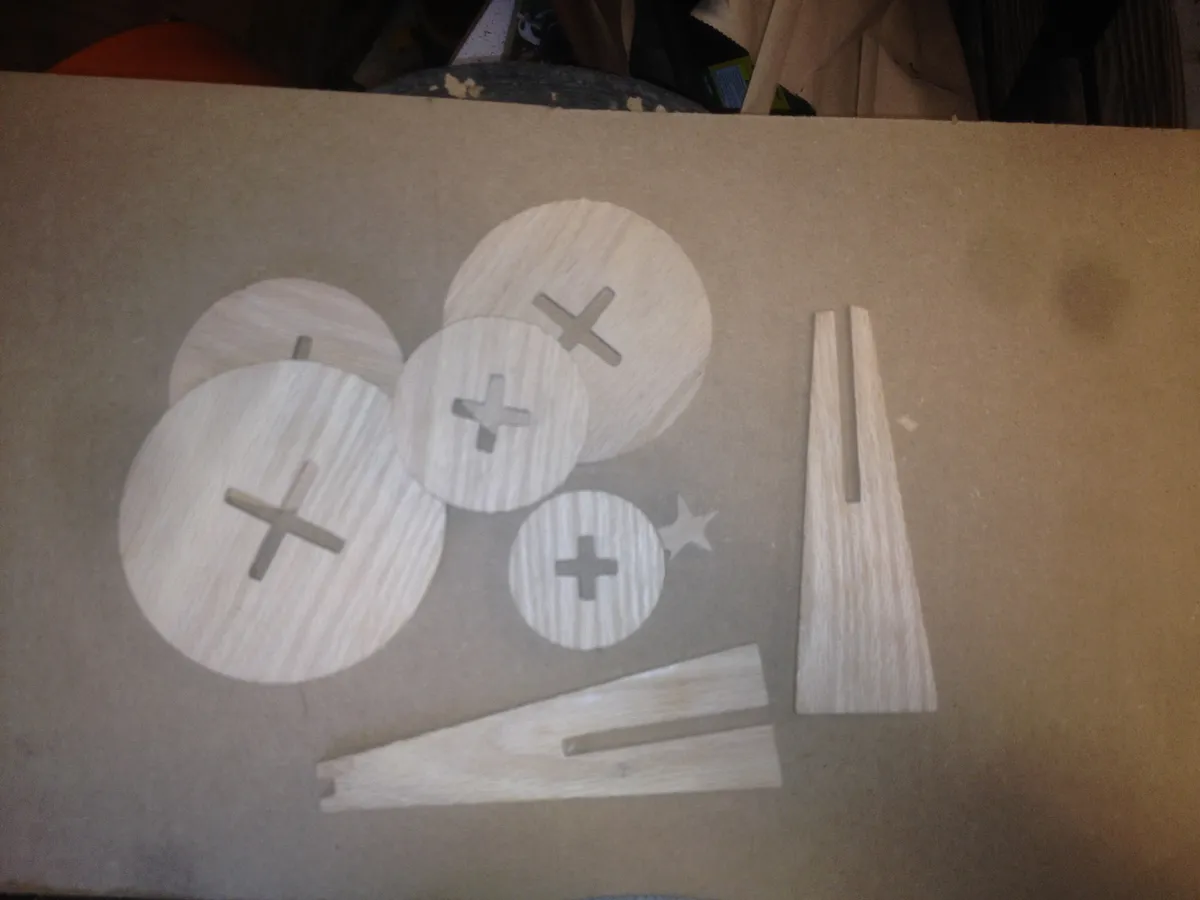
Step 1: Use Easel to cut out pieces
Open the Easel file, and position the parts to fit your size material. If you have a 500mm x-carve (like me) you will need to do do multiple cuts.
Estimated time: 60 minutes
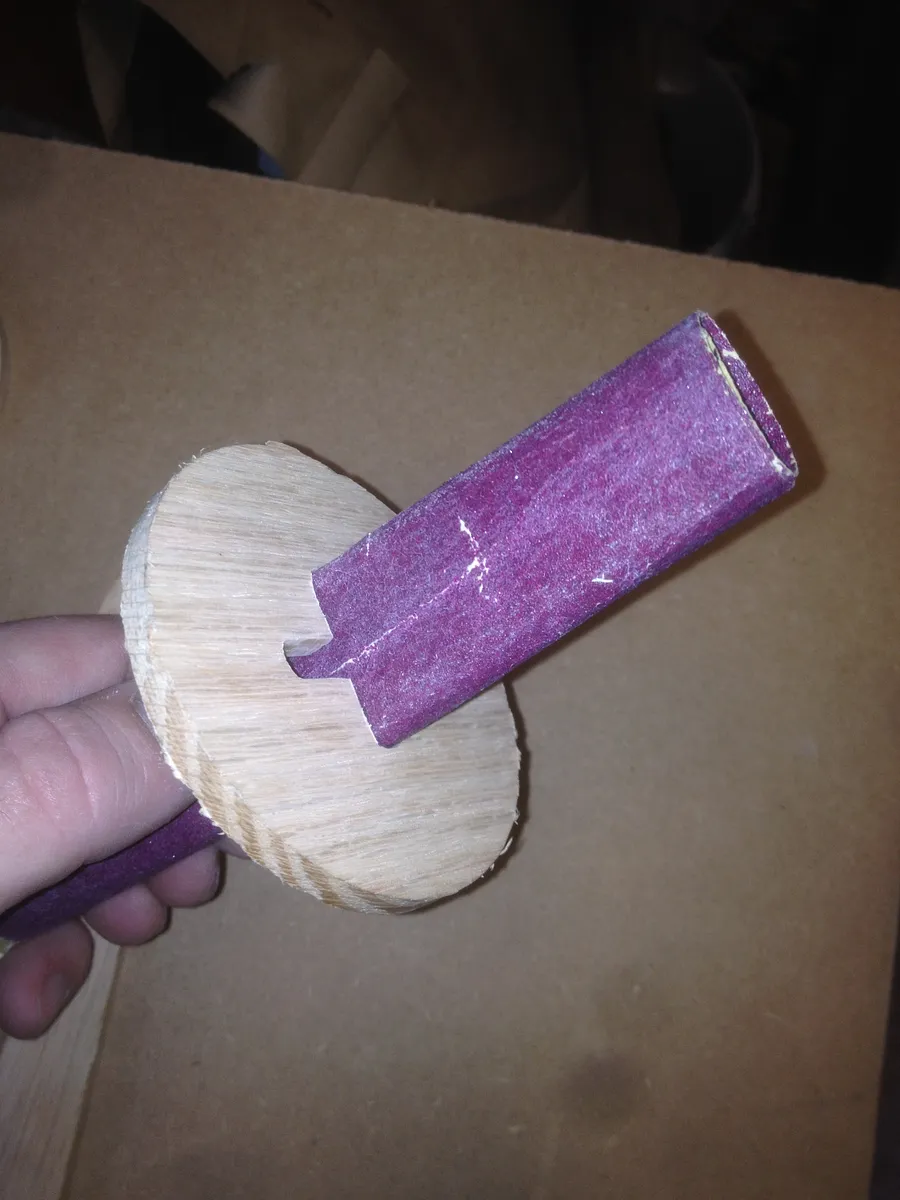
Step 2: Sand the pieces
sand the edges of the pieces to de-burr and smooth the edges. For the +'s inside the circles, I found the best way sand them is to fold up a piece of sandpaper and slide it inside the + as shown in the picture
Estimated time: 20 minutes
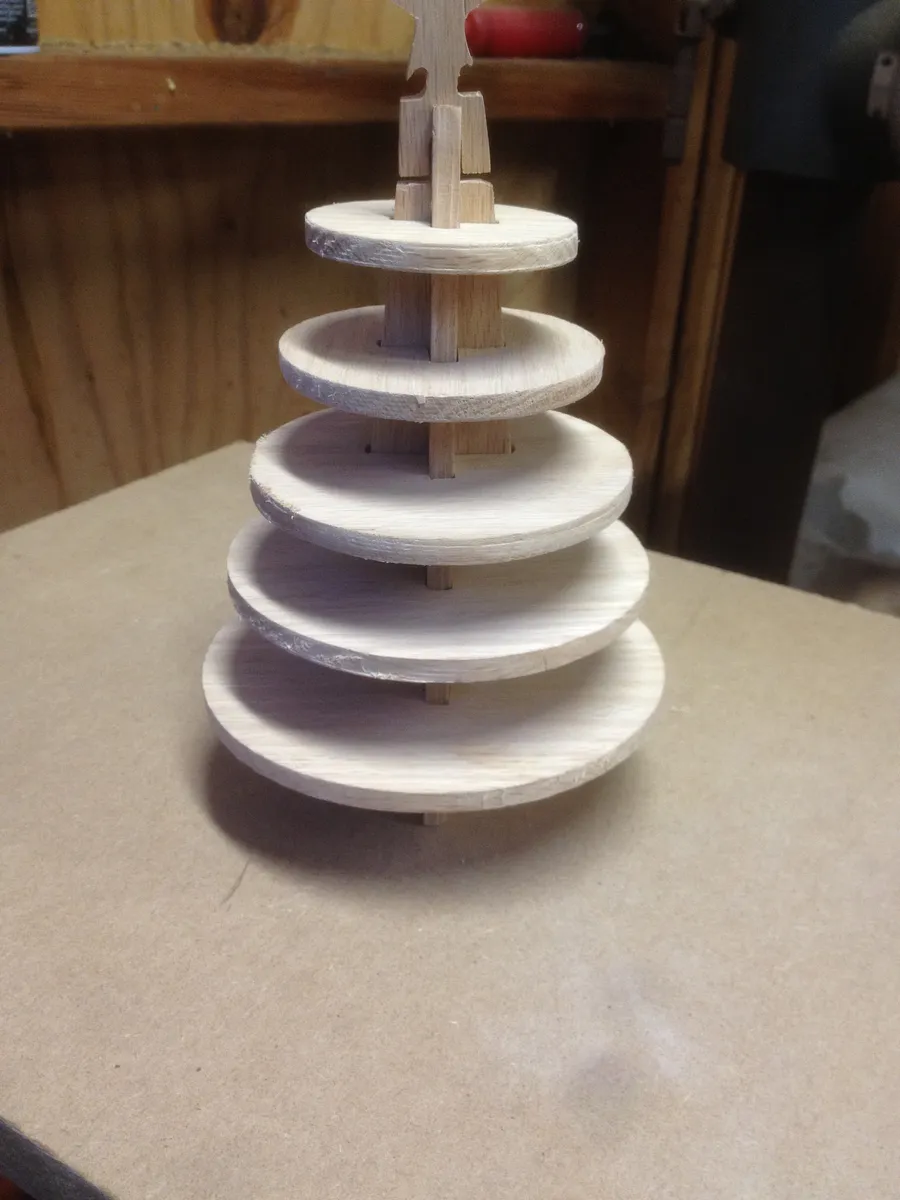
Step 3: Assemble the tree
Assemble the tree to test fit the pieces to make sure it all fits together. Then, take apart the tree and lay the pieces out.
Estimated time: 10 minutes
Step 4: Stain or paint
This step is not necessary, but if you would like to, you can stain or paint your tree. Let it dry.
Estimated time: 10 minutes
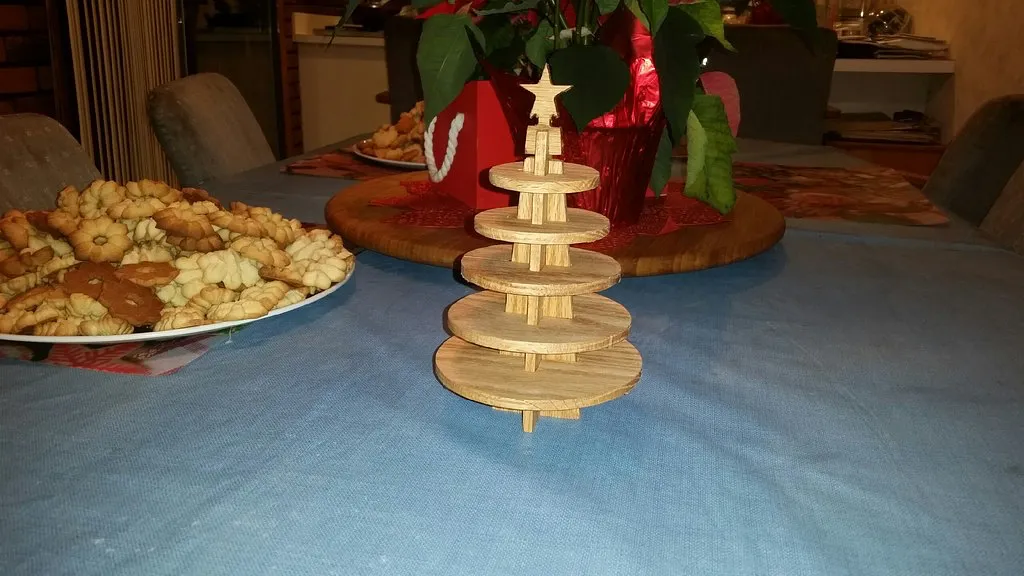
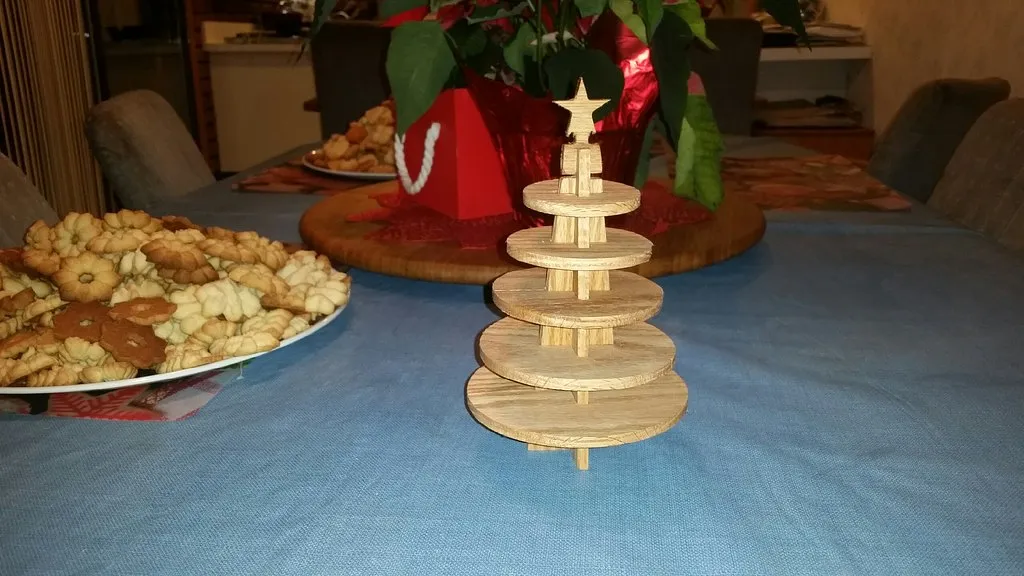
Step 5: Assemble the tree and display it
Re-assemble the tree, and display it for all to see!
Estimated time: 5 minutes
Comments
This will actually fit on a 12x12 piece and not need to be done using anymore material than that. I have the layout but not sure how to share.
Eddie J Sanchez · November 10, 2018
RAW!!!!!!!!!!!!!!!!!!!!!!!!!!!!!!!!!!!!!!!!!!!!!!!!!!!!!!!!!!!!!!!!!!!!!!!!!!!!!!!!
Brandon Jones · September 30, 2019
figured out a good layout, took a pic but it wont let me put it here.
Billy McGee · November 21, 2020