Custom Note Pads
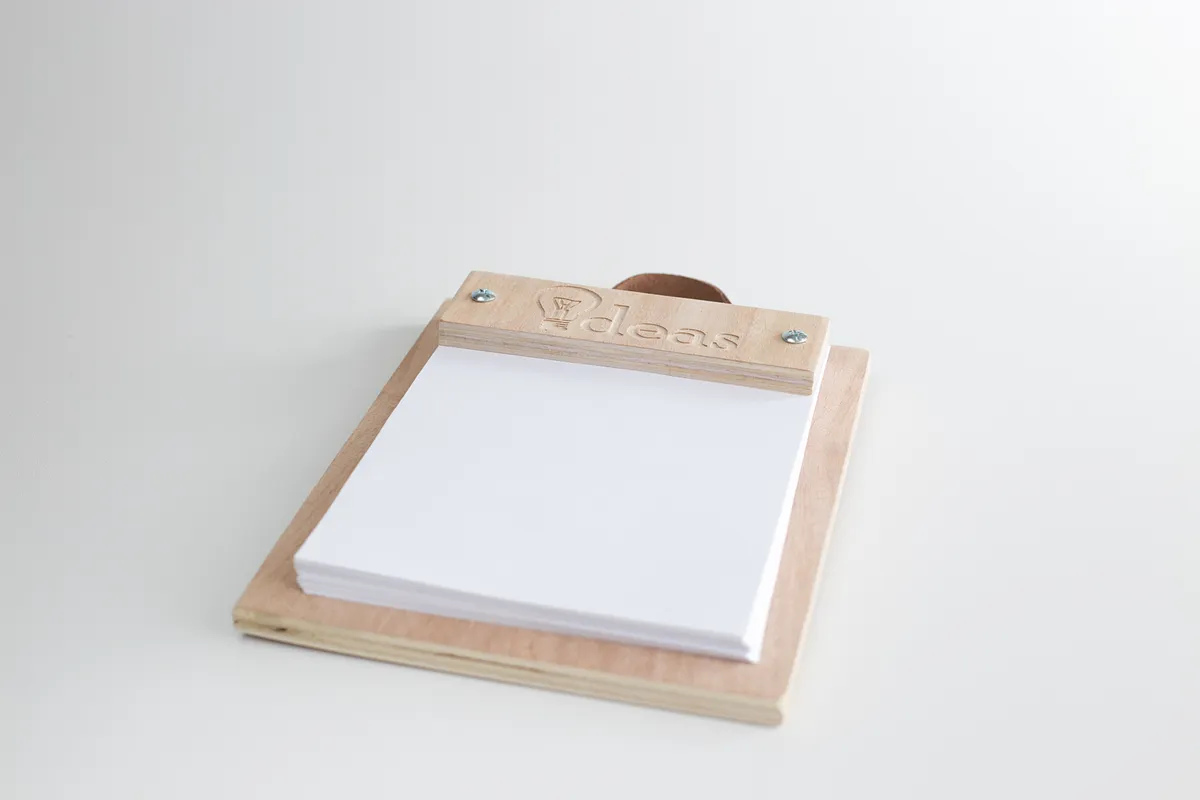

Instructions
Gather Materials
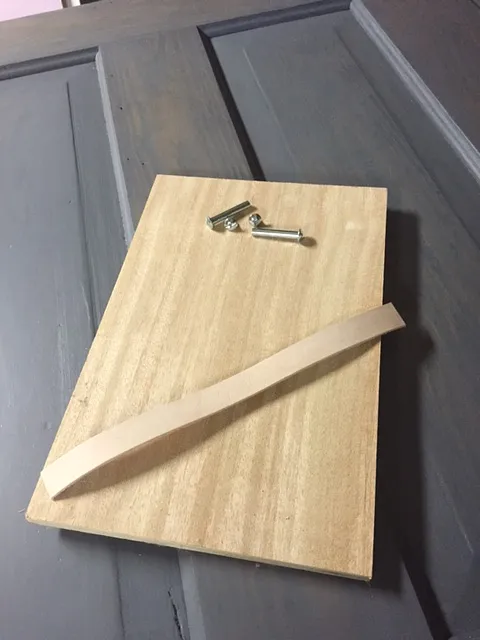
In addition to the 8"x12"x1/2" plywood and a drill press listed in the Bill of Materials, you will need:
Materials: 1/2" thick stack of computer paper trimmed to 8 1/2"x 6 1/2" (2) 1 1/2" Binding Posts 1/4" in diameter - I got mine from "McMaster":http://www.mcmaster.com/#98002a208/=116nvlt (1) 10" strip of leather (anything between 1/2" and 1 1/2" wide should work)
Tools: 1/4" drill bit sanding paper
Estimated time: 5 minutes
Carve the project
Secure the piece of 8"x12" plywood on the x-carve
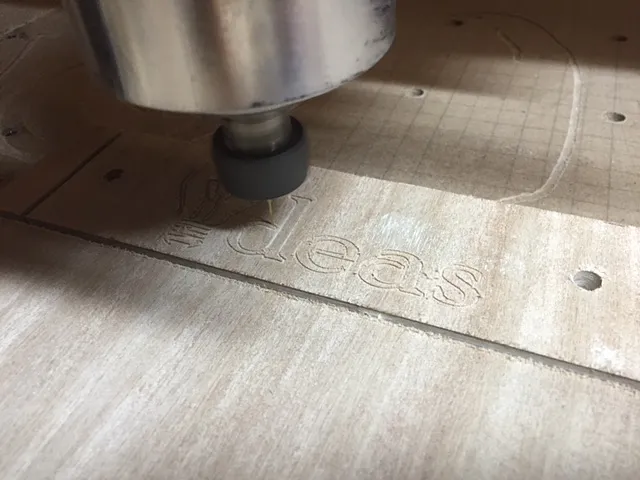
Open the Easel "Note Pad":http://easel.inventables.com/projects/aN1GSYjxnEUGt12_v1FH8w# file. Using the rough size bit first (mine was set to a 2.55mm bit), carve the rough pass
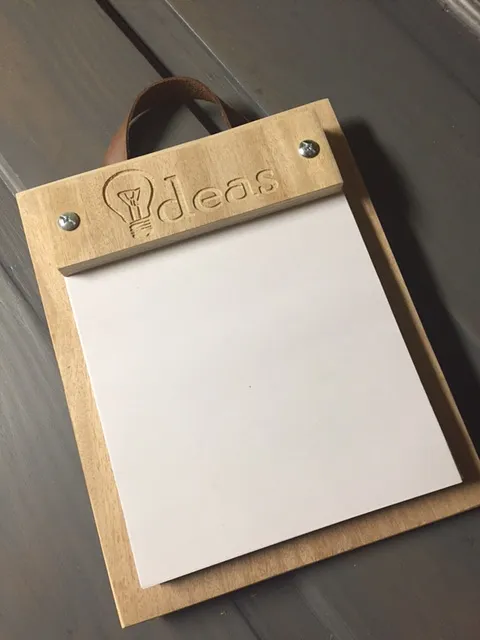
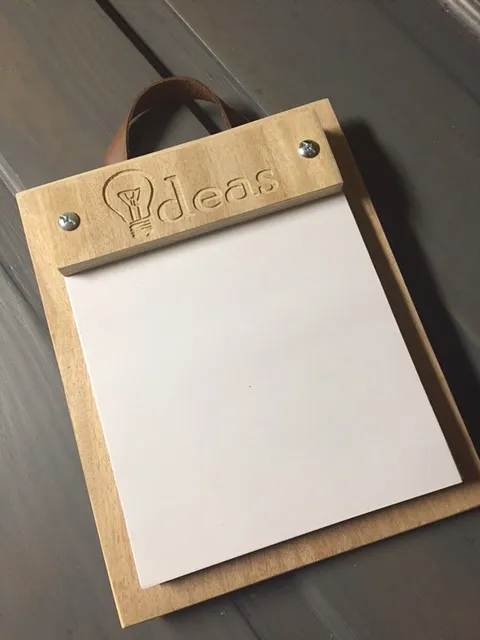
Next, change out your bit to the size you need to complete any detail. For the "Ideas" design shown, I used a 1/32" bit. Be sure to change your speed and depth settings for the smaller bit so you don't break anything :)
Estimated time: 20 minutes
Sanding
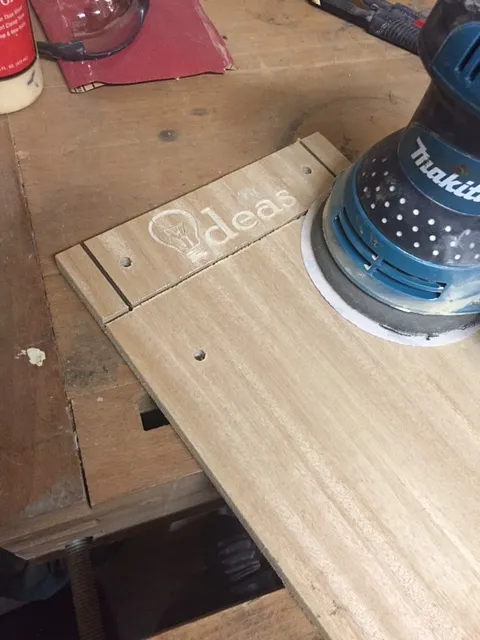
Once you have removed your project from the X-carve, it's time to sand. Flip it over and sand any residual (or tabs) from the back of the piece that may still be holding it together. I also sanded the top plate and the base to remove any sharp edges or splinters waiting to happen.
Note: You may want to leave the bottom edge on the back of the top plate as sharp as possible. This is the edge you will rip the paper against when tearing off notes from your pad. A nice sharp edge makes that much easier.
Drilling the paper holes
Align your top plate with with the top of your stack of sized paper on the drill press table. Using a 1/4" drill bit, drill straight down through the pre-carved hole and through the stack of paper. Being very careful not to lose the current alignment, move to the second hole and repeat.
Estimated time: 5 minutes
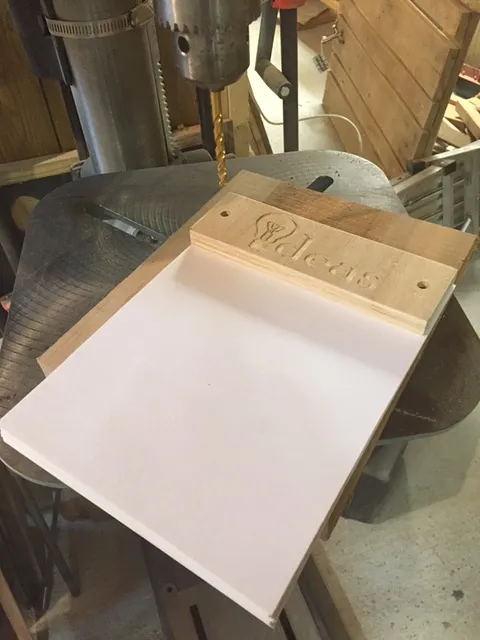
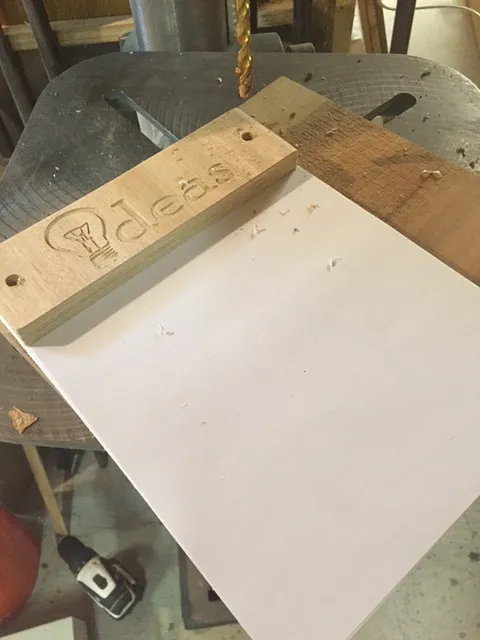
Drill Leather Holes
Very carefully and slowly, use the 1/4" drill bit to drill one hole on either end of the leather piece.
Estimated time: 2 minutes
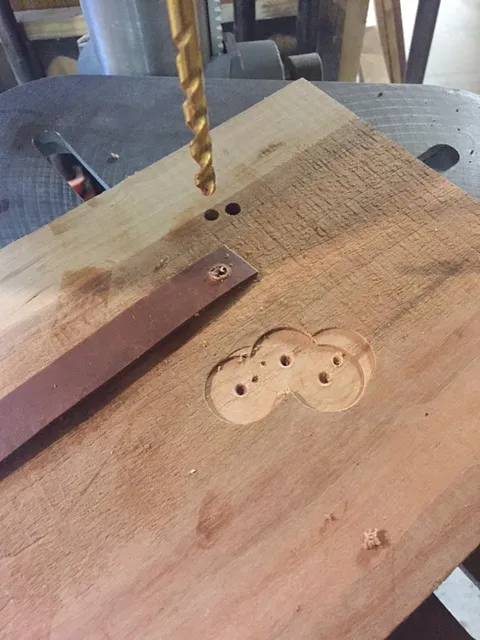
Assembly
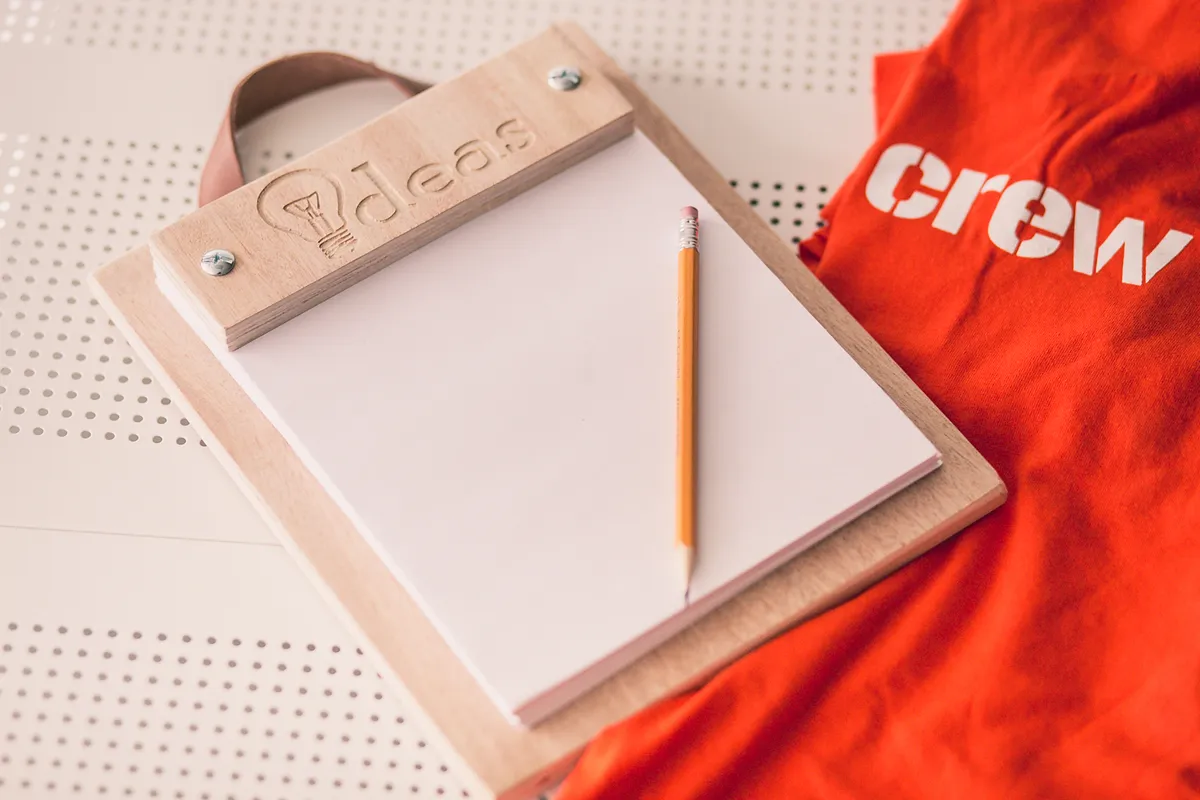
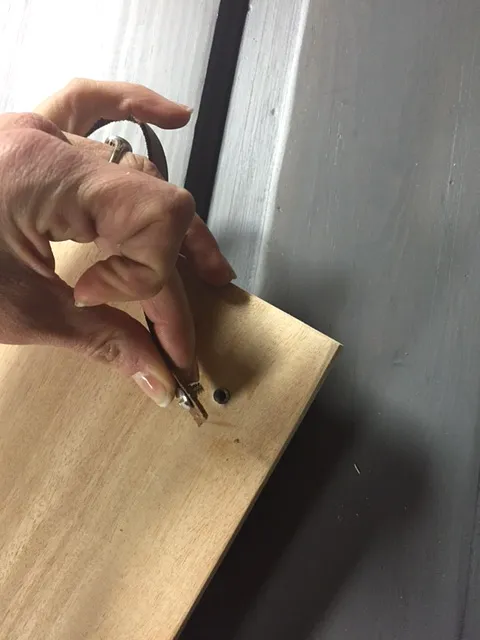
While you still have the paper and top plate holes aligned, insert the 1 1/2" binding posts through the top of the top plate and the paper. Then align your base plate holes from the underside of the paper and insert the remainder of the binding posts through the base plate. Then place the leather over the ends of the binding posts and insert the screws to hold it all together. Be sure to tighten your screws so it doesn't come loose down the road.
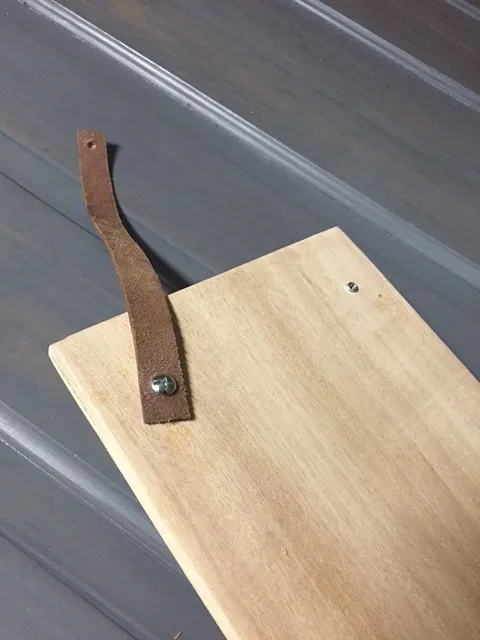
Comments
Very good idea
Alexandre Salgado Amarante · April 10, 2016
You didn't share the file, is there a way you can share the file with us? Thank you!
David Young · April 24, 2016
I'm sorry David. I figured people would just use the Open in Easel button above. The file can be found at this link easel.inventables.com/projects/aN1GSYjxnEUGt12_v1…
Kristin Smith · April 24, 2016
still not available thru this link. It says "not shared by the designer" thanks
Tamara Smith-Hoyle · April 26, 2016
So strange. It didn't save my "shared" status. Sorry about that. See if it works now, easel.inventables.com/projects/aN1GSYjxnEUGt12_v1….
Kristin Smith · April 26, 2016
Hi Kristin, your notepad is wonderful. Could you please share the file again? Your last link doesnt work. Thanks
Paulo Bihary · March 02, 2017
I have renewed the URL once again. My business partner and I share files all the time. I'm not sure why this would be causing issues now. I just clicked on the "Open in Easel" button at the top of the project and it opened perfectly. Let me know if you have any problems now.
Kristin Smith · March 03, 2017
I CAN GET WITH NO PROBLEM, LOVELY PAD, THANKYOU
laura palmer · August 24, 2020