CNC Tooling Organizer
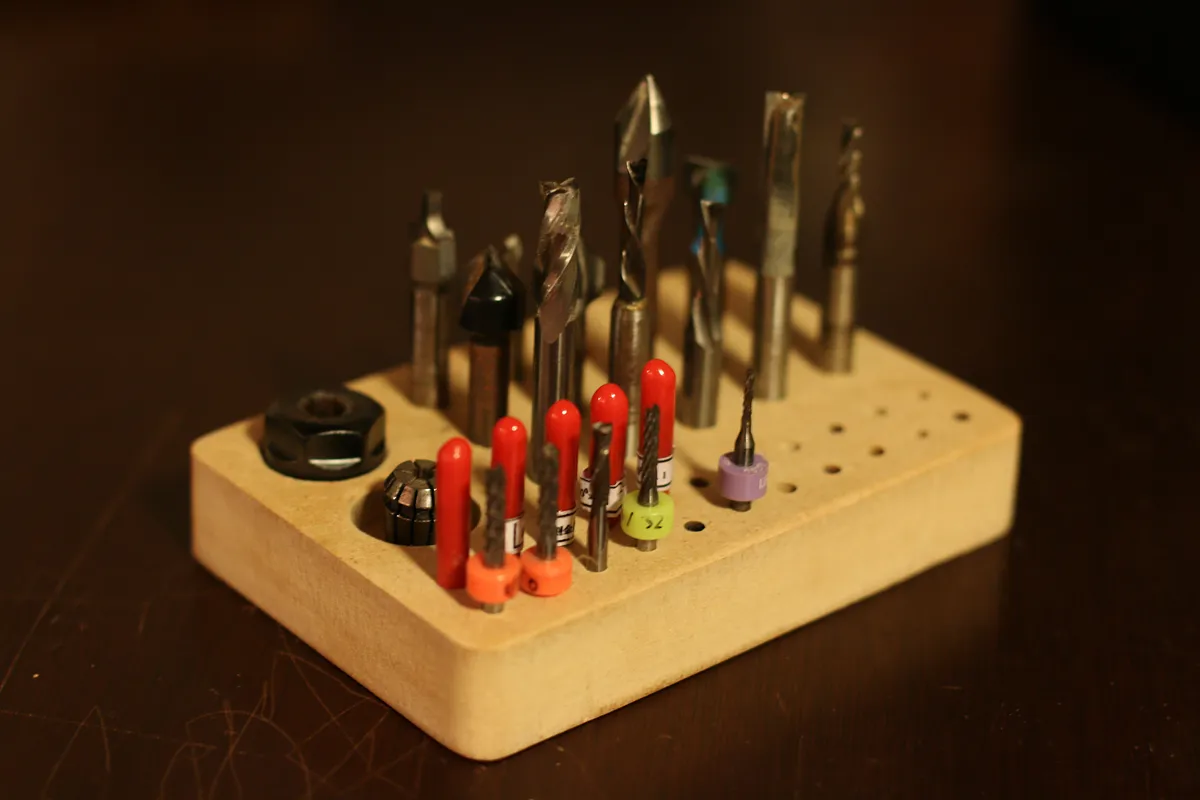

Instructions
Open Project and Make Edits in Easel
Open this project in Easel by hitting the "Open in Easel" button. Make any necessary changes such as adding or removing organizer holes or adjusting hole diameter. This project is set to cut 1/8" and 1/4" holes but can easily be modified to accept other sizes.
Be careful when selecting the tool you will use for your cuts. If it is the same size as the hole that you are looking to cut, it may overheat and burn the wood or break the cutter. I recommend using a tool that is smaller than the smallest hole you plan to cut in your tooling organizer.
Estimated time: 5 minutes
Prep your Material and Machine
Set up your machine with whatever material you decide to use. This project is currently set to use 3/4" MDF. Attach the material to your machine and make sure that it is nice and secure and make sure that it is located to where there is enough travel on all axis to complete the cut.
Estimated time: 5 minutes
Get to Carving!
Use the Easel interface to set your router home position, start up your spindle and and begin to carve. Let the program complete and remove the material from your machine.
Cut out holding tabs and sand to finish
Once the material is cut on the CNC router and removed from your machine, use a hand saw or other method to cut through the holding tabs to separate the tooling holder from the rest of the material. Use a sanding block or power sander to clean up any tooling marks and round the edges.
Estimated time: 5 minutes
FIll with your favorite tooling
Load up your library of CNC tooling and enjoy your newly built organizer.
Comments
I have just bought a Shapeoko3 and as it stands today your project seems about a million miles away, but I will get there sometime or at least I must stay positive as they say lol.
Roger William Crook · May 31, 2017
I tried this as my first cut and although it worked it was incomplete. It did not drill out the two rows (22 holes) to the left of the organiser and the simulation did not show these holes either. Have I missed something?
Hamish · July 02, 2018
You won’t get preview or cut if your bit is too large.
Bryan Stewart · January 15, 2019
holes are sized too small. a little bit of play is ok for a bit holder...
Tyler H · December 25, 2019
just ran your tool holder but had to open up the 1/8 holes and the 1/4 holes by 0.01 still a nice thing to have thanks for shureing
michael goude · January 09, 2023