Decorative Picture Frame

Instructions
Secure your workpiece
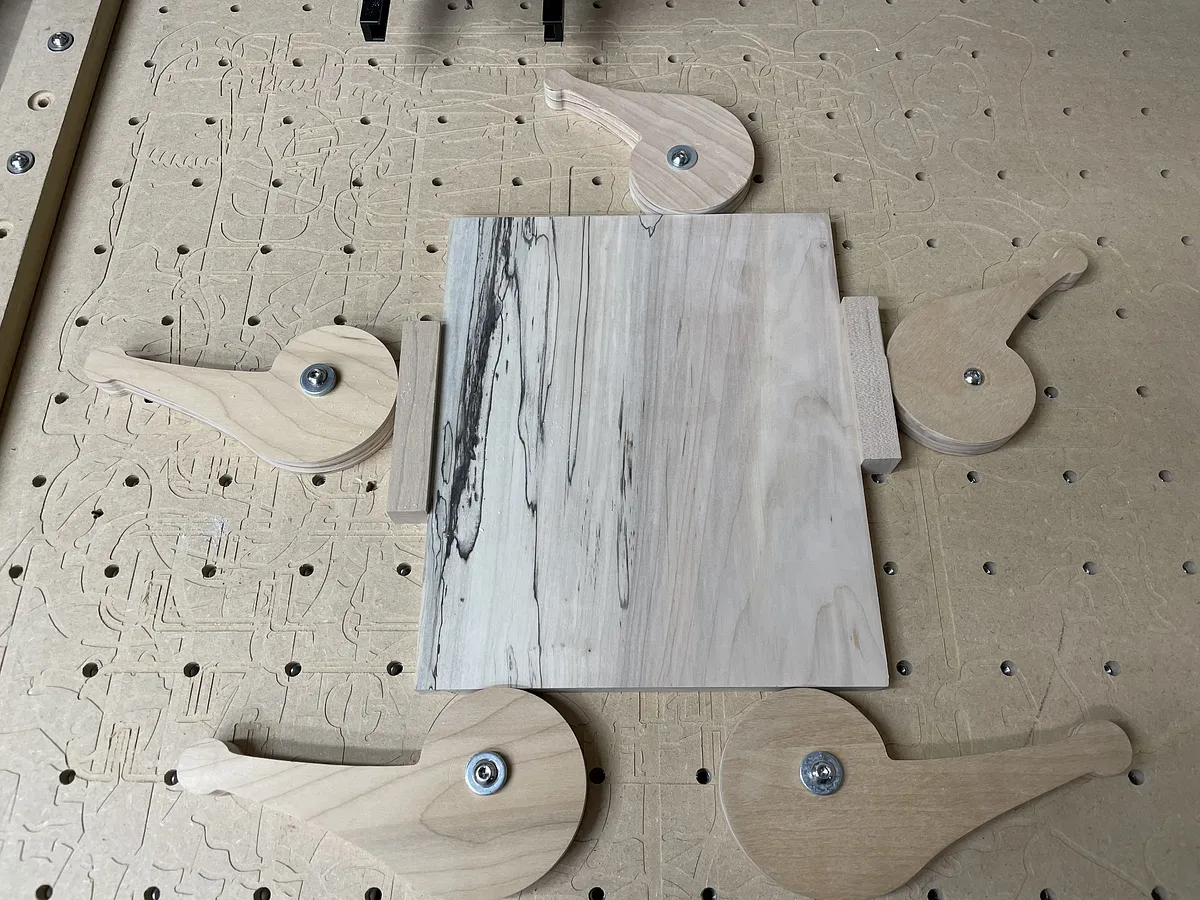
Once you have your piece of wood cut to the 9" x 11" x 1/2" thick size you need to clamp it securely in your X-Carve. I use cam clamps, but you can use an alternate method.
Carve the front of the frame
This part of the carve will be the longest. The roughing pass will take approximately 54 minutes with a 1/4" downcutting bit. The detail pass will take approximately 56 minutes with a 60 degree V bit.
Estimated time: 120 minutes
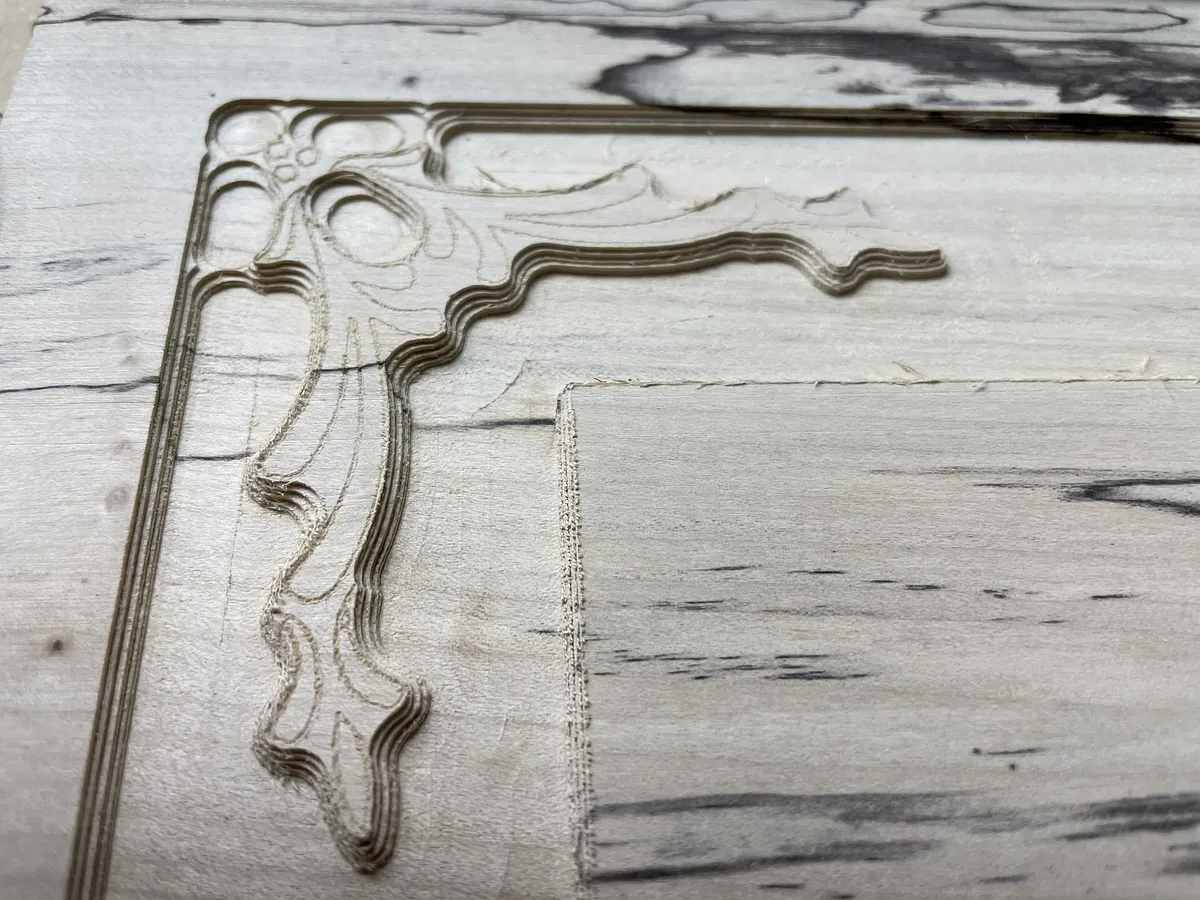
Carve the outlines of the frame and picture opening
Next we change back to the 1/4" downcutting bit to cut the outline of the frame and the picture opening. This took about 45 minutes. The file is set up with tabs to the frame doesn't move while carving.
Estimated time: 45 minutes
Cut the glass recess
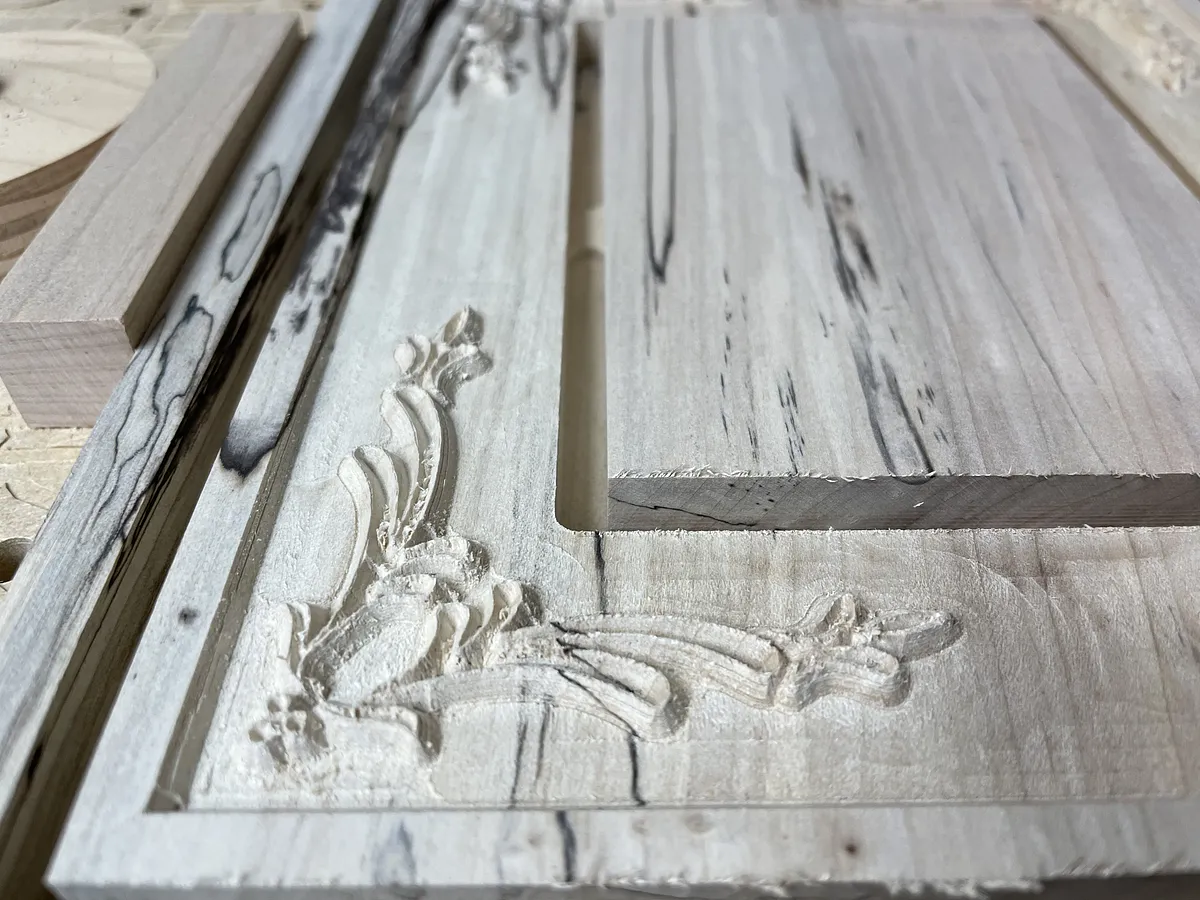
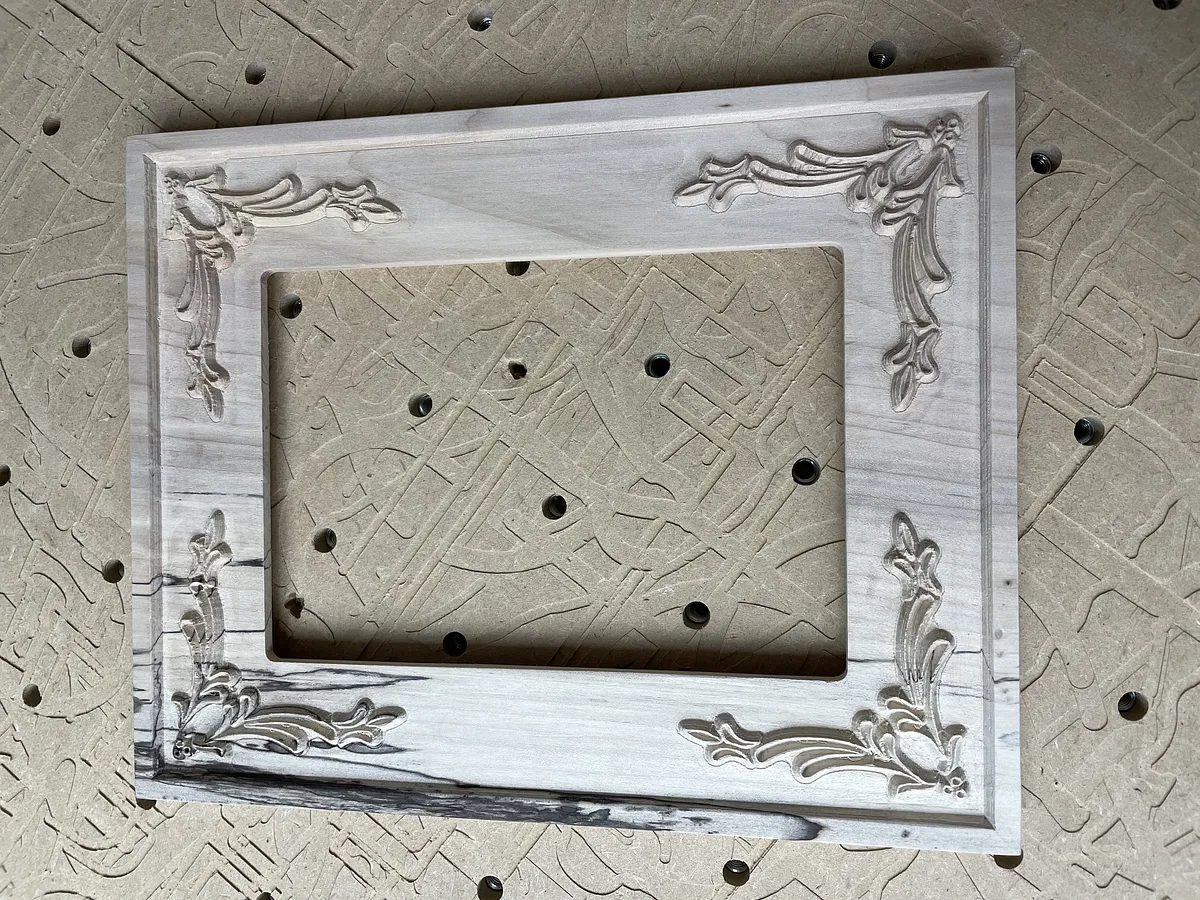
Next we will cut the recess for the picture frame glass. Flip the frame over and secure it back in place with whatever clamping method you are using. The glass I had was 5" x 7" so I made the opening just slightly larger than this so the glass would not be too tight. This process took about 15 minutes.
Make sure you have the frame lined up properly when you run this carve. My frame wasn't set perfectly square with the X-Carve so my recess was off a little. That turned out OK as no one will ever see it. It's just a learning experience, right?
Cut the tabs and sand
Now that all of the carving is completed you can cut the tabs on your frame and sand all of the surfaces. I used a small detail sander to get around the decorative carvings in the corners of the frame. Using your patience here will make a better looking final product.
Estimated time: 30 minutes
Add finish to the frame
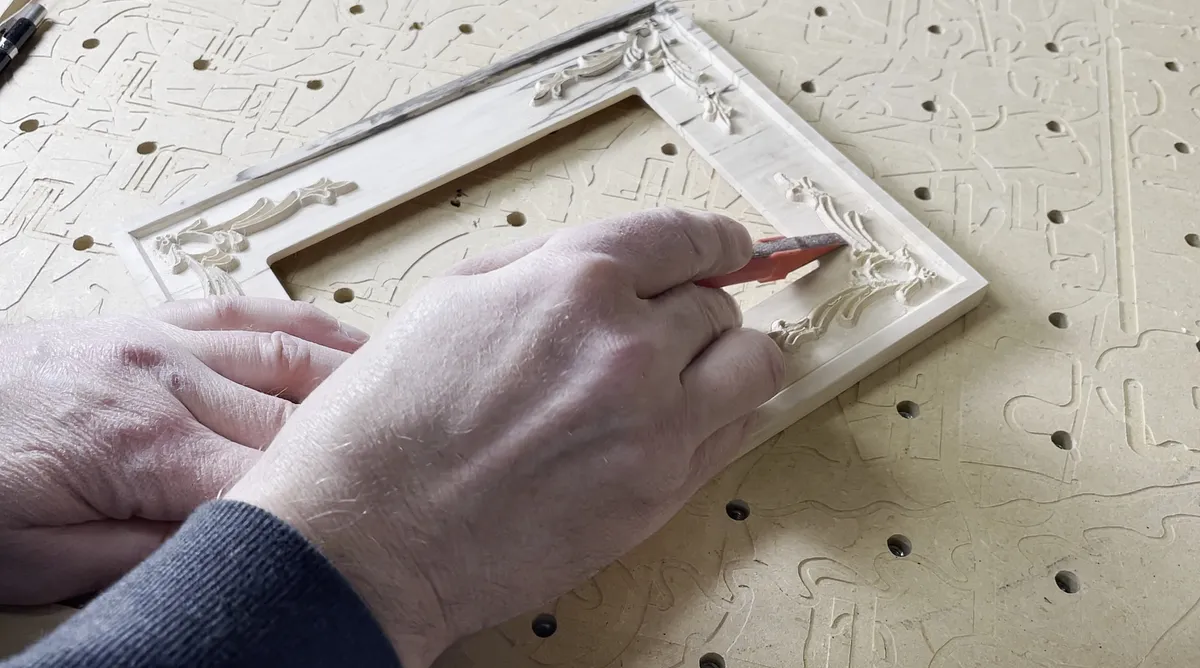
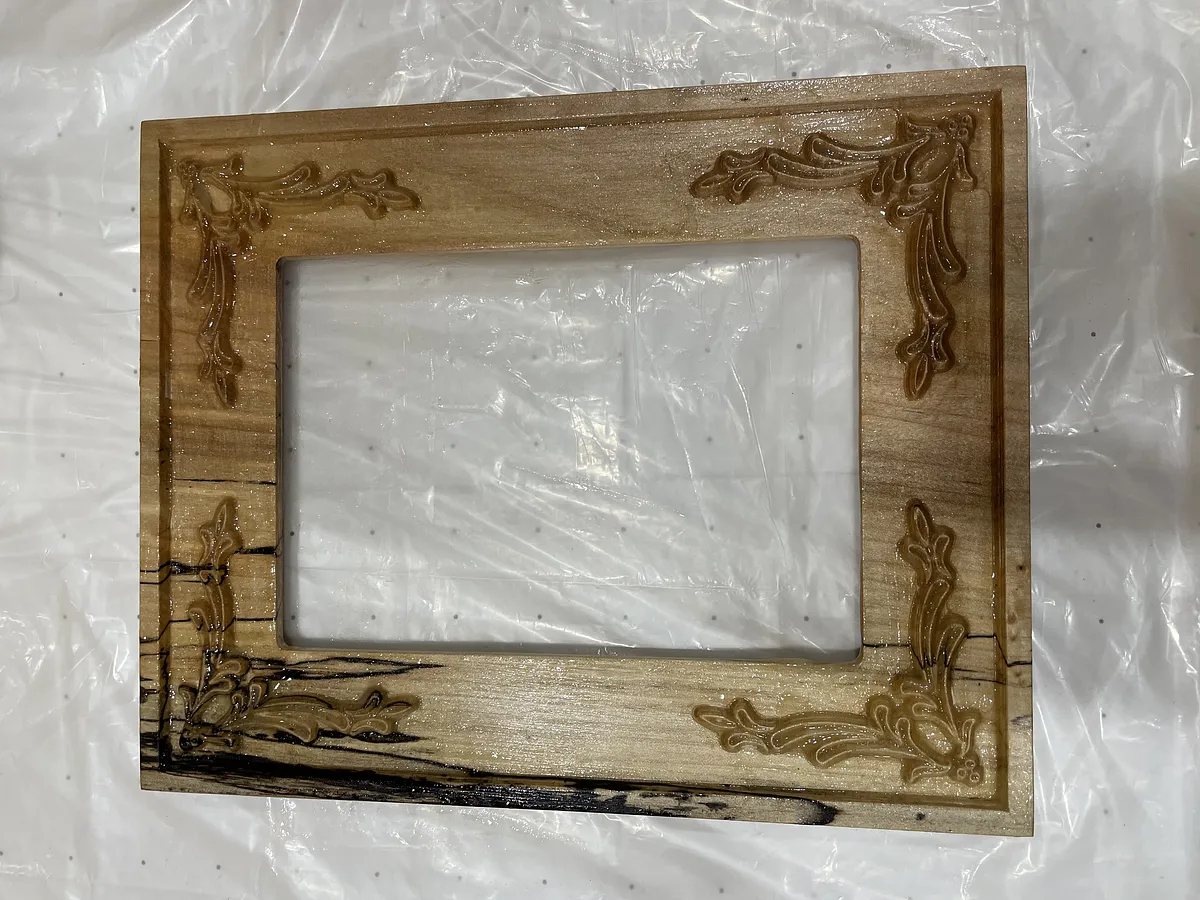
I used Odie's Oil to finish the frame. I love how it makes the wood look and feel. Another bonus is that it is easy to apply and nearly impossible to mess up. You just rub the finish in with a white scotch brite pad and then wipe off the excess after 20 minutes or so.
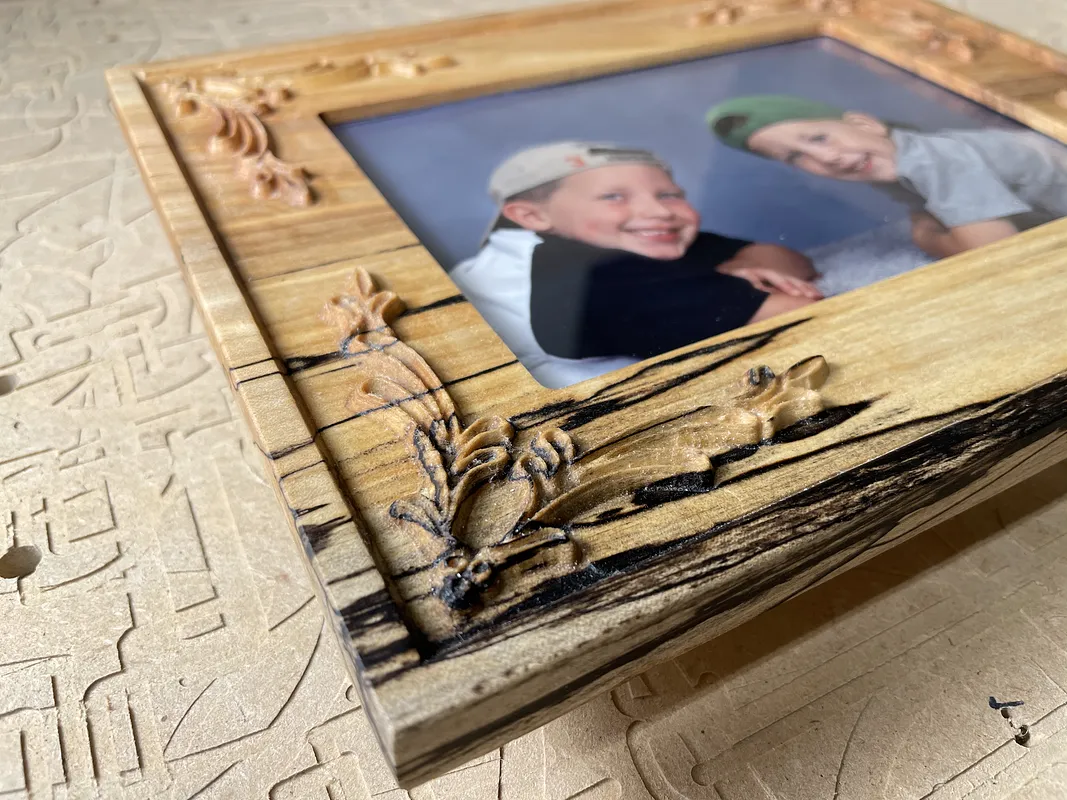
It took a little extra effort to get into the recesses in the carved detail, but it was worth it.
This photo shows the frame with the first coat of Odie's Oil soaking in.
Estimated time: 30 minutes
Sit back and admire what you have made
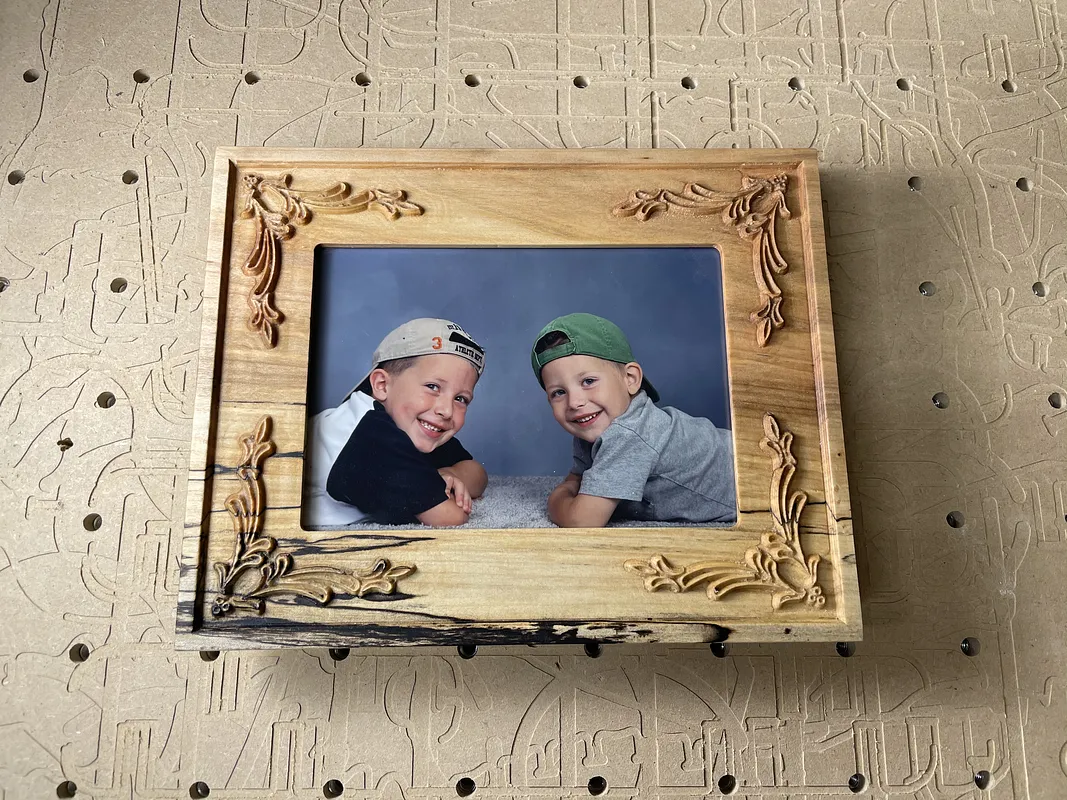
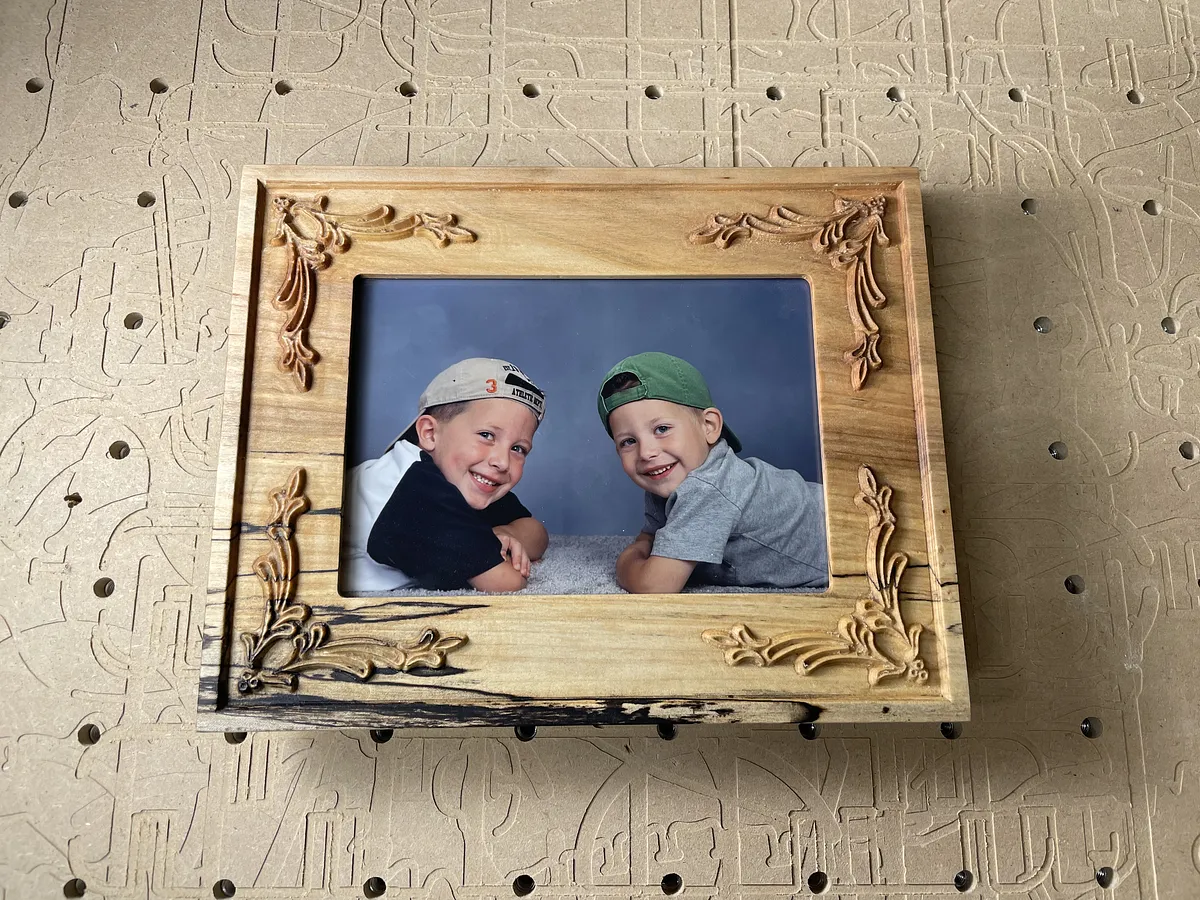
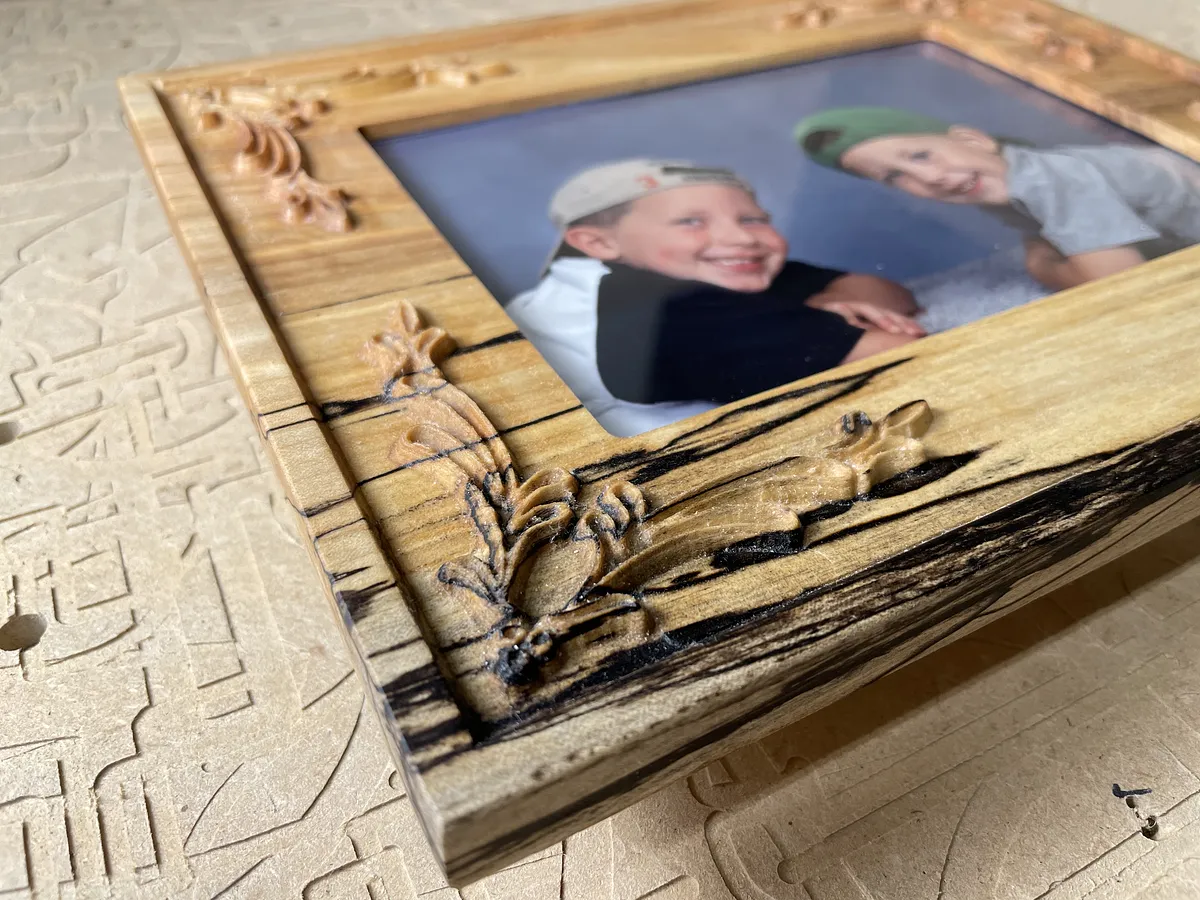
Now that everything is complete you can site back and admire the frame you have carved. I really like how this turned out using the spalted maple. It is a very unique look and adds a lot of character to the design in the corners. I added one of my favorite pictures of our two boys from when they were little.
I still need to cut a small rectangular piece to add to the back of the frame and hold the picture and glass in place, but that won't take long. I just had to show off the frame.
Let me know if you have any questions. If you carve one then please send me a picture.
Estimated time: 1 minutes
Comments
Great project worked perfectly
John ColemanPro · October 16, 2021
Glad to hear it worked for you John.
Steve MoseleyPro · October 16, 2021
when I select all and try to center before carving it does not reset the image down left as normal.???? What am I doing wrong?
John ChoatePro · December 07, 2021
John - Elements of the carve may be pinned in place. Try selecting items individually and see if that is the case. If so, unpin and then move as desired.
Steve MoseleyPro · December 07, 2021
thanks for the help. I don't see a difference by selecting separate items and i can't find the pin feature in my program even under machine set up as someone earlier said. Sorry to be a pain but I's really like to make this frame for my daughter!!! Thanks.
John ChoatePro · December 09, 2021
Hi John - Try this. 1. Make a copy of the project. 2. Go to the MACHINE drop down menu and select GENERAL SETTINGS. 3. About in the middle of the pop up you will see a line for Enable Pinning Shapes. Click on the checkbox on the right so there is a blue filled checkbox shape. Continued....
Steve MoseleyPro · December 09, 2021
4. Go back to your project. When you click on a shape on the left side of the screen you will now have a little checkbox that you can uncheck in the SHAPE/CUT box in the upper right corner of the work space. You should now be able to select all and move items. Let me know how it goes.
Steve MoseleyPro · December 09, 2021