3D In Easel Pro
With 3D in Easel Pro you can easily carve beautifully detailed 3D relief carvings with a simple-to-use interface.
You can visit our 3D Support Section to Learn more about 3D in Easel Pro, or visit the Inventables Forum to see what others are carving.
First time ever using Easel? We recommend having a quick look at how Easel works before attempting your first 3D carve: Designing in Easel.
You could also try the Intro to Easel Project.
INSTRUCTIONS FOR 3D CARVING 3D in Easel Pro will only work with STL files. If you have a 3D file in another format, you will need to convert it to .STL. Here is a guide: https://all3dp.com/2/best-stl-converter-file-tool/
You may also find the GLOSSARY helpful.
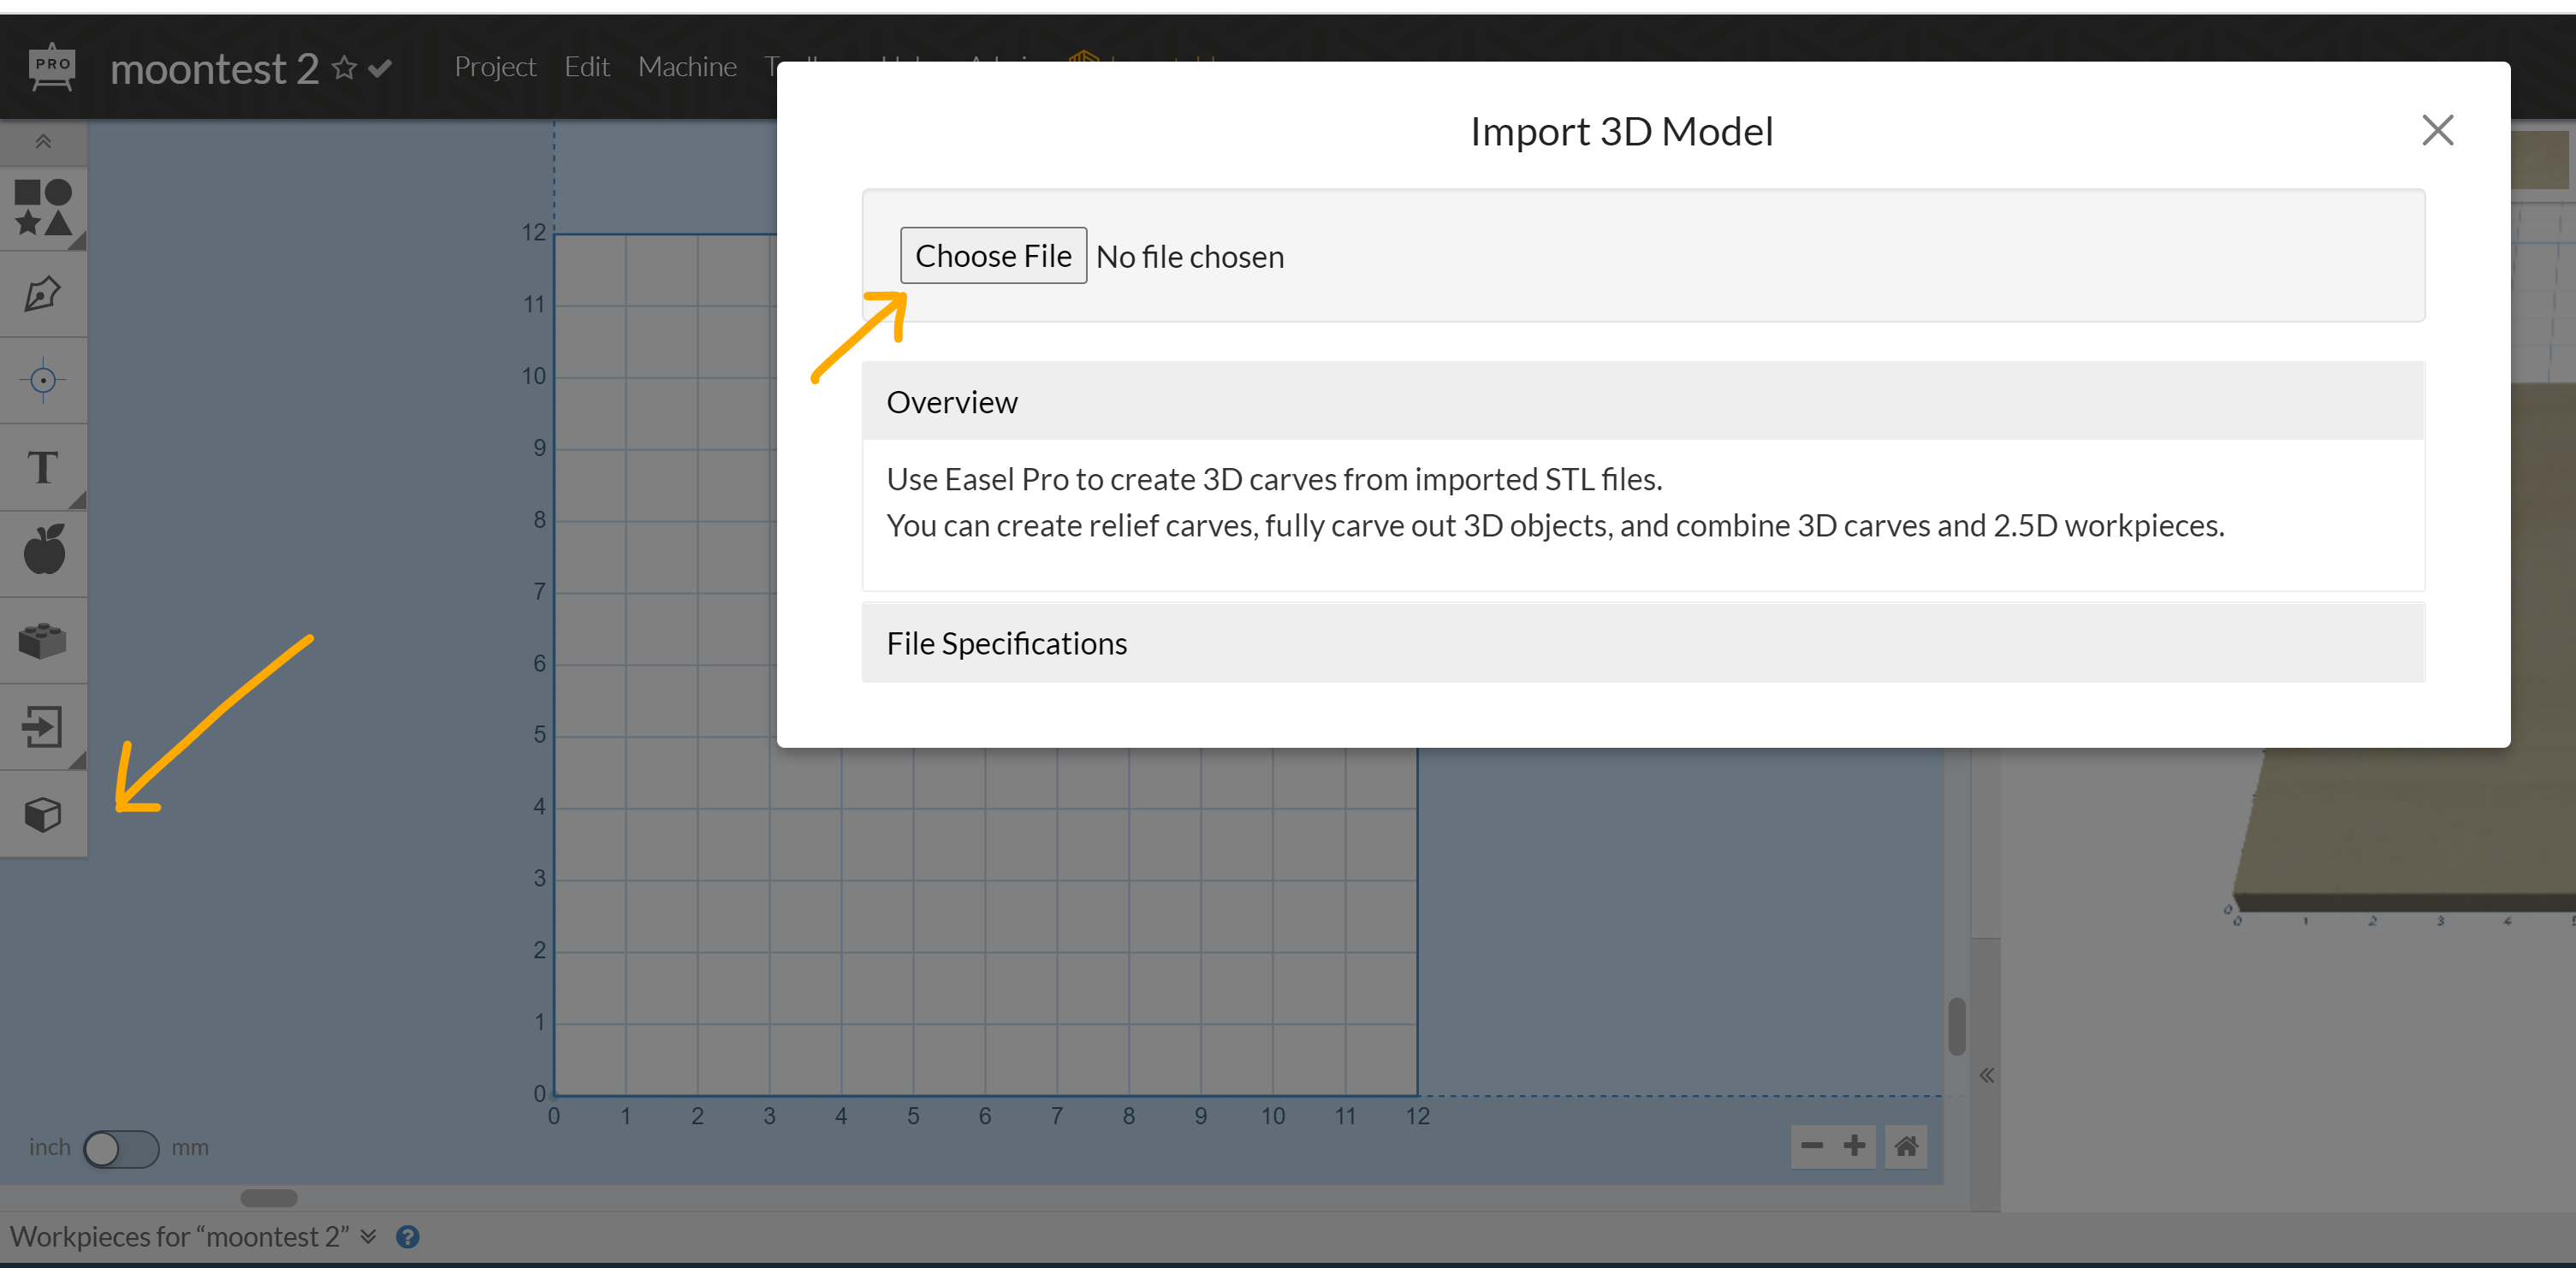
- Open up a new Easel Project and select "Import 3D STL File" to load your model.
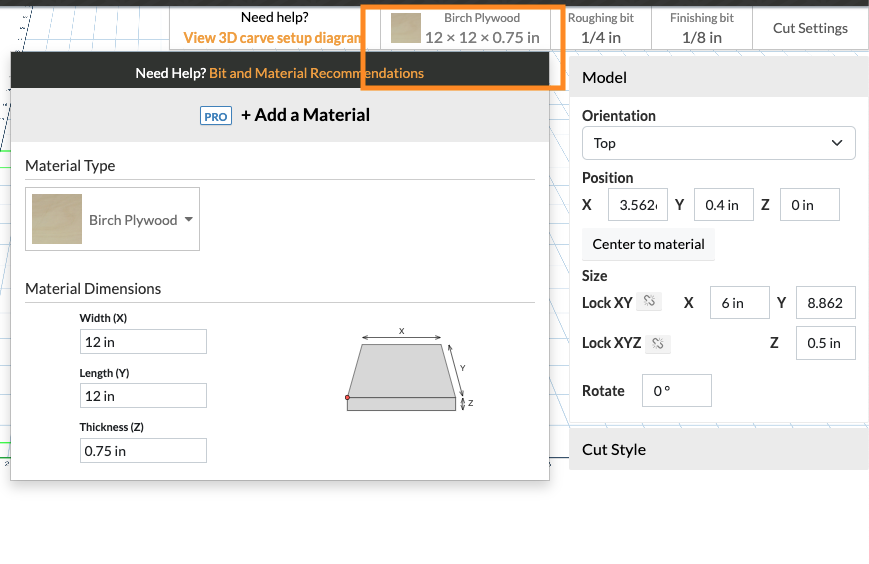
- Once your model is loaded, enter the size of the stock material you will use for carving your 3D model. Make sure the stock size will be enough to completely carve the model (especially the height).
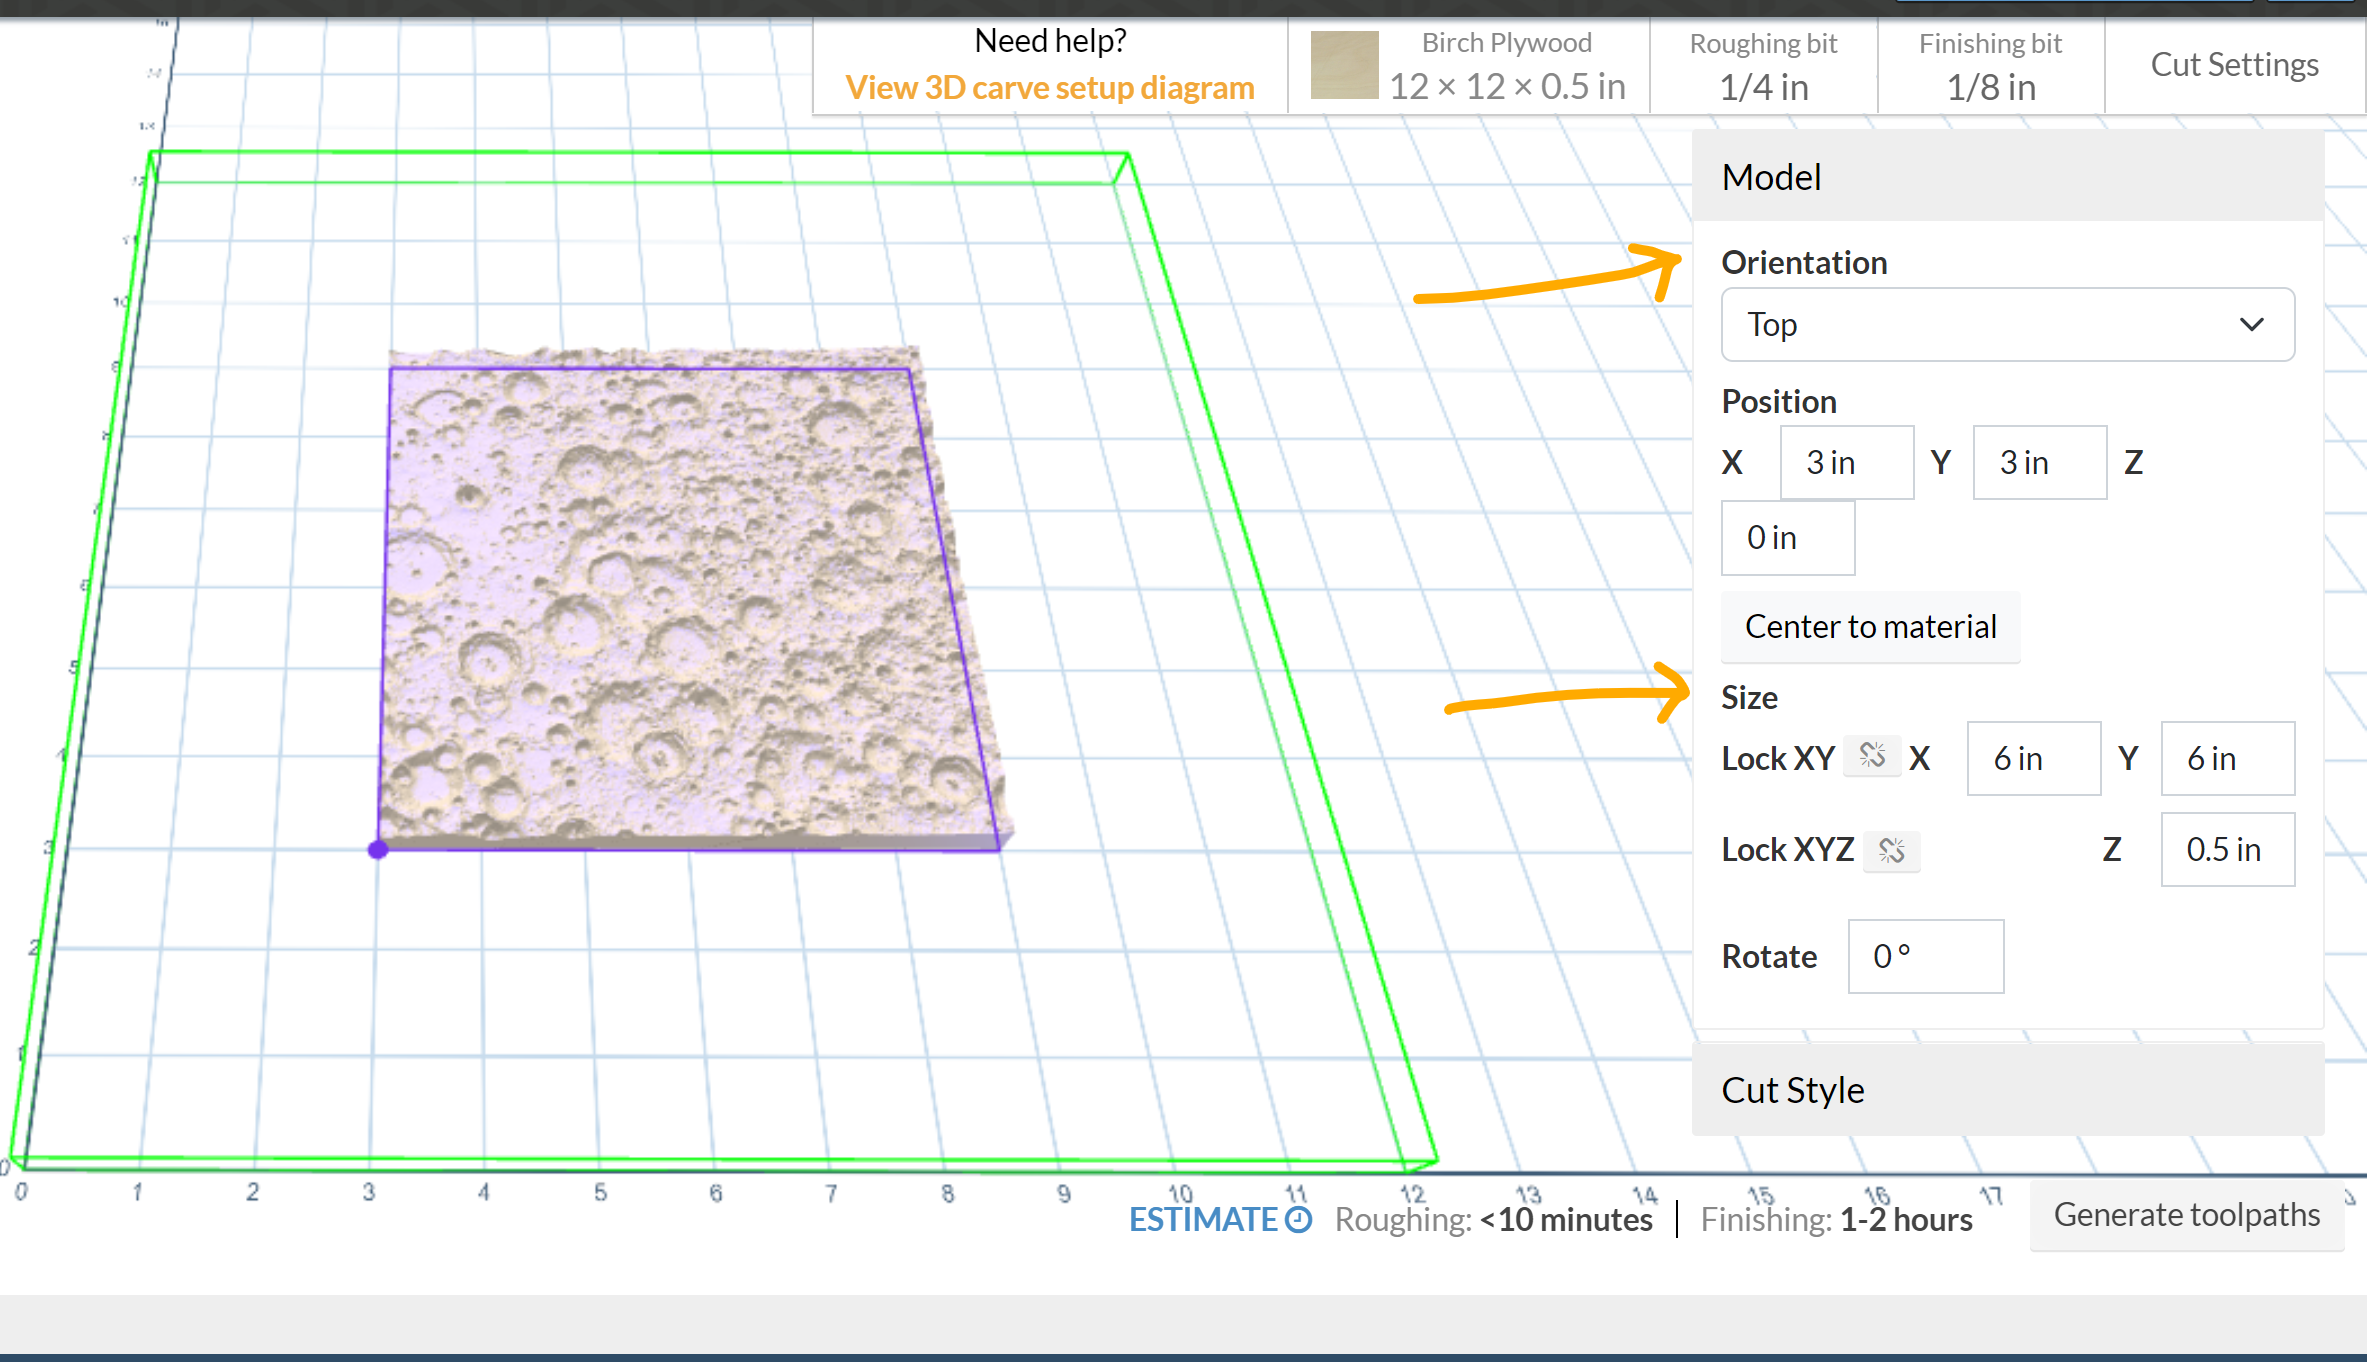
- Orient and position your model where you want it to be carved on the material, making sure that the model is within its boundaries. The green box represents the size of the material. The purple box represents the overall dimensions of your model.
You can use "Center to material" to quickly position the object to the middle of the material.
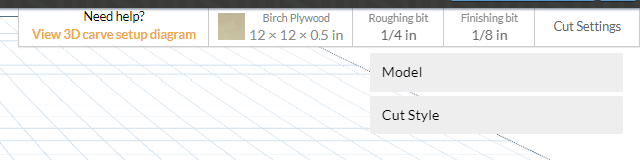
- Select the Cut Style you want for your model (see below for the Cut Style options). You can also select the direction of the finishing toolpath (e.g. to go with the grain of wood stock)
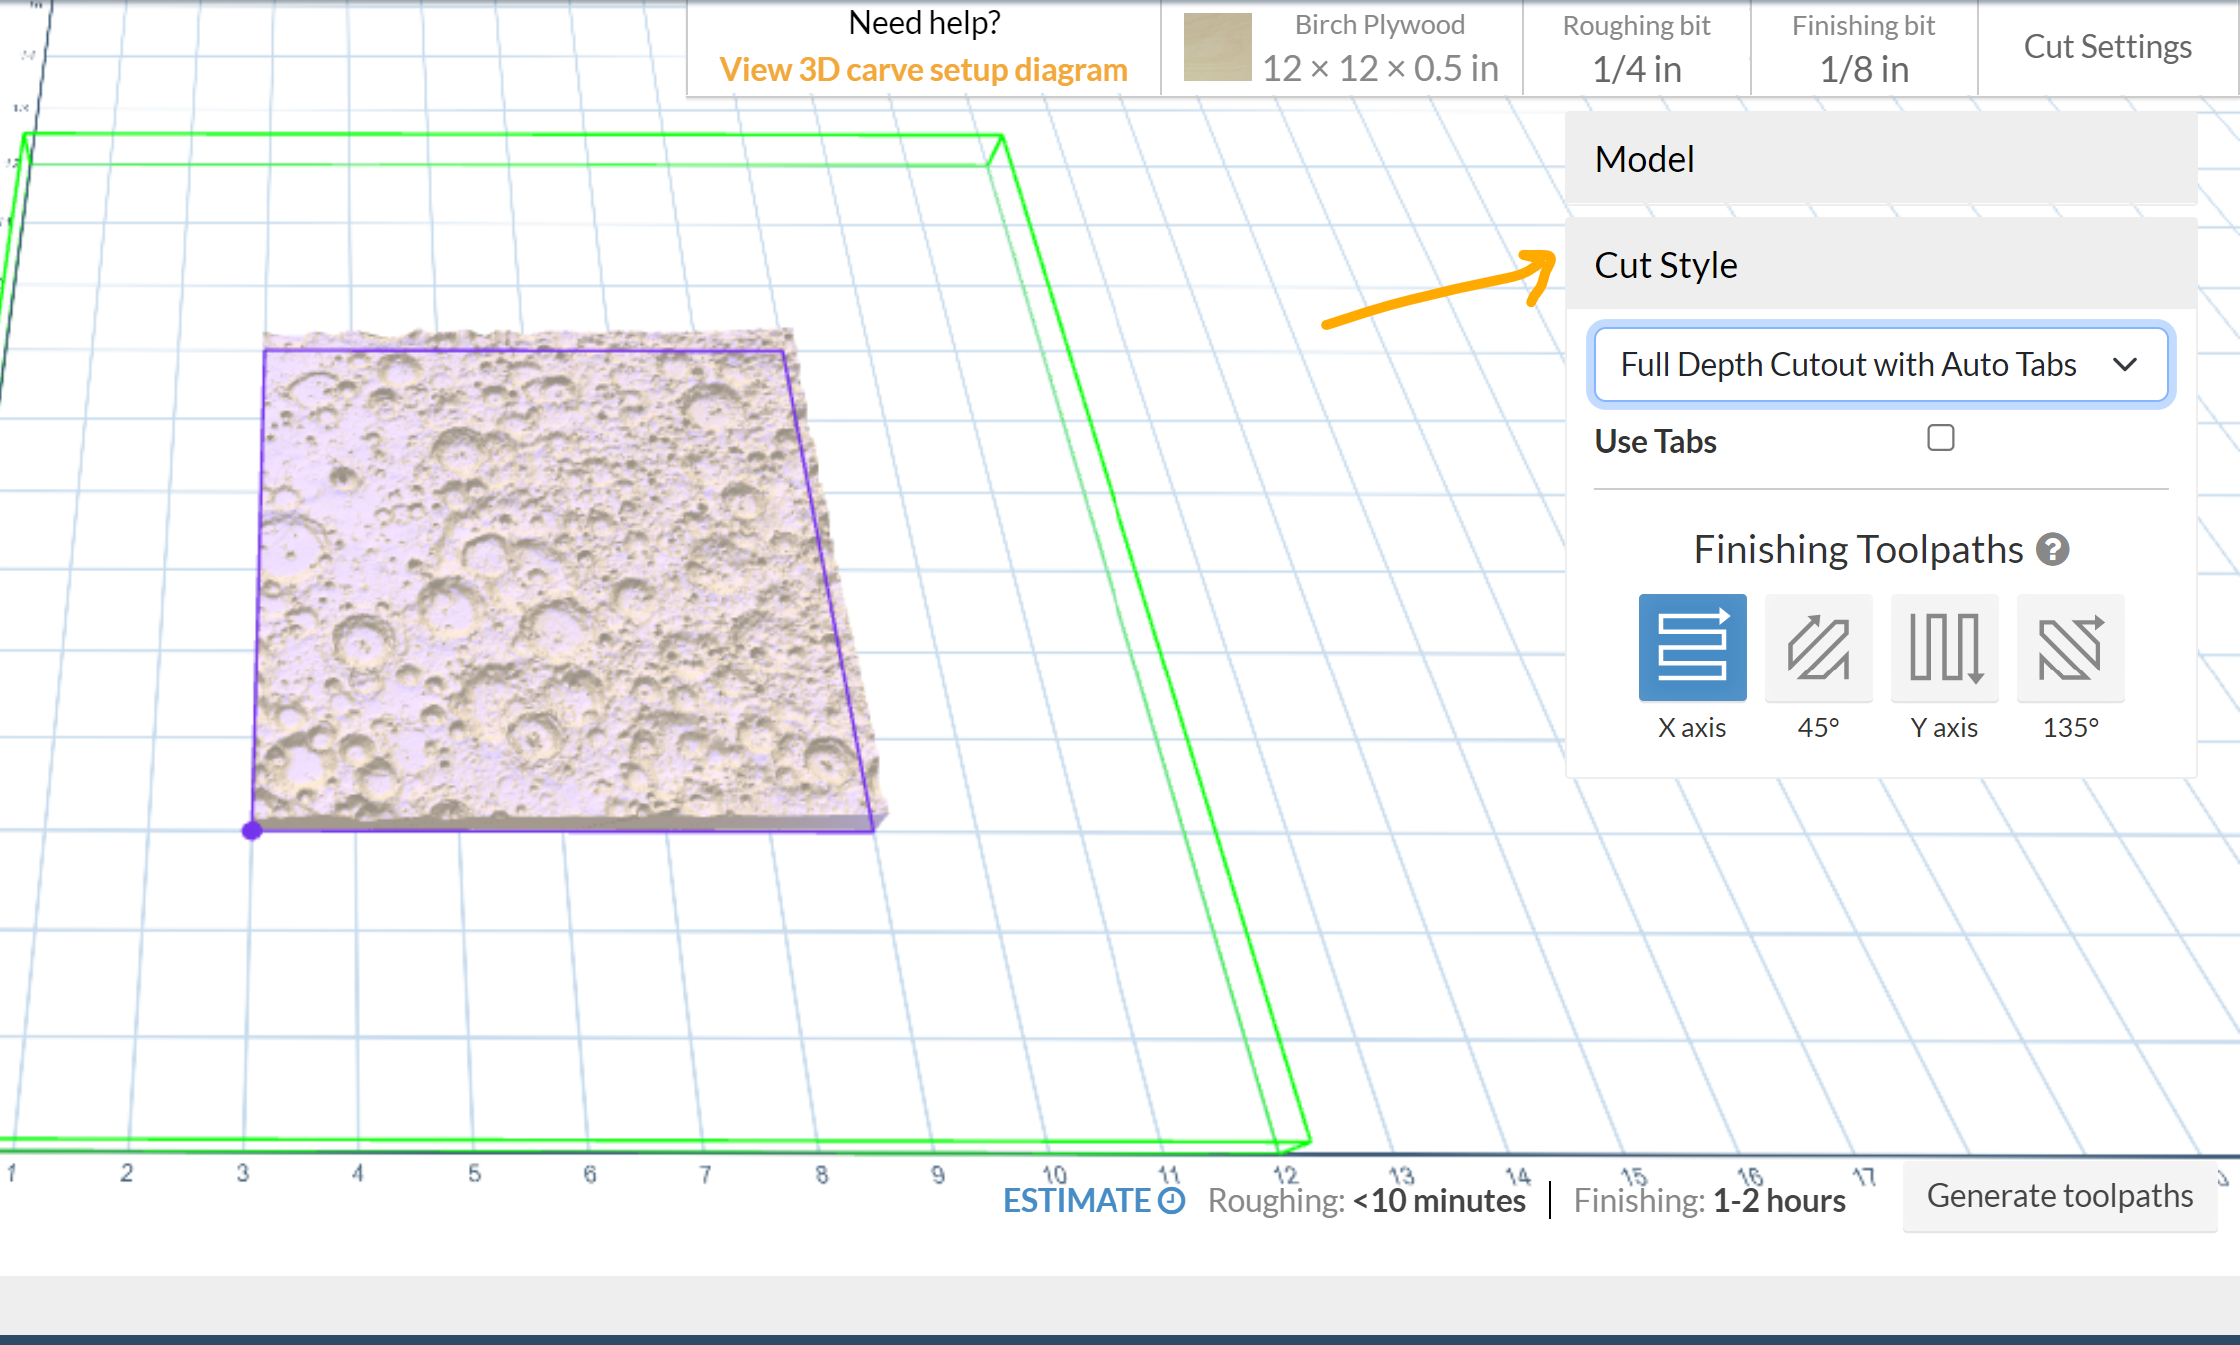
- Select the bits you will use for the roughing pass and finishing pass. In general, any end mill bit ¼” or ⅛” diameter will work well as a roughing bit; for the finishing pass, we strongly recommend using a ⅛” ballnose bit.
- Easel can recommend general, safe cut settings for both passes, but you might need a bit of experimentation to find what works best for your combination of bit and material.
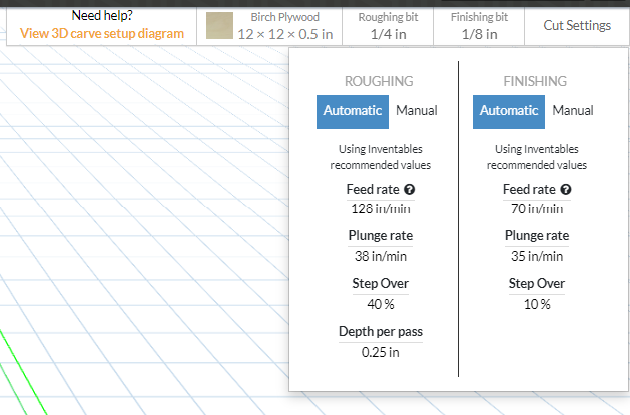
Recommended Cut Settings for X-Carve Pro (shown below) Birch Plywood with 1/4" Downcut and 1/8" Ballnose:
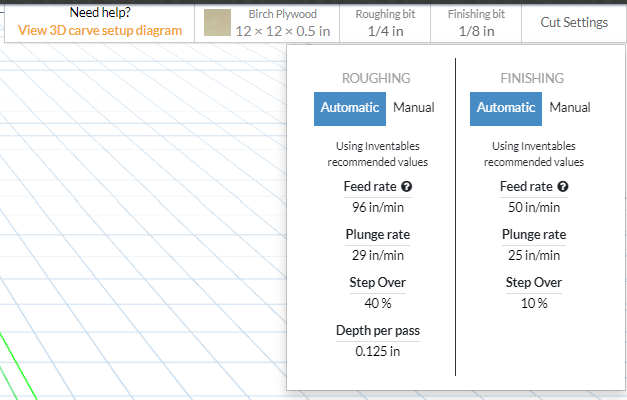
Recommended Cut Settings for current X-Carve 1000mm (shown below) on Birch Plywood with 1/4" Downcut and 1/8" Ballnose:
NOTE: If you are using a different type of material, your settings will be different or unlisted. We recommend using Easel's default settings as a starting point. For more information on calculating your cut settings, see this guide: Calculating Your Cut Settings: Basic Feeds and Speeds Information
- Easel will display the Carve Time Estimator with approximate carving times. Generate toolpaths to see the carving path and the approximate time it will take (the image below is sped up for instructions.)
- After you have generated the toolpaths, you may see how the finished piece will look after clicking the "Show Preview" button.