Cog'n'Gear (v1)

Instructions
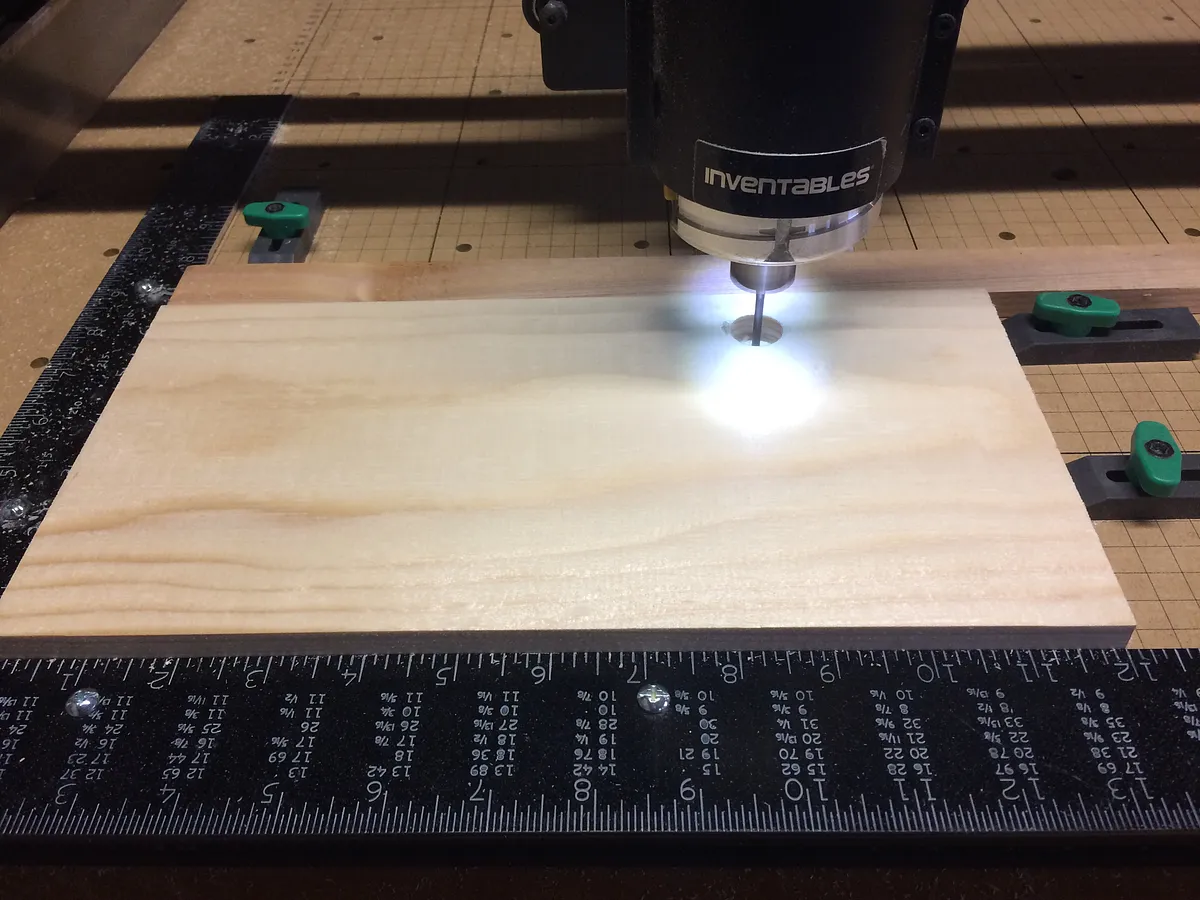
Setup and CNC
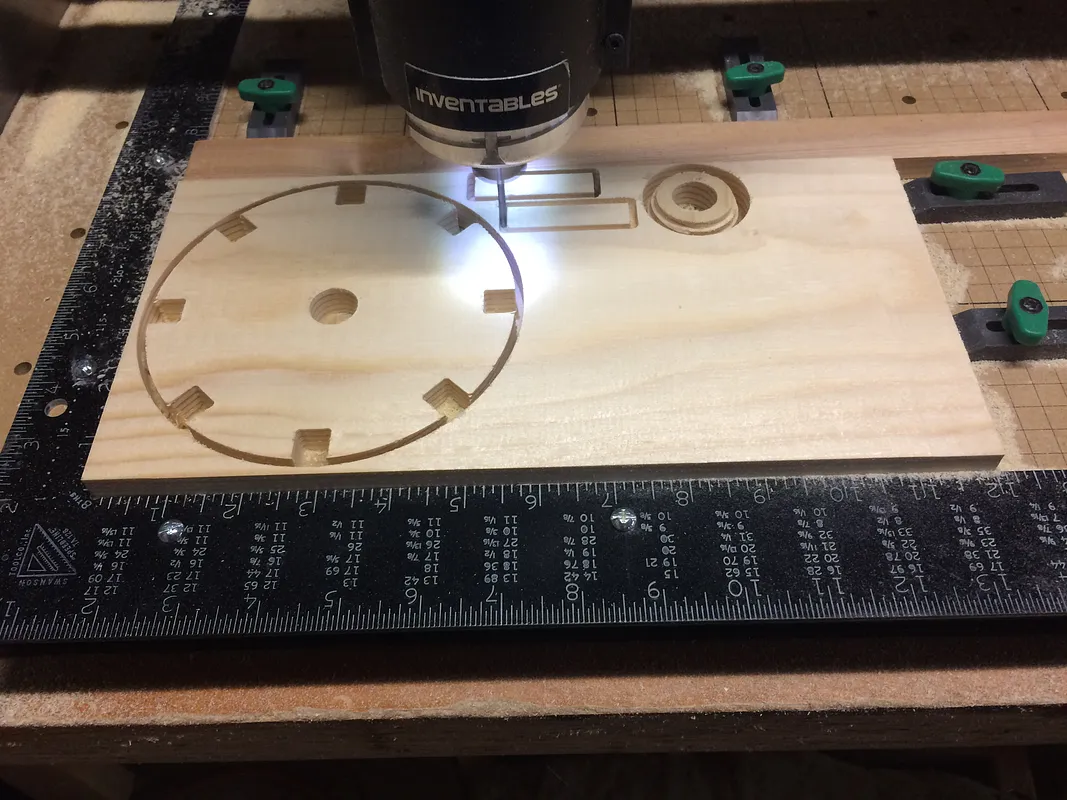
Check and setup your Cut Settings. I run my machine a bit fast. Just know the material your cutting and its limitations.
A no-brainer... I know.
Estimated time: 20 minutes
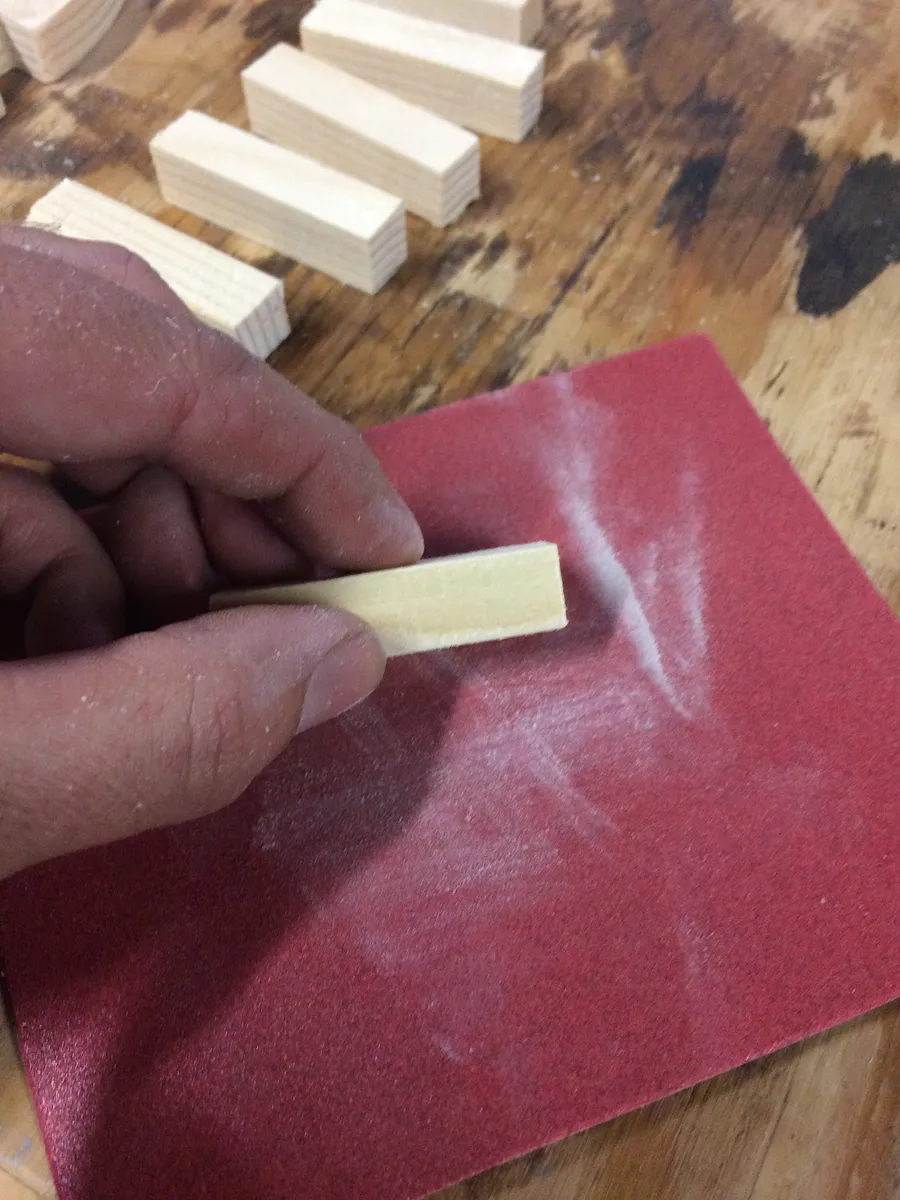
Sand it.
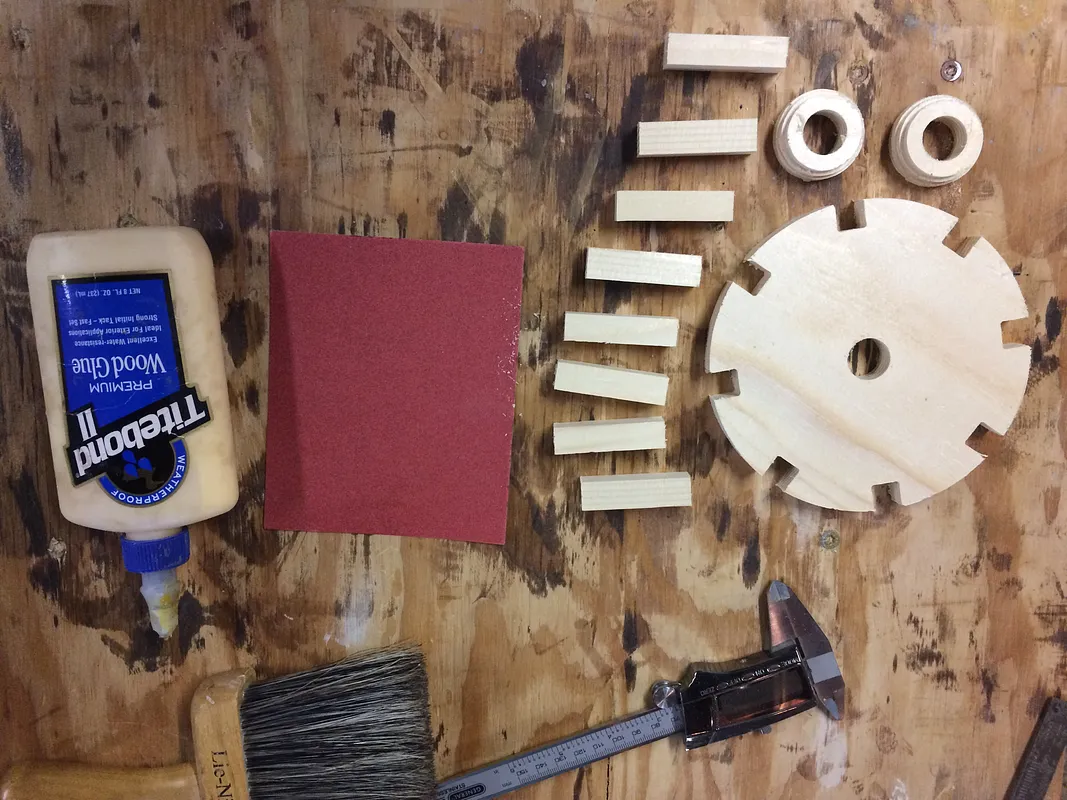
Just give the projections a good sanding, rounding the long 90s a bit.
Make sure to get the burs off the cutouts for the rod.
The rest depends on how picky you are.
Estimated time: 6 minutes
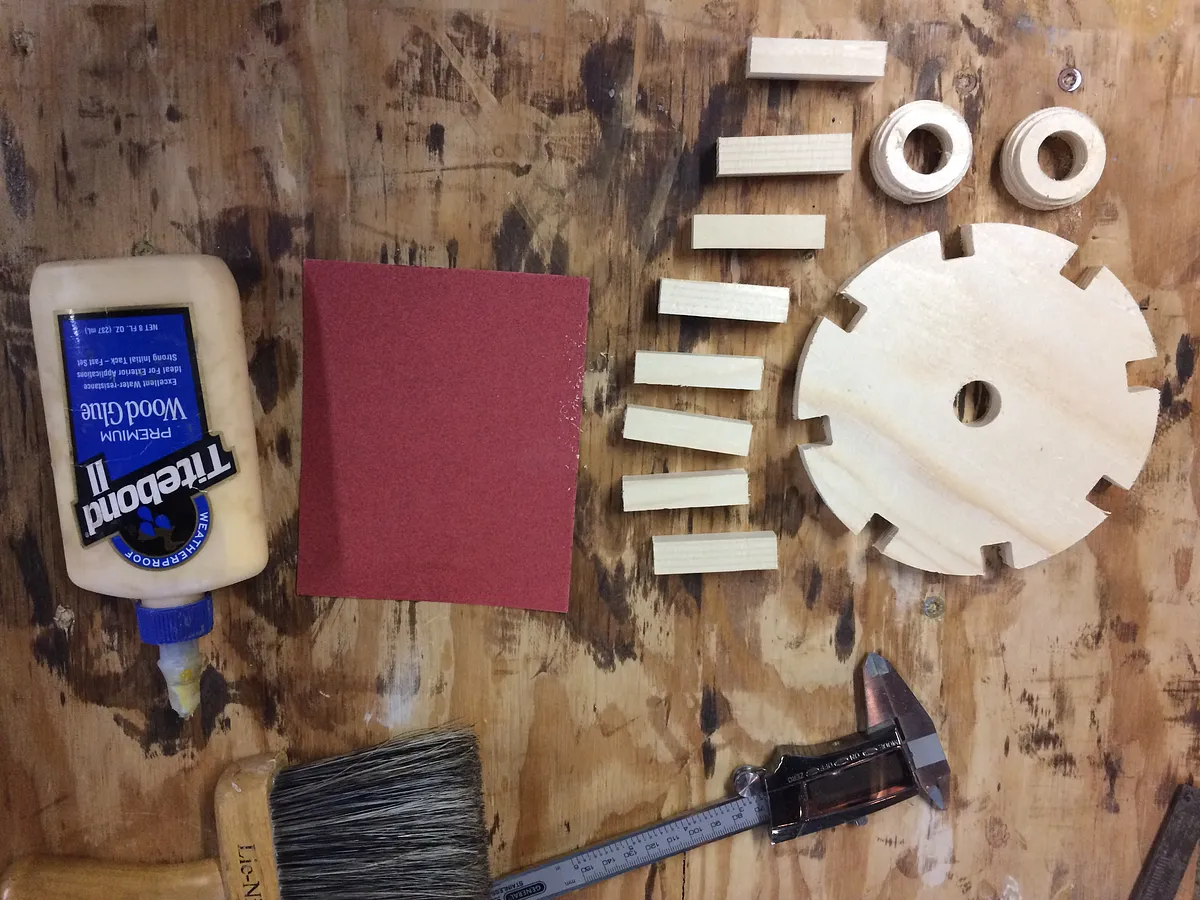
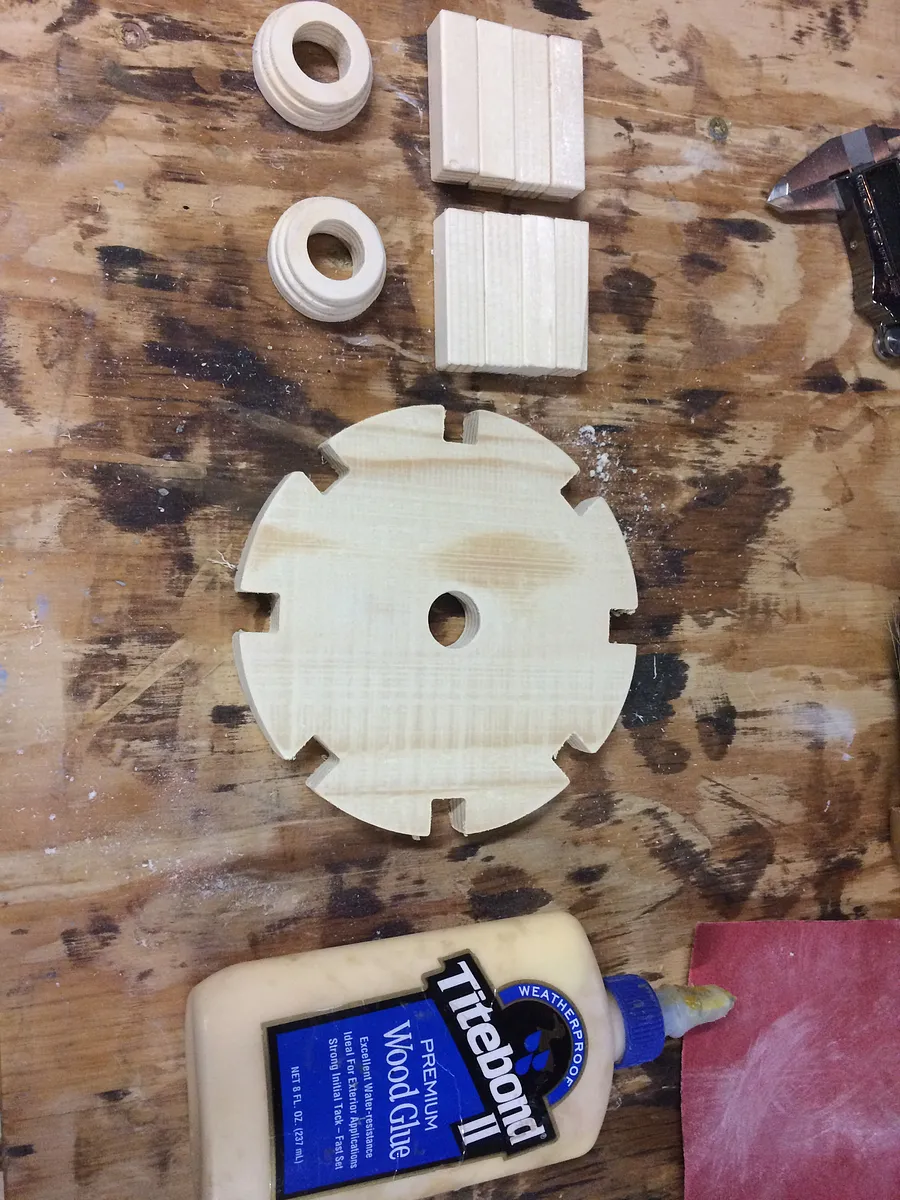
Glue it up
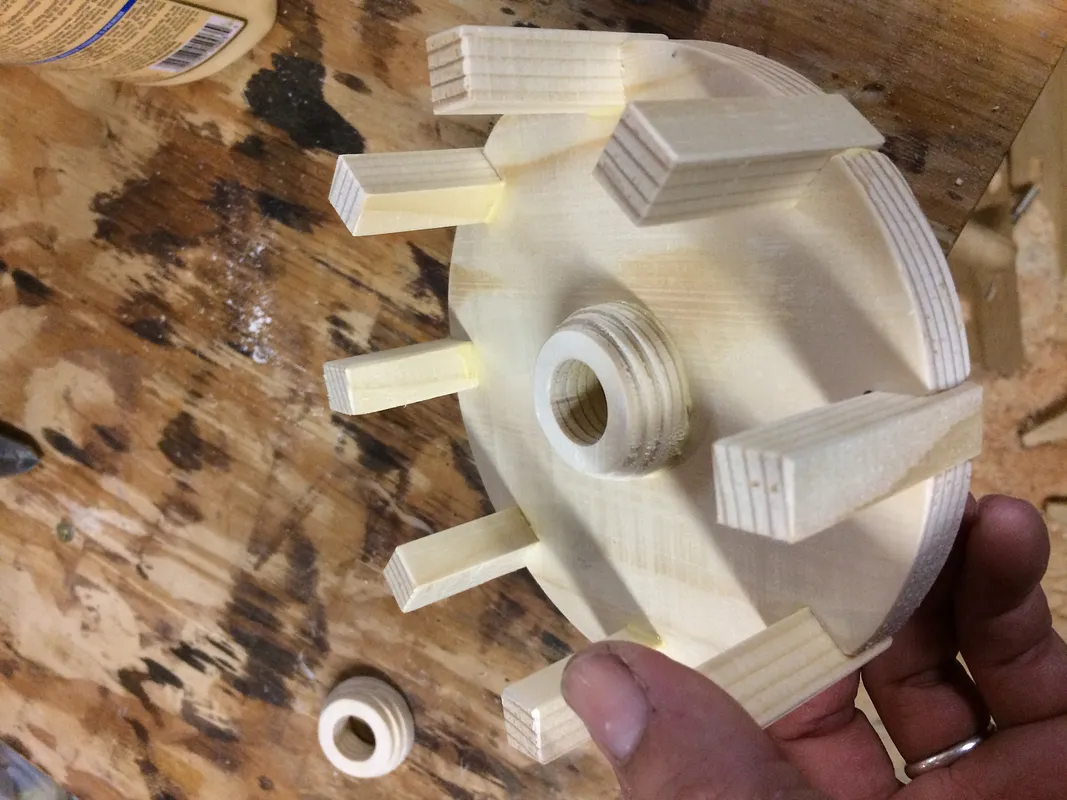
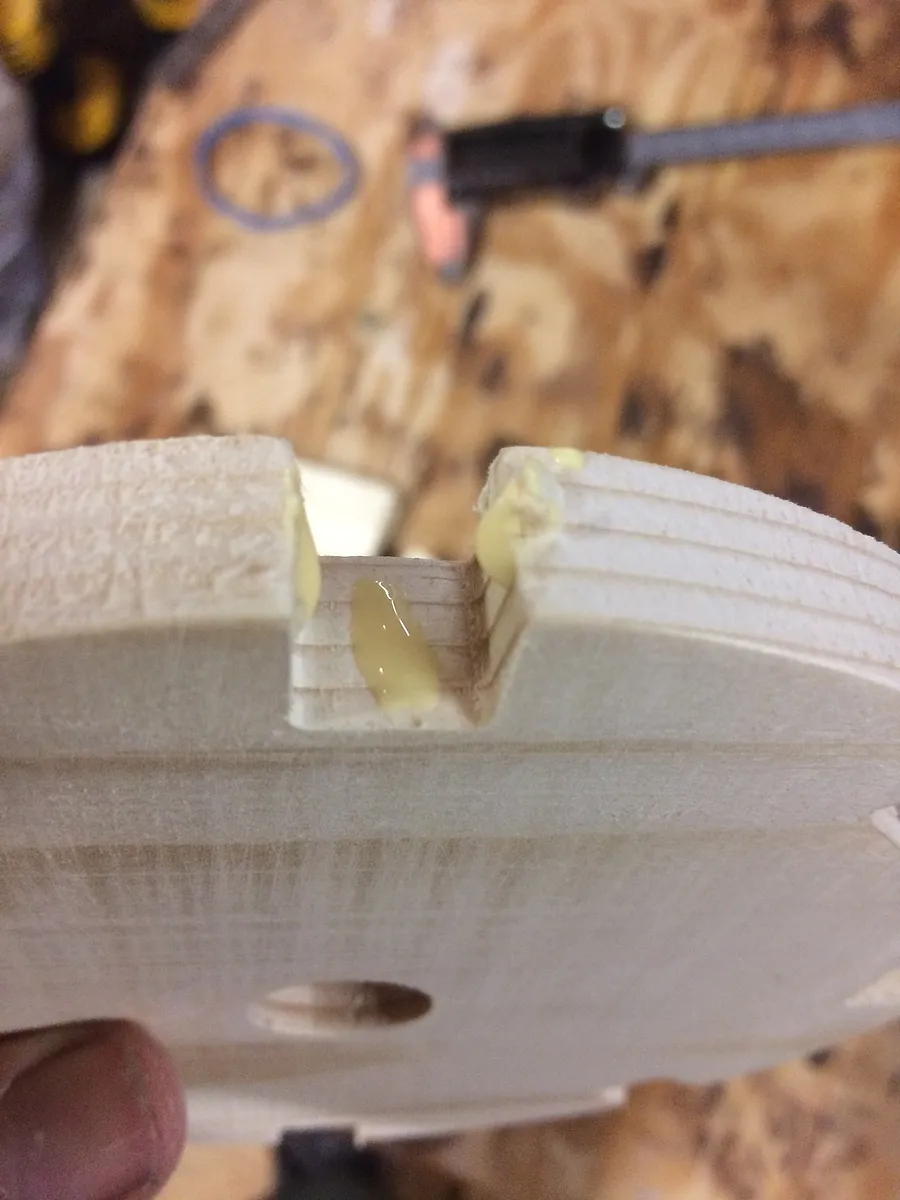
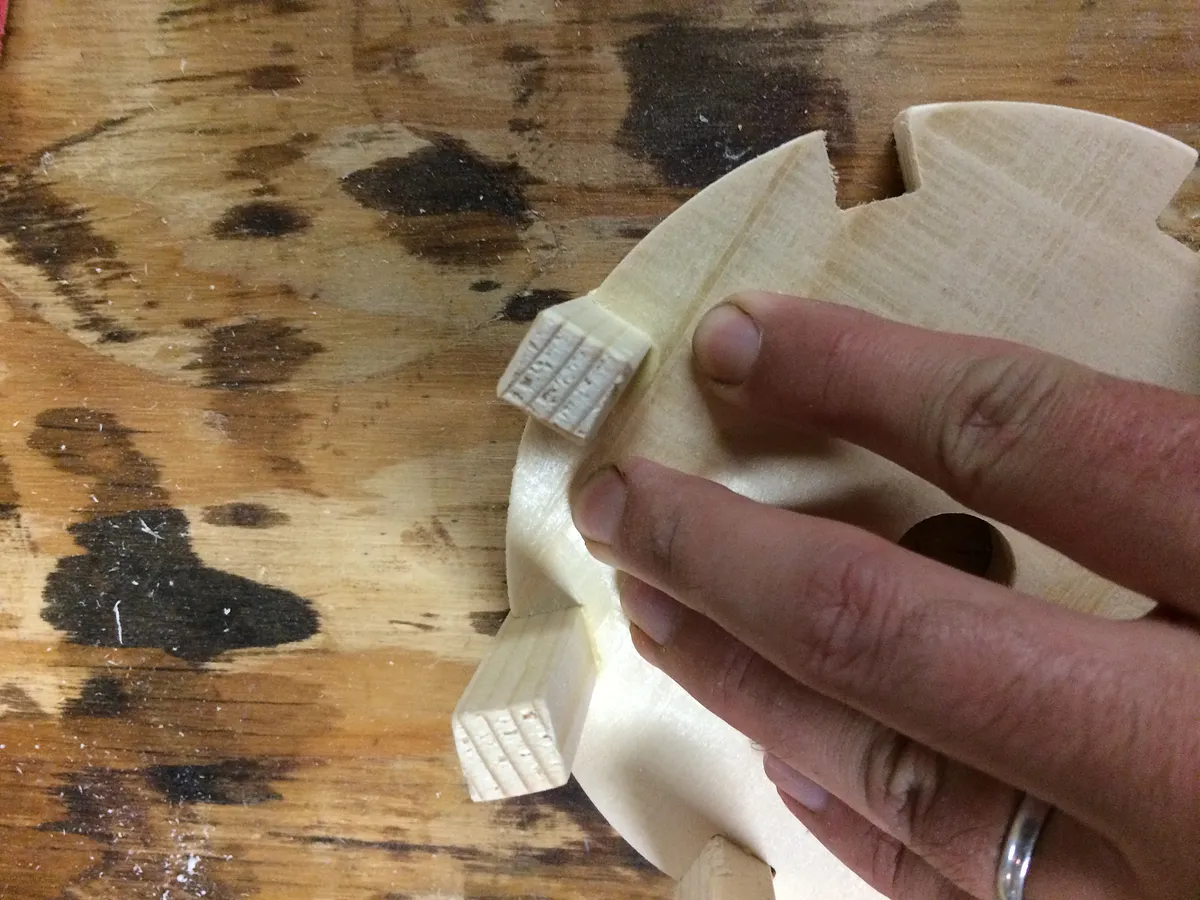
For the projections, i just place a dab of glue on the cog cutout (for the projection). A dab on the back of the cutout and the outermost corners.
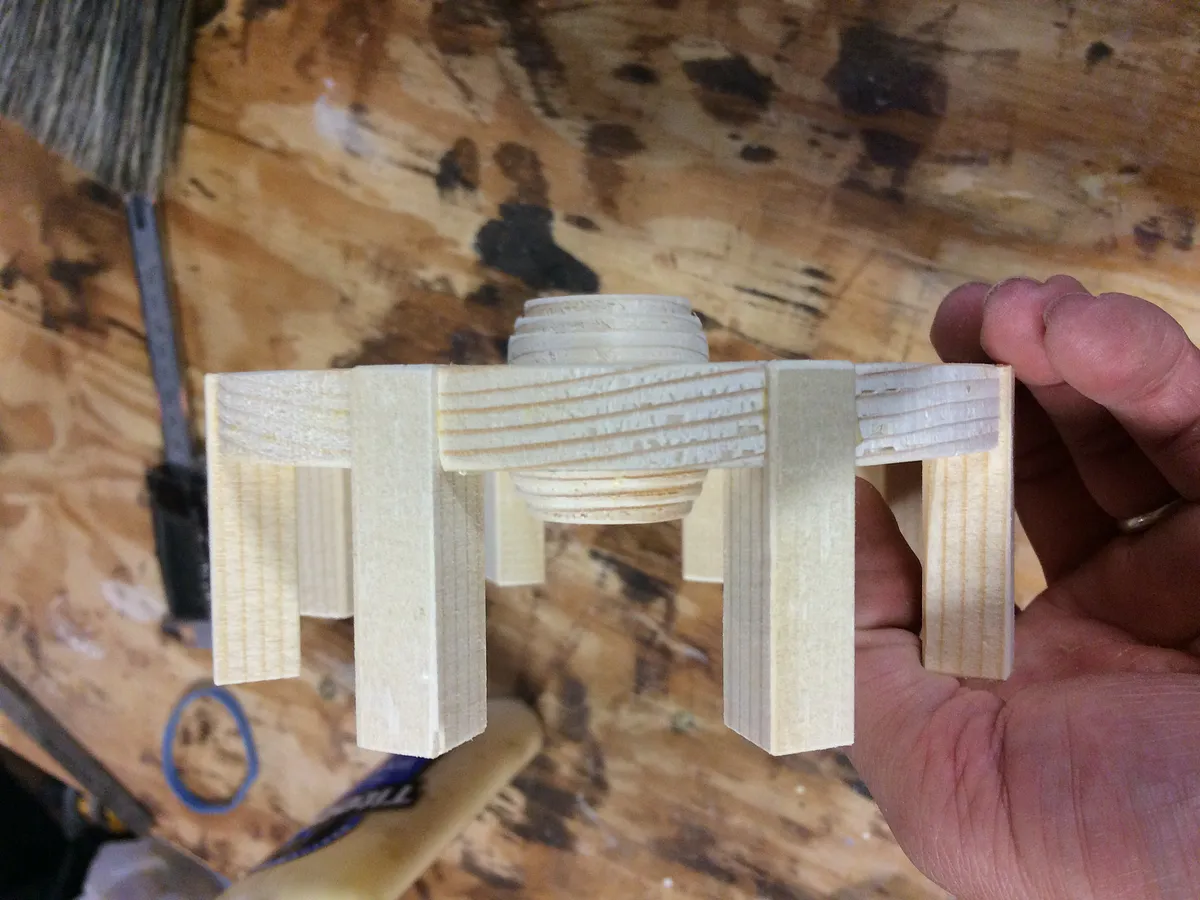
I let the projections hang over the back of the cog about 1/16" and place the back of cog on the workbench. Pressing the parts of the cog thats around the projection firmly down to allow the projection to self level. (Good enough for me.)
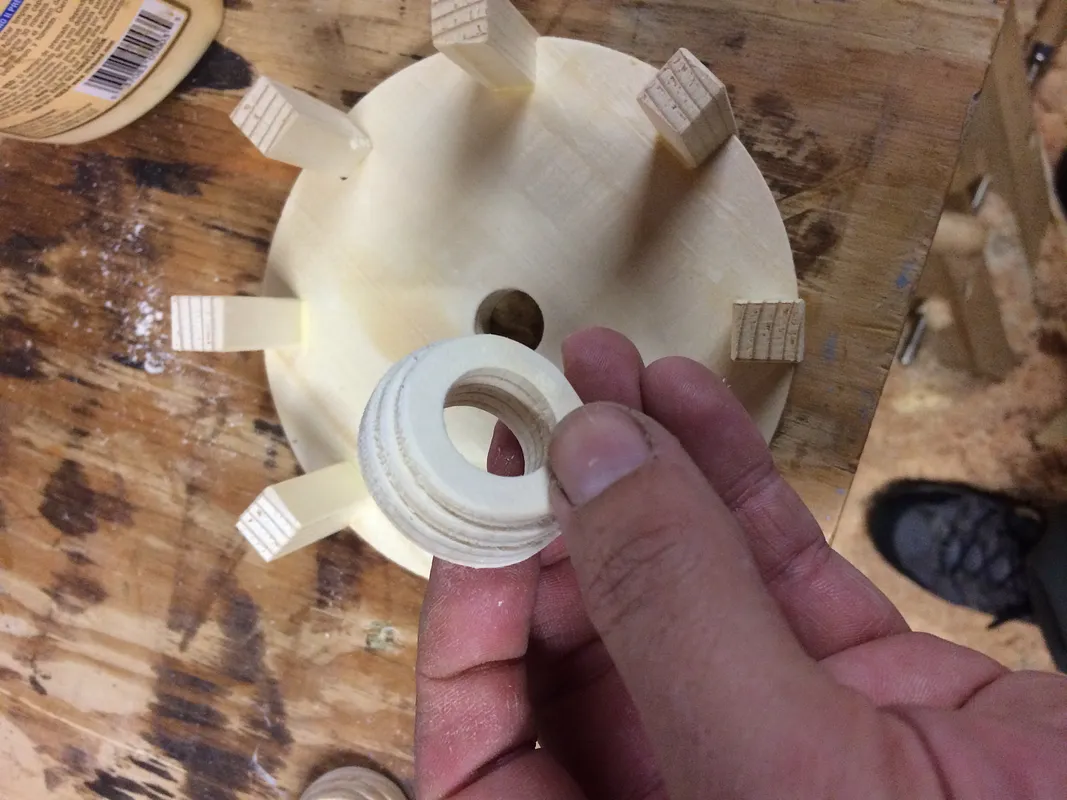
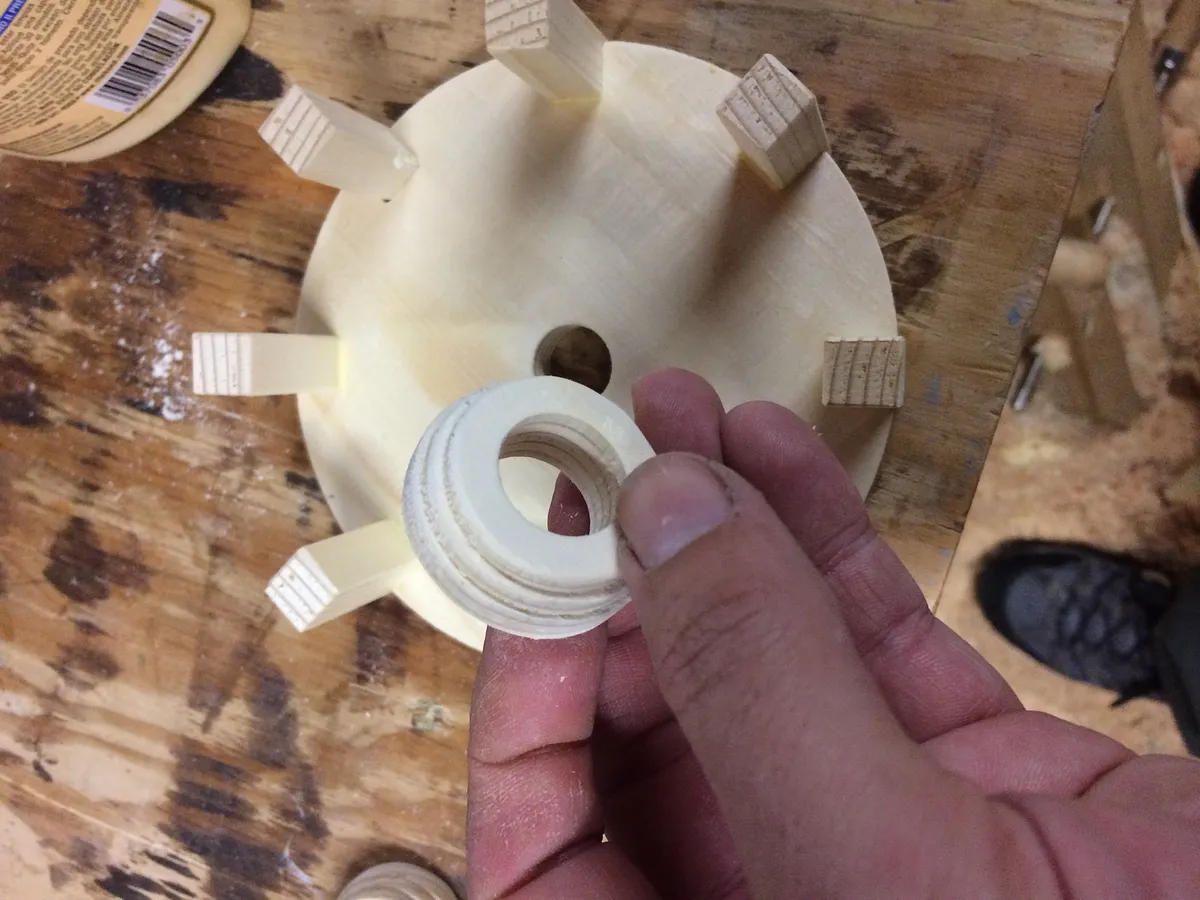
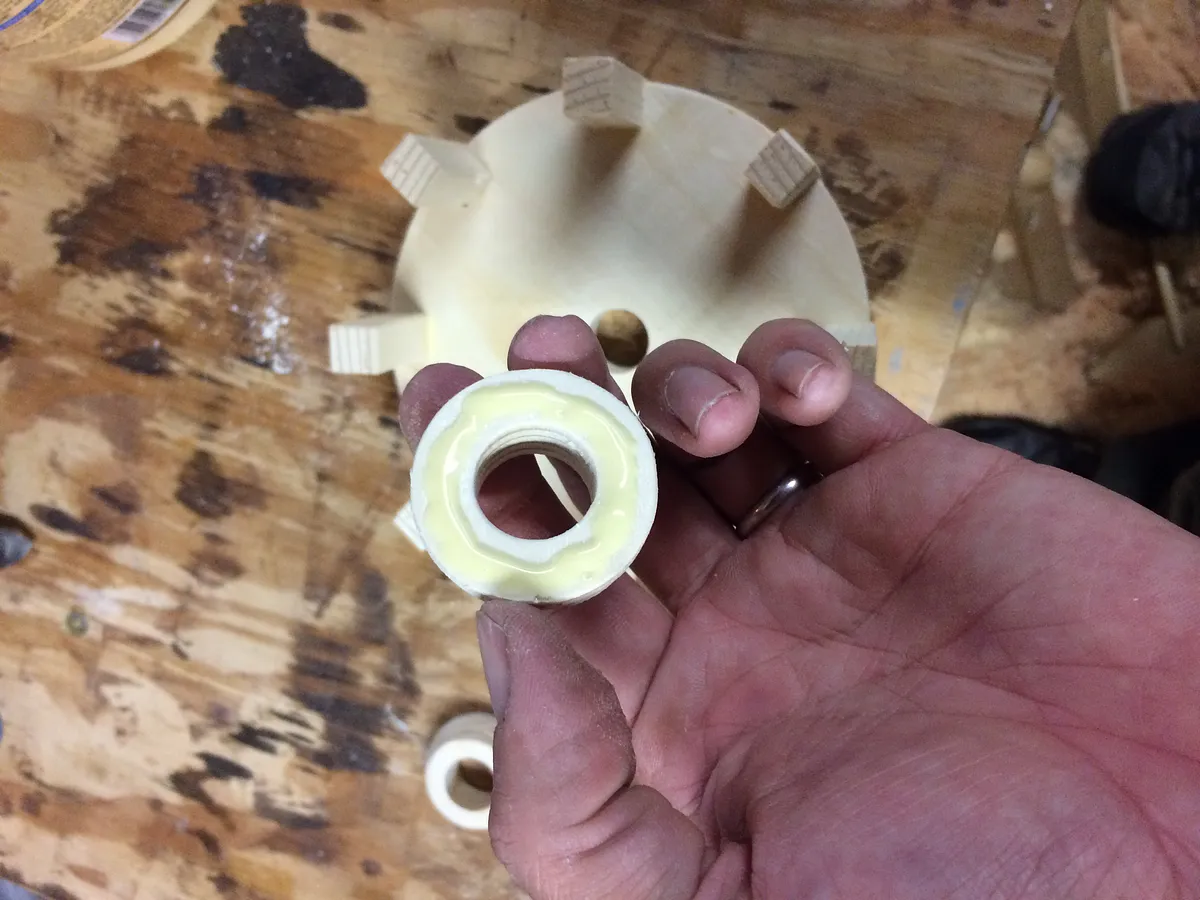
The rod couplers (Cant think of the correct name for these guys...) just need glue on the back and placed. I didn't have a 3/4" rod for this set, so i just aligned it by sight and feel. Undoubtedly the best way to get these couplers aligned correctly is to have that rod in place when gluing.
Estimated time: 8 minutes
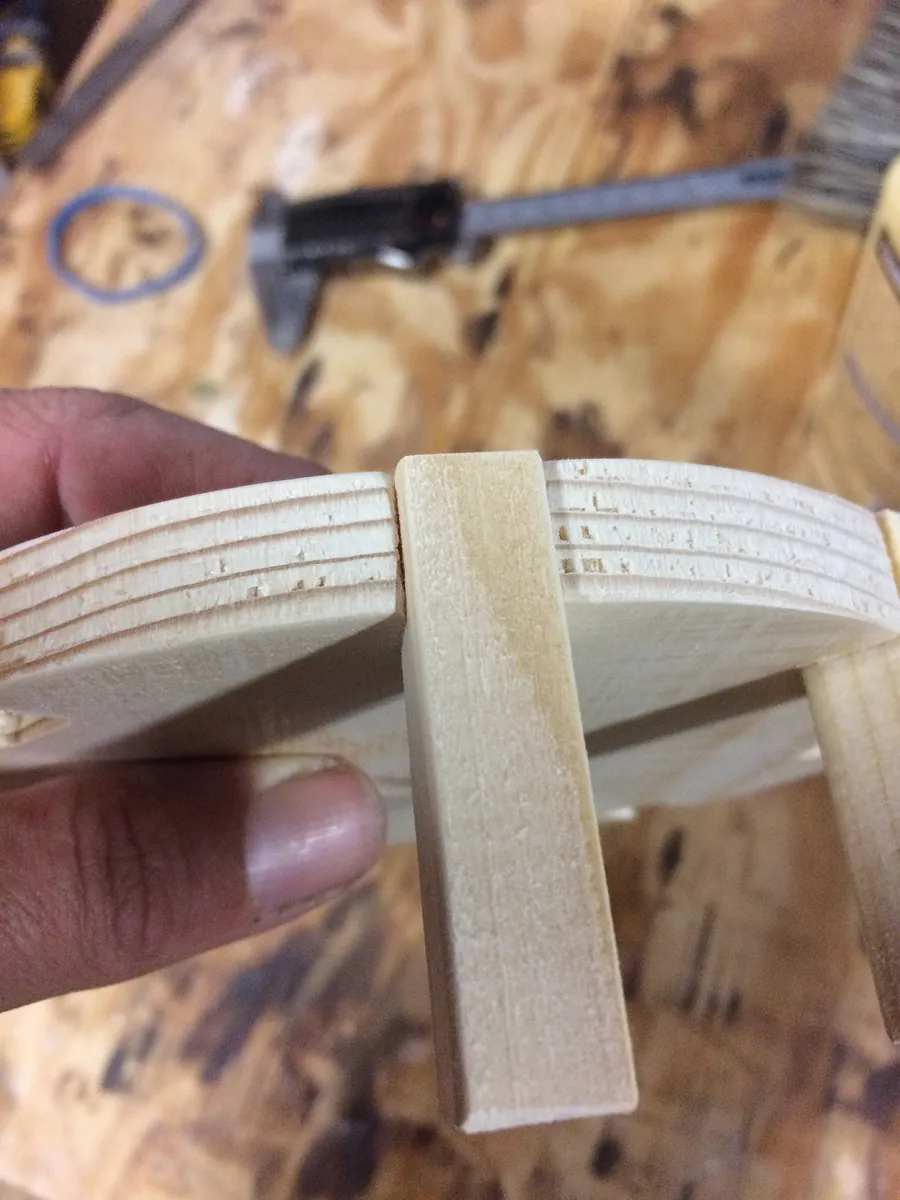
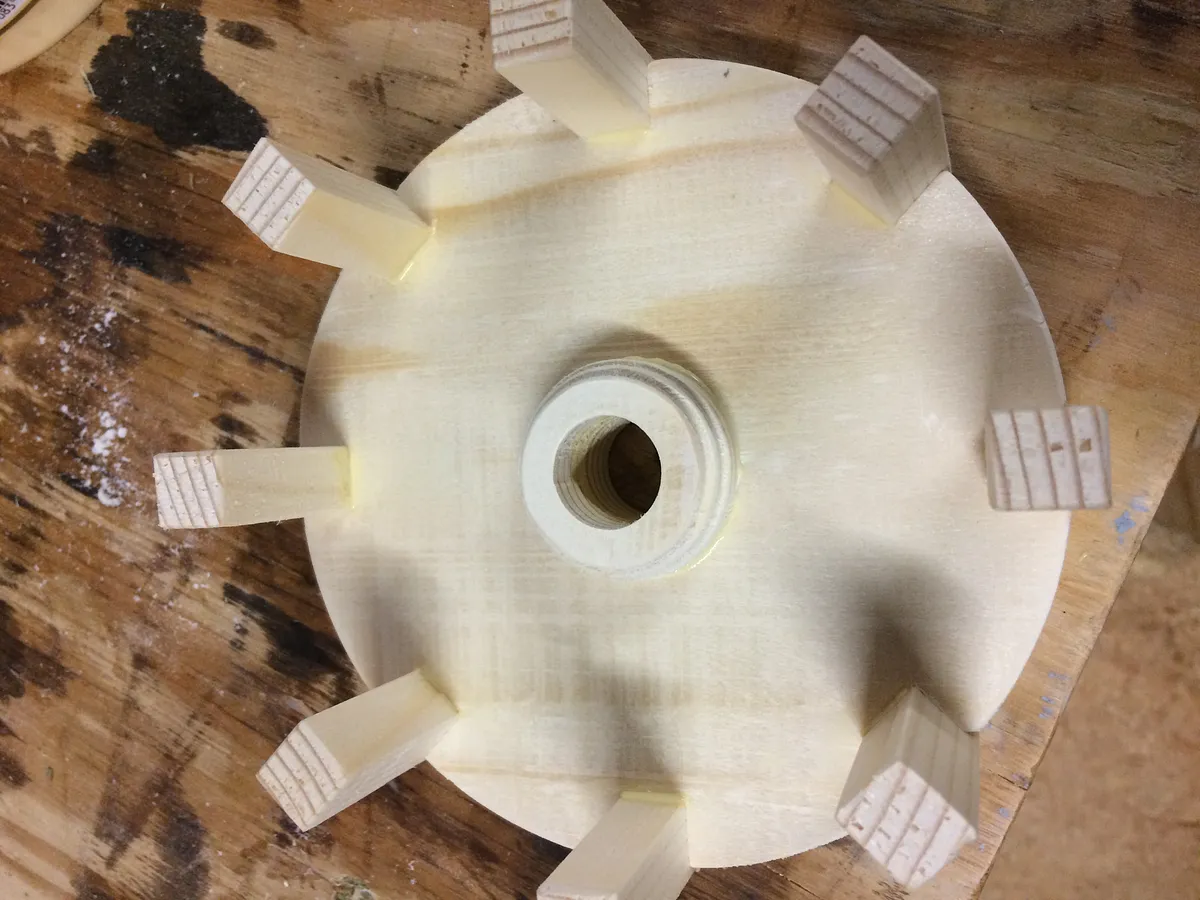
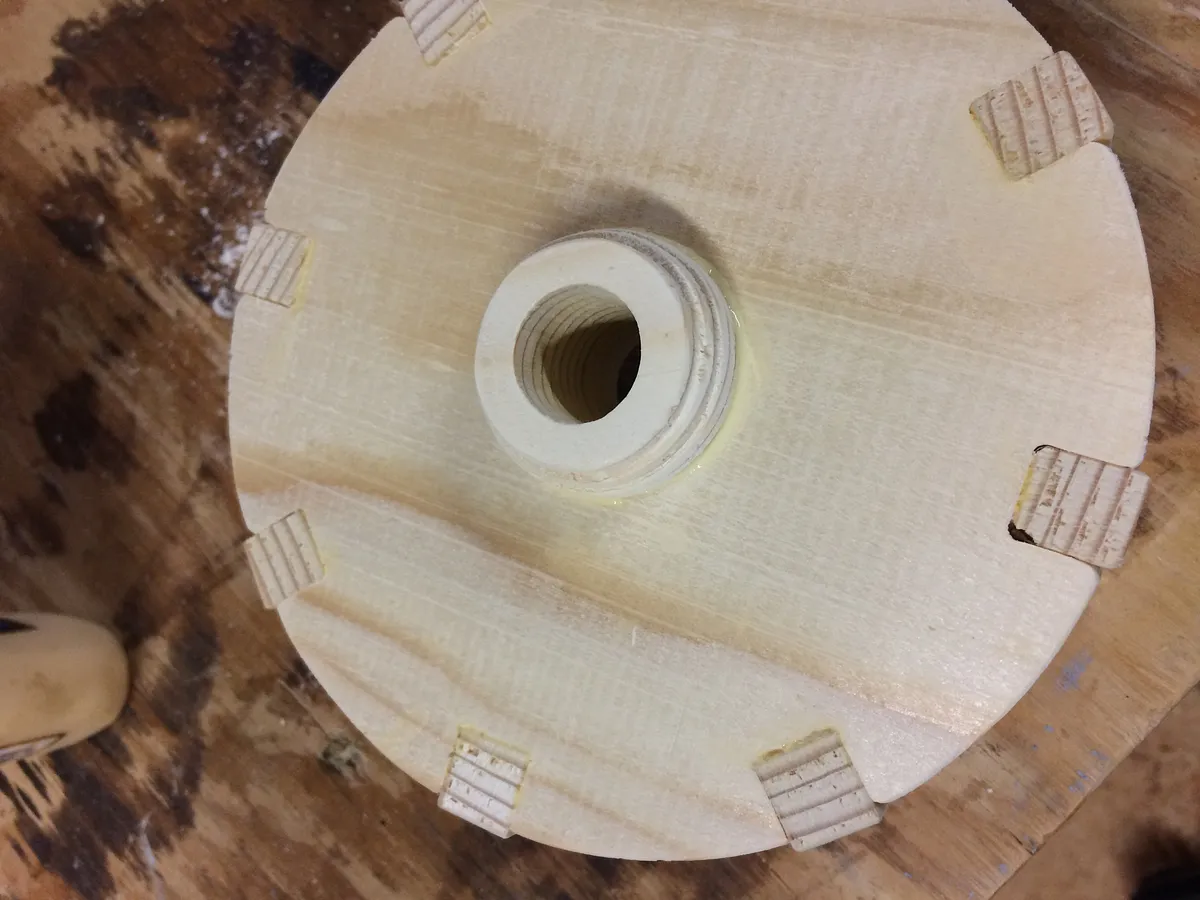
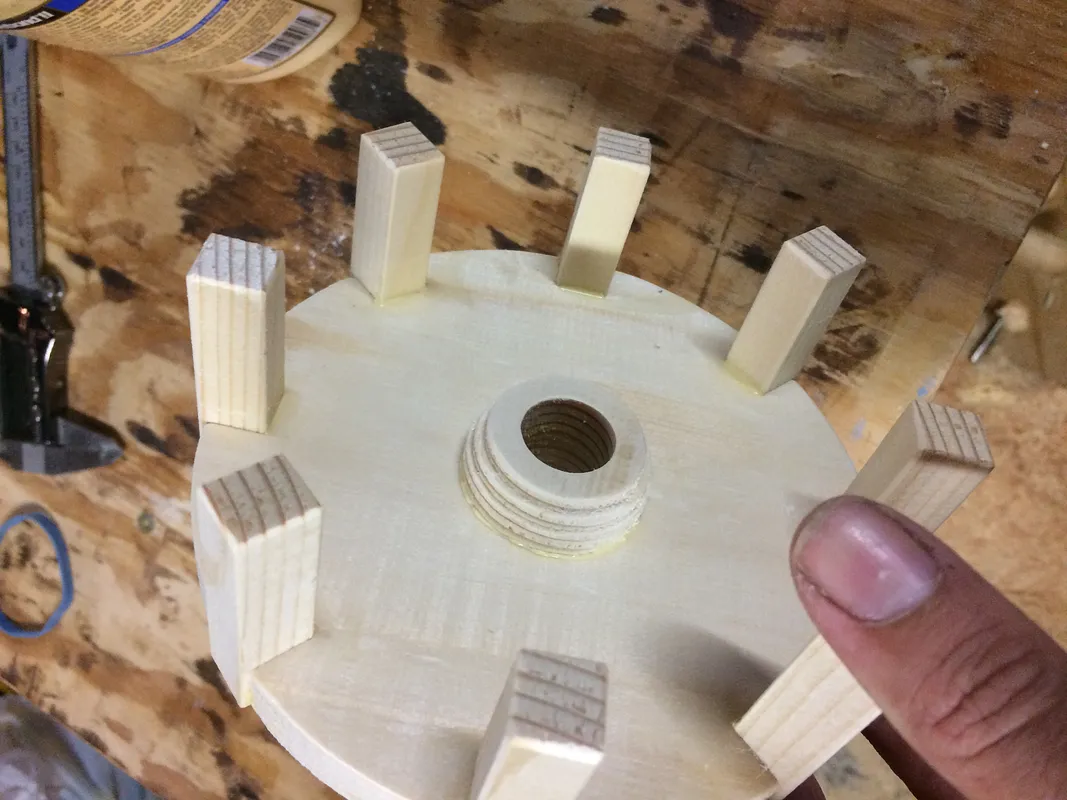
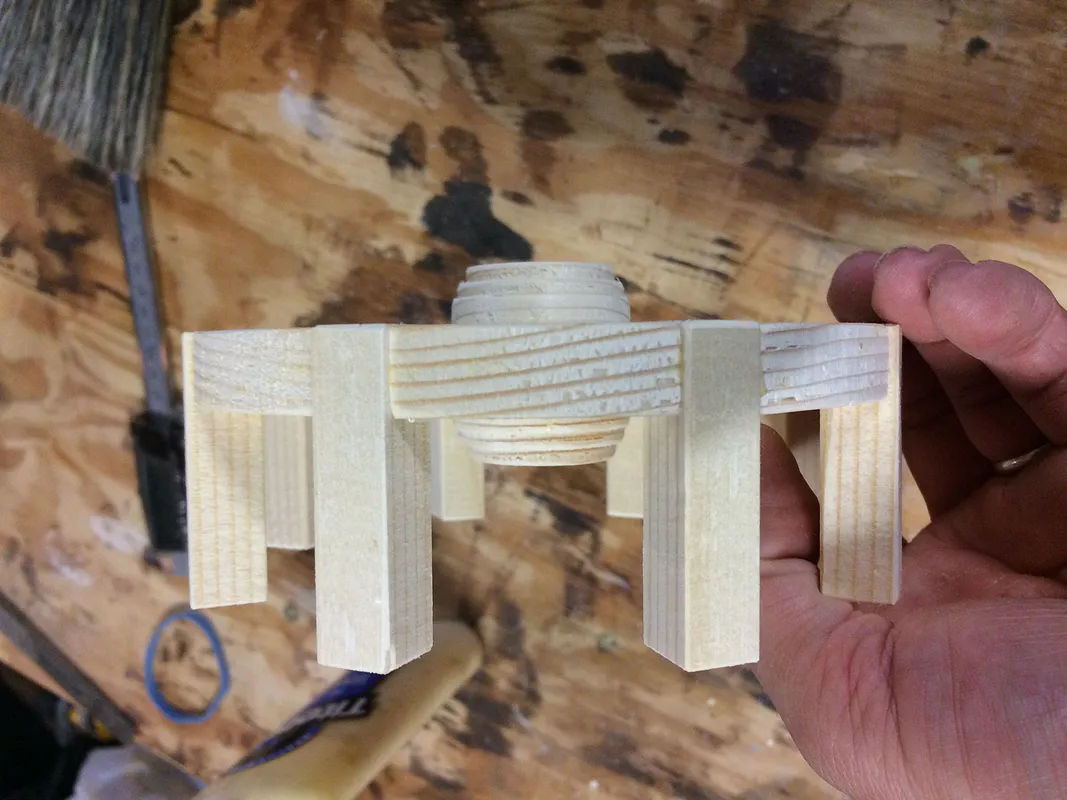
Finished.
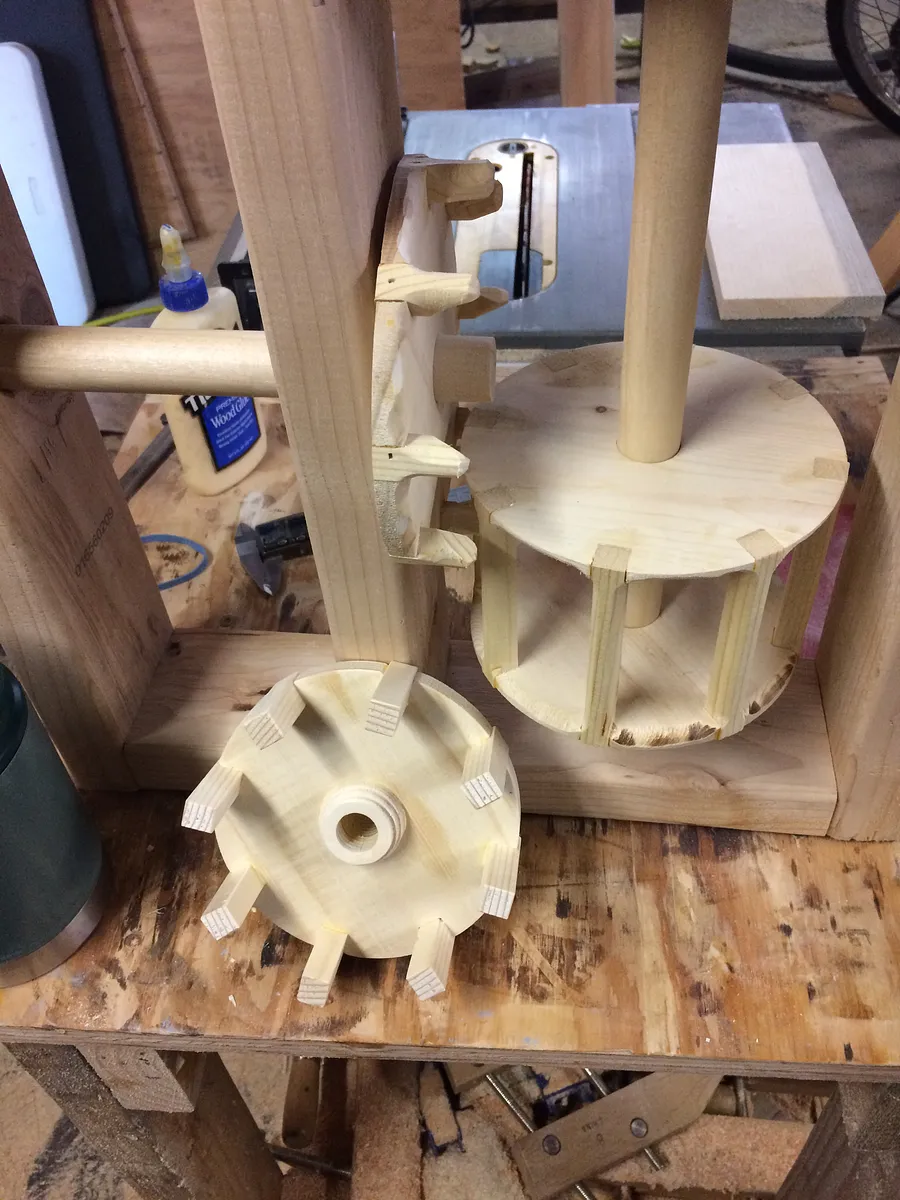
Now you need a frame for the cogs and something to move it.
Ideas for generating movement... Water wheel. Windmill.
More?.....
Estimated time: 1 minutes
Comments
I am really interested in seeing your windpower projects that sounds like a lot of fun!!!!!
john metcalfPro · May 21, 2025