MRD

Instructions
Prepare wood blank for cutting board base
First off with all of my projects is to make the blank. When I am in the process, I usually make up about a half dozen or so that way I can quickly grab some when I need them. This one happens to be 1-1/2" end grain hard maple made with 6/4 lumber.
Estimated time: 45 minutes
Prepare multiple drawings
This carving was one of the most complex that I have done before so I had to do many different iterations of the drawing to get the process started. I first used Adobe Illustrator to vector out some of the designs and then imported everything into Easel for carving.
Estimated time: 45 minutes
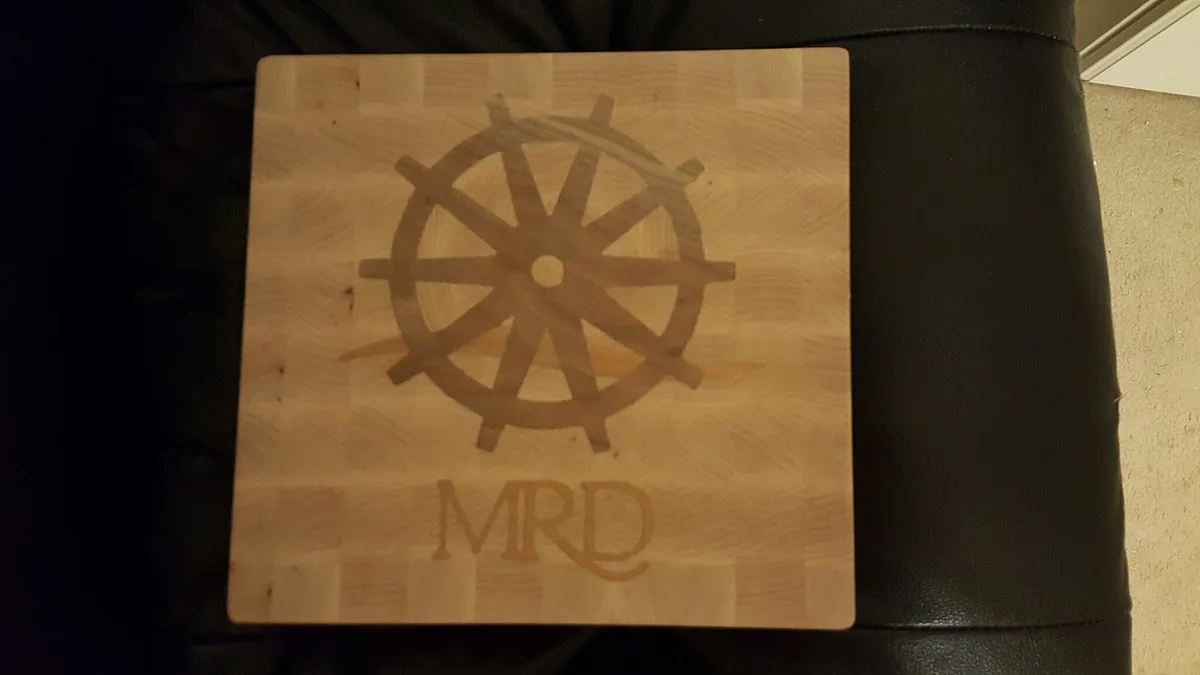
Carve away!
The most fun (and nervous) part about an inlay board so detailed is the carving in the board and ensuring that your offsets are correct. I think I did a little big here at .015 but I now know better for next time.
One tip, if you have some design or carving that can be inserted both directions, be sure to mark the top face with a pencil or something that way you don't get them mixed up. Not like I can speak from experience or anything....... ;)
Estimated time: 30 minutes
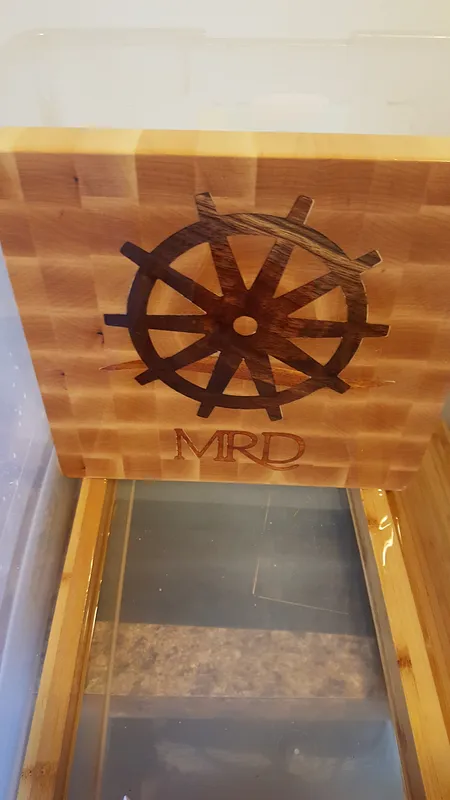
Glue inlays
I glued all of the inlays at once in this project, but in the future, I would actually cut out many different individual pieces and glue them in one by one so that I was able to have finer controls over everything.
Estimated time: 15 minutes
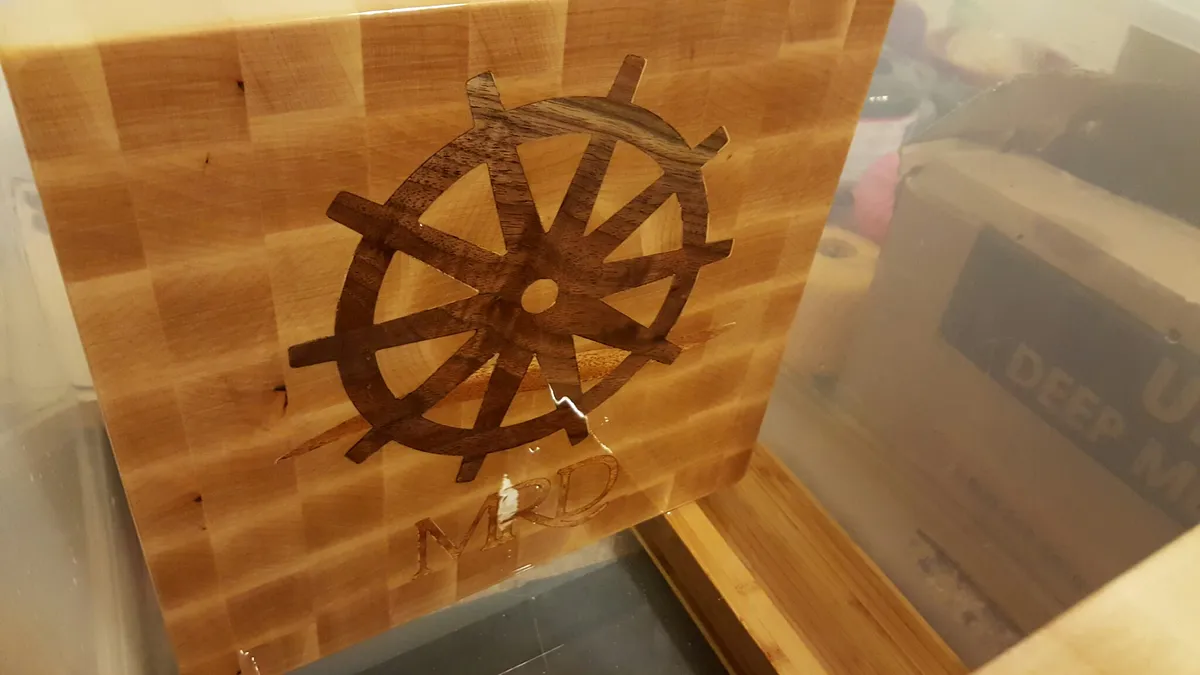
Sand and finish
I know, this is everyone's favorite part.....sanding. But, I am fortunate to have a drum sander that takes care of all of it in just a matter of minutes. Just a few passes through and then a touchup with the random orbital sander and presto, ready for oil.
For my finishing I have a large (60 qt?) storage tote with pure mineral oil that I dunk them in and then pour oil over another time or two for a couple days. After this has fully dried, I rub a mixture of oil and beeswax on the board to seal everything up.
After that, all that is left to do is enjoy it!
Estimated time: 30 minutes
Comments