Micron Pen Holder
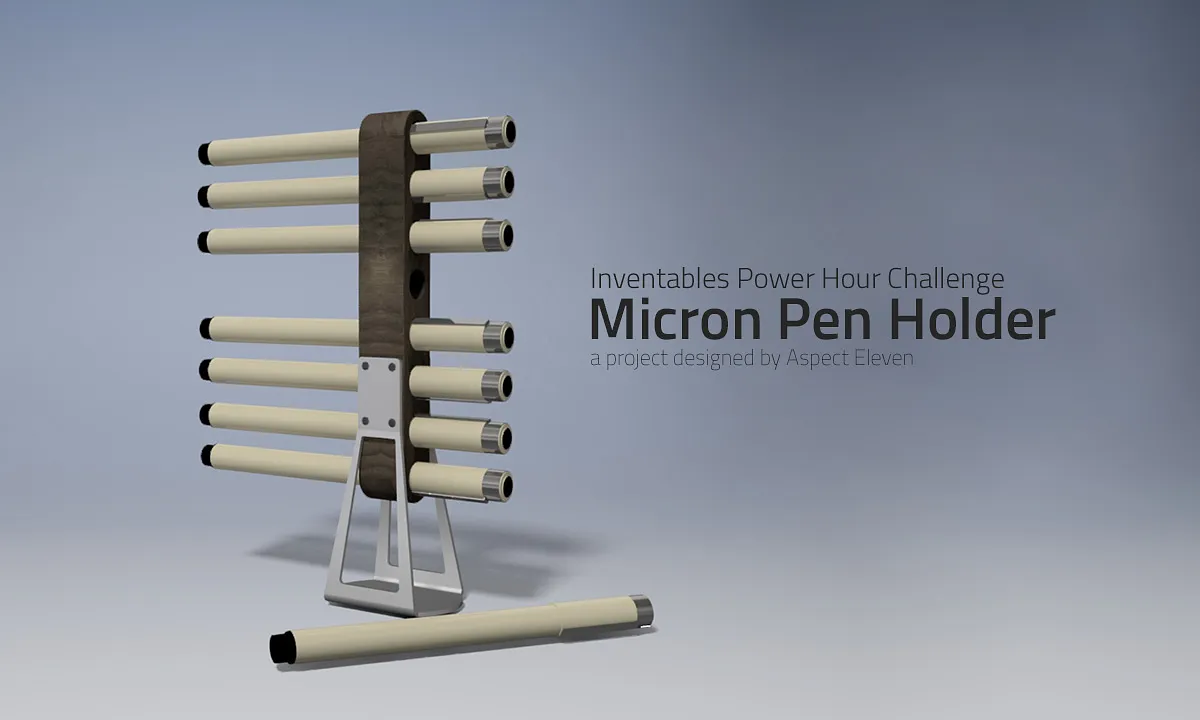
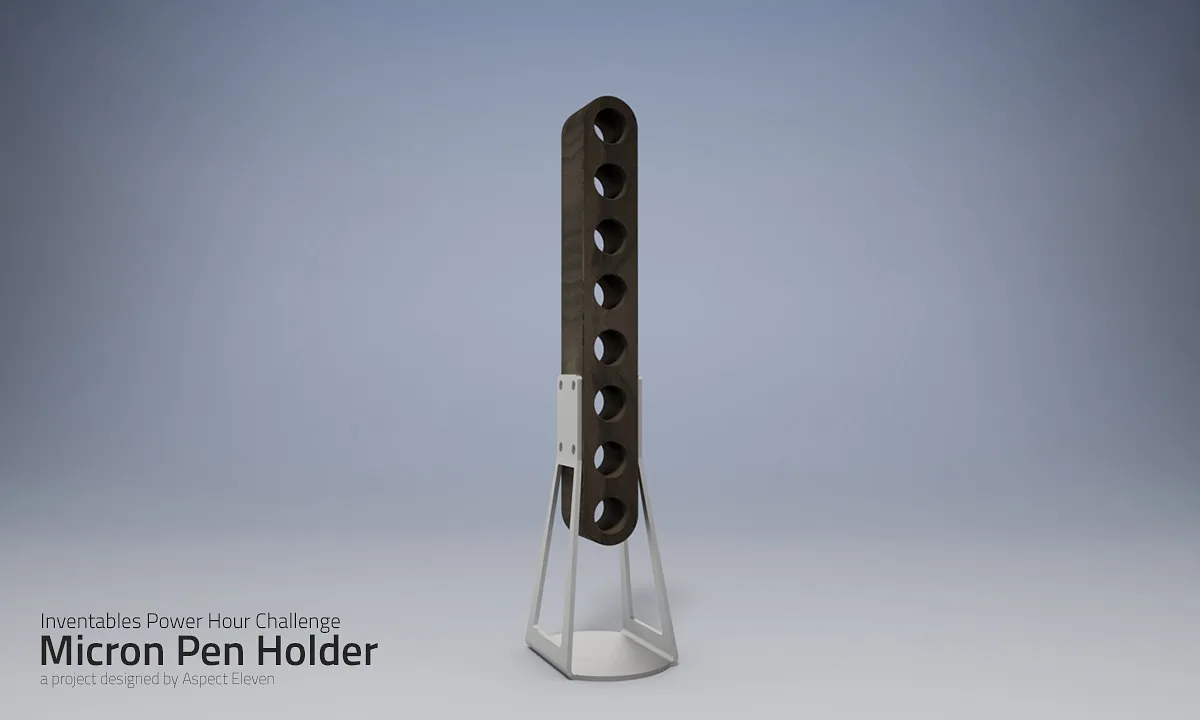
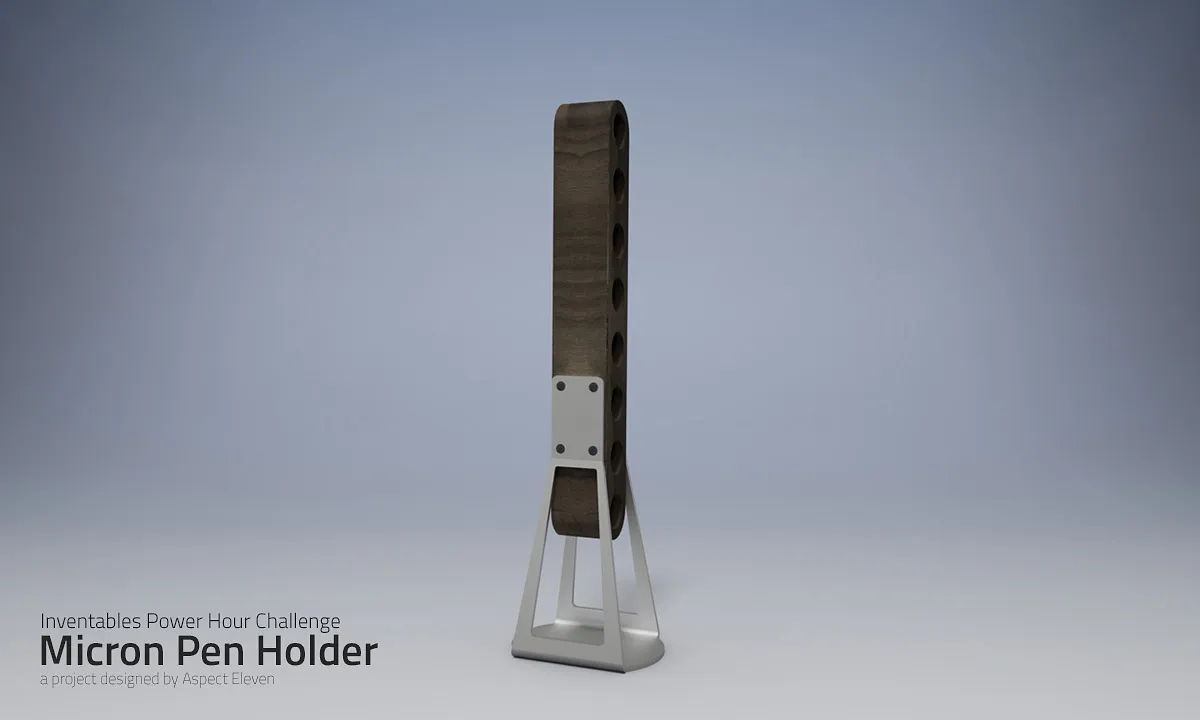

Instructions
CNC
Of course you've got to CNC the parts before anything else!
Keep in mind the Aluminum goes on the machine twice, once for the fold grooves, and once for everything else. And he walnut goes on the machine three times. Once for the front holes and the rounding of the top and bottom. And another two times for each side, drilling the screw holes.
Estimated time: 60 minutes
Preparation and Cleaning
Now that you've got your parts cut with the X-Carve, remove the excess material, grab your aluminum base and get ready to do some simple "origami"!
Estimated time: 15 minutes
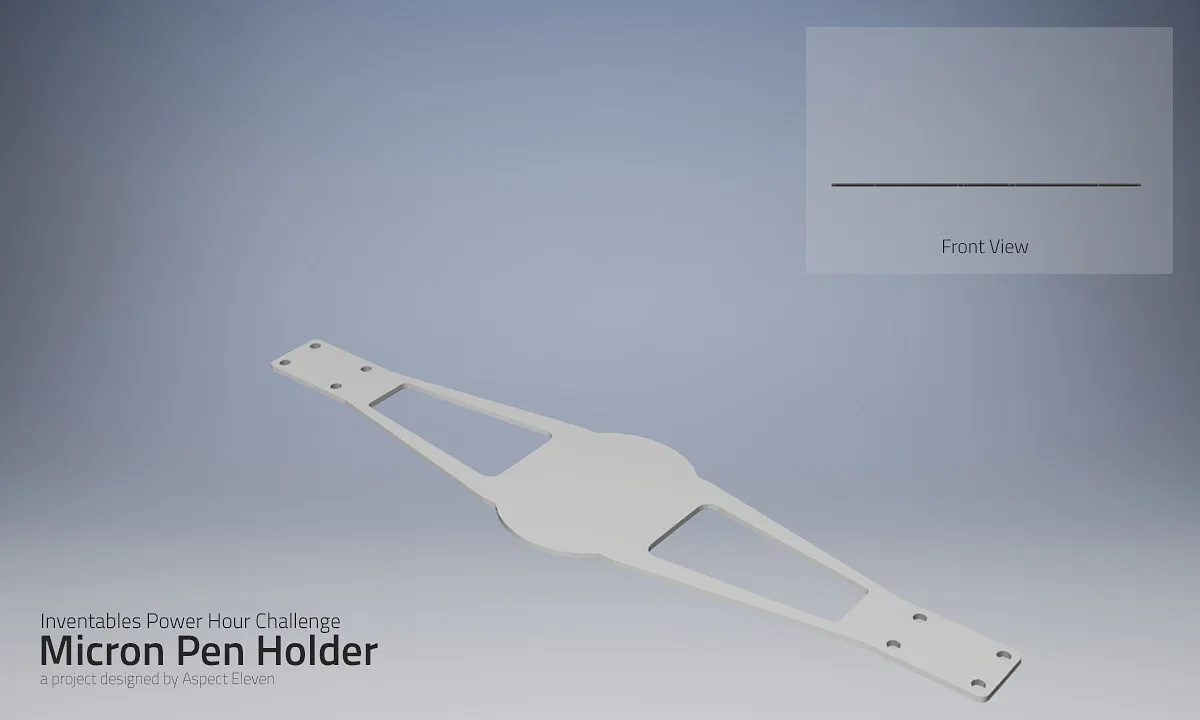
A Fast Fold
First things first, you want to bend the section that will become the top, where the screws go. It is only 7 degrees, so it should be pretty quick.
Estimated time: 5 minutes
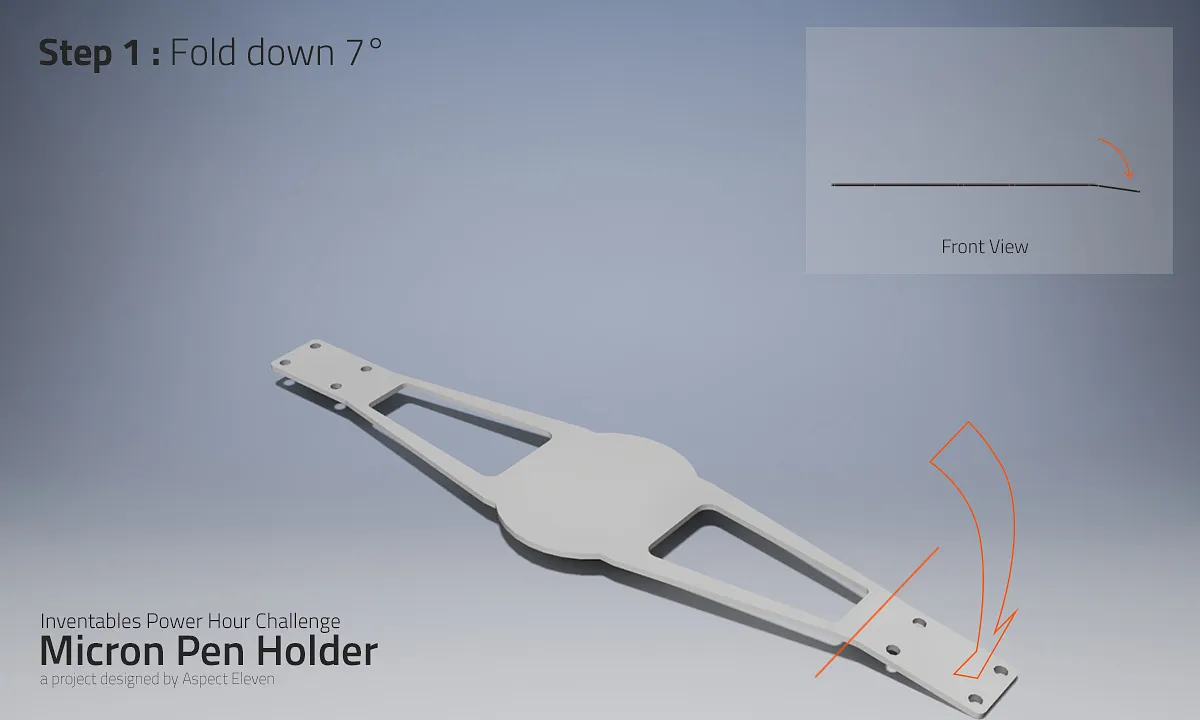
A Big Bend
So, the first step was pretty simple, right? This one is a bit bigger. Instead of 7 degrees, you now need to bend up the next section 83 degrees.
Estimated time: 5 minutes
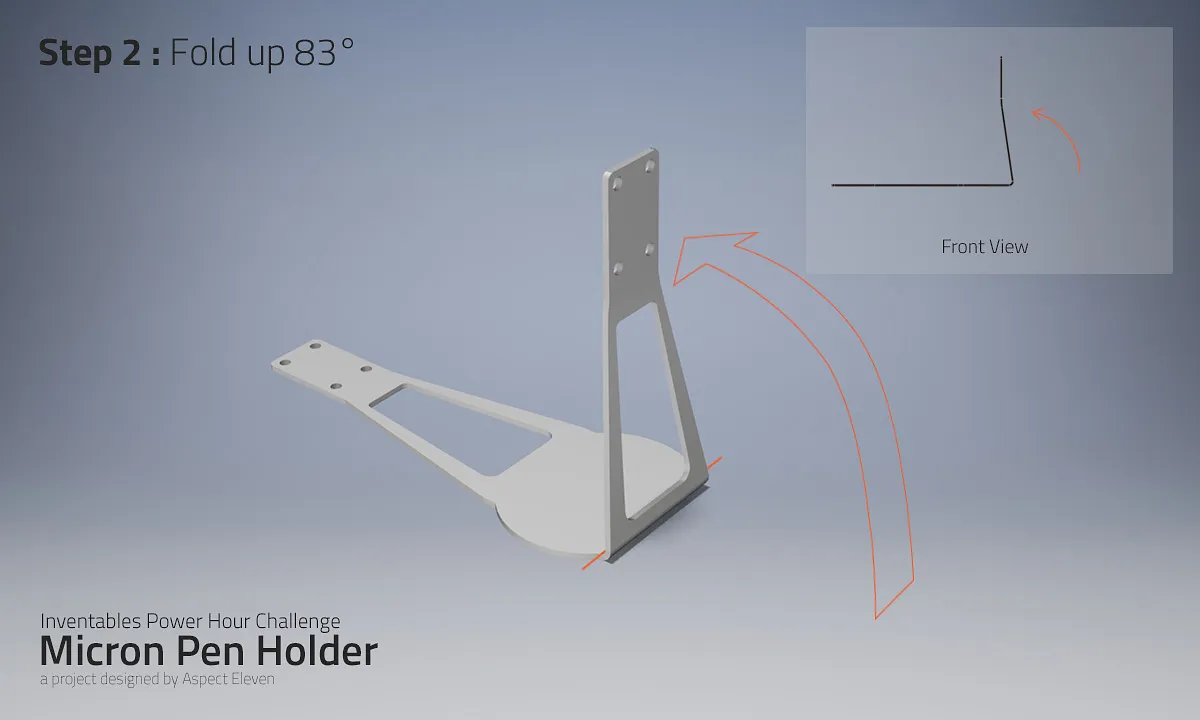
Another Fast Fold
Pretty much the same as the first bend, but now the opposite side of the base; bend down 7 degrees.
Estimated time: 5 minutes
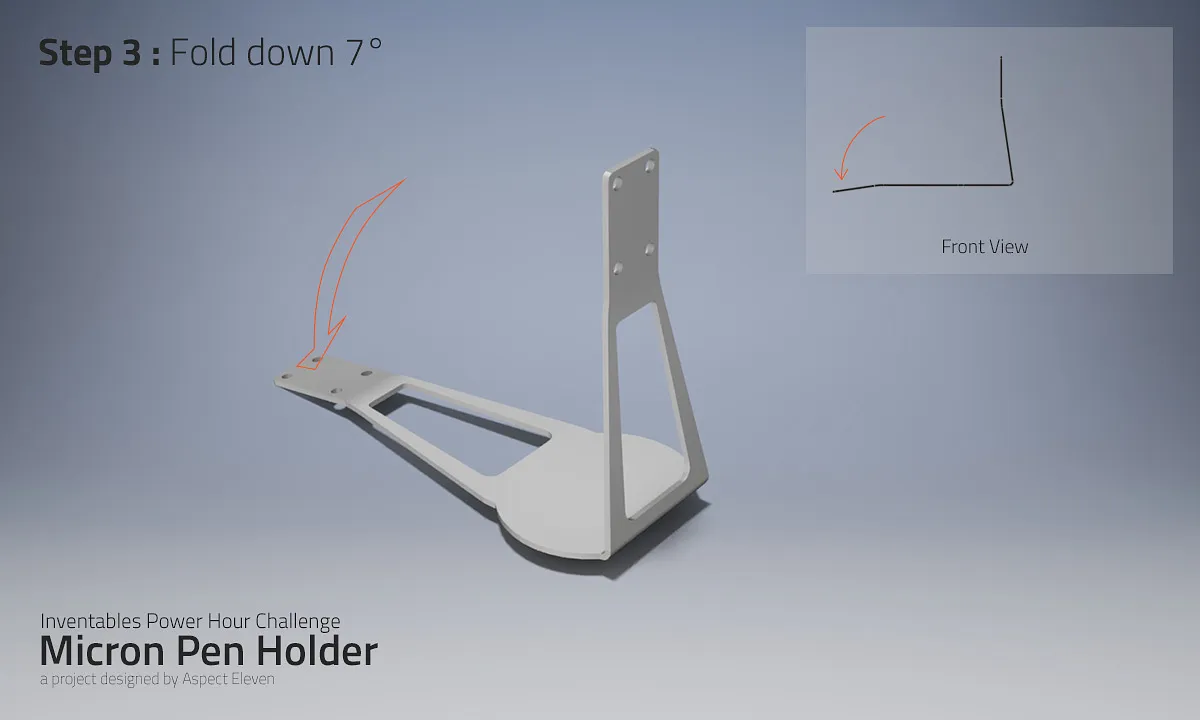
Big Bend, the Second
This one is just like before, but now on the other side of the stand; bend it up 87 degrees.
BAM!
There it is, a formed stand. You might need to tweak it a bit here and there to get it just perfect, but you've got this! You're almost done!
Estimated time: 5 minutes
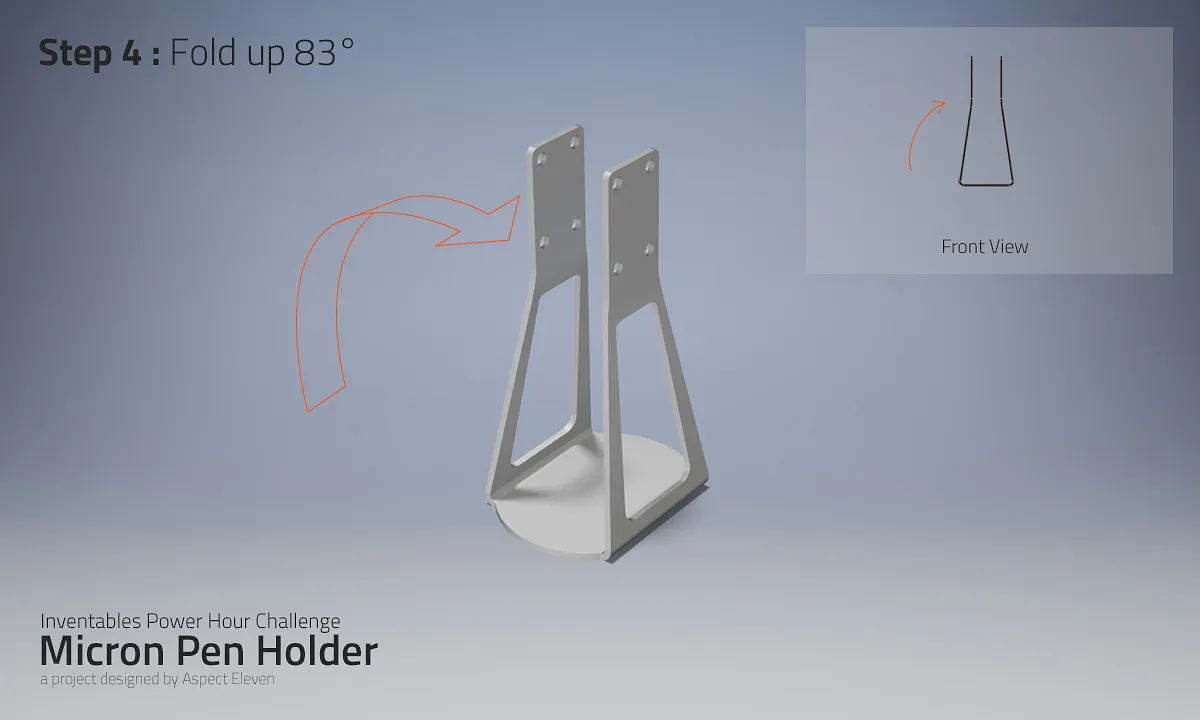
Parts, Assemble!
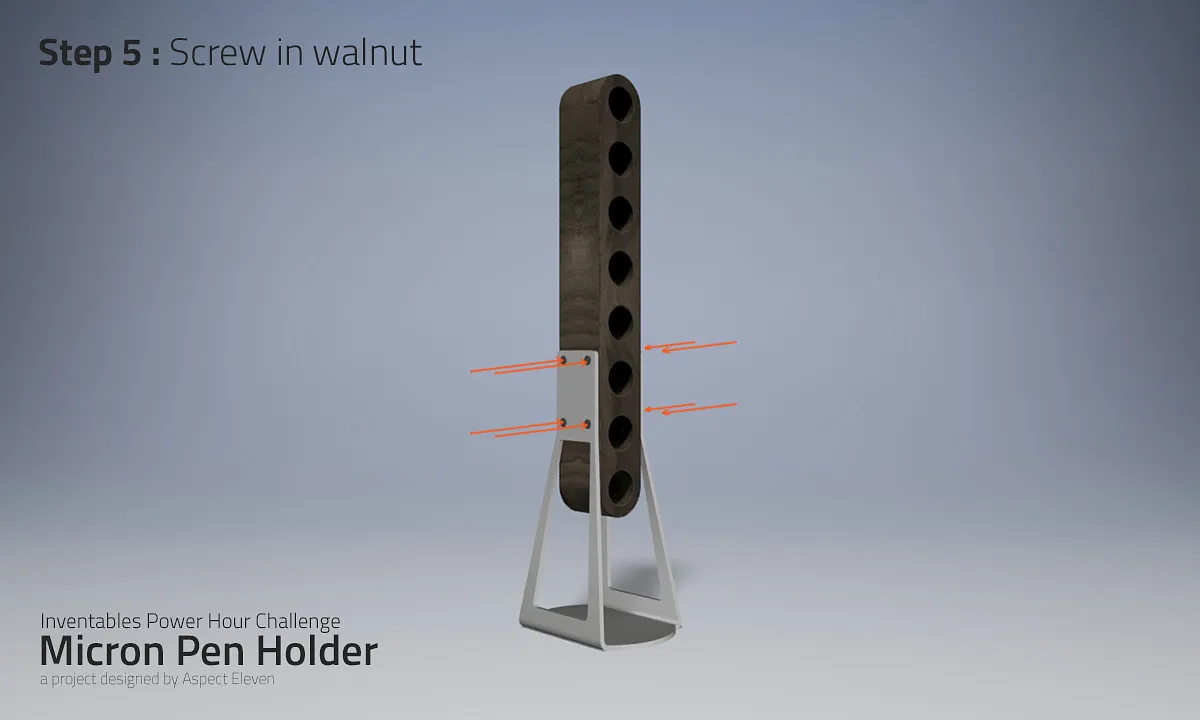
You might be able to get away without tapping the holes in the aluminum, but using a tap to make the thread is a good idea. I suggest #6-32, as that's what I designed for. And the screws are #6-32 x 1/4" set screws.
Start with only a couple screws in the aluminum, so you can still see the holes in the walnut. Line it up the walnut, and turn the screws in. Once you've got a couple screws done, you can now get the rest of them in.
Estimated time: 10 minutes
Enjoy!
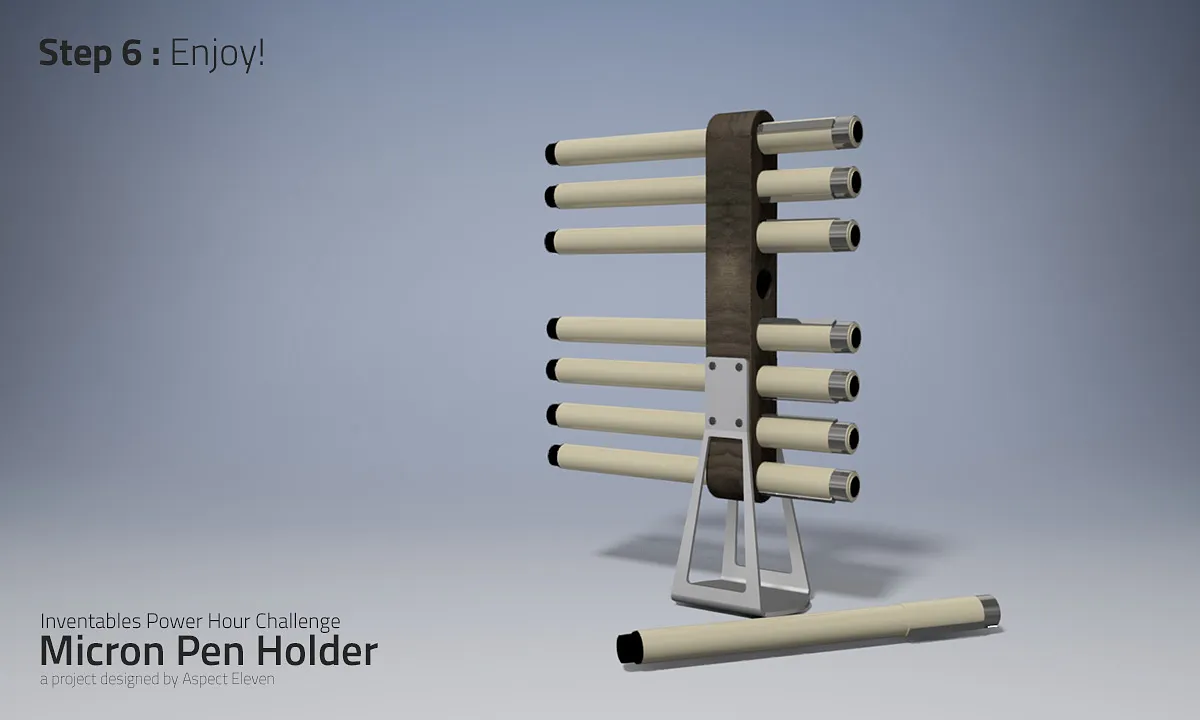
That's it! Congratulations, you're all done, and you can store your Micron pens. Now you can keep them looking classy, stored neatly off your workspace, and still perfectly accessible.
Estimated time: 1 minutes
Comments
The file only seems to be for the aluminum part. Do you have the file for the walnut part as well?
Tyler Beringer · March 27, 2019