Wedding Sign

Notes
Hey everyone!
I wanted to make my first post with one of my favorite types of projects—wedding signs, especially those built around a faith-based message. My faith is the foundation of my work, and it's ultimately the reason I was able to start this business in the first place.
I also wanted to share a little behind-the-scenes look at my process from start to finish.
Every project begins with visualization. Since I'm a very visual person, I usually start by looking at inspiration online or using an image generator to help develop ideas and refine the overall layout. Having that visual reference helps me bring the design to life before I ever touch a piece of wood.
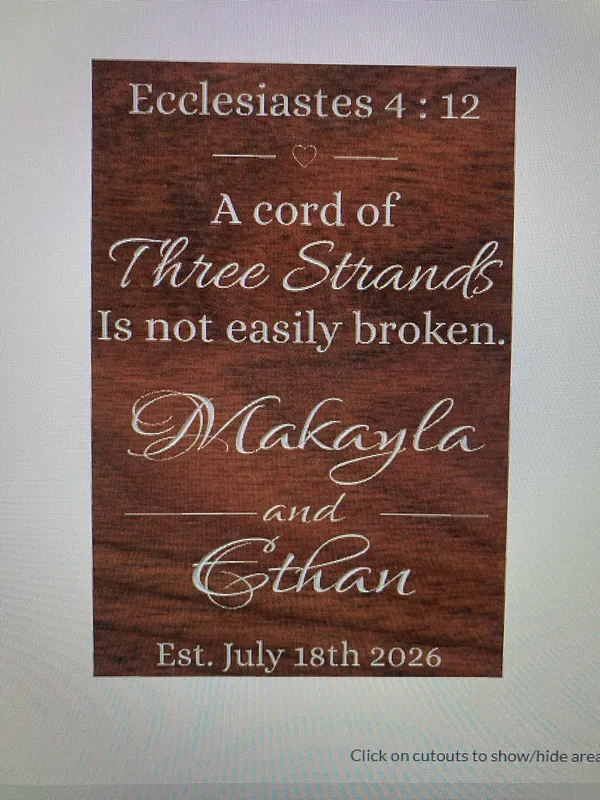
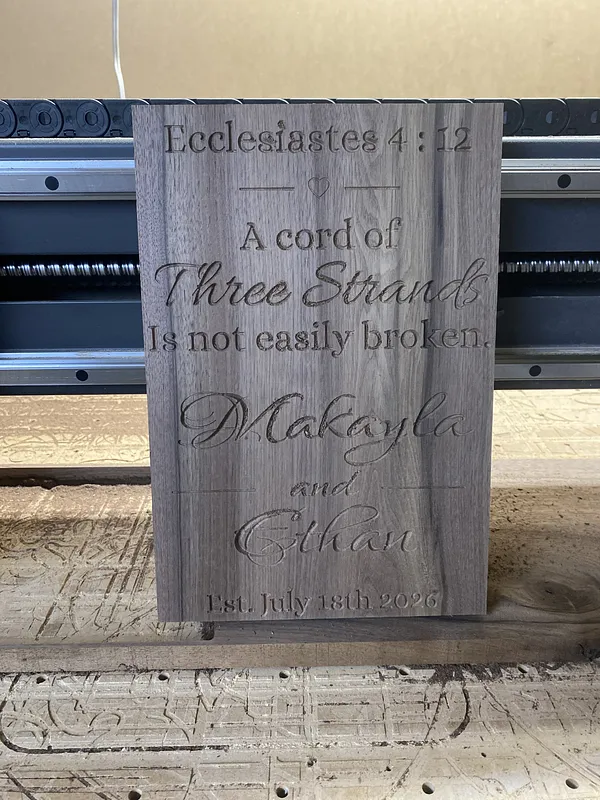
Once I have a direction, I move into Easel to create the design. The addition of the Paint Tool has been a huge help because it allows me to preview what the finished piece will look like before carving begins. Watching a simple drawing evolve into a finished project is one of the most rewarding parts of the process.
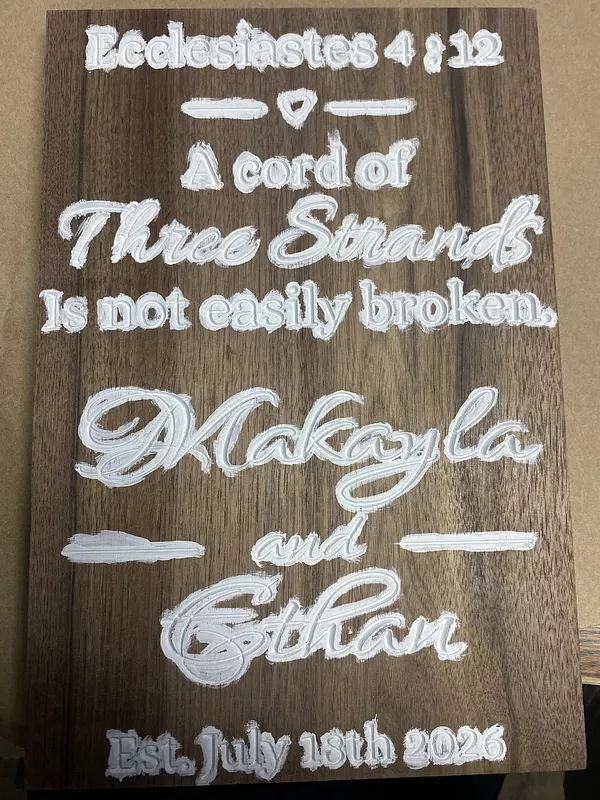
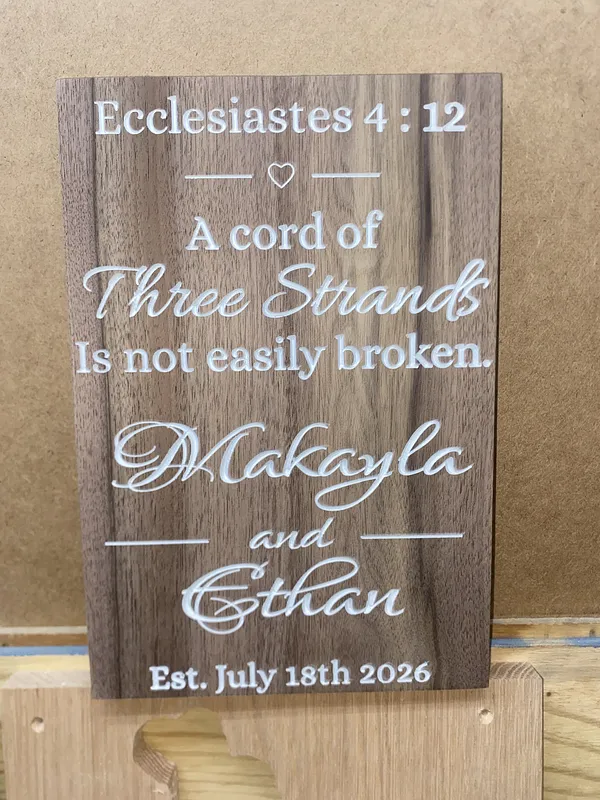
Normally, I apply OraMask before carving so I can spray paint the recessed areas cleanly. This time, however, I had run out, so I decided to hand-paint the sign instead. Surprisingly, I enjoyed it even more than spray painting. I used milk paint because it dries quickly and sands away cleanly, making it perfect for this type of work.
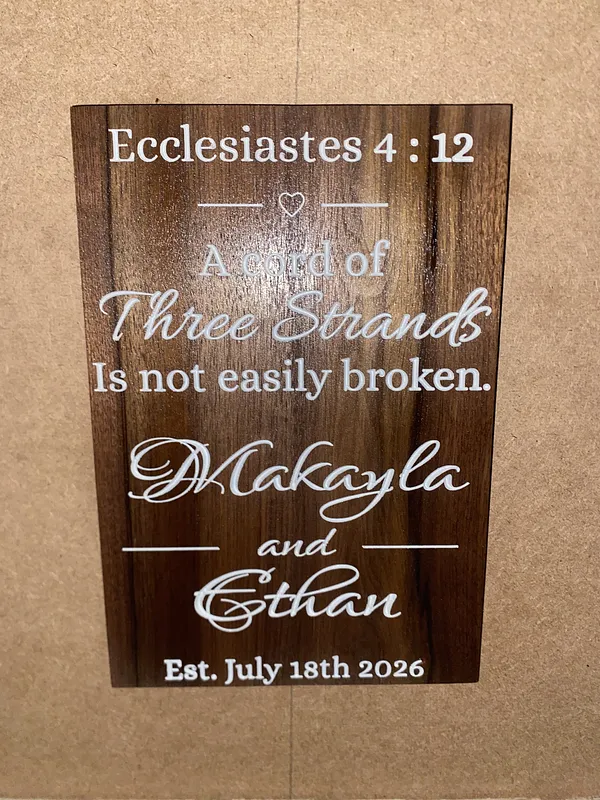
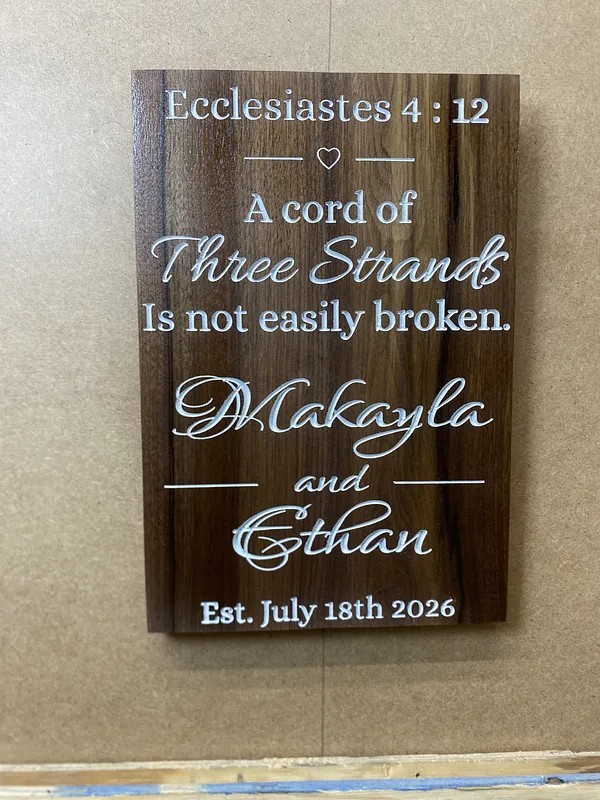
After the paint dries, I sand the surface to remove any excess paint and reveal the natural wood grain. Then I clean everything up, install a keyhole hanger on the back so it's ready to display, and finally apply the finish.
That final step never gets old. The moment the finish hits the wood, the grain comes alive, the colors deepen, and the entire project transforms. Going from an idea on a computer screen to a carved, hand-finished piece that will become part of someone's home is an incredible feeling every single time.
Comments