Wooden Wall Outlet Cover

Instructions
Making the chamfer
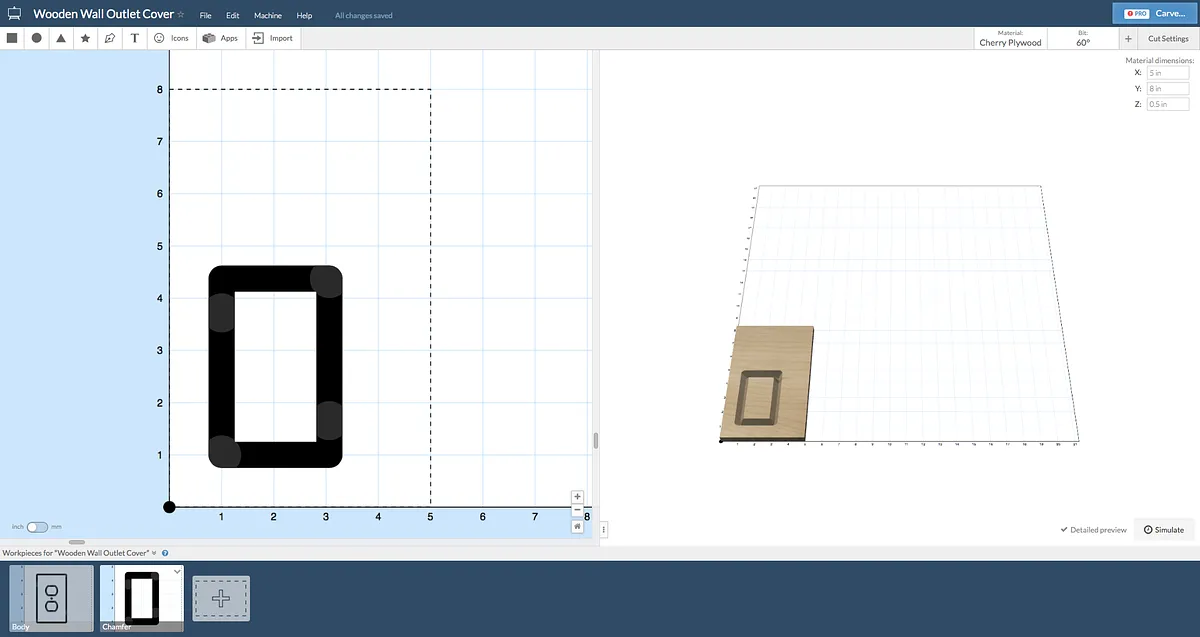
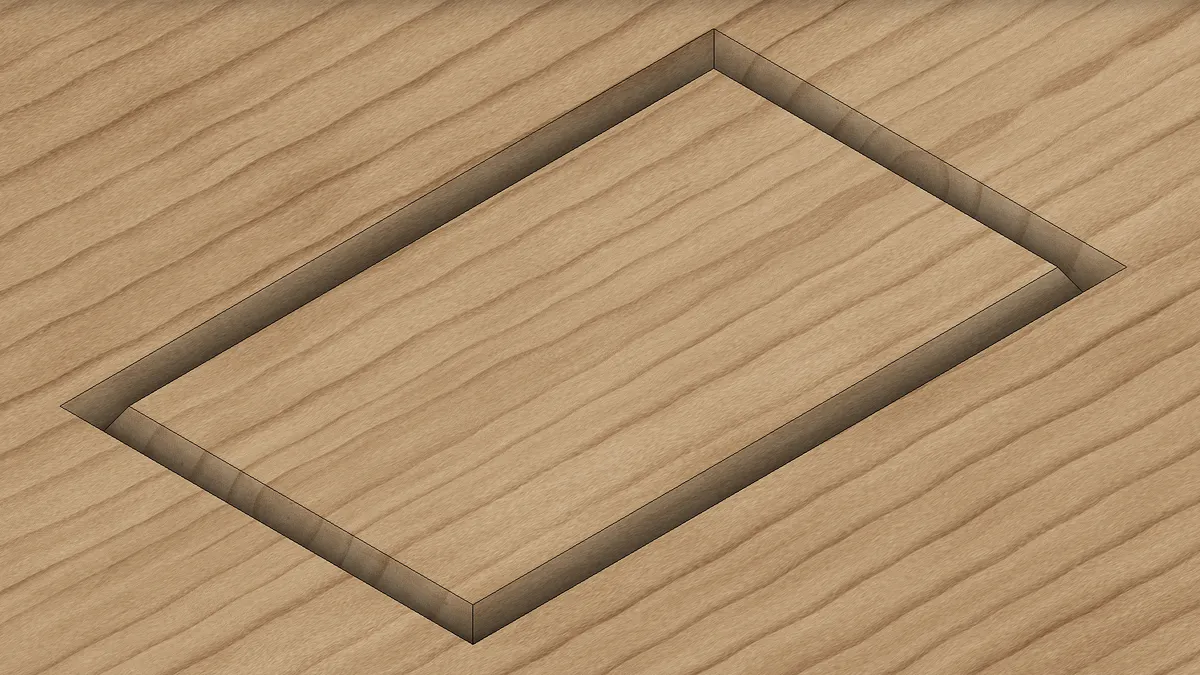
The first cut we will make creates the chamfer of the cover. This will be done using the 1/4" 60º V-Bit. It should pass through all but about 1/8" of wood, which will prevent it from being removed until the next step. Once the cut is done, swap the bit for a 1/8" standard wood bit.
Estimated time: 2 minutes
Carving the Sockets
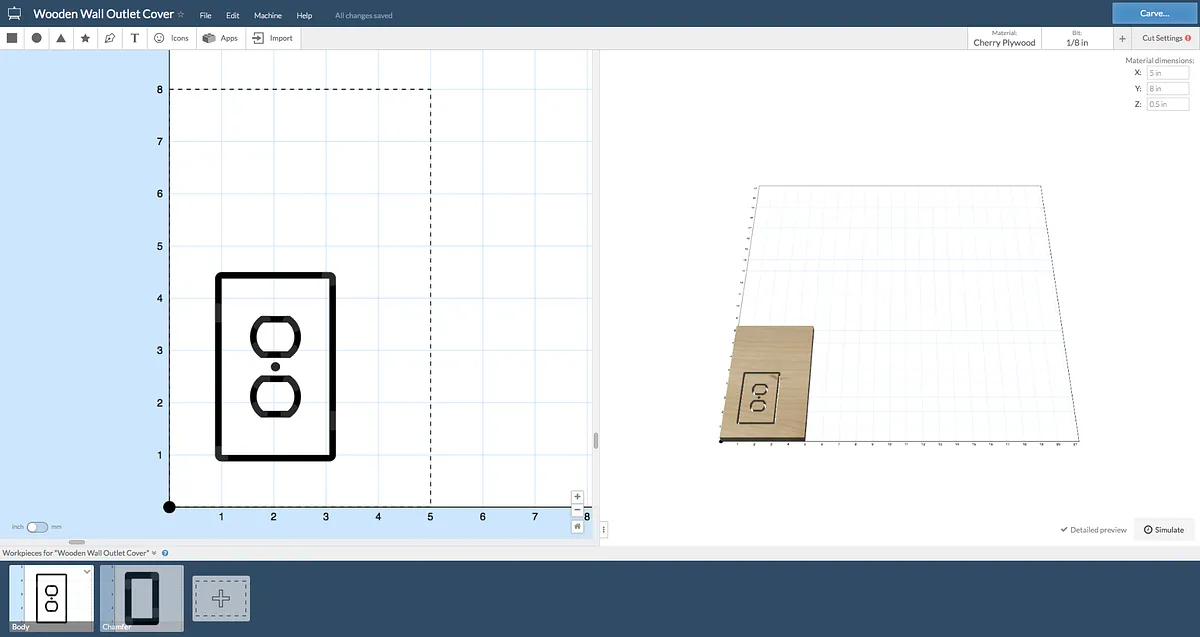
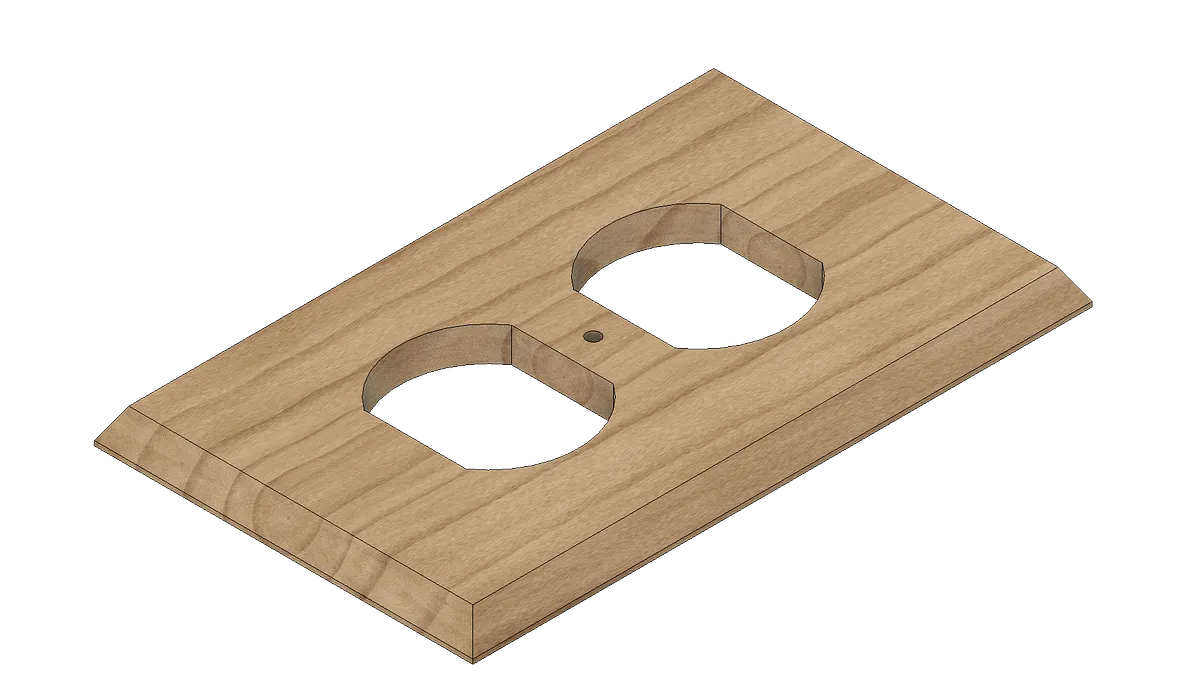
This second (and last) cut we will make cuts the socket outlines, the screw hole, and at the end the perimeter. Be sure the bit is now 1/8" and it is beginning in the same position. This time, the perimeter cut should go all the way through the material
Estimated time: 13 minutes
Attaching the cover
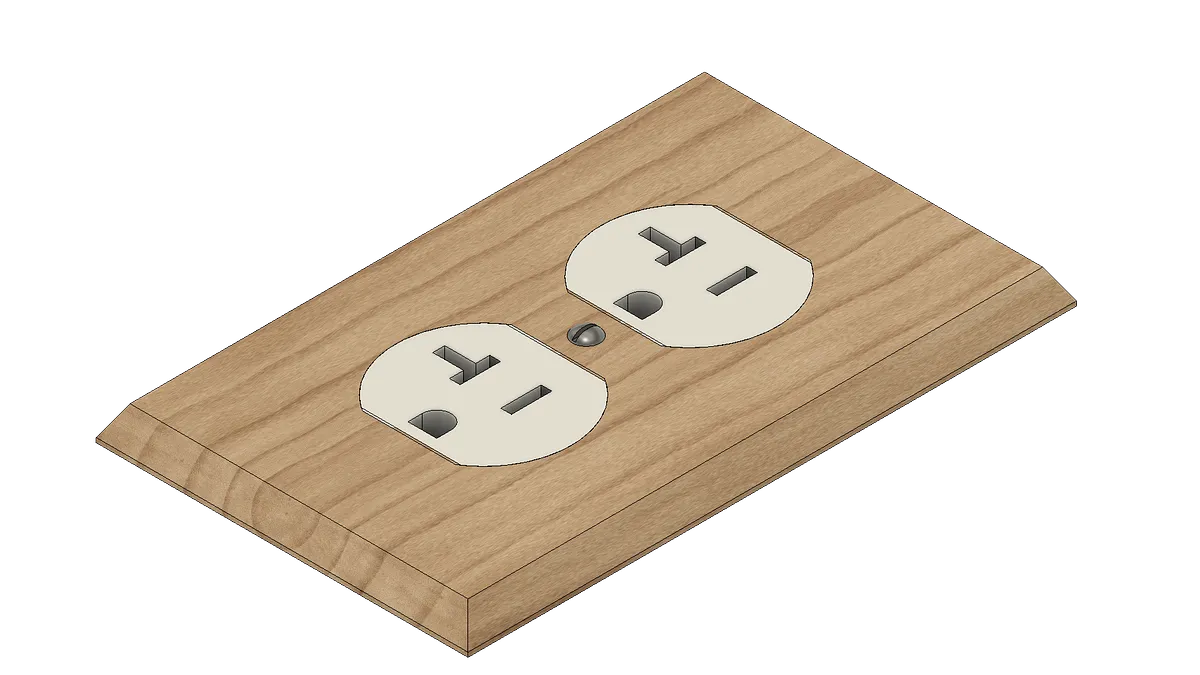
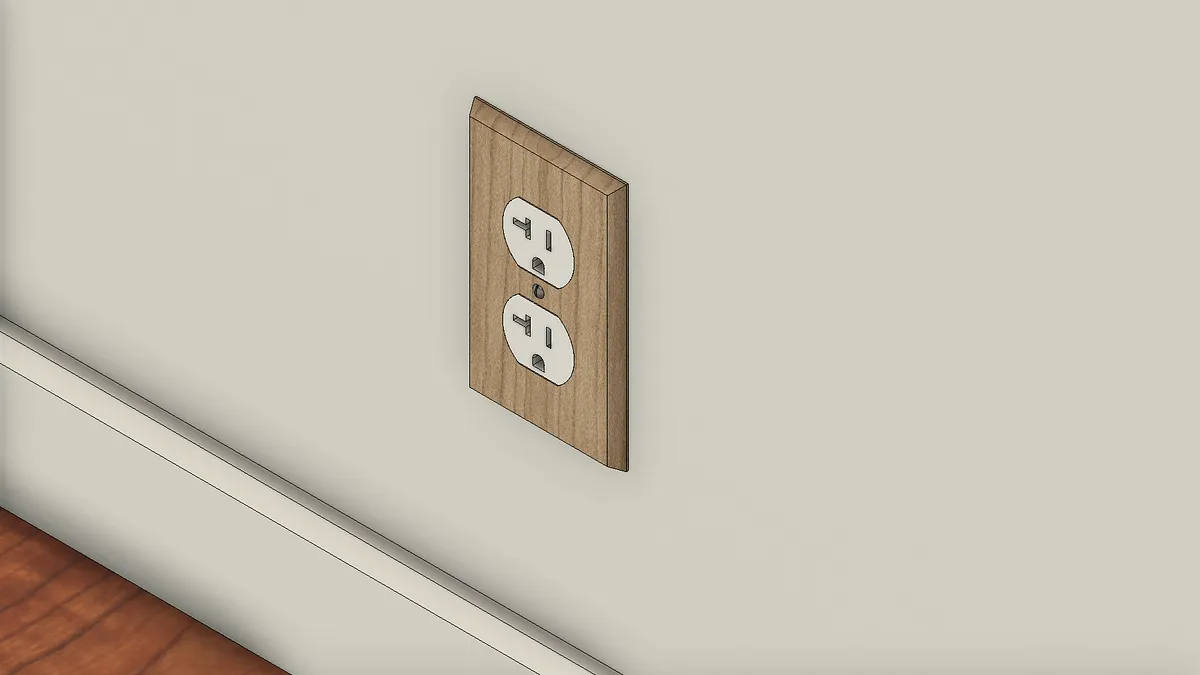
Now that you're wall outlet is carved, we can attach it. Ensure you have switched power off for the outlet before you begin. Remove the current wall cover by unscrewing the flathead screw located between the two outlets, and screw the new cover on.
Estimated time: 5 minutes
Comments
Assuming you don’t need to carve anything off the back for the actual outlet to fit?
Christian GregoryPro · June 04, 2024