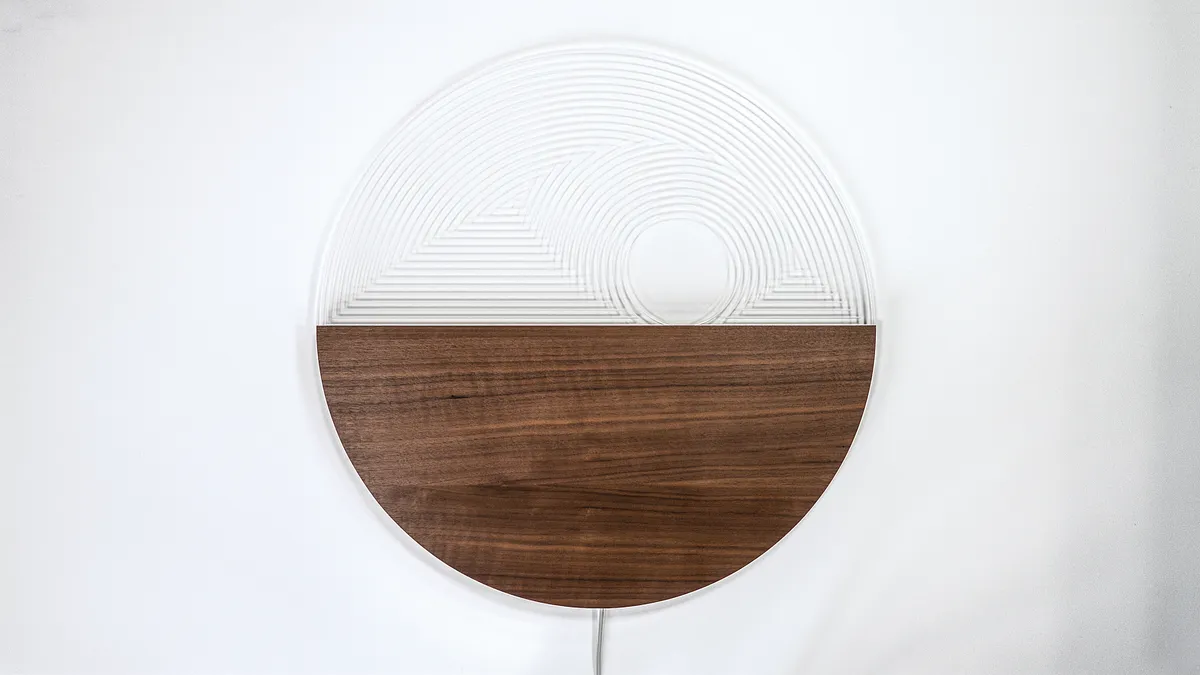
Wall Lamp



Instructions
1
Get inspired
Watch the process of making this lamp
Watch the process of making this lamp
Comments
Hi, i absolutely love this project! such a cool idea, i was thinking of making something similar but I am having real trouble getting a clean cut in the acrylic. The cut starts OK but the swarf builds up on the bit and fouls the surface. if you have any advice i would really appreciate it!
richard legg · July 03, 2018
Hi! Awesome! Glad you are trying something similar :D Hummm what bit are you using? You should be using an upcut bit, setting your dewalt router to a low speed (I think I used level 2 of 6) and remove shallow passes at a time, about 1mm the most.
Cristiana Felgueiras · July 03, 2018
I used a V-bit for the grooves and the cuts weren't very clean at first but then I made a second pass exactly with the same setting, so with no load - the "burrs" got cleaned up. But the V-bit wasn't getting acrylic shavings accumulated, the bit was fine.
Cristiana Felgueiras · July 03, 2018
Maybe your problem is the router/spindle speed. For acrylics or other plastics, it's better to use a slower speed to prevent melting. Hope this helps!
Cristiana Felgueiras · July 03, 2018
Anyway, if not v-grooving, always use an upcut bit with preferably 1 spiral flute, 2 at the most. More flutes = melting. Straight flutes = melting. Downcut spiral = melting :P
Cristiana Felgueiras · July 03, 2018
I'm blown away that you were able to create something like this in 60 minutes - Well done! So much inspiration.
Emmett Gallagher · July 13, 2018
This looks great! My one concern is that the top of the screw hole looks like it's below the center of gravity, any problems with it being topheavy and rotating downward when the wall gets shaken? Think I'll put two screw holes to make sure that doesn't happen.
Josh Greene · September 02, 2018
Thanks Josh! There is no problem at all.
Cristiana Felgueiras · September 02, 2018
nice to expensive
Oscar Espinoza · September 26, 2018
What are the color gels you are using
Colton Sumpter · December 18, 2020