Woodworking Mallet


Instructions
Materials and Tools
Materials:
-1/2" Hardwood (I used hard maple and cherry, both are available from inventables)
-Wood glue (Tightbond 2 is my preference)
-Finish (Finish is optional but will greatly enhance the look of your finished product, I used spray on polyurethane)
Tools:
X-carve Bandsaw (Optional) Random Orbit Sander
Estimated time: 1 minutes
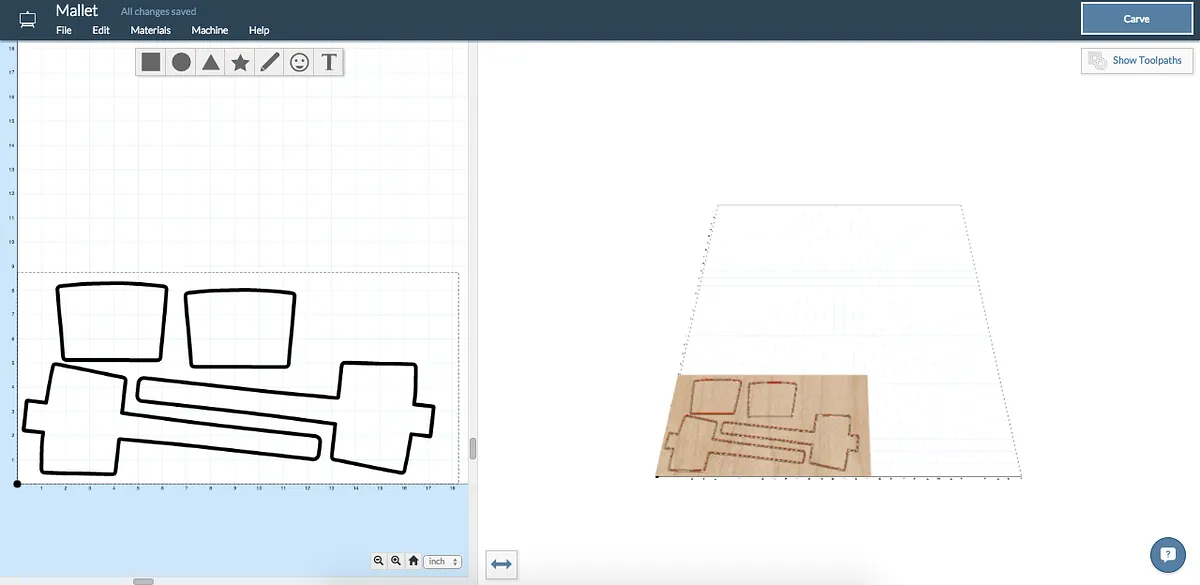
Open the Project in Easel
Open the project in easel and customize it to your liking with your initials or a simple design!
Set up your material and secure it tightly to the wasteboard.
Estimated time: 5 minutes

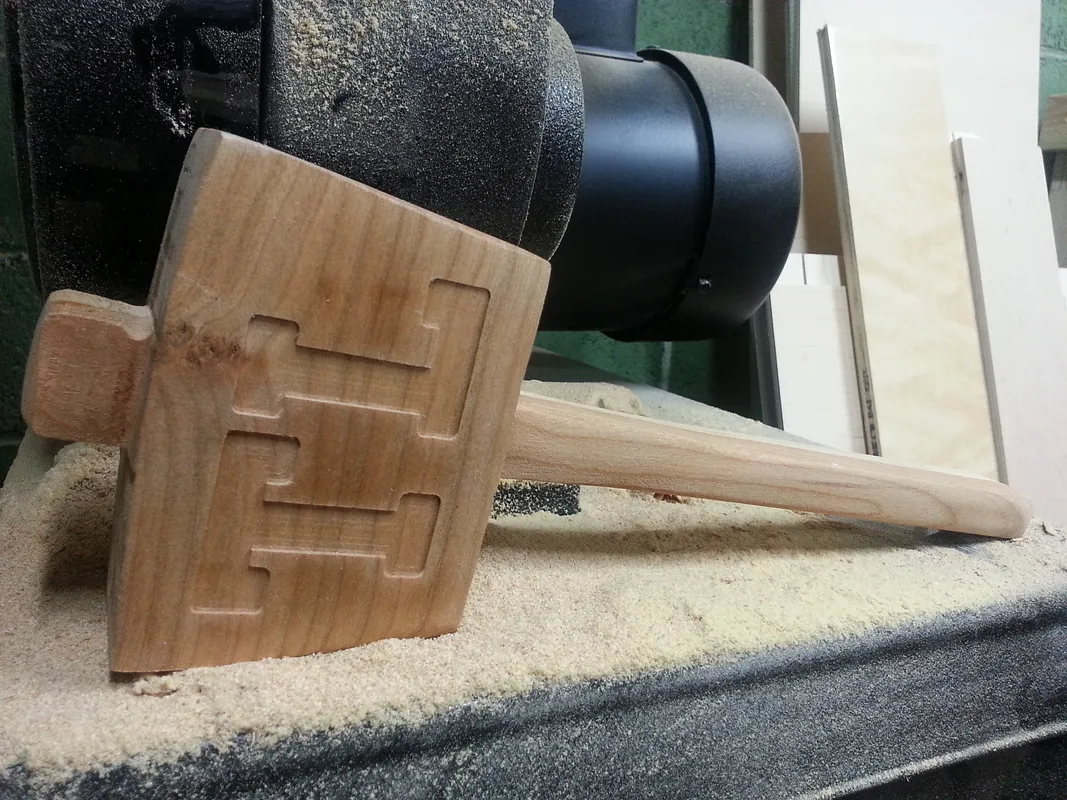
Carve!
I used an 1/8" 2 flute straight bit from bosch.
Estimated time: 60 minutes

Layout
Layout your pieces, clamps and get your glue ready. It helps to have a silicone glue brush for spreading the glue around the pieces evenly but this can be achieved using your finger or a paint brush.
Estimated time: 2 minutes

Glue
Add glue to the faces that will be joined together spreading it out to ensure total coverage of all surfaces.
Estimated time: 5 minutes
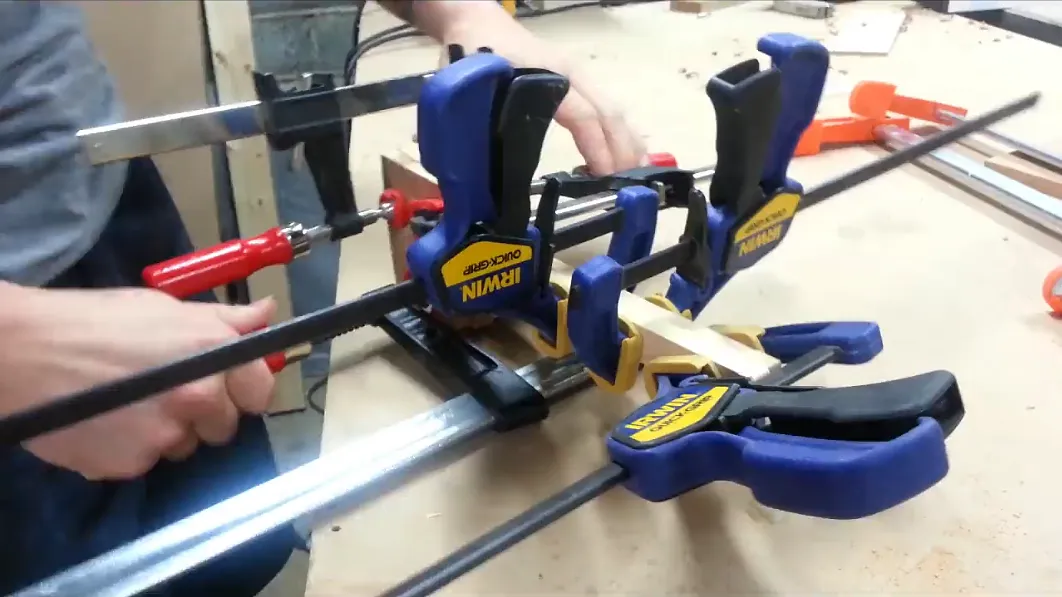
Clamp
Quickly add clamps to your glued mallet, the more clamps the better! Check the surfaces when tightening clamps to ensure things are staying even and flush.
Estimated time: 3 minutes

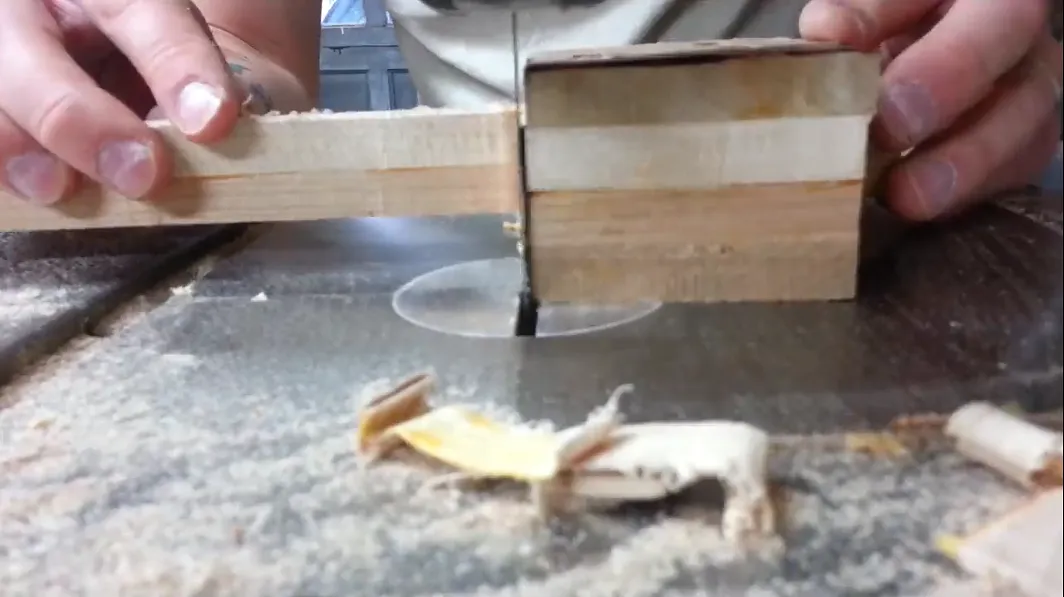
Bandsaw (optional)
If you have a bandsaw and your pieces shifted slightly the bandsaw can be an excellent option for cleaning up and making faces perfectly even.
Estimated time: 5 minutes
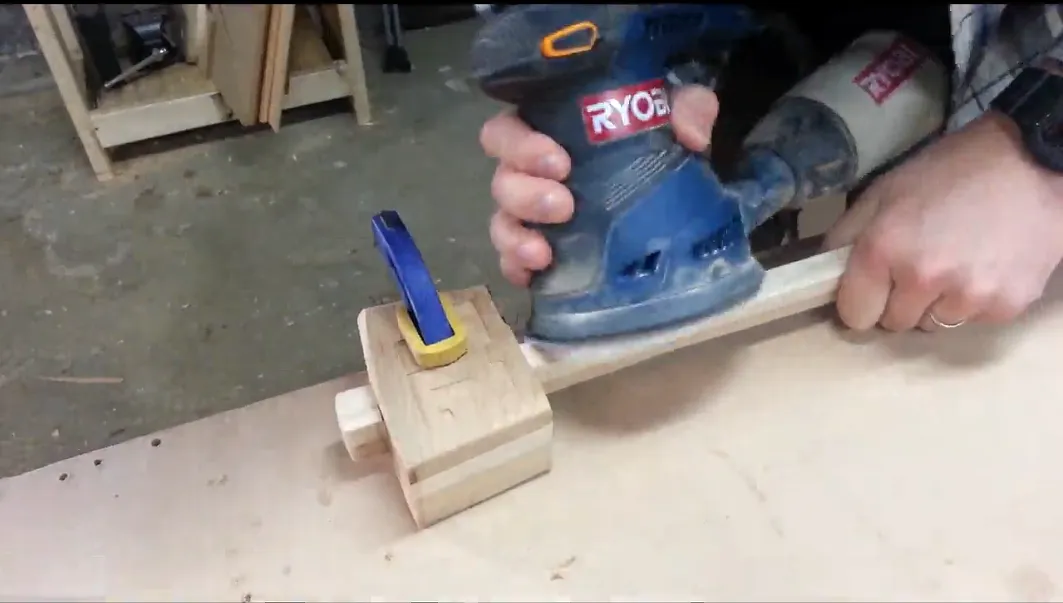
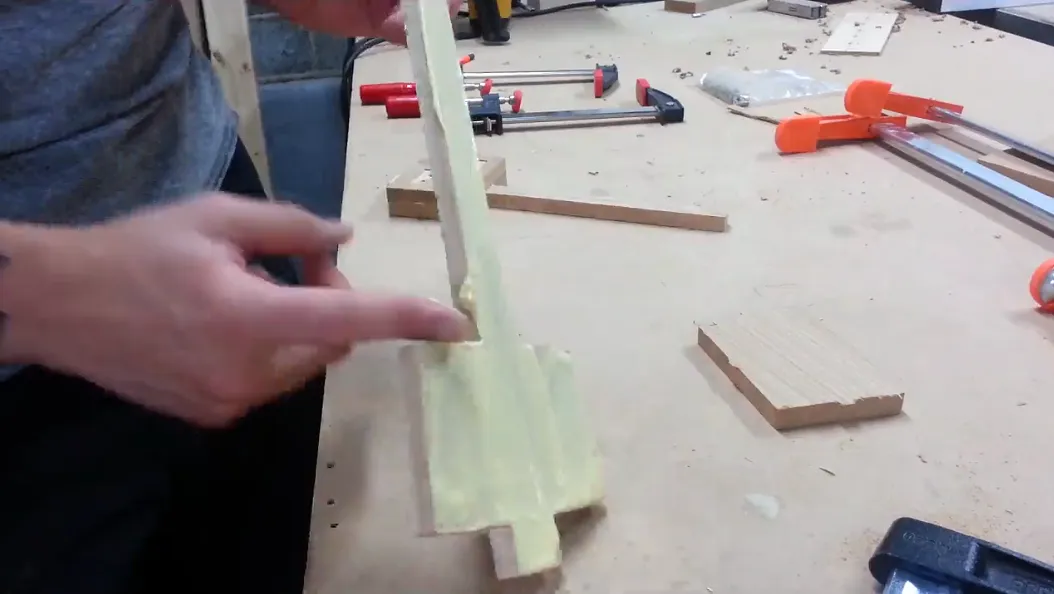
Shaping and Sanding
Shaping the handle, smoothing edges and faces as well as adding a customized feel can all be accomplished using a random orbit sander a clamp and a low grit sanding paper.
Estimated time: 15 minutes

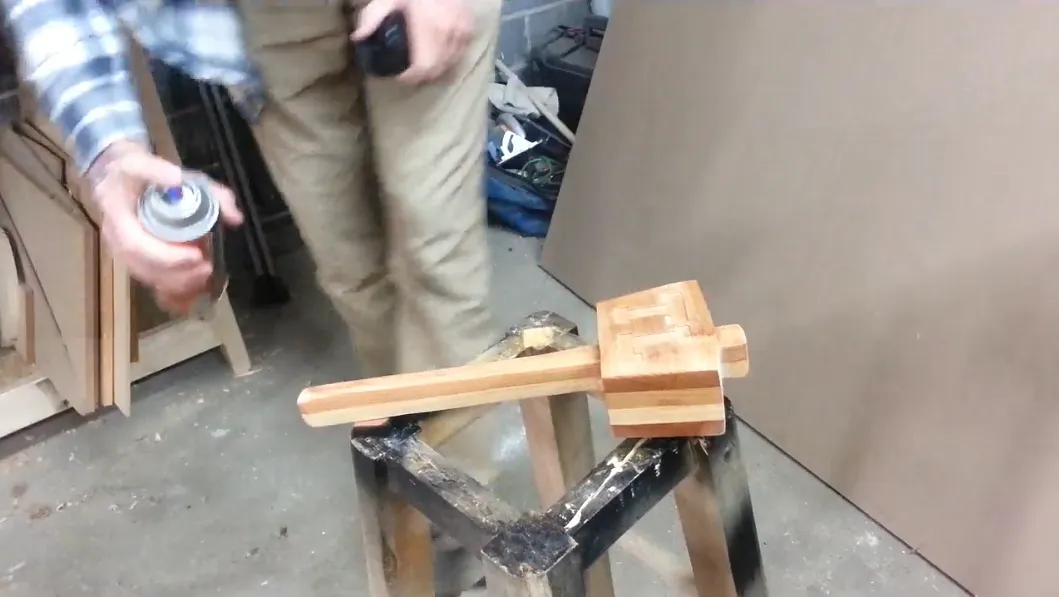
Finishing
Finish is an optional step but will greatly enhance the look of your finished product as well as add life to the tool. I used 3 coats of a simple and quick spray on polyurethane sanding between coats with 320 grit sandpaper.

Comments
A good idea on this might be to add some dowel holes and that would make alignment in glue up a little easier. Think ill try that when i cut this one
Johnathan Branson · July 08, 2022