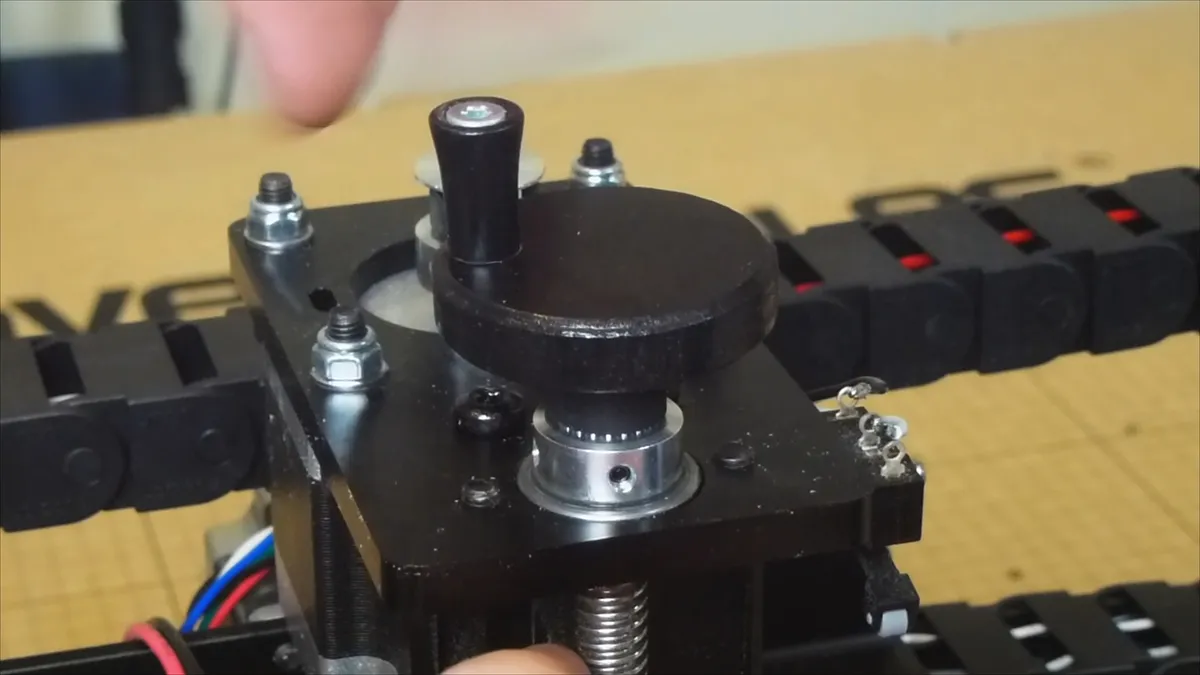
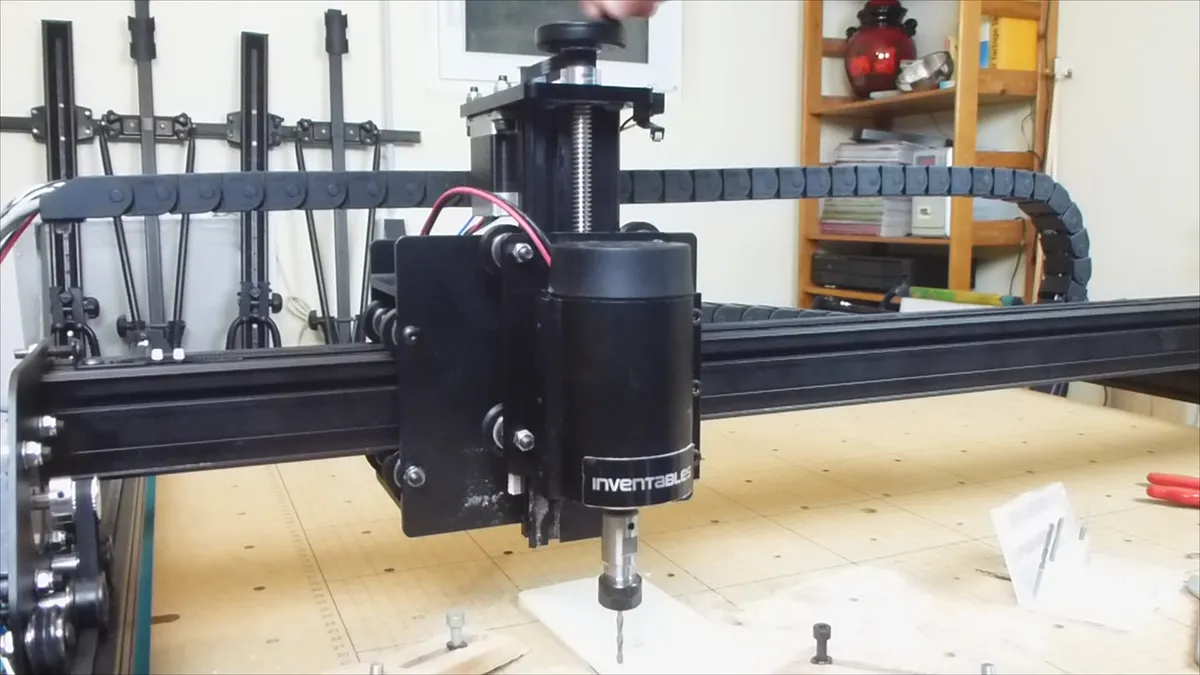
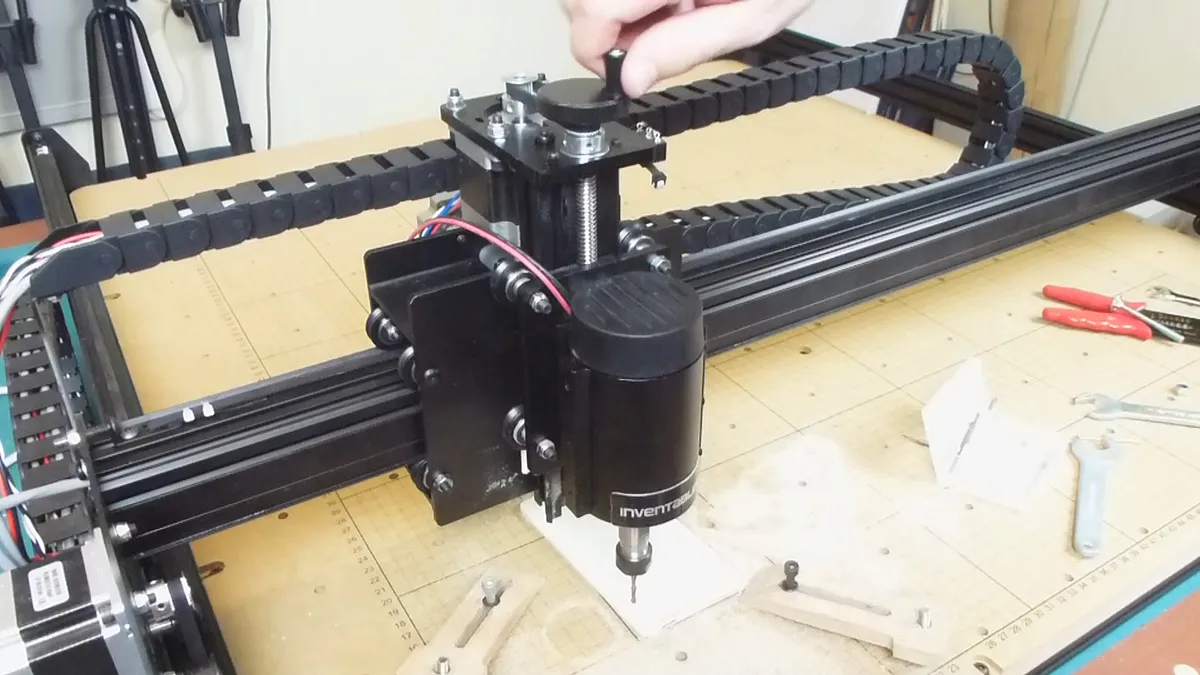
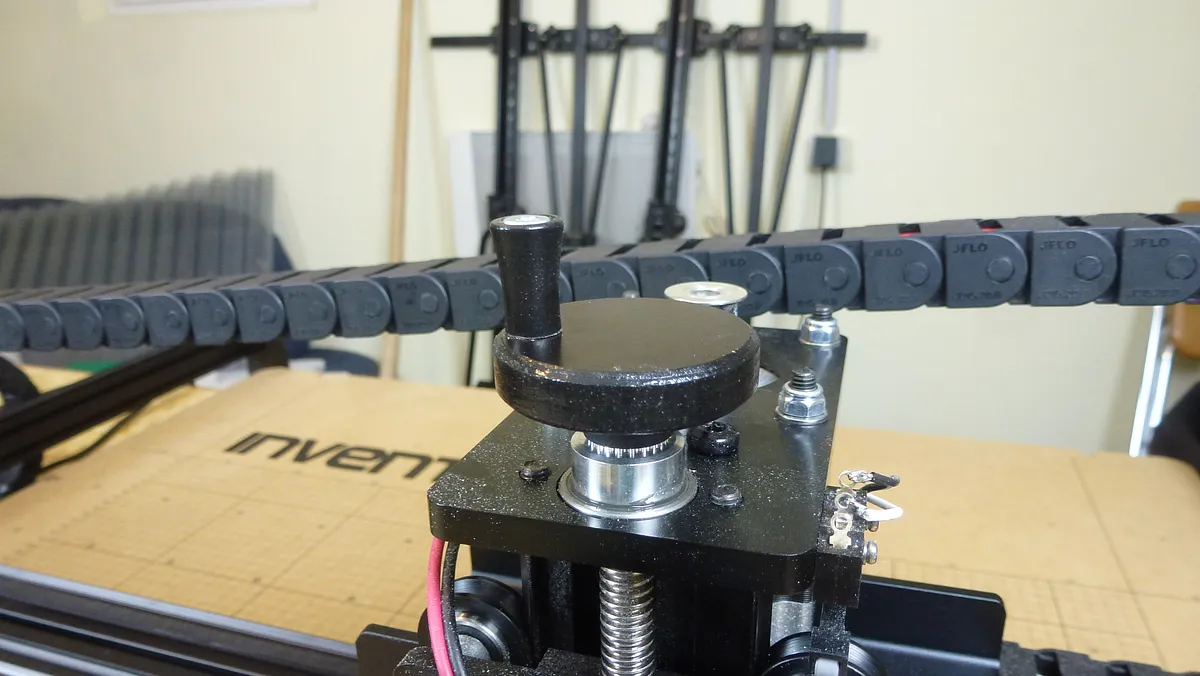
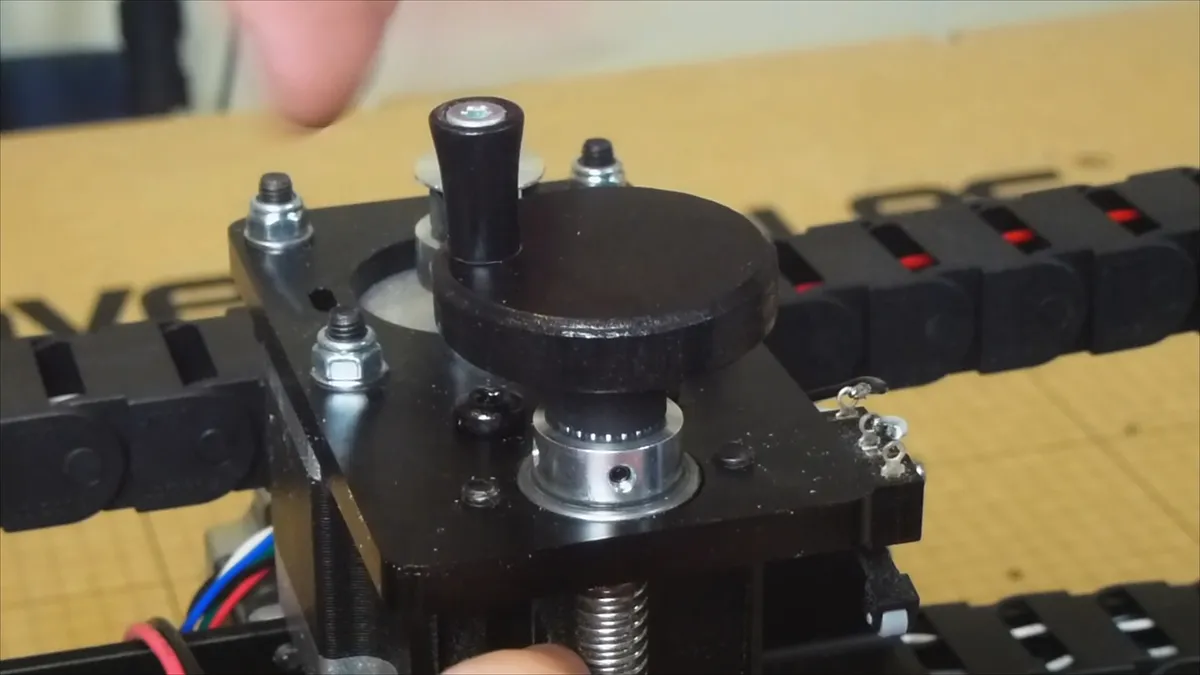
Hand crank for the X-Carve Z-axis

Instructions
Watch the project on YouTube
I put together a video on my YouTube channel that shows everything.
Estimated time: 2 minutes
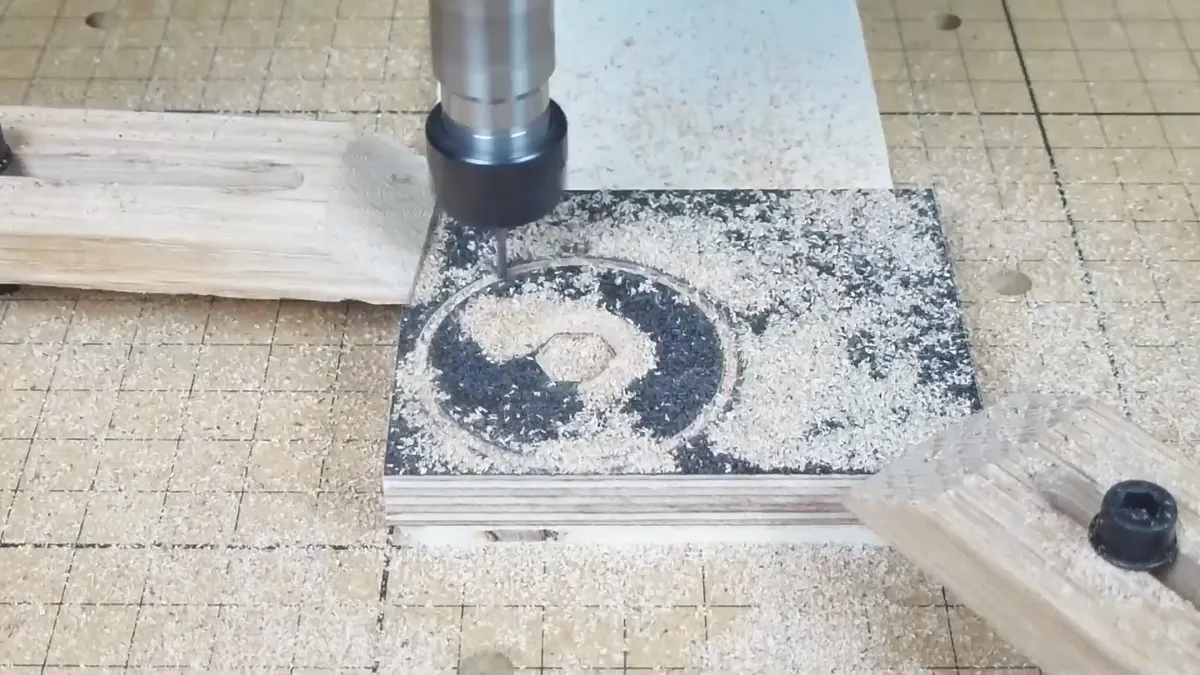
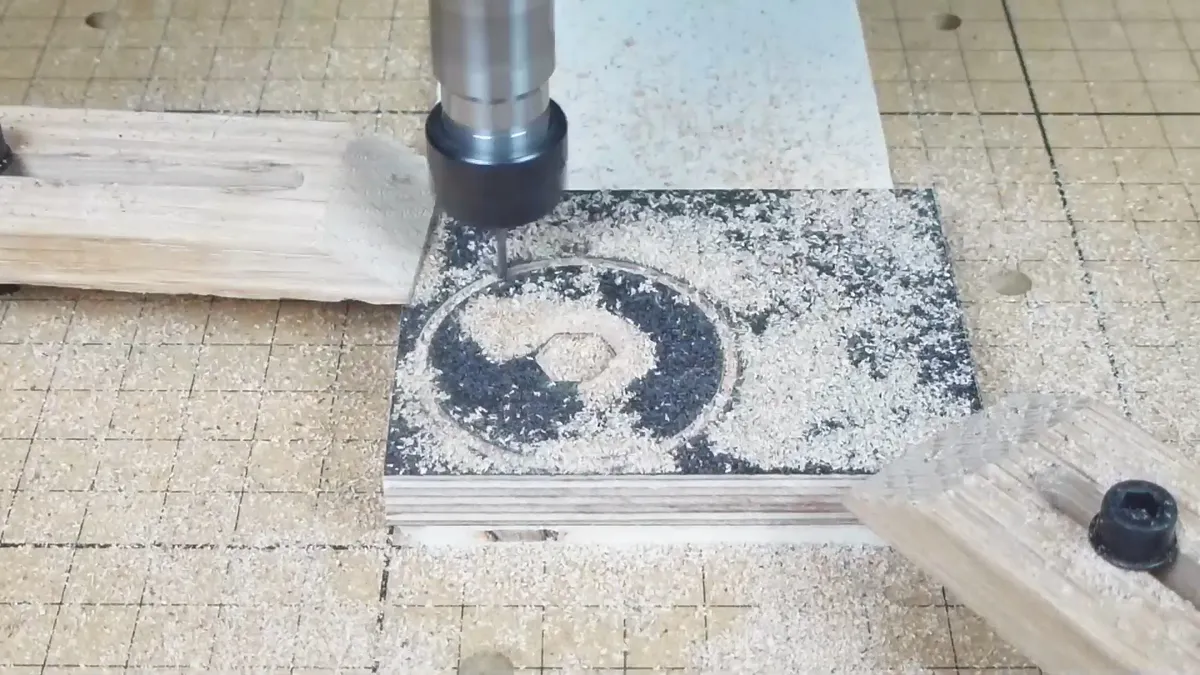
Let the CNC do its work
Cut out the shape out of a material of your choice. I recommend birch plywood or the stuff I was using, which basically is birch plywood with a black resin coating. I chose it, because it's black and the machine is black, so...you get it.
Estimated time: 10 minutes
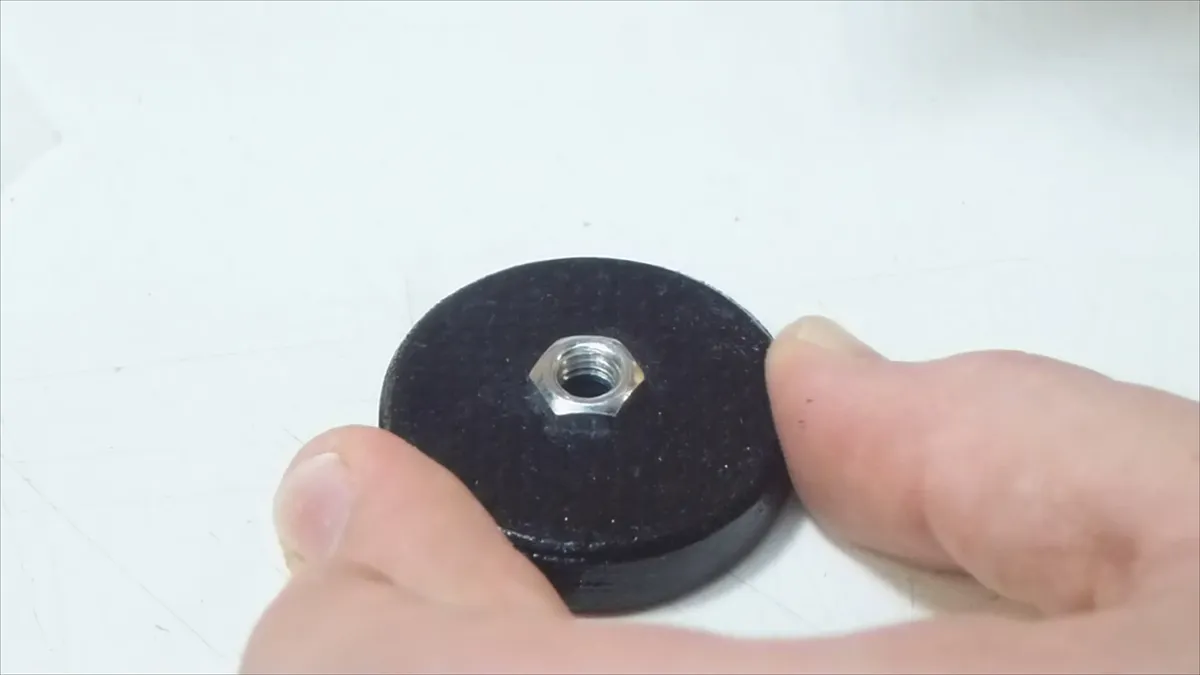
Adding the nut
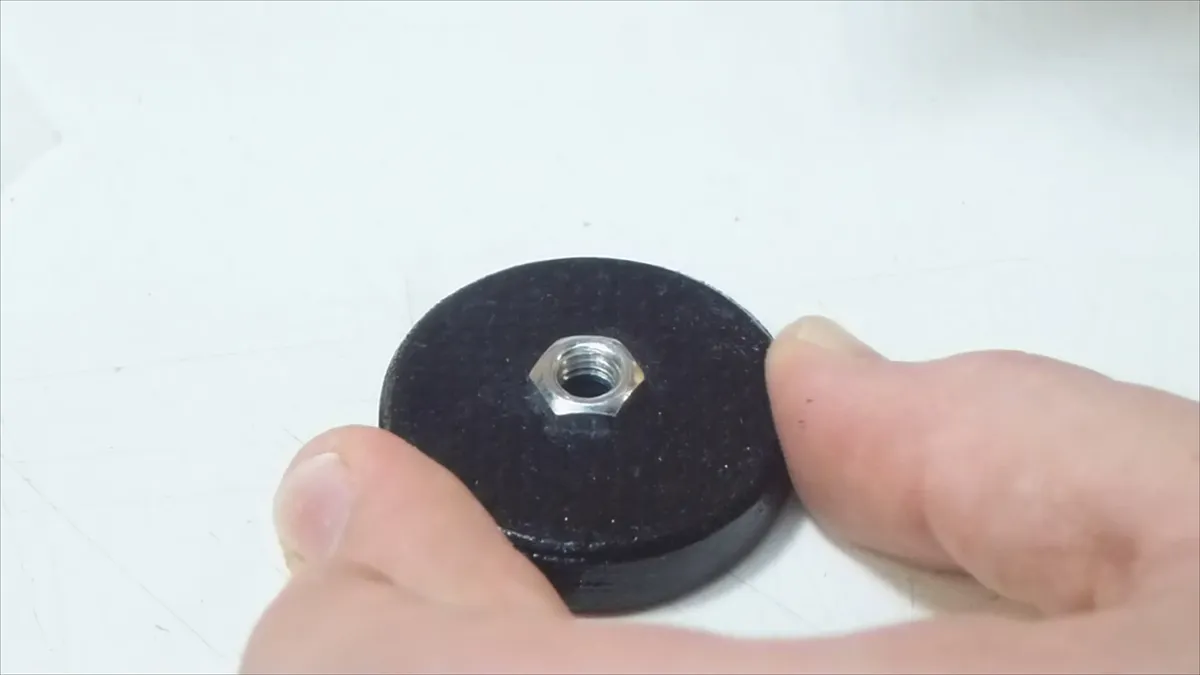
I skipped the painting part, because it's painting and not very interesting. After painting put a nut in place.
Estimated time: 1 minutes
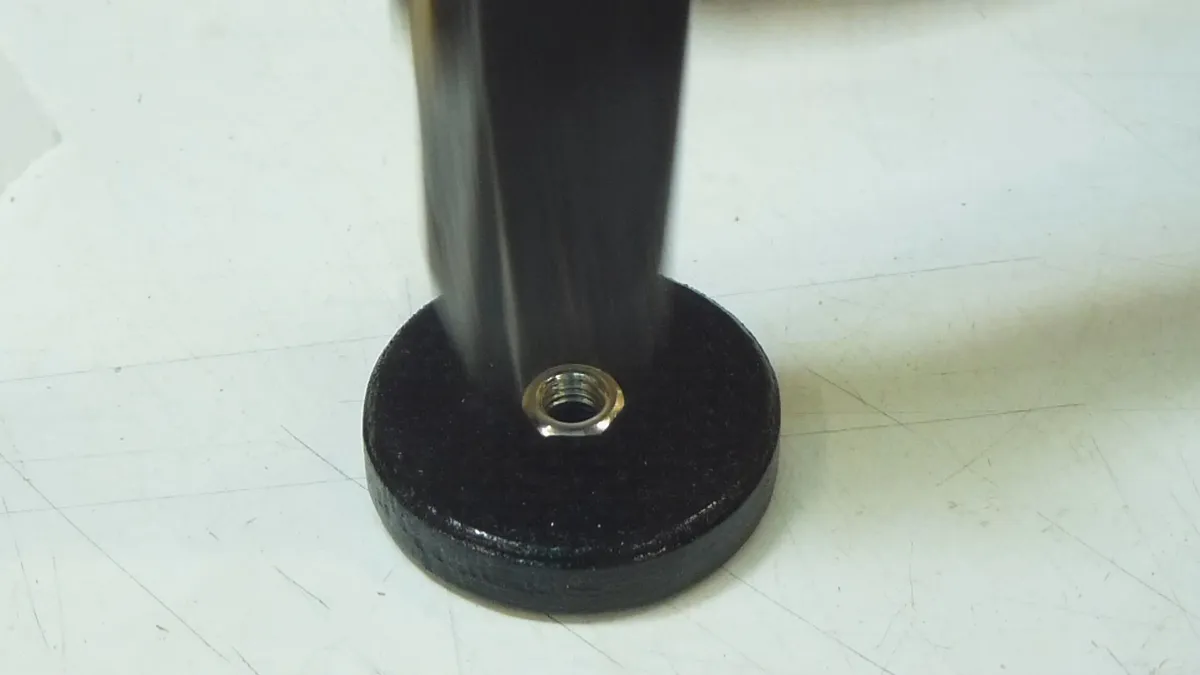
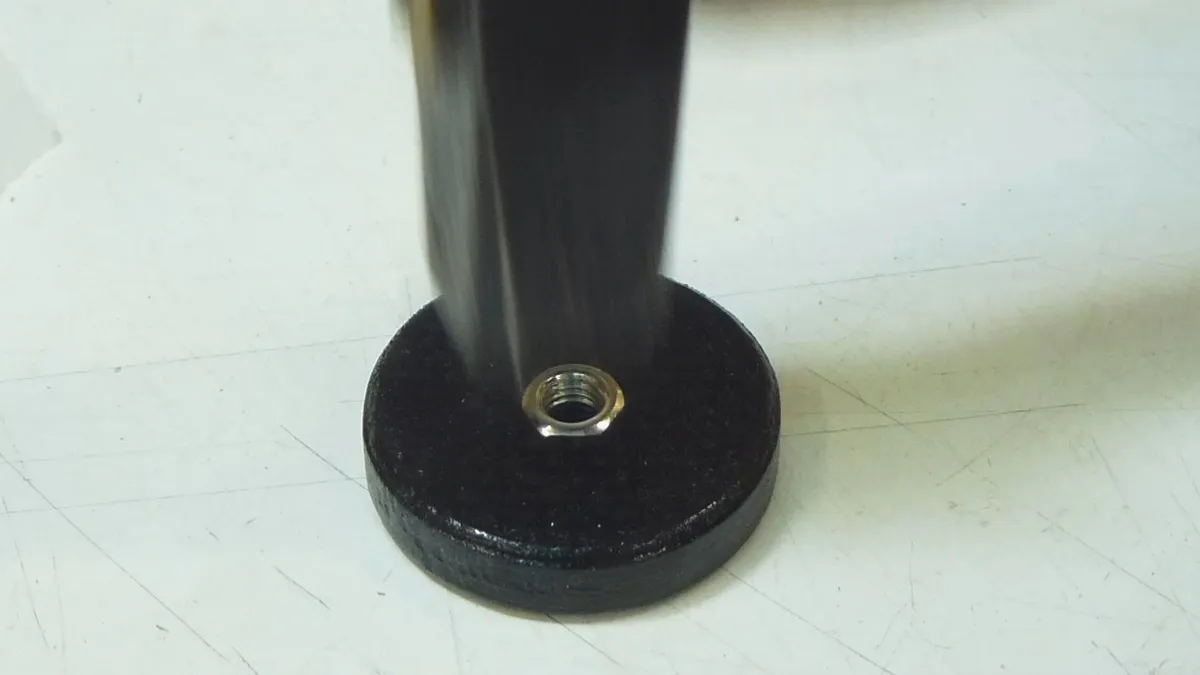
Hammer in the nut
Just grab a hammer and pound the nut into place. You could also use a vice.
Estimated time: 1 minutes
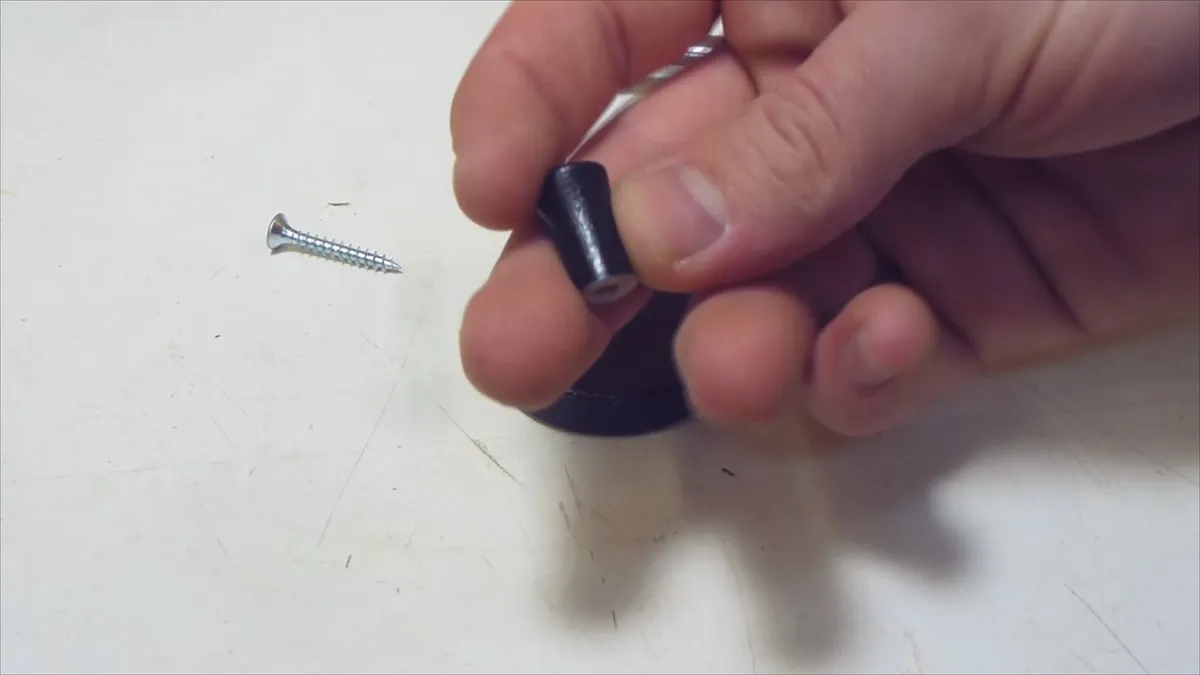
The knob
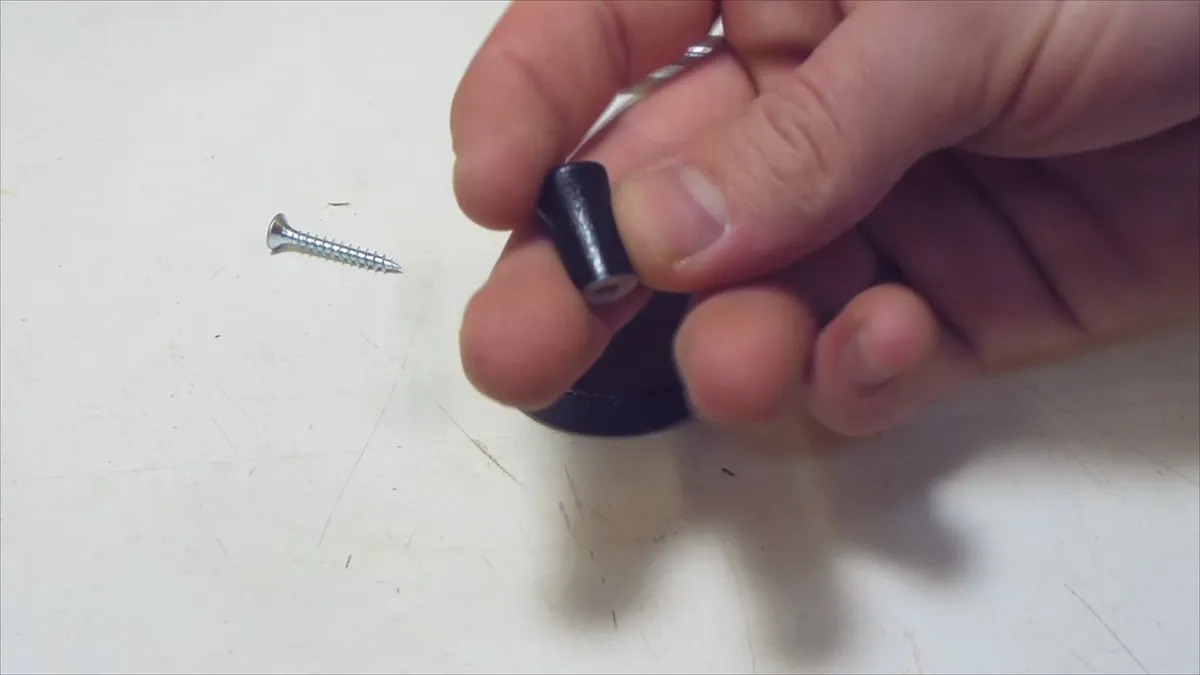
You can make the spinning knob in several ways. I made mine on my lathe, but a dowl with a hole through it, big enough for a screw, will do the job.
Estimated time: 5 minutes
Done
Simply screw the hand crank back on top of the Z-axis and your done.
Estimated time: 1 minutes
Comments
Awesome idea Marius thanks for sharing!
Brian Gidney · August 17, 2015