Electric Guitar
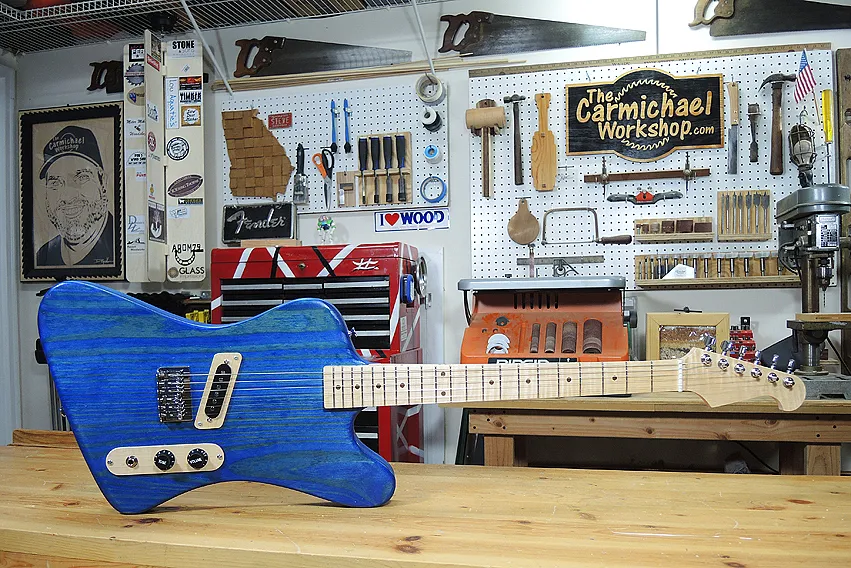

Instructions
Watch Me Make It!
Here is a list of guitar parts that I used in this project. You may need to adjust the dimensions of the project if you use different parts. - 2pc. White Plastic 6-String Guitar Nuts (CBGitty.com Part 31-074-01) - Chrome Adjustable Bridge for Electric Guitar (CBGitty.com Part 31-065-01) - vChrome Sealed-Gear Tuners - 6pc. Inline Right-aligned (CBGitty.com Part 31-006-02) - Pre-Wired 6-String Single Coil Pickup Harness - Black (CBGitty.com Part 54-006-01) - U-channel Truss Rod, Electric (StewMac.com Item # 1177-E) - StewMac Medium Fretwire, Medium/medium, 2 ft x 3 Qty (StewMac.com Item # 0148) - Neck Mounting Plate, Chrome, with screws (StewMac.com Item # 0131) - Strap Buttons - Set of 2, Chrome, set of 2 (StewMac.com Item # 0170) - Electric Guitar Strings (Light 009 Gauge Recommended) - Control cavity cover made from wood or plastic
Estimated time: 20 minutes
Carve the Guitar Body
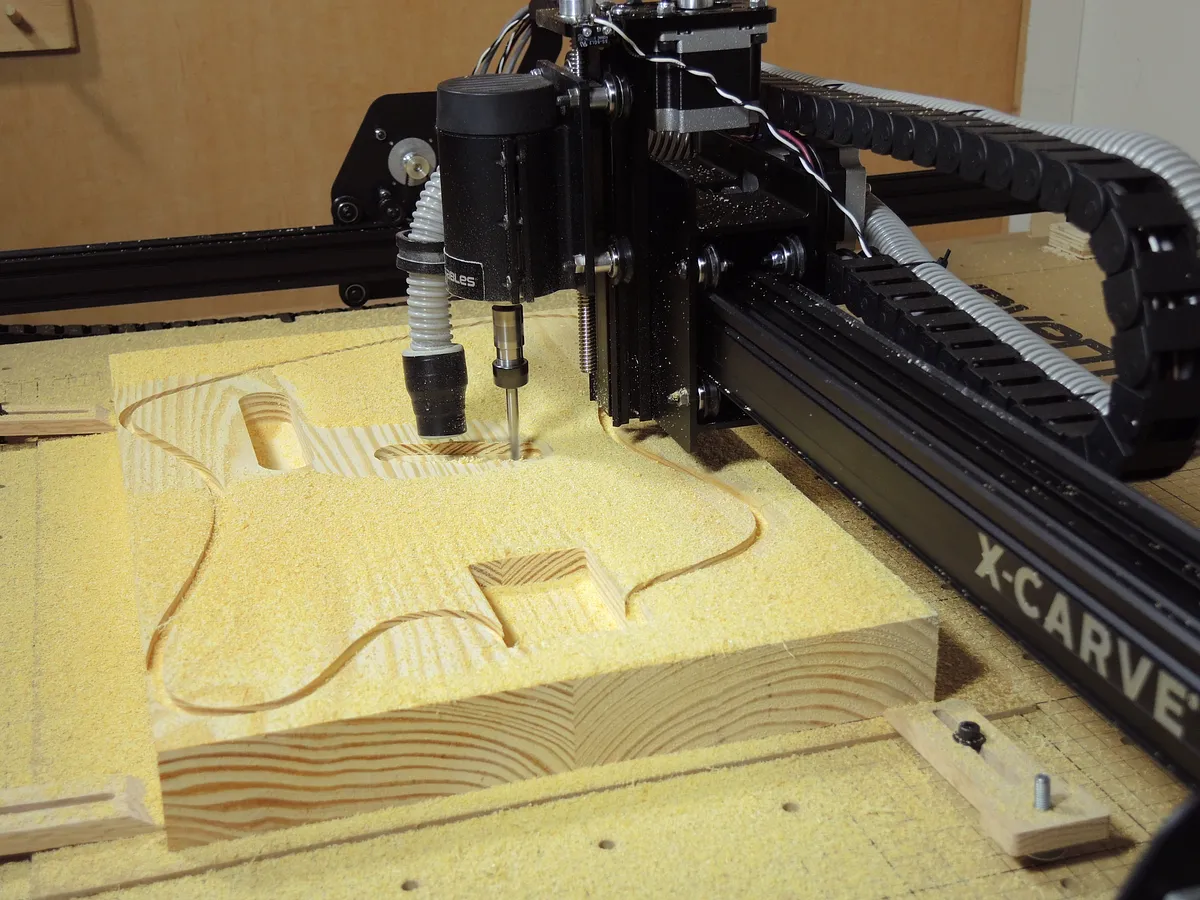
Clamp a guitar body blank onto the wasteboard and carve the body, including the neck pocket, pickup cavity and control cavity.
"Click Here for the Guitar Body Easel Project":http://easel.inventables.com/projects/TLdBOuymjtngNvdBV-uQng
Estimated time: 360 minutes
Carve the Guitar Neck
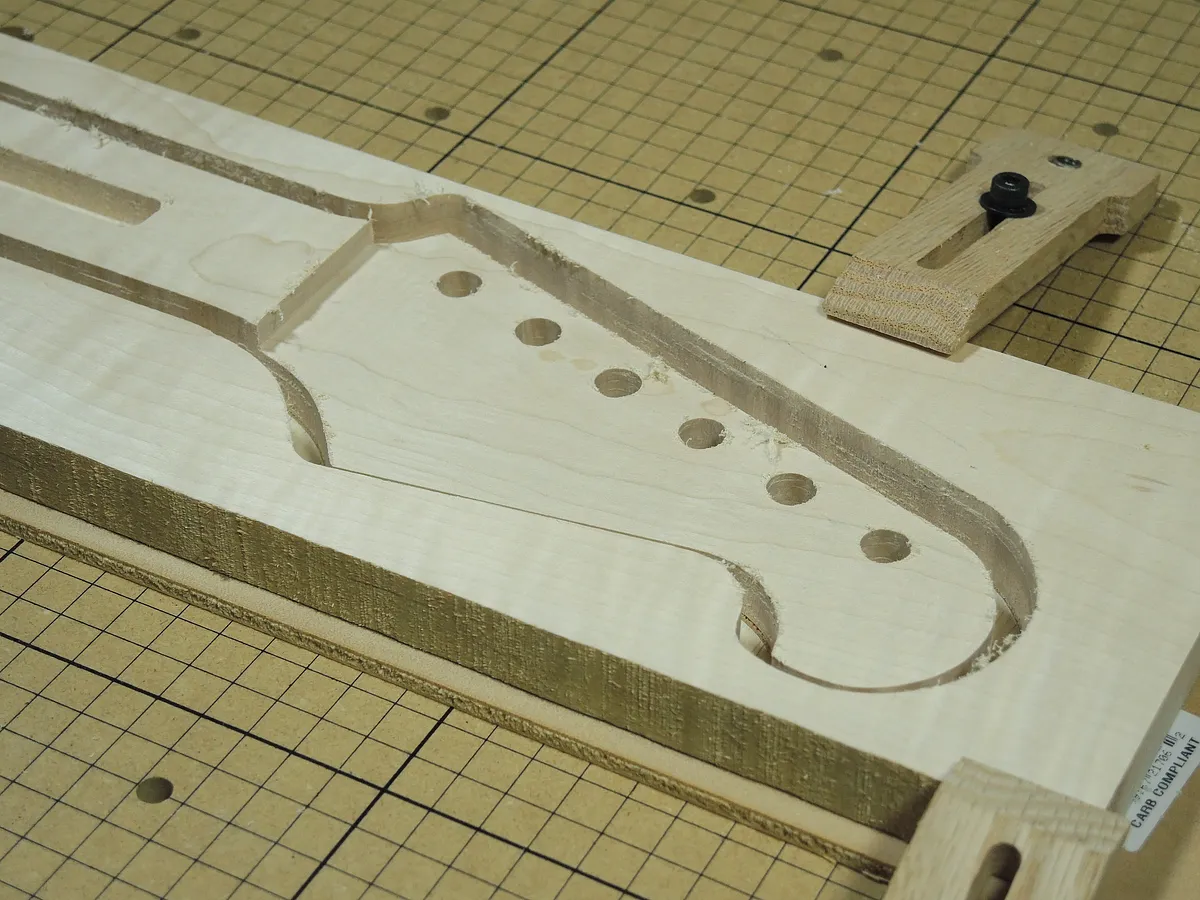
Clamp a guitar neck blank onto the wasteboard and carve the front of the neck, including the neck profile, headstock, tuning peg holes, and truss rod groove. Test the fit of the neck in the neck pocket on the guitar body.
"Click Here for the Guitar Neck Easel Project":http://easel.inventables.com/projects/_ei7hHbmlCYpDyuKYhBkuQ
Estimated time: 300 minutes
Carve the Fret Slots and Fretboard
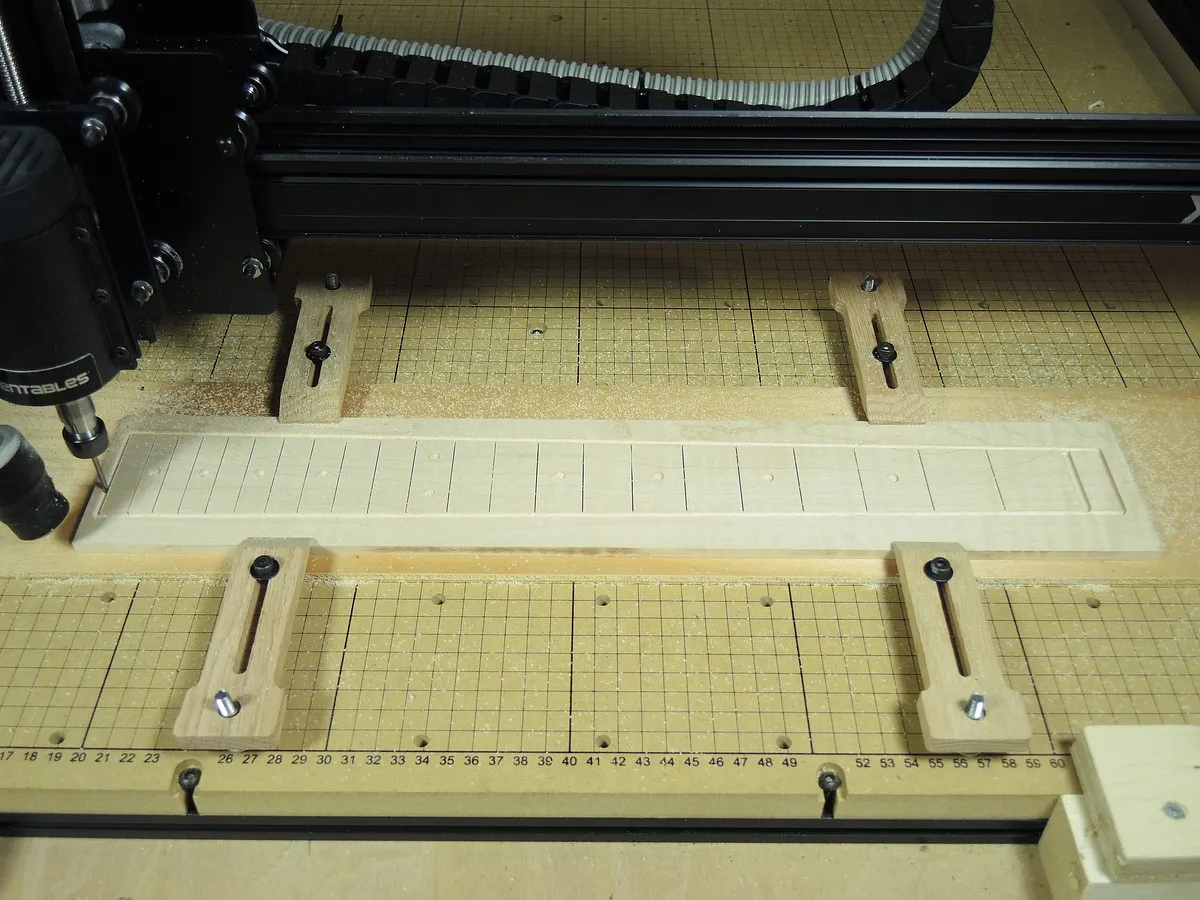
This step consists of two separate carving sessions. Clamp a guitar fretboard blank onto the wasteboard and use a .024" bit to carve the fret slots. Change to a 1/8" spiral upcut bit without moving the machine's home position, then carve the fretboard profile.
Note: Fret wire comes in different sizes that require a different slot widths. You may need to order a different size bit for your fret wire.
"Click Here for the Guitar Fret Slots Easel Project":http://easel.inventables.com/projects/fzkFzyBV99akARBR-31eaw
"Click Here for the Guitar Fretboard Outline and Inlays Easel Project":http://easel.inventables.com/projects/XxjffWrZJue1EPQZvy1j_g
Estimated time: 360 minutes
Install the Truss Rod and Fretboard
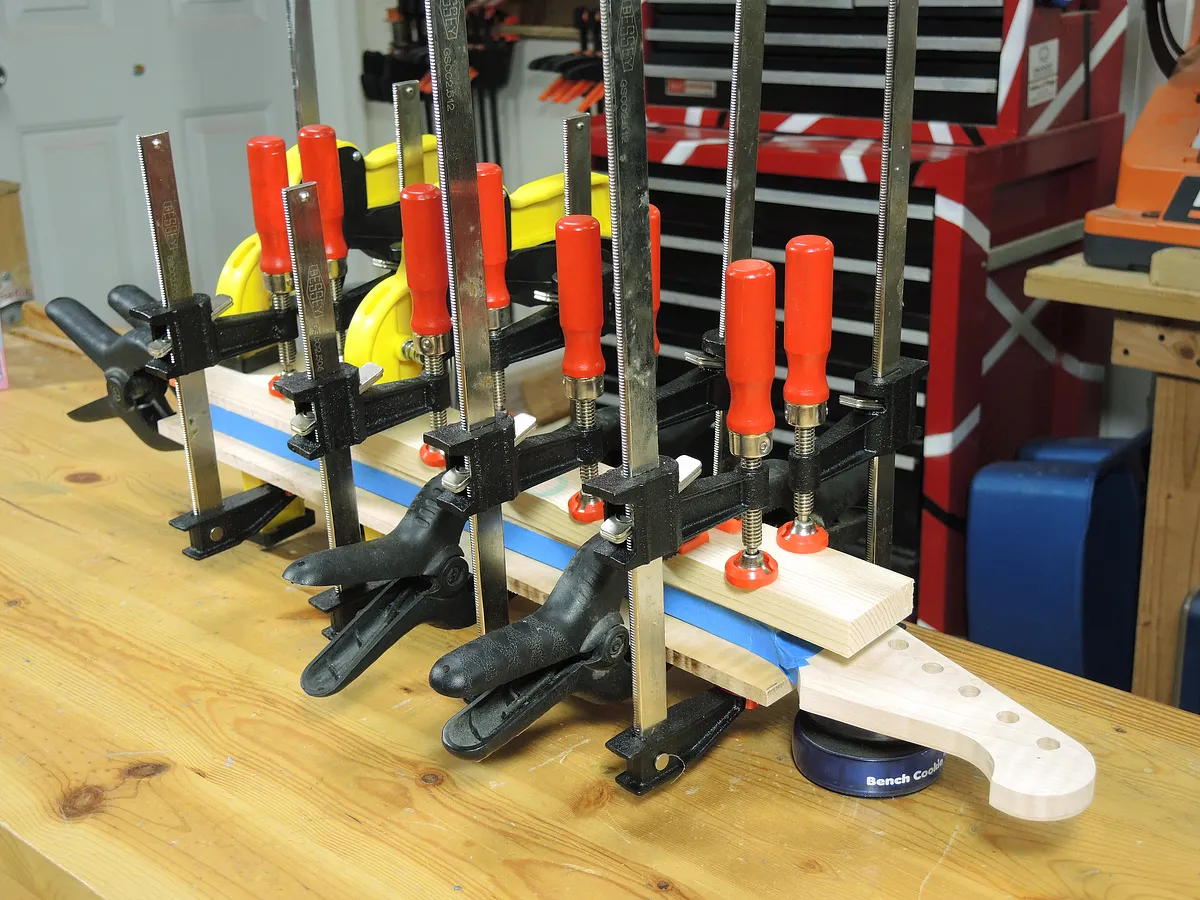
Follow the instructions that came with your truss rod to install it. Glue on the fretboard and clamp it securely.
Estimated time: 120 minutes
Carve and Install Inlay Dot Fret Markers
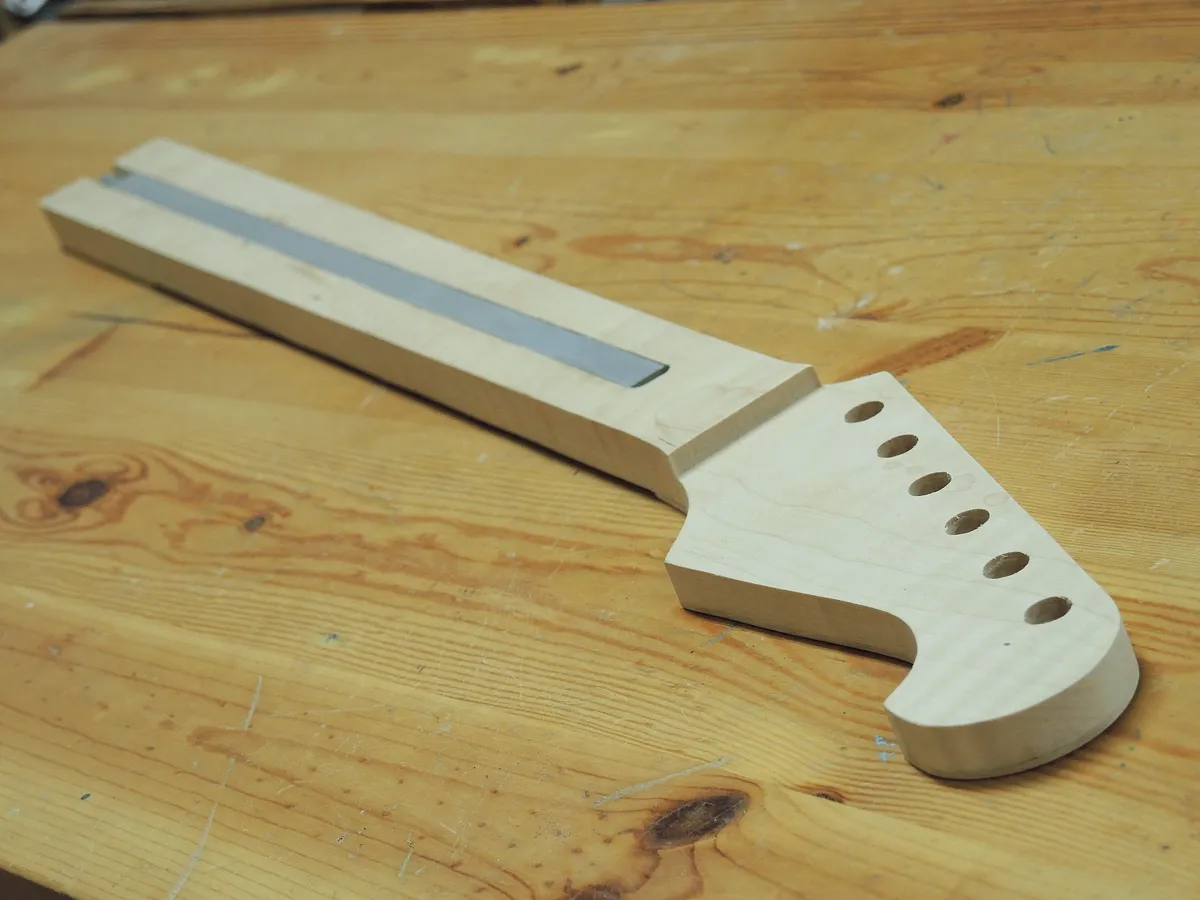
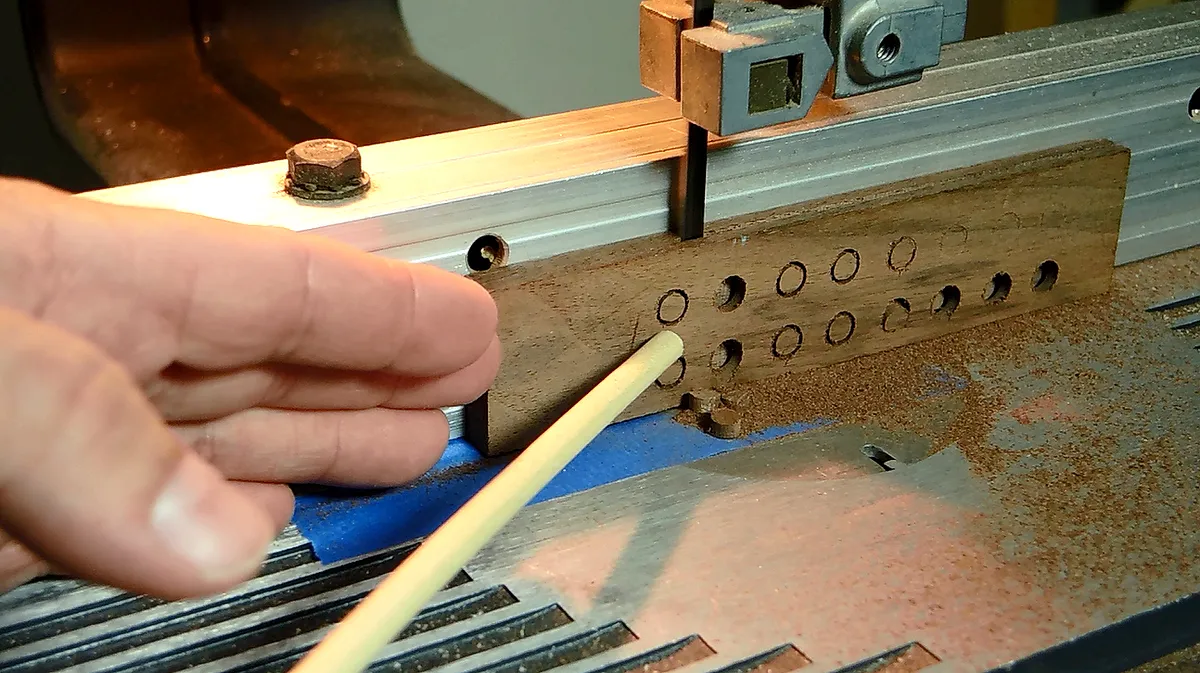
Carve at least 10 each of 1/4" and 1/8" dot inlay fret markers in contrasting colors. Use CA Glue to install the 1/4" dots on the front of the neck. Drill 1/8" holes in the top side of the neck for the corresponding dot inlay fret markers and glue them in.
"Click Here for the Guitar Dot Inlays Easel Project":http://easel.inventables.com/projects/3BeIxggFpd7E_vtrcas5pQ
Estimated time: 90 minutes
Radius the Fretboard
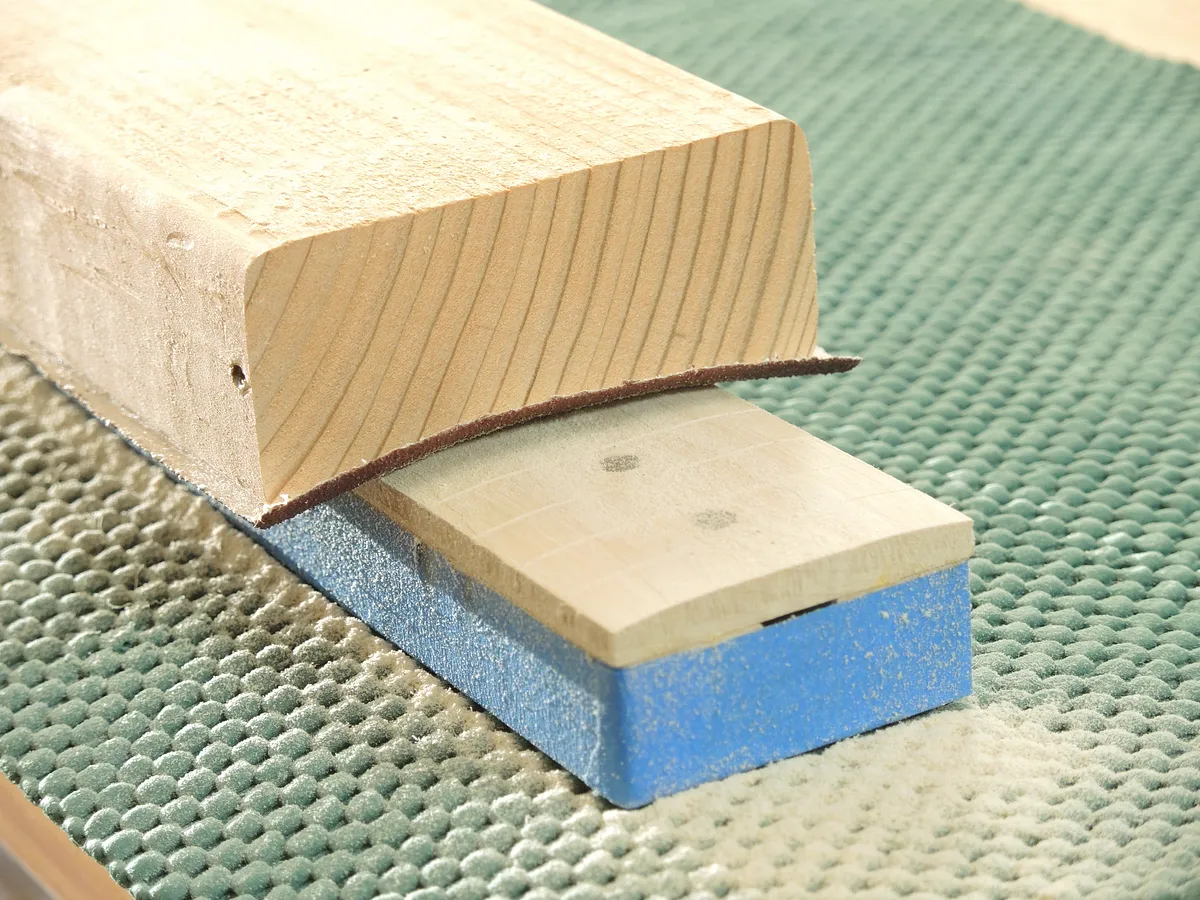
Use a fretboard radius sanding block to sand the desired radius onto the fretboard. I used a 12" radius.
Note: You may make or purchase a radius sanding block, but if you make your own, make it as accurate as possible.
"Click Here for the 12-inch Radius Sanding Block Easel Project":http://easel.inventables.com/projects/YErgA0ZmGDZEdJv1RWojdA
Estimated time: 60 minutes
Shape the Neck
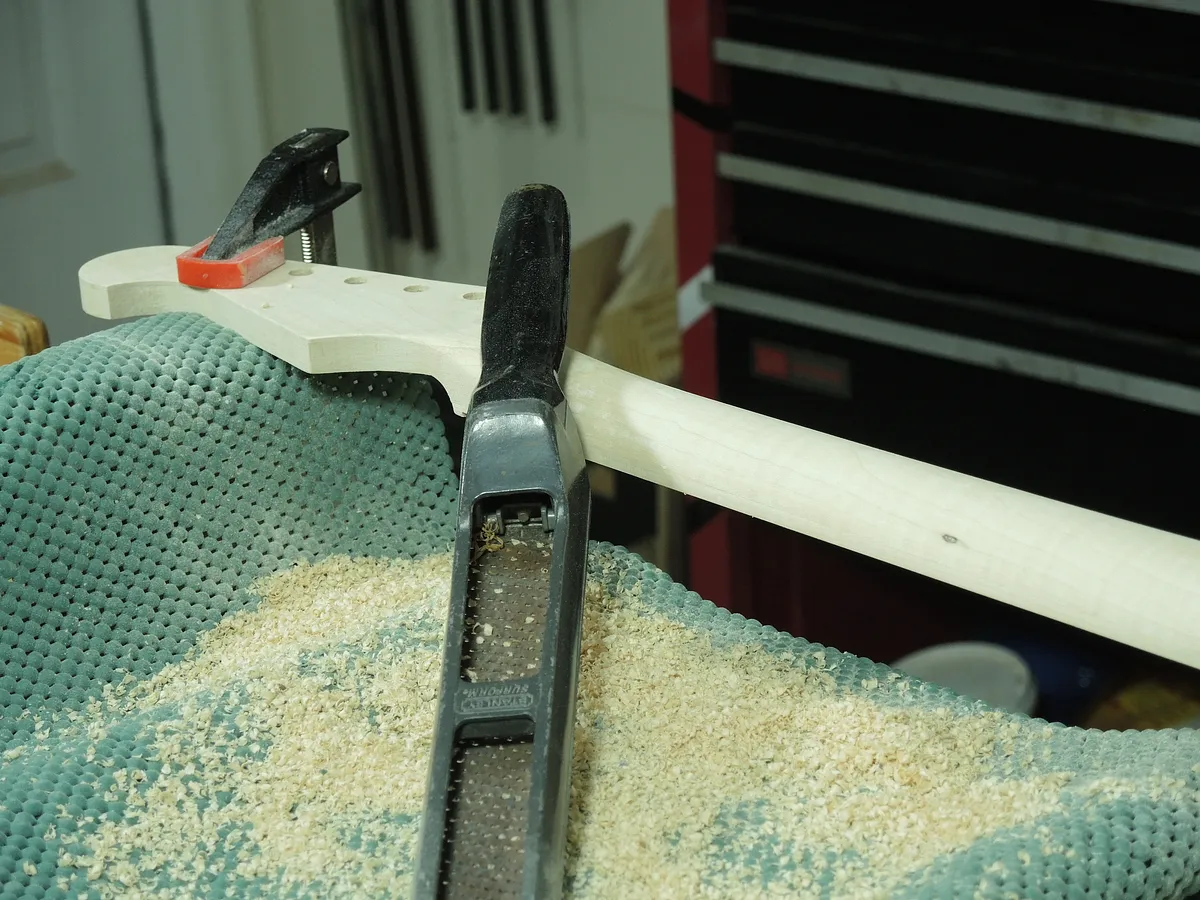
Use a rasp to roughly shape the back of the neck to the desired profile. Switch to a fine file and sandpaper to smooth out the neck.
Estimated time: 90 minutes
Finish the Body and Neck
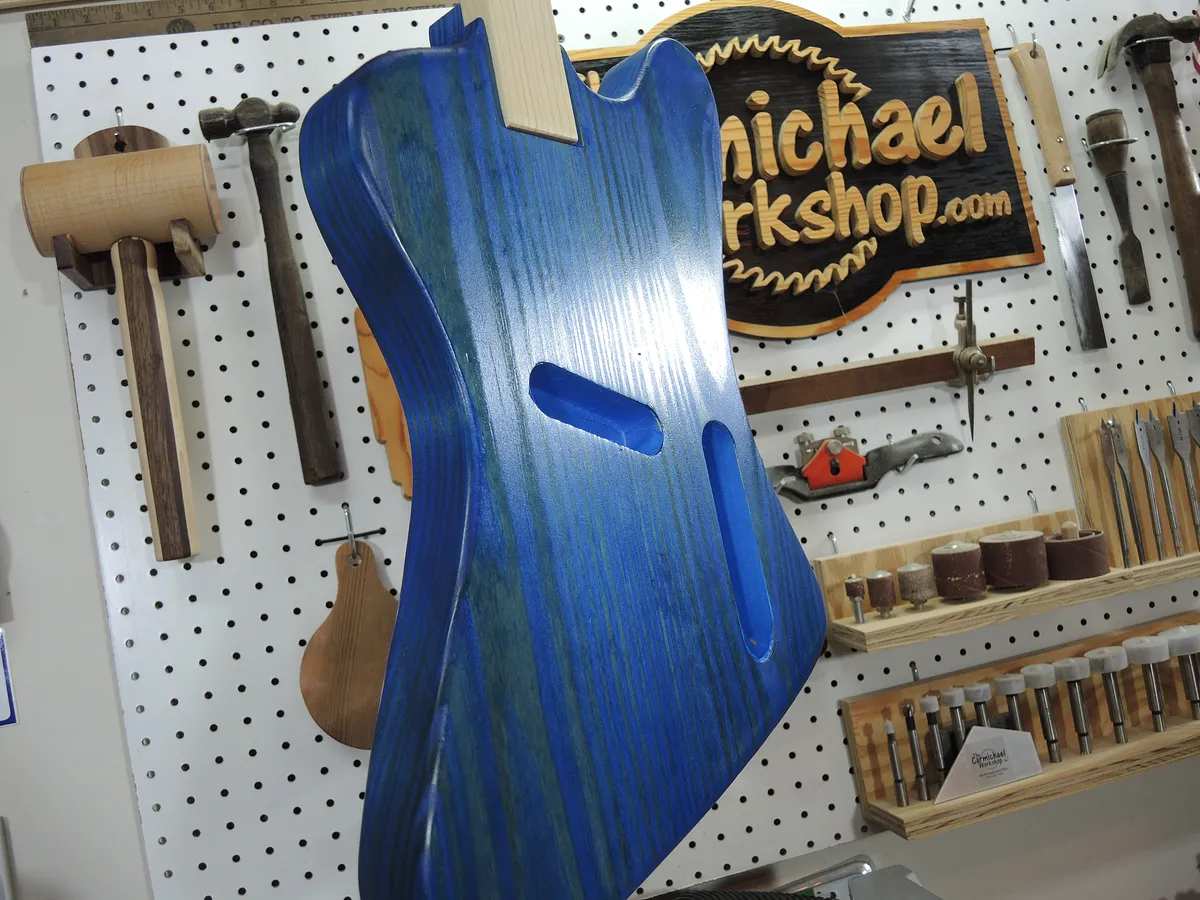
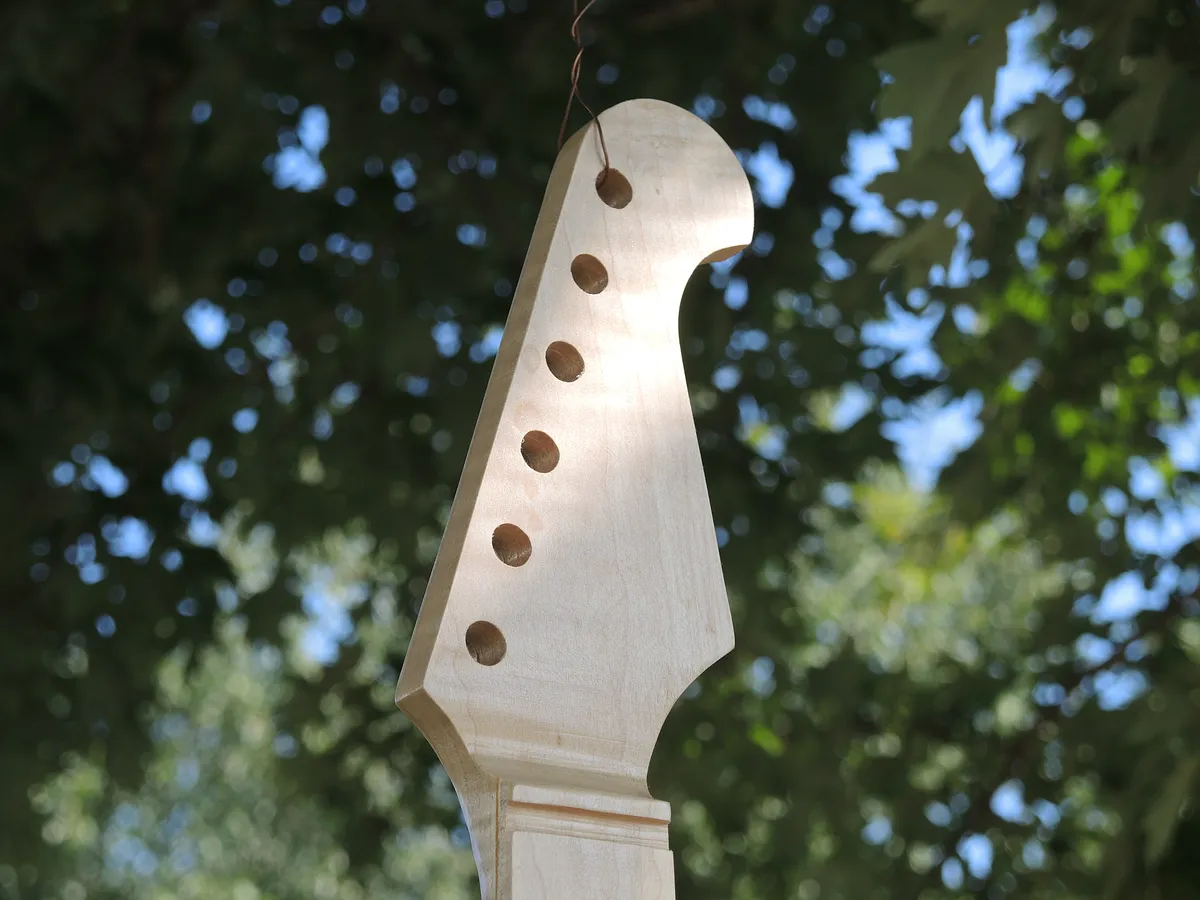
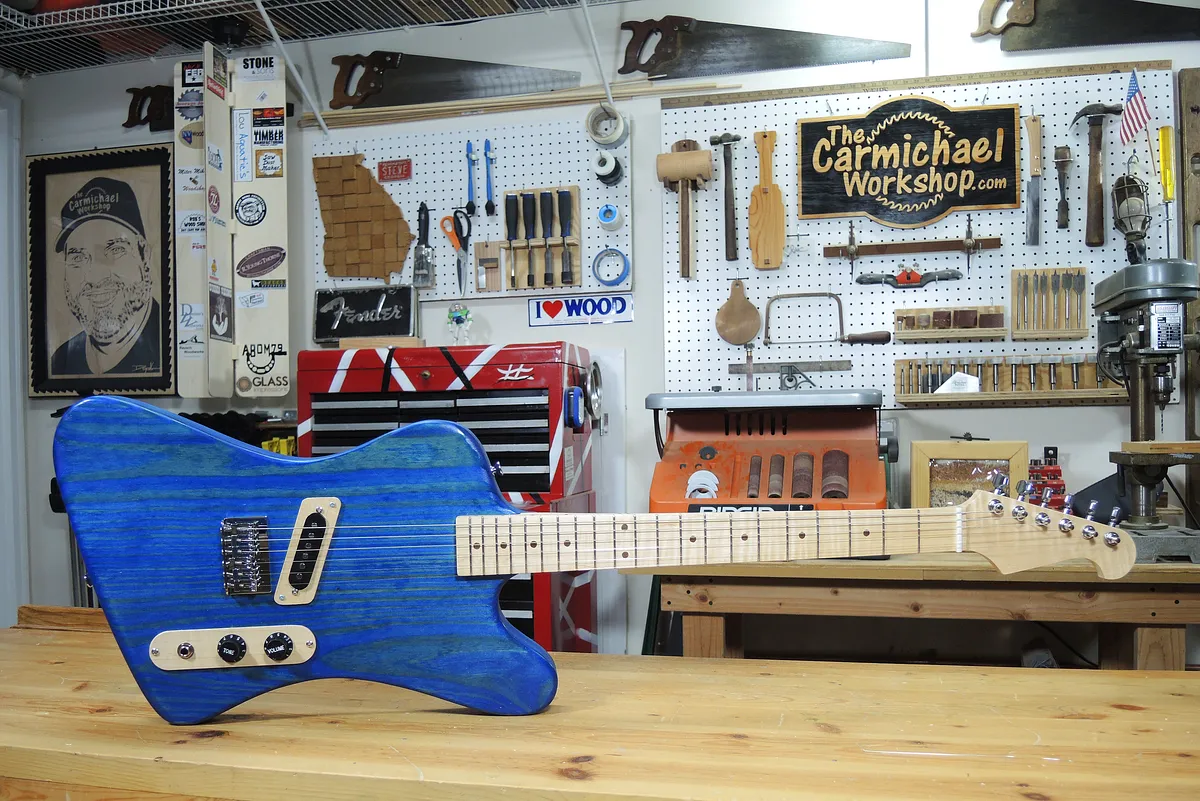
Apply your choice of finish to the neck and the body prior to assembly. I used Transtint Blue dye to color the body blue. I sprayed the neck and the dyed body with clear gloss spray lacquer.
Estimated time: 90 minutes
Install the Frets
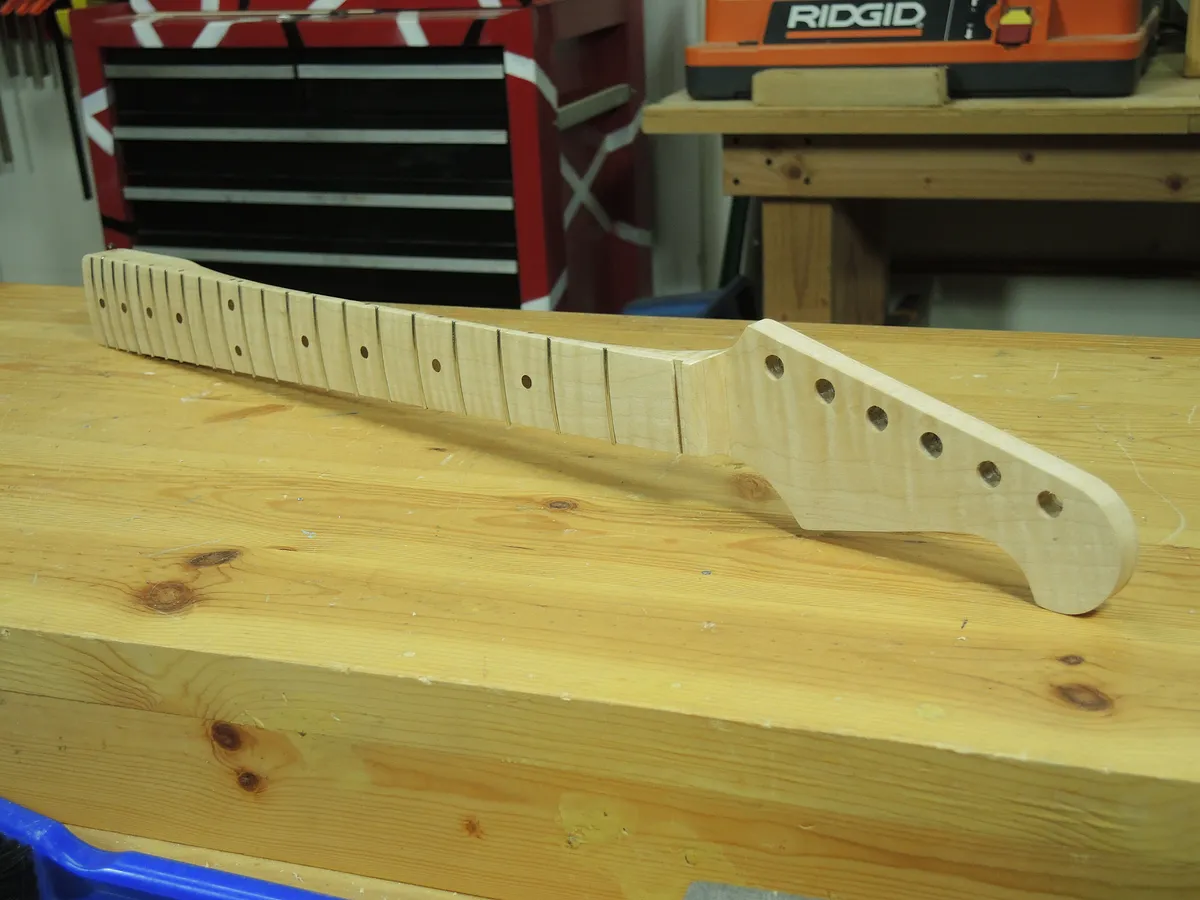
Cut each individual fret to length and hammer it in the slot with a soft rubber mallet. It helps to slightly bend the fret wire to match the radius of the neck. Use files to file the frets even with the neck and make them smooth to the touch.
Estimated time: 60 minutes
Attach the Neck to the Body
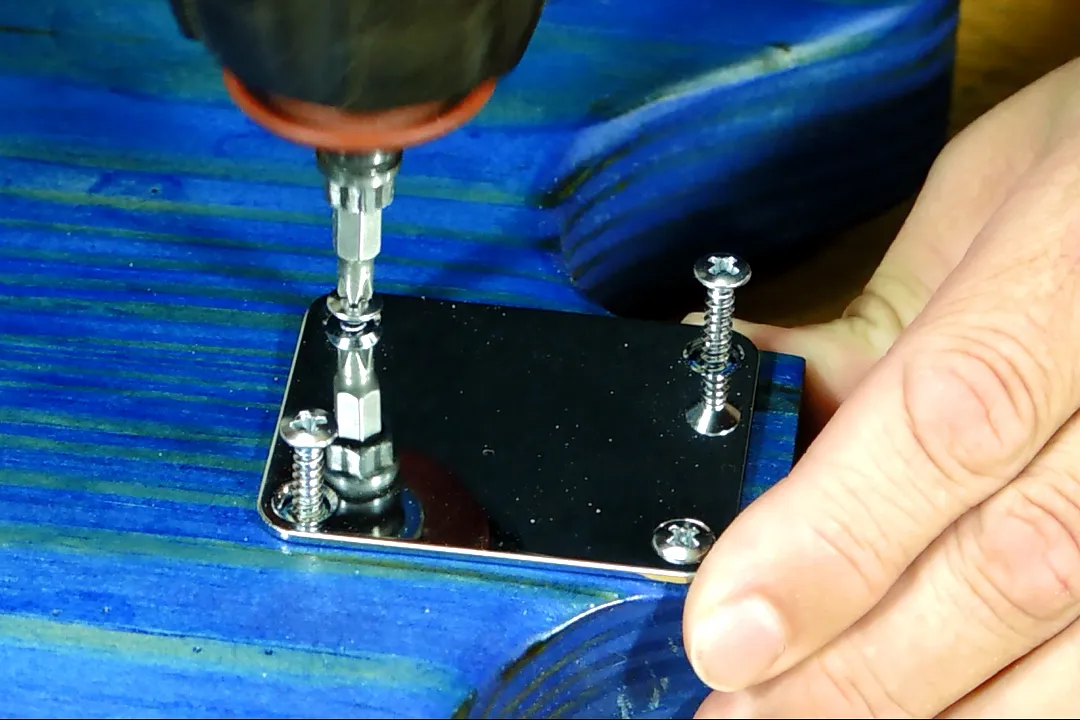
Pre-drill pilot holes in the back of the neck without going all the way through the front. Use the mounting plate to screw the neck to the body. Do not over-tighten or you may strip the screw holes. Fit the nut into the nut slot. You may need to file or sand the nut down to lower the string action.
Install the Electronics
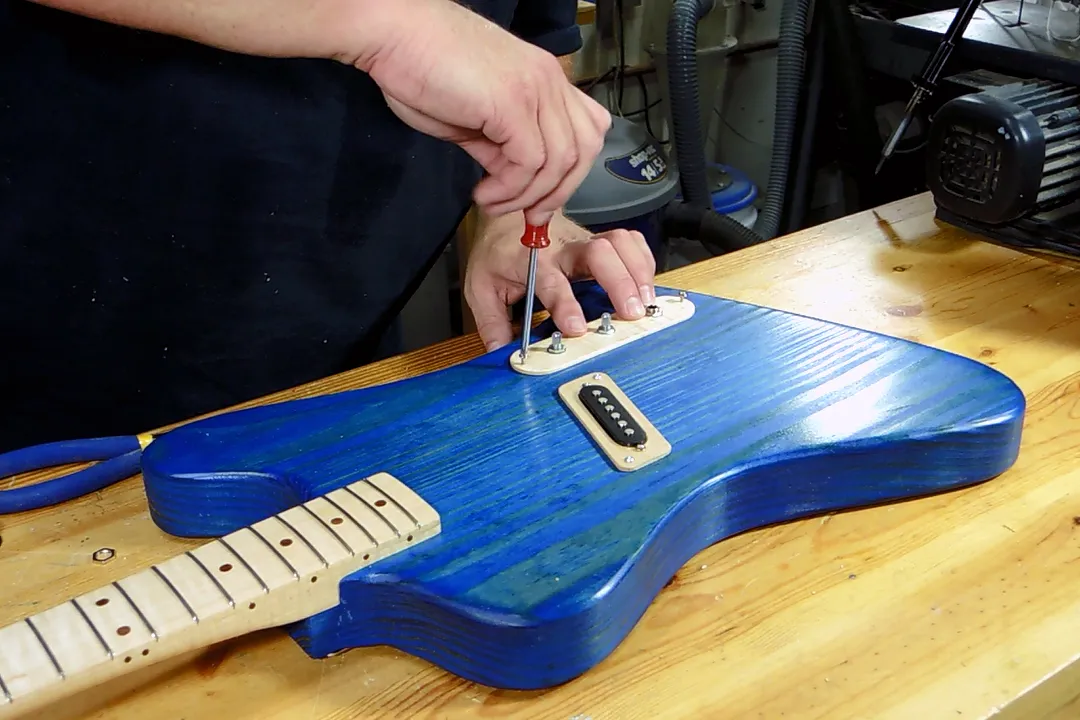
Detach the pickup wire and feed it through the tunnel to the control cavity. Solder the pickup wire back into place. Mount all electronics onto the guitar. "Click here to print a template for the pickup ring and control cavity cover that I cut on the scroll saw.":https://drive.google.com/file/d/1t55YcNLfdelvjV4hMm9GHe7mfNjowmJS/view?usp=sharing
Estimated time: 30 minutes
Install the Bridge
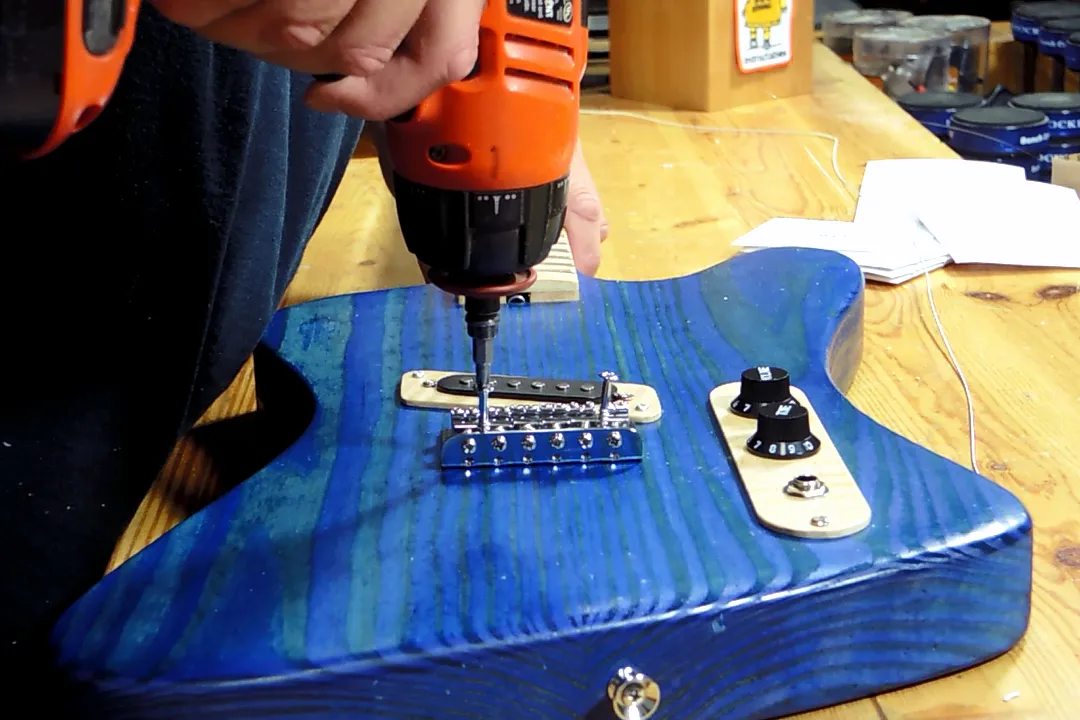
Measure 25.5" from the front of the nut and make a mark on the guitar body. Center the bridge so that the strings will cross over the bridges at 25.5" from the nut. It may help to put on the two outer strings to make sure they are centered and in-line with the neck. Pre-drill and mount the bridge with the provided screws.
Install the Tuning Pegs
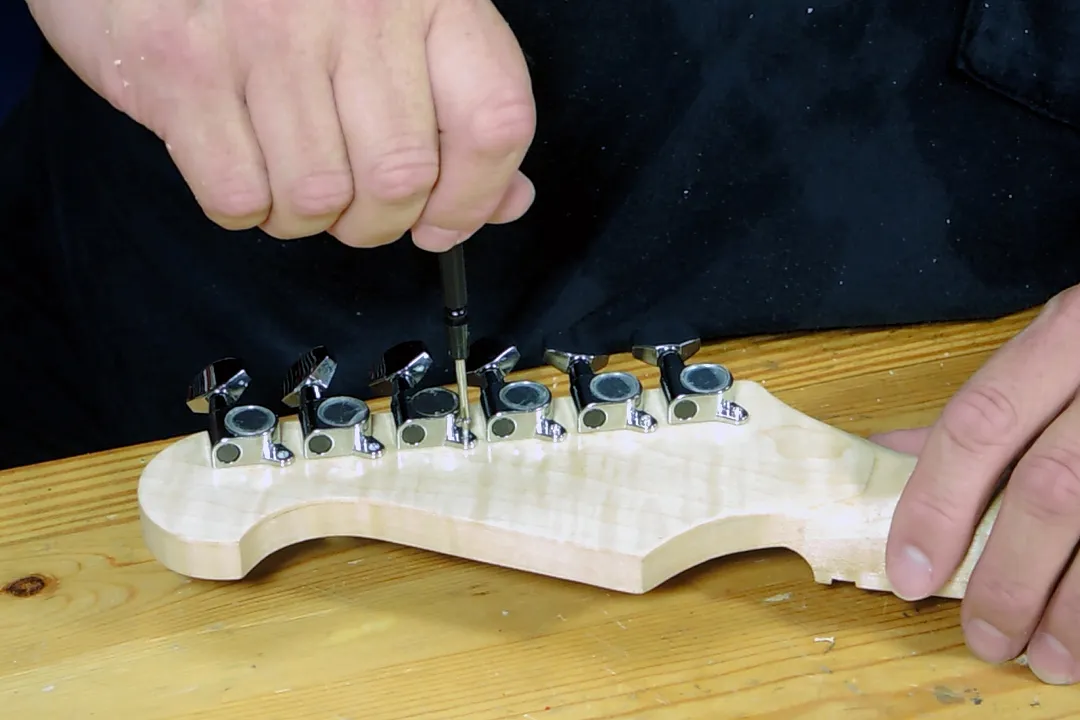
Install the tuning pegs onto the headstock with the provided hardware.
Estimated time: 60 minutes
Install the Strap Buttons and Strings, then Rock Out!
Pre-drill and screw the two strap buttons onto the guitar body. String up the guitar. Tune it up and rock out!
Note: You may find that you need to adjust the truss rod or level the frets in order to make the notes ring better. Spend some time with the guitar and tweak it until you are satisfied with how it plays and sounds.
Comments
Awesome bro, are you going to share the plans?
Brian Gidney · August 08, 2015
Thanks Brian! Links to all of the Easel projects are in the instruction steps above.
Steve CarmichaelPro · August 08, 2015
Awesome Thanks Steve!!!!!
Brian Gidney · August 11, 2015
For your buzzing frets, is there any reason you couldn't use that same 12" radius sanding block you shaped the fingerboard with, maybe with a very fine grade of sandpaper?
Dave Hinz · August 17, 2015
Hi Dave! Yes, I've heard some guys use the radius sanding block and some use a file. I just tested each string on every fret and found about 10 spots that need attention, so I think I will target those 10 issues with a file. I don't want to mess up the other 116 spots that are good.
Steve CarmichaelPro · August 17, 2015
Hi Patrick - Thanks! I will just take the neck off if I need to adjust the truss rod. I didn't want to cut a notch into the body for something that is rarely done, if ever. It would be easy to notch it out though.
Steve CarmichaelPro · August 25, 2015
Use the truss rod to get the neck as straight as possible, Then get a VERY straight and long sanding block - stewmac makes an aluminum one that is a little pricey but very worth it - and sand all your frets to the same height.
Pete Turley · October 02, 2015
Then use a crowning file to put the 'curve' back on the frets as you look at them from the side. This will get you a good playing guitar. Trying to take high spots here and there can really be a bummer sometimes as you'll remove material and then run into problems higher on the neck.
Pete Turley · October 02, 2015
BTW great job!
Pete Turley · October 02, 2015
Thanks Pete! I did the best I could with the tools I had. It plays pretty well for being my first electric. I can see this being a rabbit hole hobby with all the specialized tools, etc. I didn't want to get too deep into the craft for just one guitar. I might try another one someday though.
Steve CarmichaelPro · October 08, 2015
Steve, this is great! Wondering if you have the SVG / ai files for this? Our makerspace uses a Laguna CNC router so I can't use easel for it. I would really like to make one of these for my son. Keep up the good work! M@
Matt · November 22, 2015
I'm having trouble finding a 0.024" bit. Where did you get yours?
Brian Bahn · December 16, 2015
Hi Brian - I got a 5 pack of the bits on ebay. There are lots of them on there.
Steve CarmichaelPro · December 16, 2015
I can find a lot of end mills that can cut 0.072" deep, but I'm trying to find one that can cut the 0.150" depth that is laid out in the Easel file. I have found several "Micro Drill Bits" that are long enough, but no "End Mills" that are long enough. Are you using a drill bit or an end mill?
Brian Bahn · December 16, 2015
I'll keep looking.... In any case, thank you for the great project at the fantastic video to go with it.
Brian Bahn · December 16, 2015
These are the ones I bought - ebay.com/itm/FIVE-024-0-60mm-73-Solid-Carbide-Dri…
Steve CarmichaelPro · December 16, 2015
Your project video sold me on buying one of these machines. I've assembled quite a few guitar kits for friends and family but wanted to go to the next step. This seems like it'll do the job. :)
Brian Mark · June 21, 2016
It would be nice to see the shape drawn in easel. D. L. Smith
Darrell L. Smith · September 20, 2016
I can draw my next guitar in Easel if you like. I see they have added a new editing tool that makes it easy to draw curves. Very cool! That feature wasn't available when I made this guitar.
Steve CarmichaelPro · September 20, 2016
I know it's been a couple of years, but would you care to share the raw SVG files? I'd like to customize the design outside of Easel
Adam Harris · March 09, 2017
Hi Adam - Email me at thecarmichaelworkshop@gmail.com and I will send what I have. I recall tweaking some parts of it in Easel after importing the svg's, so the Easel files are the final version though, but the svg's still should be very close.
Steve CarmichaelPro · March 10, 2017
Hi. I’m just about to buy one of these awesome machines for the soul purpose of building guitars. But I can’t for the life of me find any information on the recommend size machine. Would the 750 be suitable? Or would I have to go the 1000? Cheers. Dylan
Dylan kinning · October 03, 2018
Hi Dylan - Get the measurements of what you want to make, then compare it to these dimensions - inventables.desk.com/customer/en/portal/articles/…
Steve CarmichaelPro · October 03, 2018
Steve, nice job on the neck. How could i make the head stock more rounded while maintaining the 1/4" depth. Do you use more edit points? i can't seem to make the outside perimeter and the 1/4" depth align. Thanks
david odomPro · November 28, 2018
Hi David - Looks like end points can be used to change the shape. I would change shape of full neck outline cut first. Then change shape of headstock fill cut so it stays within full neck cut line. If it's not perfect, you can easily clean up and slivers of wood that don't get cut on the edges.
Steve CarmichaelPro · November 28, 2018
What's the intonation like?
Fox · November 30, 2020
your missing a fret...not that big of a deal except your using 25.5 scale length, so technically your missing 3. it will intonate easier if you adjust your fret spacing to a 24.75 /22 fret .other than that great job! i have posted an abr1 style bridge set of files havent written the stop bar file
Tracey Bradshaw · September 30, 2021
Hi Tracey - I'm not understanding. I made a 21 fret neck with 21 frets, so none are missing. The distance from the nut to each of the 21 frets is based on the 25.5" scale using the stew-mac calculator. Adding a fret would not change the distance to the first 21 frets w/bridge still at 25.5" away.
Steve CarmichaelPro · September 30, 2021
For example, I could make a short 18 fret neck for a 25.5" scale, as long as the 25.5" from the nut does not push the bridge off the back of the body. I just wouldn't have as many high notes to play right? hmmm
Steve CarmichaelPro · September 30, 2021
do you have the files for the cavity covers you designed?
CHARLES WALDOPro · March 04, 2023
Hi @CHARLES WALDO - I added a link to download the PDF of the pickup ring and control cover plate templates in step 12.
Steve CarmichaelPro · March 04, 2023