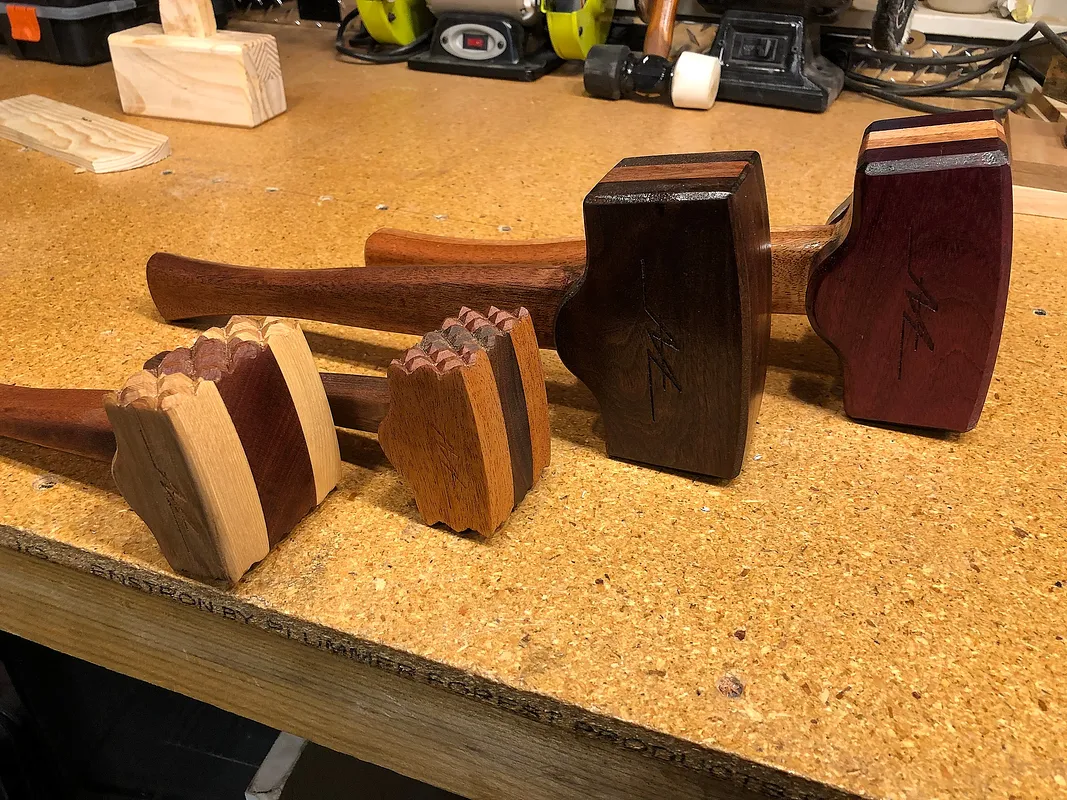
Meat Mallet Remake of Dead Blow Mallet

Instructions
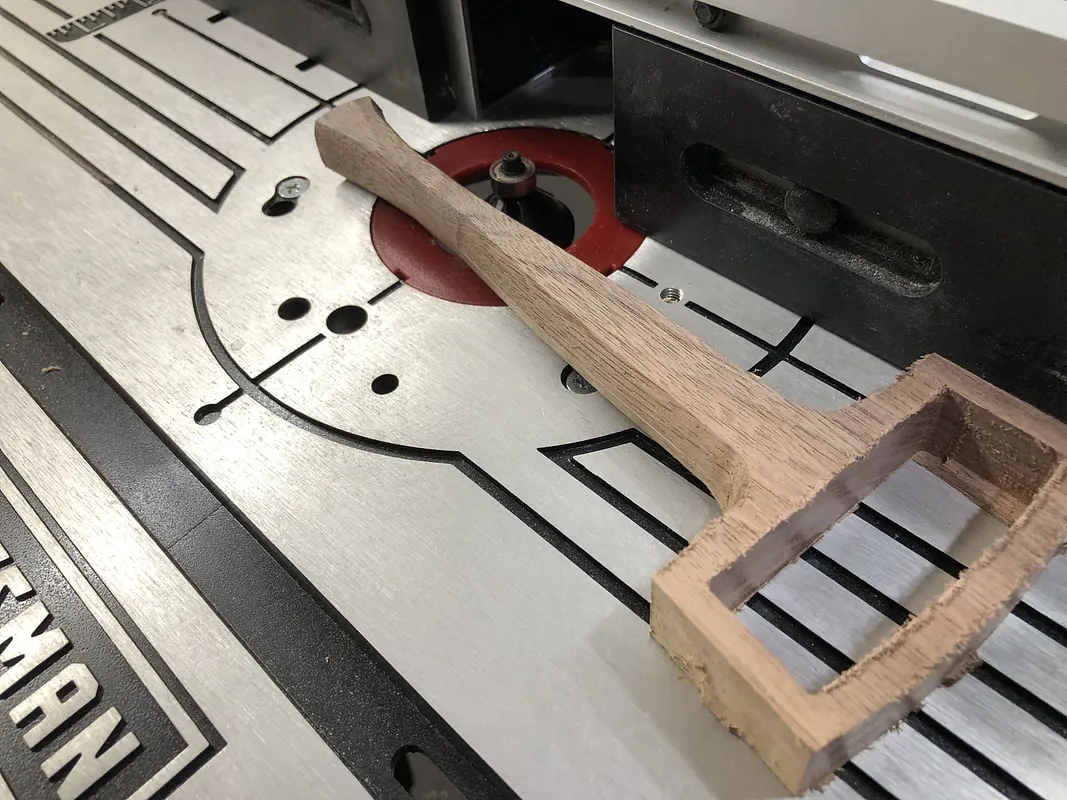
Cut out and route handle
Just like the original you cut and route out the handle. Making sure not to route the head just the handle. I used a 3/8" round over bit.
Jeremy did a great video of his mallet, I have included his video to help you understand the assembly.
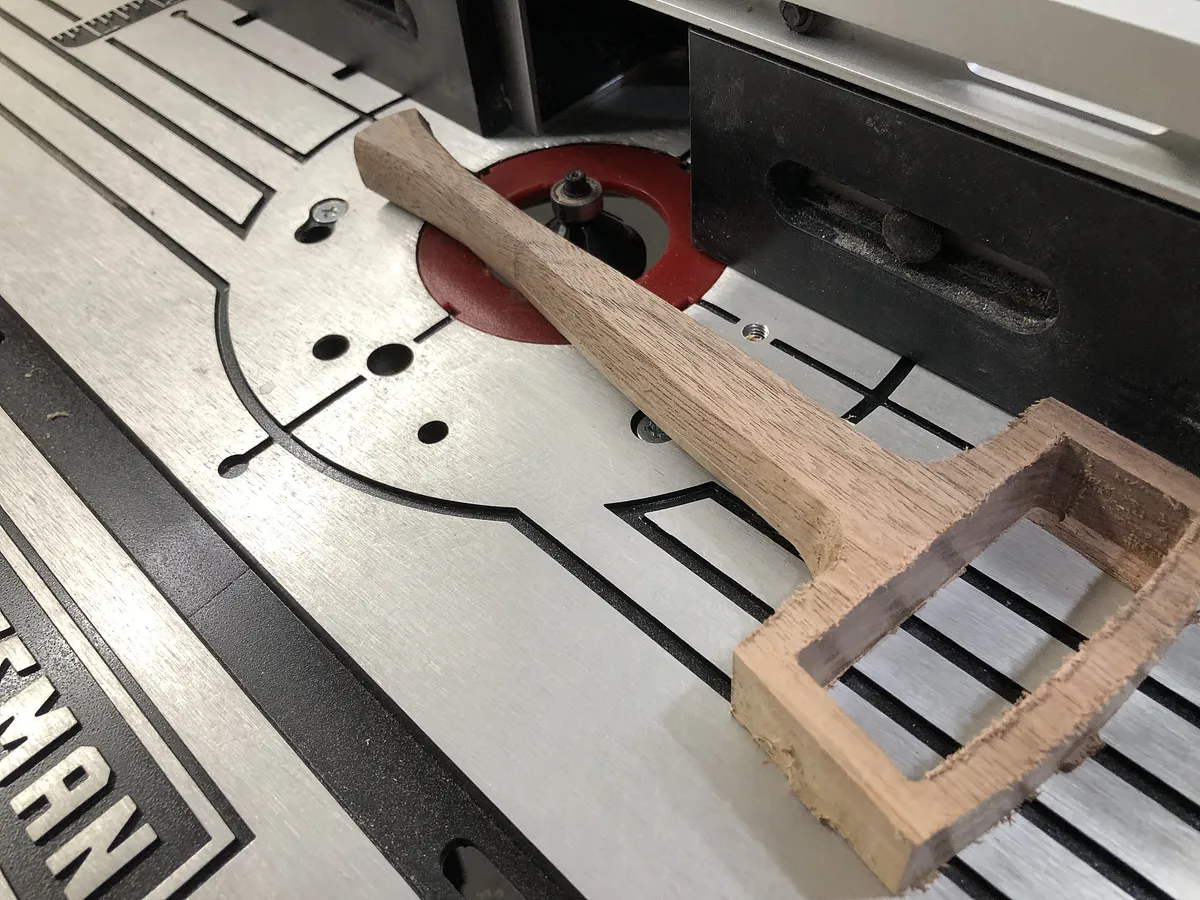
Cut out the Sides Glue one to the handle
I used different woods here than the handle. But you can hold all together the same. Also I went with .75 thick stock. The original mallet was 1/2 glued together.
First glue only one face side to the handle part. This is important because you need to fill the open cavity with something. As seen in the video I also used metal. I poured in resin to stabilize the head.
Once you have the head glued and filled with weight, then assemble the other face on.
Estimated time: 30 minutes

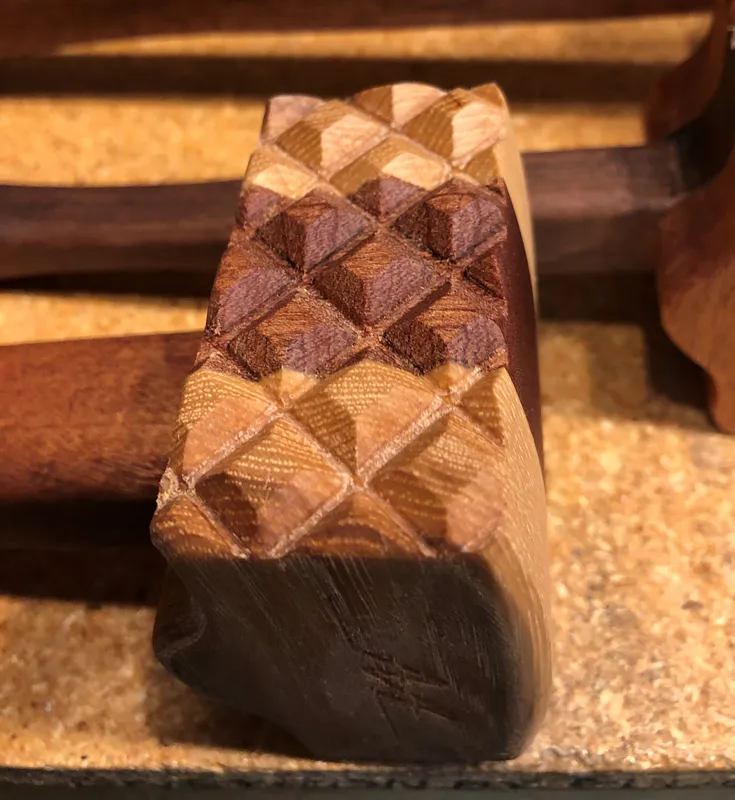
Carve out the checkered pattern on face
I have included a G-Code file for the face carve. It is set up for a 90 degree v bit on an x-carve.
I recommend you try it on a sample piece before you carve your mallet head.
The cut needs to be centered on the mallet. Mark the center by drawing a line from corner to corner making an "x" on the head. I used a wooden clamp to hold it on my x-carve.
The cut will go off the edges of your mallet. this is to cover the total head with the pattern. Make sure your mallet is both centered and parallel with your x-carve. Mallet handle towards the back of the x-carve and the head facing the front.
A test cut will show you the alignment.
The cut should take 3 mins per side.

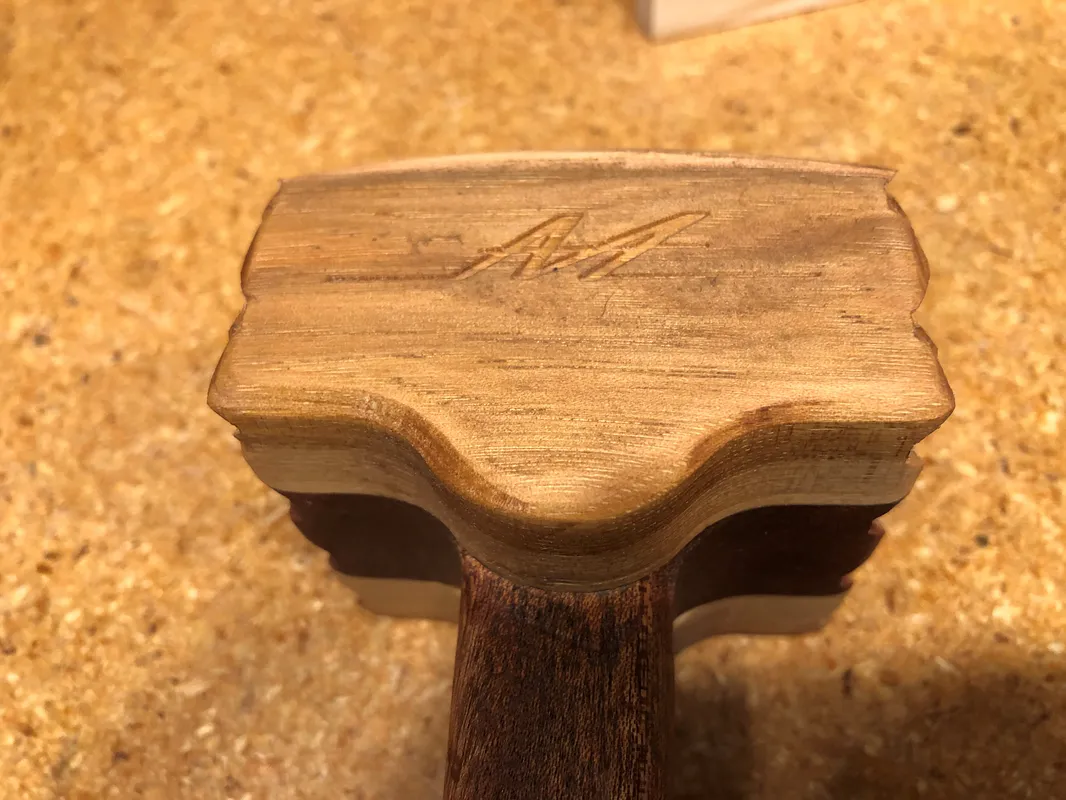
Sand Oil and use
That's it, Good luck, I want to thank Jeremy for his design and video.
Comments