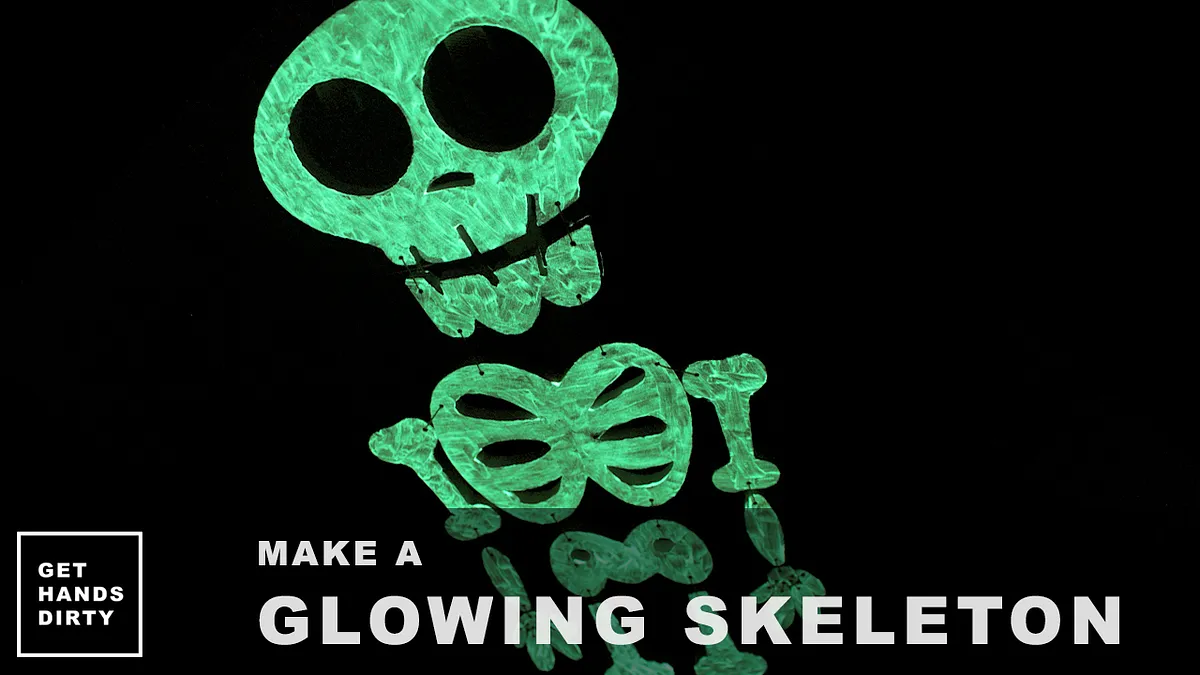
Glowing Skeleton


Instructions
Project Overview
First, let's take a look into the whole process.
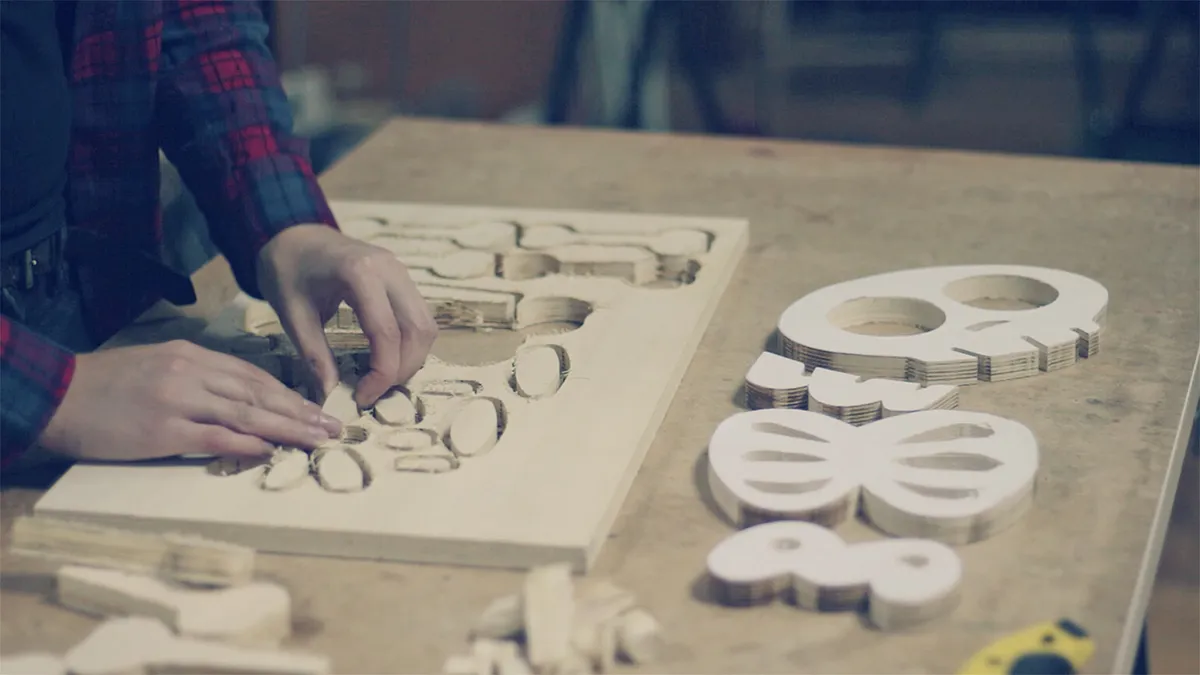
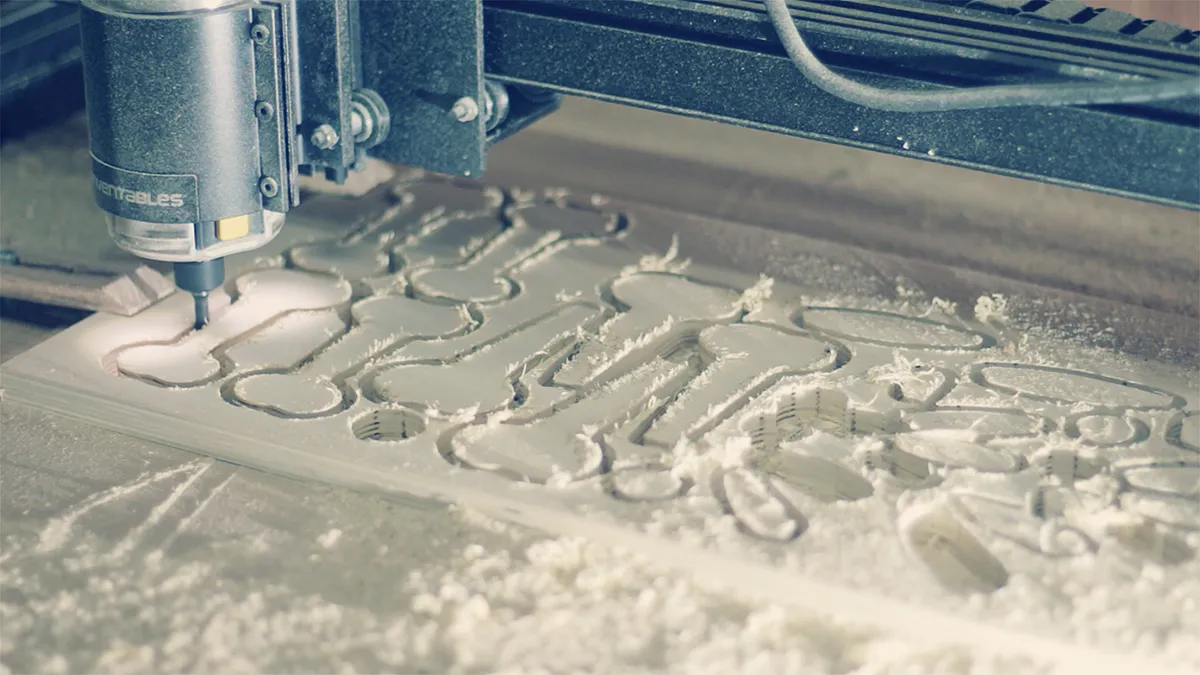
Carve all the parts
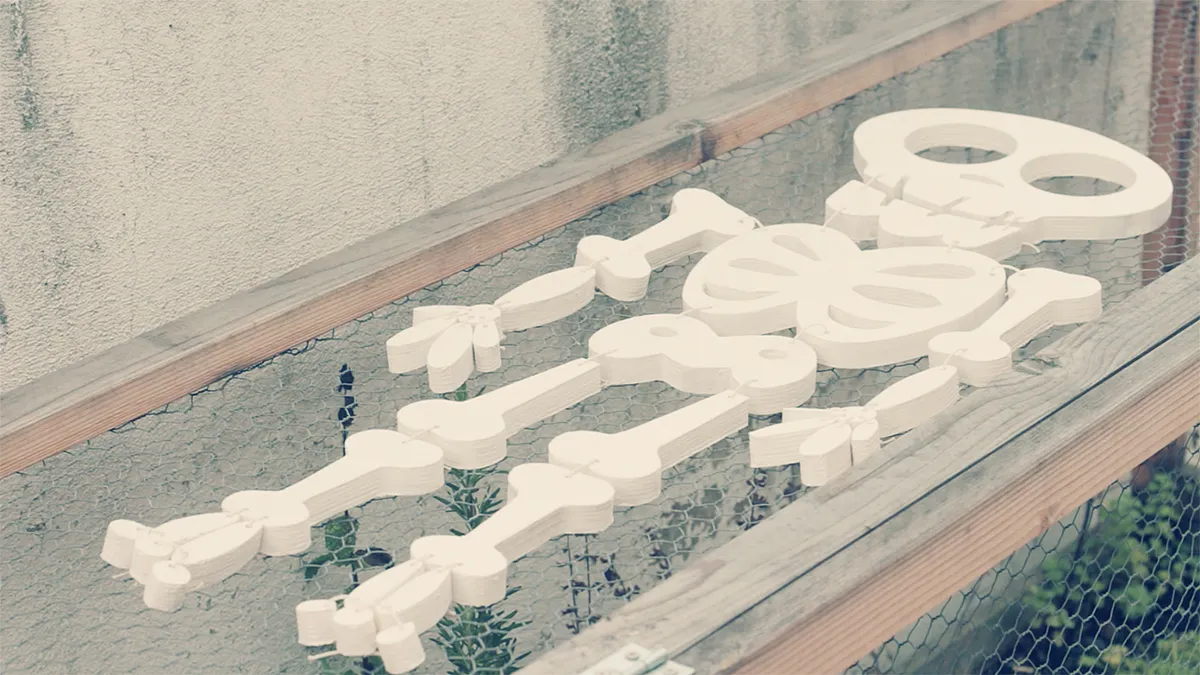
Let's get started on this cute guy! Open easel project and carve all the parts with your CNC machine. I used a 6mm bit (smaller I had at the time for 8 mm chuck) but I recommend you using a smaller bit. I also cut the bigger pieces on the bandsaw but you can cnc it all!


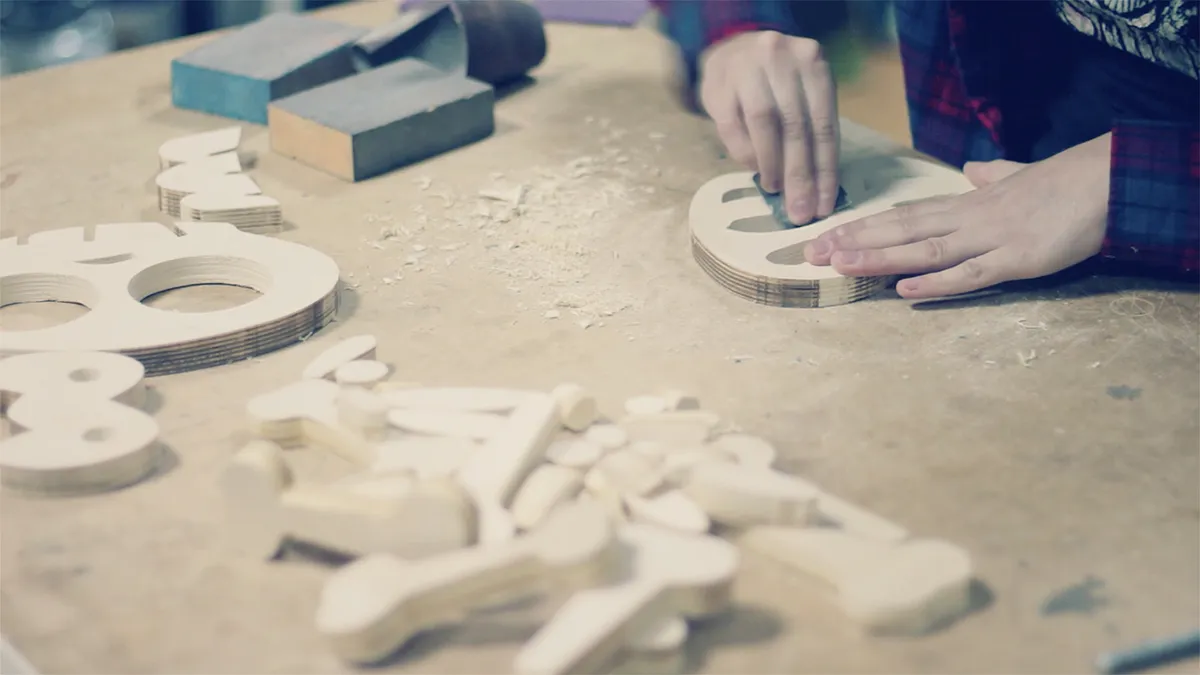
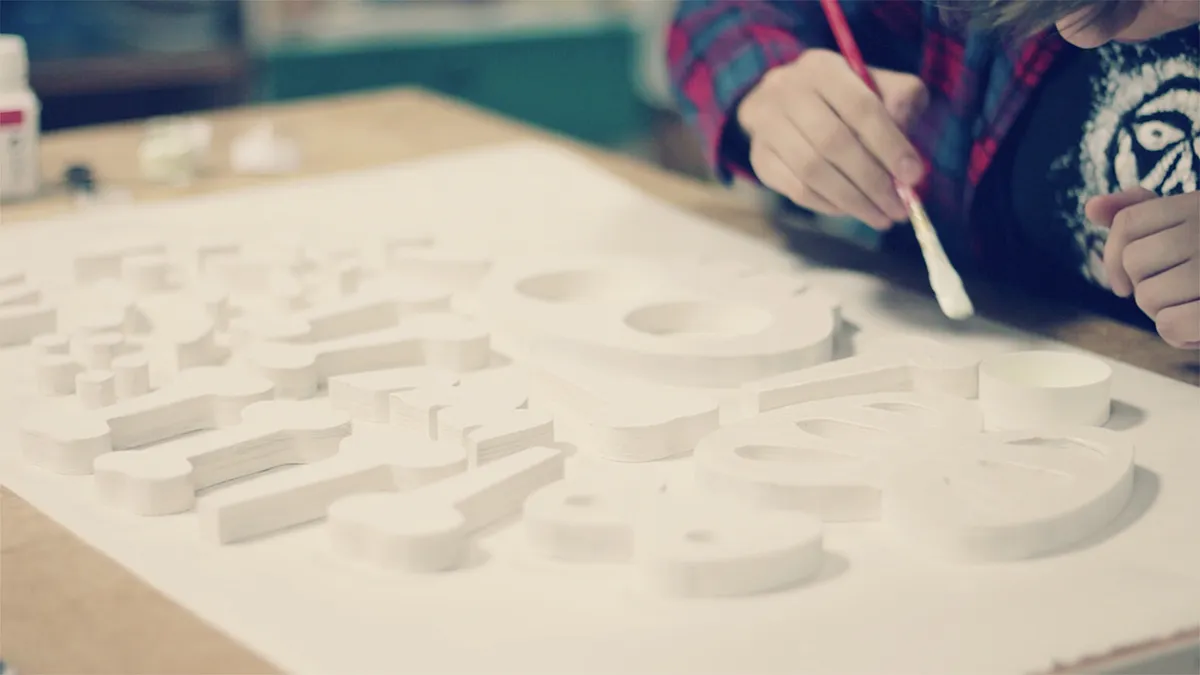
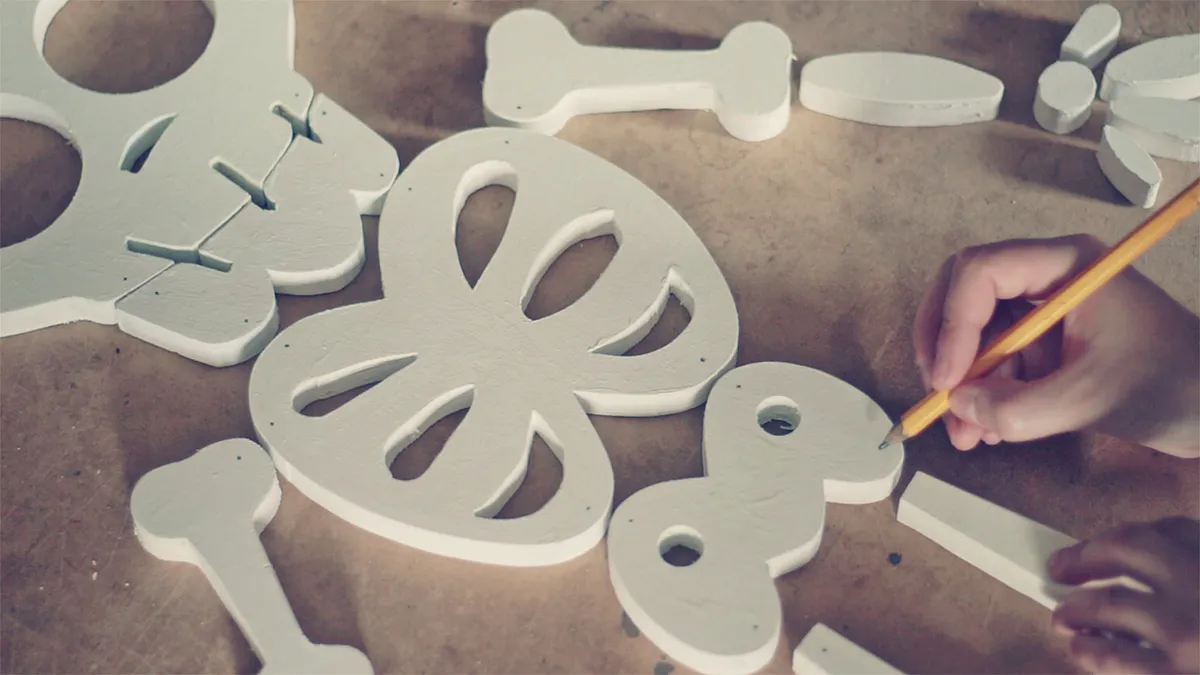
Sanding and primer painting
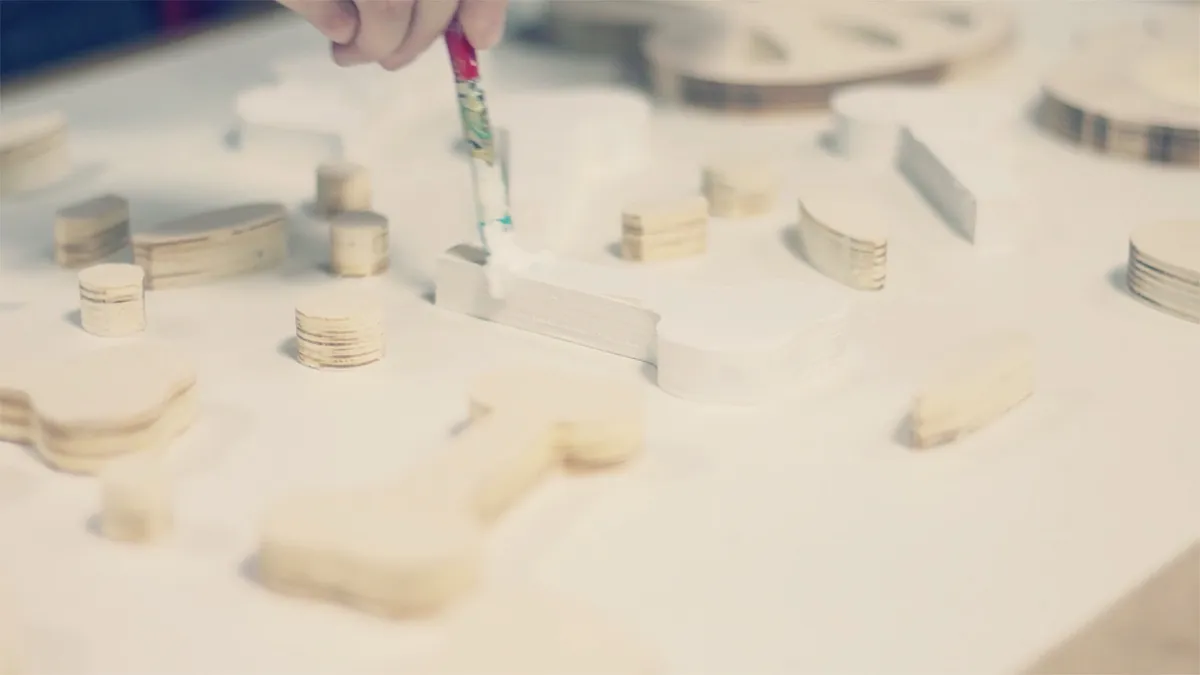
The pieces will come a bit rough straight from our carving so it's important to sand them smooth and break the sharp edges. You can skip the primer painting step but I think it looks great to get this little buddy covered in white. I used a wood acrylic primer.

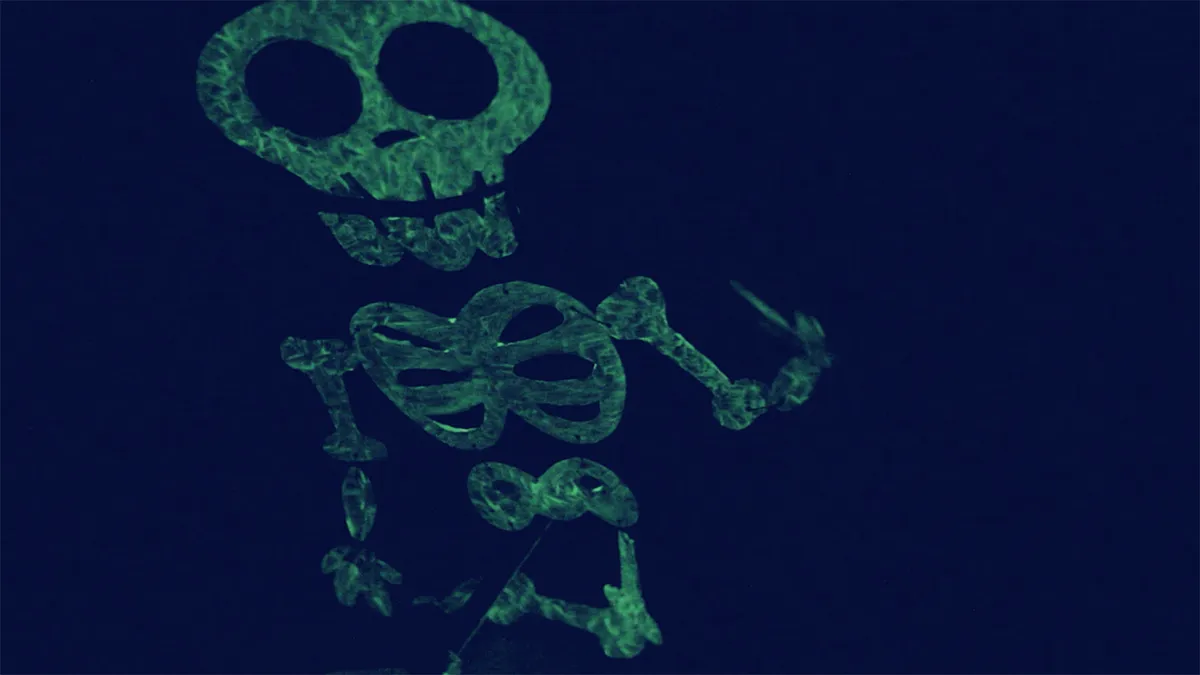
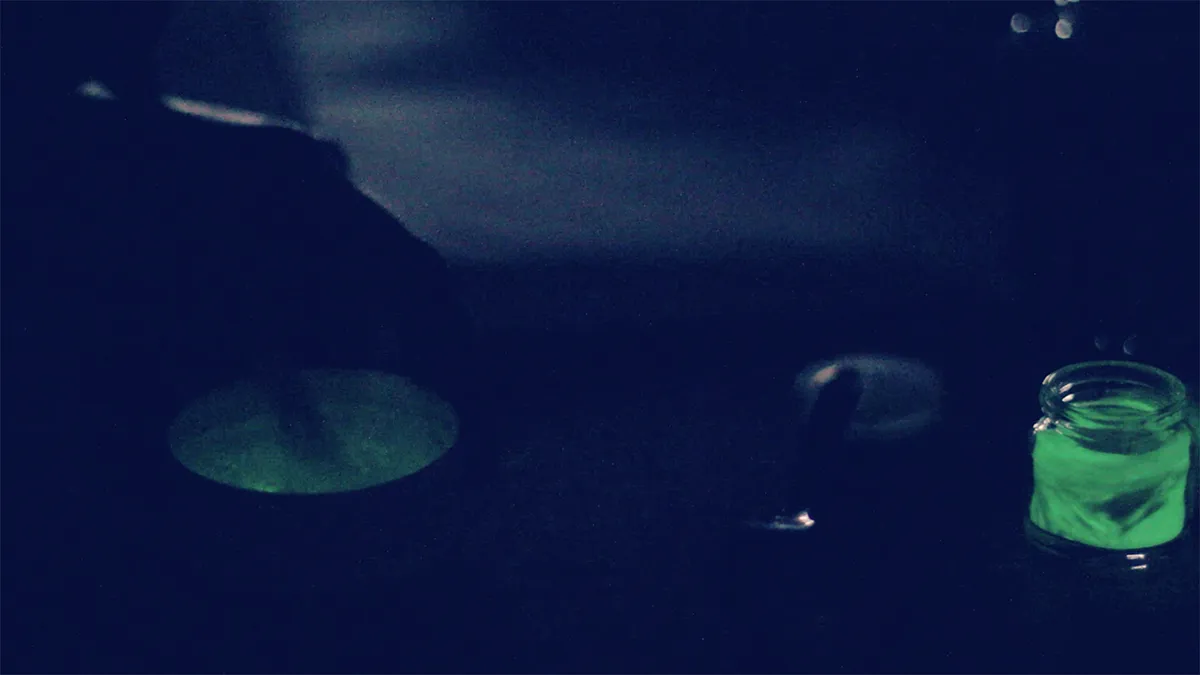
Glowing in the dark effect
To give this specific glowing effect to your skeleton, you need to find a glowing paint already made or you can mix a tiny amount of phosphorescent powder with a matt acrylic medium (you can find those in an art supplies store). Turn the lights off and see the glowing effect while mixing and painting!

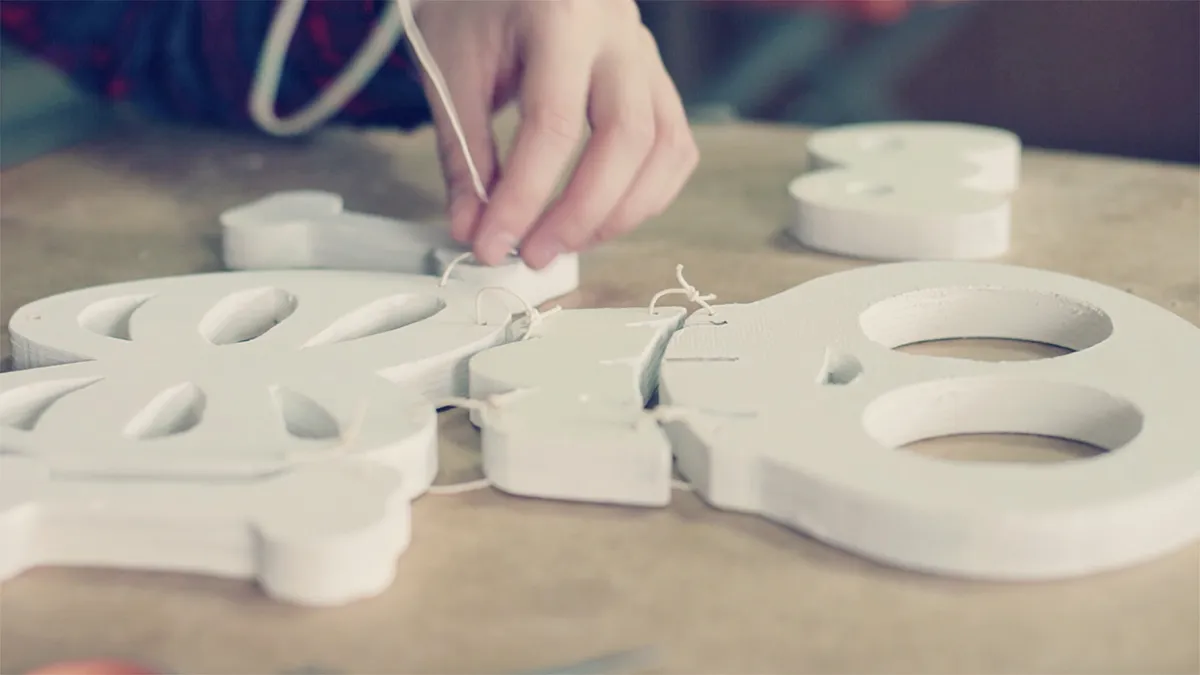
Connecting all the pieces
The last step before you play is to connect all the pieces. You can do that by drilling holes and wire them up. I recommend to leave them a bit loose to make the whole build flexible.
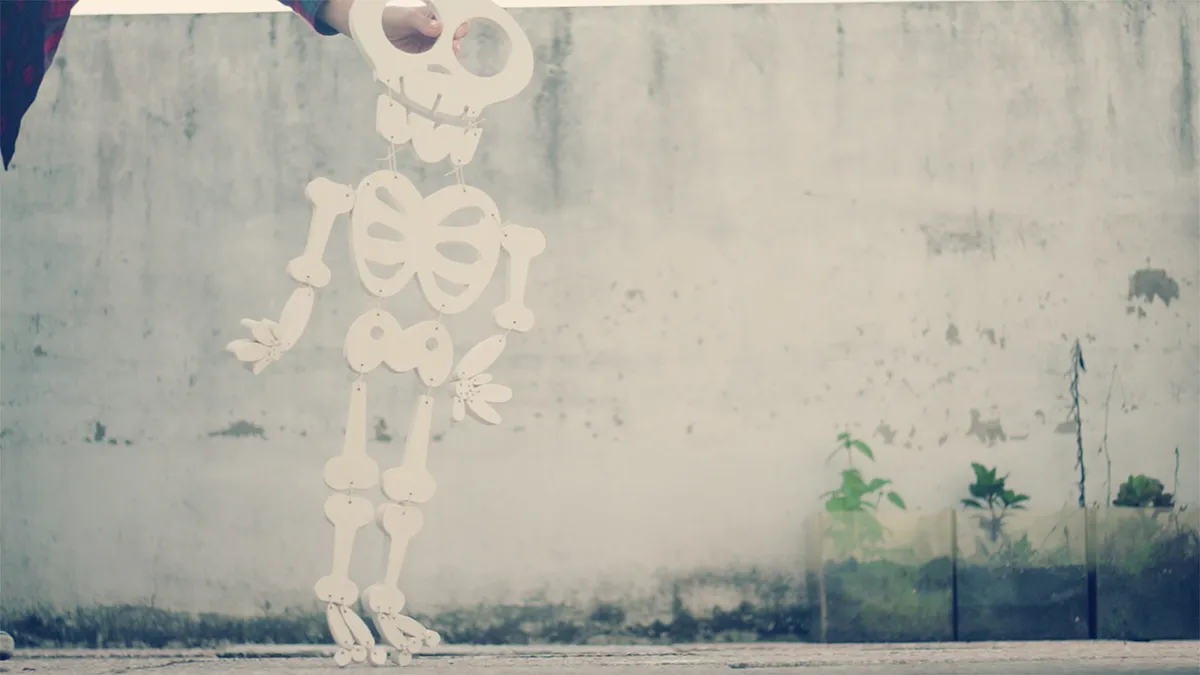
Play around
Now you just need to take your new friend to a big light source to accumulate some light and glow with more intensity in the dark. Done!


Comments