Monogram Christmas Tree w/ Stand


Instructions
Choose and secure your wood
You could use the 12"x12" MDF from the Inventables store however the project was designed for 1/4" x 6" x 4' maple boards from Lowes. Either material would work and here is the link for the Maple from Lowes http://www.lowes.com/pd46468-157-09034__?productId=3180459&pl=1&Ntt=maple+project+board
Using double stick tape or clamps secure your material to the work surface.
Estimated time: 2 minutes
Adjust your slots and cutting depth
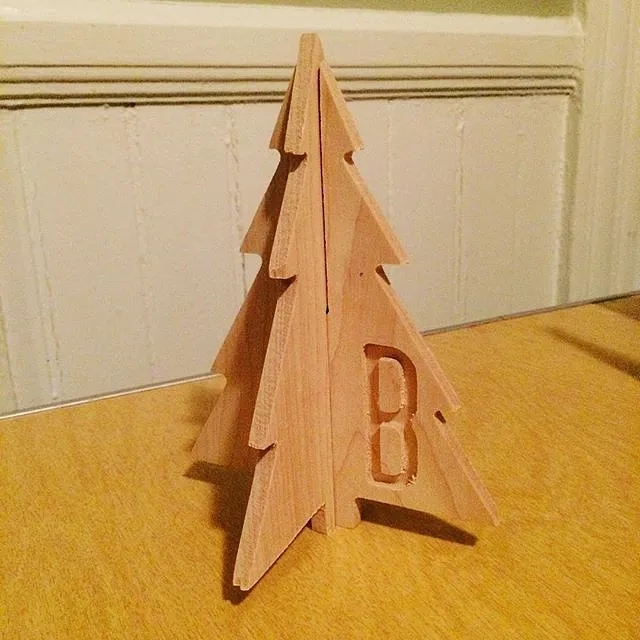
I chose to cut 99% of the way through the material and sand away the material connecting the cutout trees to the larger piece of wood. My goal was to minimize cutting into my waste board. You can choose to use tabs if you would like.
The slots used to stand up the tree may need adjustment to ensure a friction fit.
Estimated time: 5 minutes
Sand your trees and paint
Once the cutting is complete, you can sand the back side of the wood to separate the tree from the larger piece of wood.
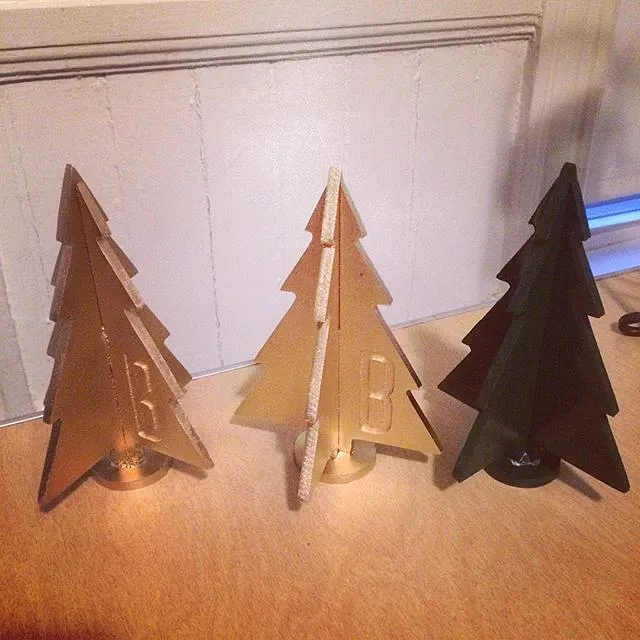
After you have sanded, you can assemble the tree and secure to the stand using wood glue. I chose to assemble the tree and then spray paint. My wife wanted gold and my preschooler could not imagine painting a tree any color other than green.
Comments