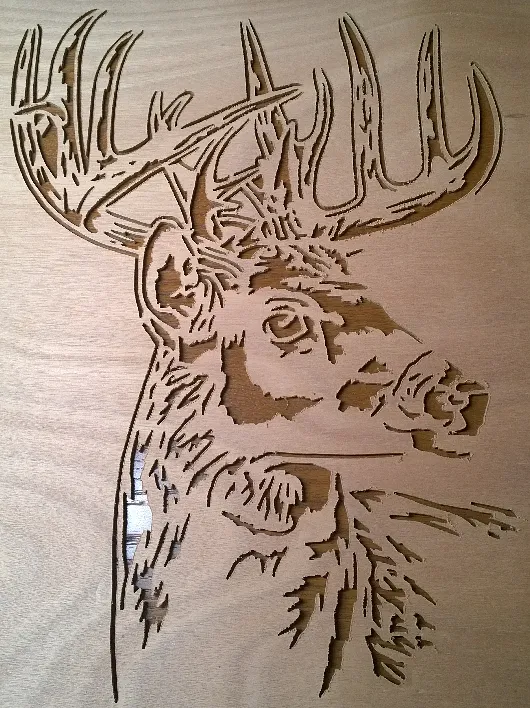
Deer Portrait for Rack


Instructions
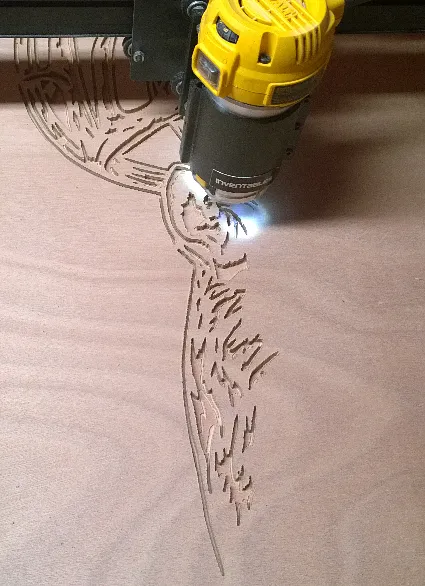
Deer portrait process
1- Choose your material of choice. I chose luan because of it's similarity in color to the rest of my project.. 2- Put the thickness, width and length into Easel. For me it was 3/16 thick and 19 1/4 x 23 1/4. 3- Choose your depth per pass. I am using a DeWalt 611. My bit was 1/16 2 flute fish tail. Depth per pass set at 0.028 in. 4- Set the feed rate. I went with 28 in/min. 5- Make sure the bit in your desired home position and make the bit “kiss” the surface. 6- Go through the portion of the Easel carve setup to confirm all steps you’ve completed. 7- Hit Carve and go! 8- When completed, sand and finish to your liking. I'm choosing to use this design to go with a 3 rifle gun rack as a backing piece. The project pages for the sides and top are here: Sides: https://www.inventables.com/projects/gun-rack-side Top: https://www.inventables.com/projects/gun-rack-top
Comments