Building an Illuminated Sign
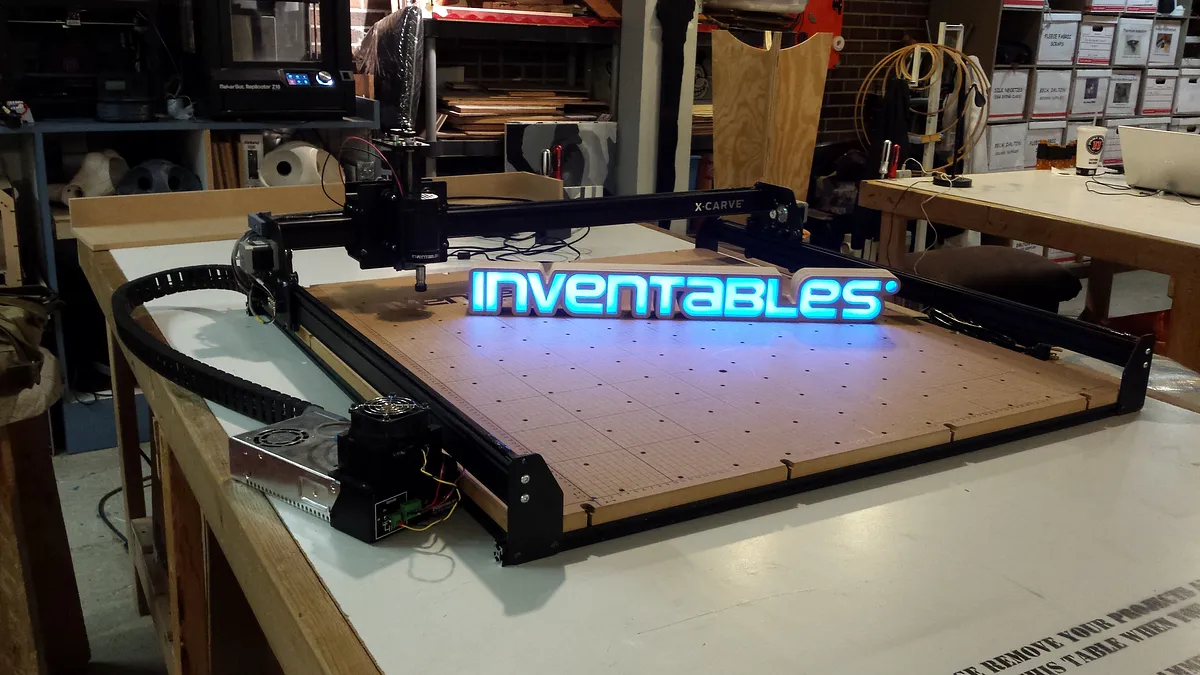
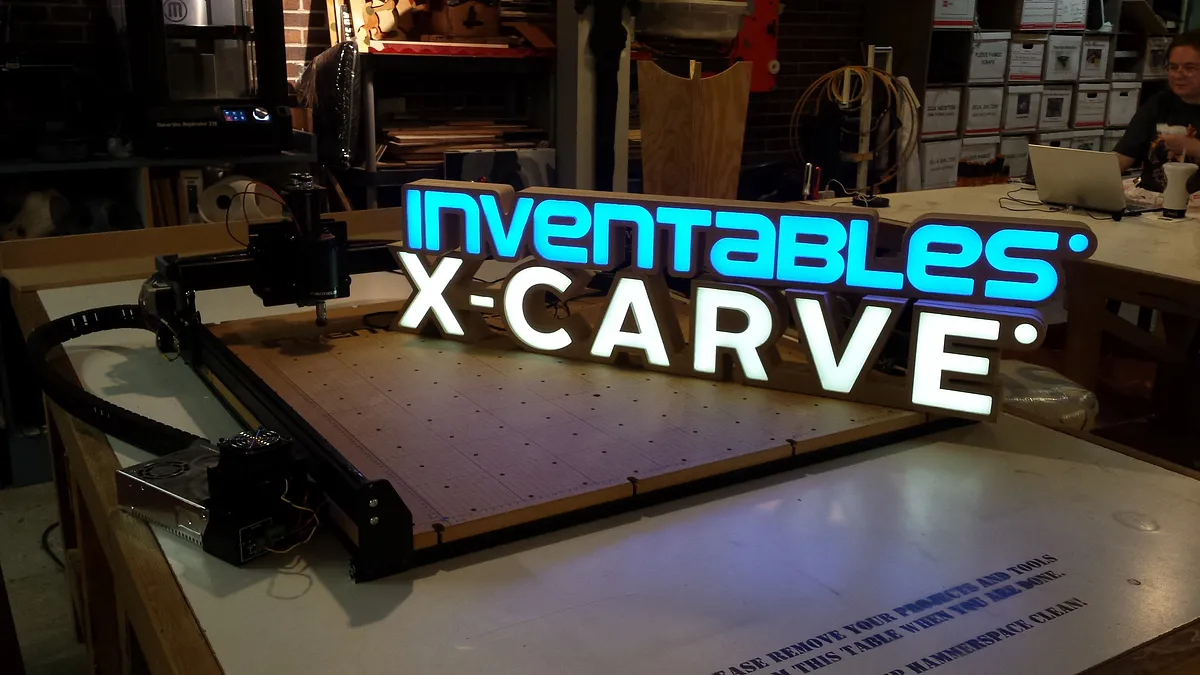

Instructions
Overview
A detailed video tutorial of the steps for designing and building and Illuminated Sign
Estimated time: 5 minutes
Creating the Signs Front Face
(This Tutorial uses Adobe Illustrator, but the process is similar in other vector drawing programs.)
Start with an outline of the the text you are going to make into your sign. Scale it to a the size you want the illuminated text of you sign to be.
Use the Path - Offset Path tool to Offset the outsides of the letters 8mm, This offset is going to be the outer edge of your sign
Move the original letter outlines to a new layer and lock them.
From the ‘Windows’ menu, open the pathfinder tool. With the outlines selected, Click ‘Unite’ to trim away the overlaps and make a single outline.
Tip: Give your sign a cleaner outer edge by straightening its outer profile.
Estimated time: 15 minutes
Creating the Signs Back and Depth Layers
Create the signs back by copying the outer outline of the front face and move it down to create a new part. Add a hole for the LED's power cord.
To make the sign’s fill layers copy the outline of the back and use the offset tool to offset the line inwards by 8mm. You may have to set the Joint Style in the Offset Tool to ‘Round’ to give these wall a consistent thickness.
Copy this fill layer two more times to create the three layers we need.
The Third fill layer needs to have a pocket to hold the sign’s colored acrylic lense. We’ll create this pocket by offsetting the inner line of the profile outward by 4mm. We'll carve along the inside of this line with a 1/8th inch mill bit at a depth of 1/4 inch to create the pocket.
Carving the Sign's MDF Parts
Save your sign's parts as an SVG file and import them into Easel. Position the cut file so it's not right up against any of the materials edges and set to set your material type, size, and thickness.
All of the cuts except the pocket need to go all the way through the material, so the depth needs to be set to the thickness of your material. Remember to check the ‘Use Tabs’ box, so the parts won’t break loose and fly away during cutting.
For the Pocket, we’re going to set the bit to cut on the Inside of the line at a depth of ¼ of an inch. This will create a pocket that can hold up to two layers of 1/8th inch acrylic.
Estimated time: 15 minutes
Creating The Sign's Acrylic Lense
To create the sign’s colored acrylic parts, copy and paste the line we created earlier for the sign’s pocket.
Offset this line inward half a mm and delete the original line. The offset gives the Acrylic an allowance around its edges so it can fit easily into the pocket.
Cutting Acrylic takes time. Make sure to use a single flute bit, set the correct material in easel, and clamp everything securely.
Tip: Some colors of acrylic are only available as transparent materials, which will let you see the hot spots of the LEDs inside the sign. For these colors, add a second layer of translucent white acrylic behind the colored layer to diffuse the light.
Assemble the Sign
Assemble the sign by stacking the layers. Start with the back layer, followed by the three depth layers. the layer with the carved pocket needs to be on the top. Attach the layers together with glue or finishing nails.
Install the LED’s at the around the bottom interior of the sign and put the colored acrylic lense into its pocket. Attached the front lense over the acrylic.
Tip: For interior parts of letters, like the insides of the B or e, Use high bond double sided tape or epoxy to attach the MDF part to the acrylic.
Comments
Will you do an easel project share on the X-CARVE part?
Brian Gidney · October 14, 2015
Brian, The larger signs are cut from multiple sheets. I am still working out how to make an easel project that consist of multiple sheets/cuts.
Michael Curry · October 15, 2015
this is great stuff. Do you have to get certain acrylic so that the light is defused and you don't see straight through it? Something frosted maybe? Or did you do something to frost it?
Frank Graffagnino · October 16, 2015
Frank, I ended up using two layers of Acrylic to create the signs lense. The top layer is transparent colored Acrylic, to give the sign its color. The lower layer is 50% transmissive white acrylic, to diffuse the light from the LED's and eliminate hotspots.
Michael Curry · October 17, 2015
The best way to defuse the light is with white floral Styrofoam. Not the soft type for packaging, but the stiff course type. A 1/2" sheet will totally defuse LED's or bulbs, but don't let it get hot.
James Steinbrecher · October 19, 2015
Great Job. I love the sign
Chris Baber · October 20, 2015
This. Is. Awesome. Nice work!
Mike Plummer · October 21, 2015
The Diffuser layer of acrylic in these signs is a sheet of 2447 White Acrylic. It is 50% transmissive, and you can get it inexpensively from most plastic suppliers.
Michael Curry · October 22, 2015
Very nice!
Matt Haas · October 29, 2015
Hey Michael-- this is awesome! I'm going to make my dad a sign for Christmas... Just wondering on the acrylic-- did you set the cut path in Easel to Outside? Thanks for sharing!!!!
Ryan Parish · November 11, 2015
Ryan, for the Acrylic the cut path is set to the outside.
Michael Curry · November 11, 2015
Are the files that you provided ready to be imported into easel and ready to be cut or will changes be needed in adobe illustrator to get the pieces correct? thanks
WorkinWoods · November 24, 2015
Thanks for your reply! I'm going to make a sign for my Dad this weekend!
Ryan Parish · December 10, 2015
I am Very impressed with your design. You lost me in Illustrator in less than 60 seconds. Couldn't quite follow you. Thank you for publishing the SVG files.
Randy Honeycutt · December 17, 2016
Next level work. Where did you purchase the LEDs?
Sayf KhidirPro · March 08, 2022
the videos are private
Jason YinPro · February 23, 2024