Cutting Board Epoxy Inlay

Instructions
Overview Video
Watch this overview video for the cutting board epoxy inlay as well as general epoxy tips and tricks.
Estimated time: 1 minutes
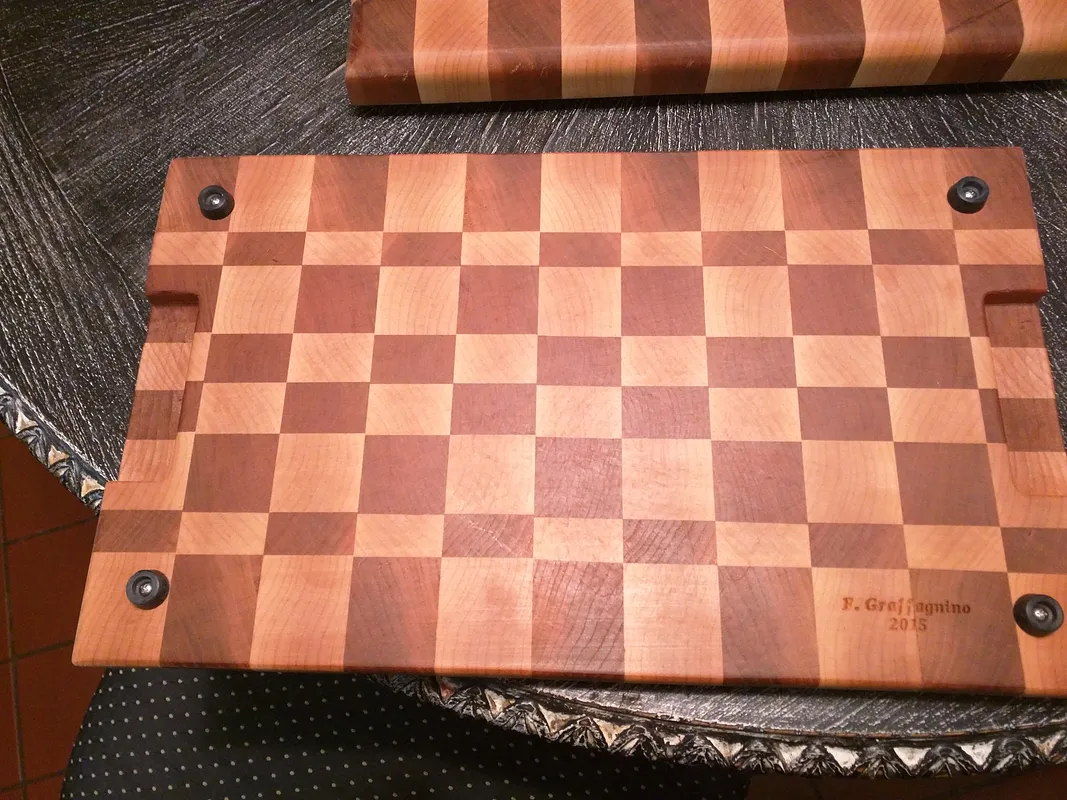
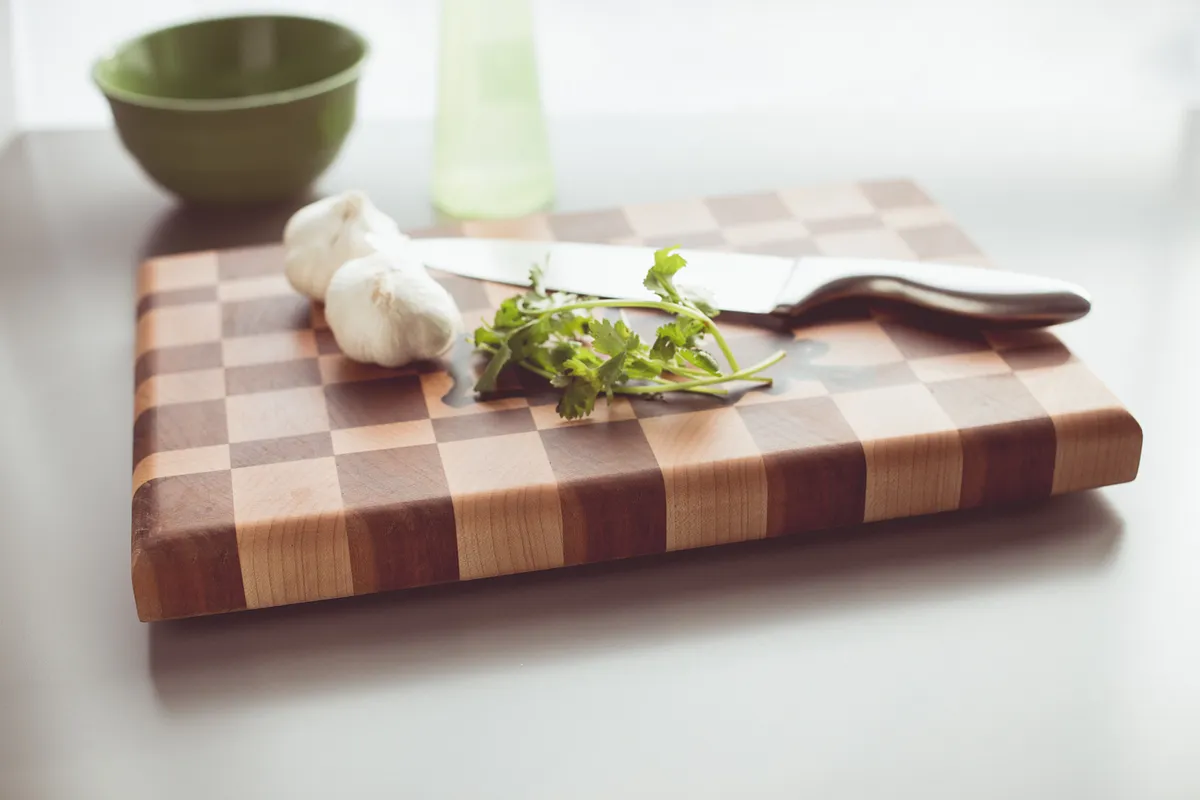
Build or buy a cutting board
You can buy plenty of high quality cutting boards online, or you can build one yourself.
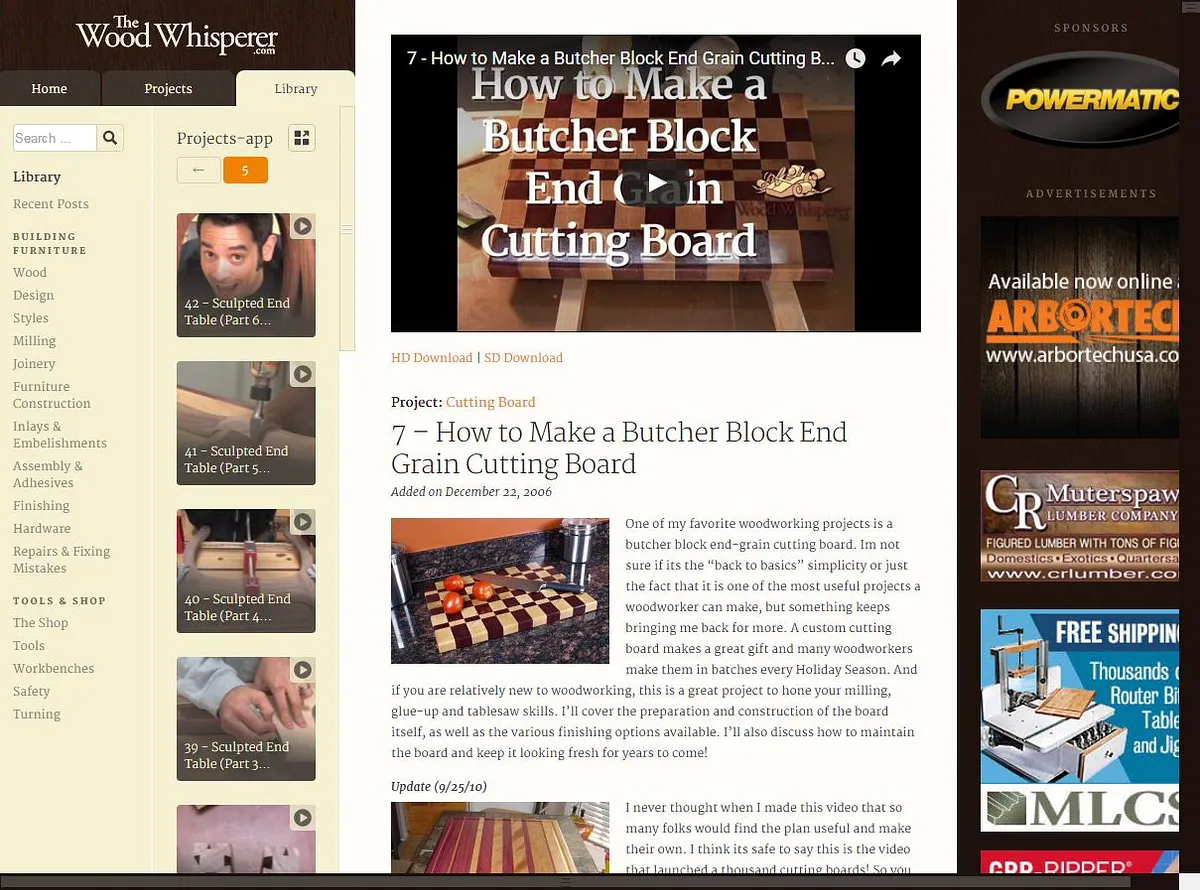
We built an end-grain cutting board using the plans from the Wood Whisperer. You can find the "plans for that cutting board here":http://www.thewoodwhisperer.com/videos/how-to-make-a-butcher-block-cutting-board/
Estimated time: 1 minutes
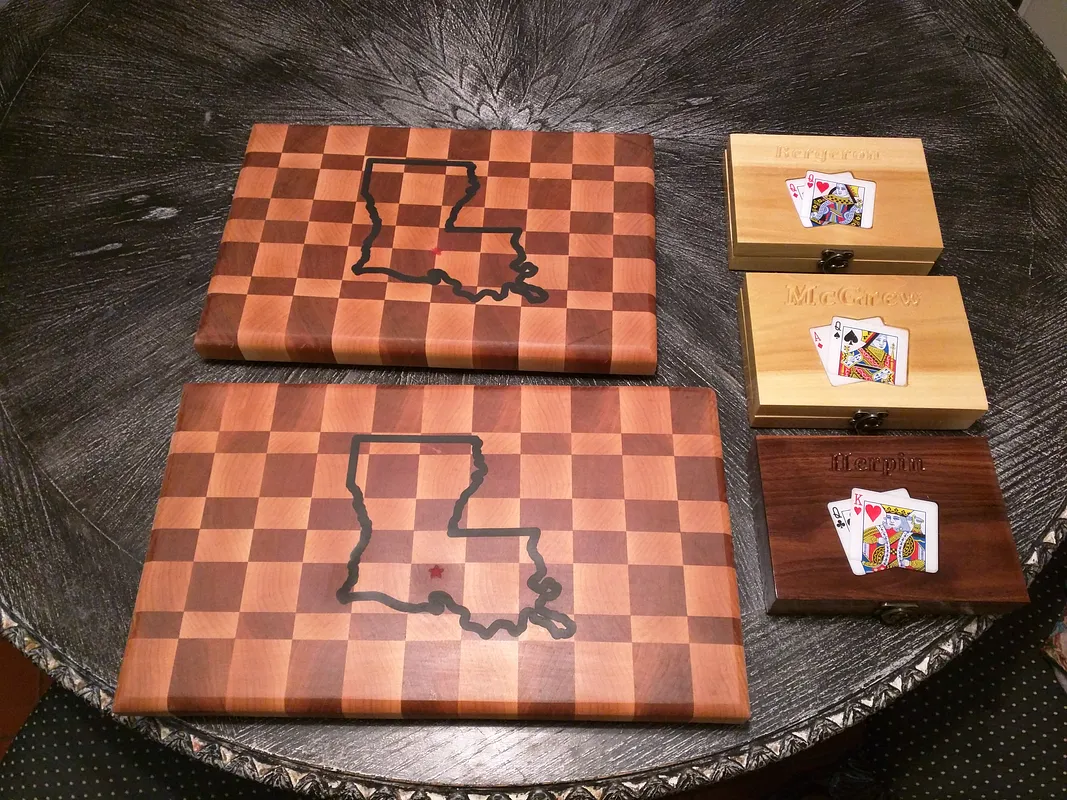
Design inlay path and import into Easel
You can download vector art from the internet to create your inlay picture, or you can freehand it yourself.
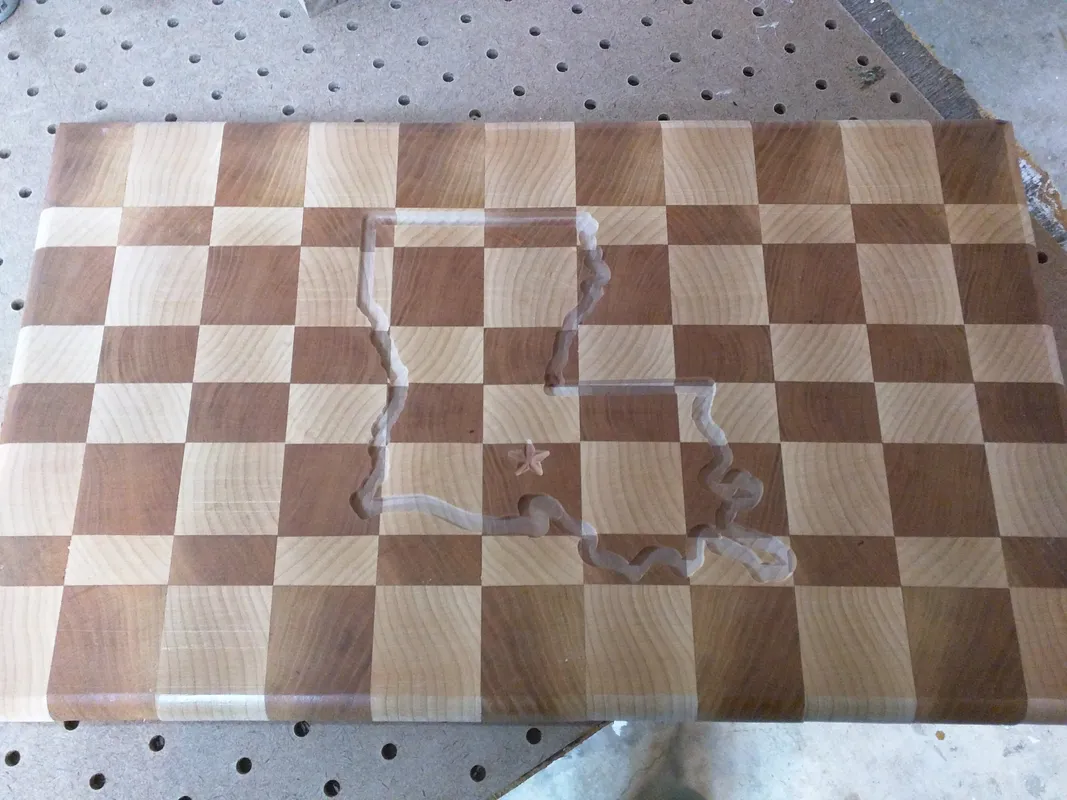
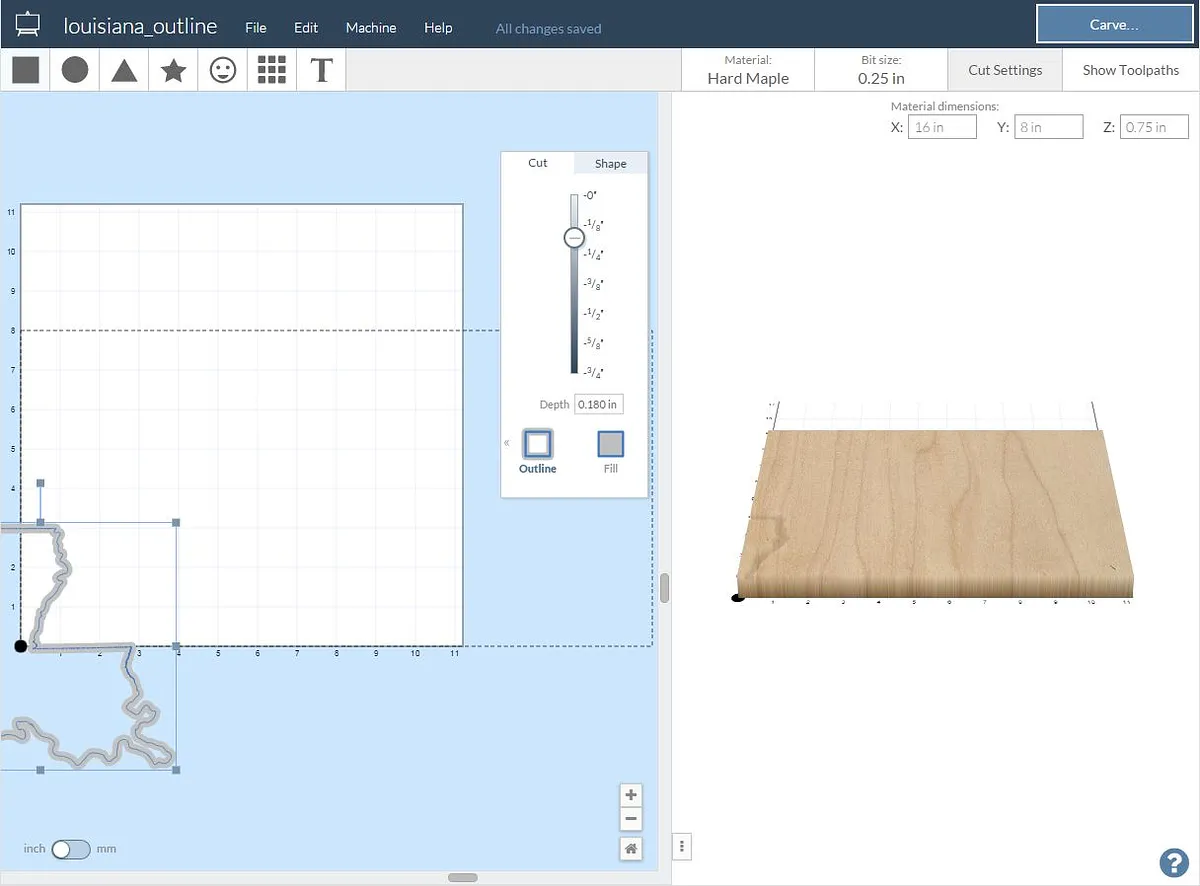
Once you have the image created as a SVG file, import the file into Easel. If your inlay will be the same width as the width of your bit, simply do an “On-path outline” of about 3/16" deep. If it is not the same width, use a pocket or fill operation.
If the edges of your cutting board are round or if you don’t have a good corner to zero off of, consider moving the center of your image to the (0,0) coordinate in the lower left. This way, you can zero your machine to the center of your cutting board and have it cut from there. The linked Easel project I’m using here has my art centered at (0,0) like this.
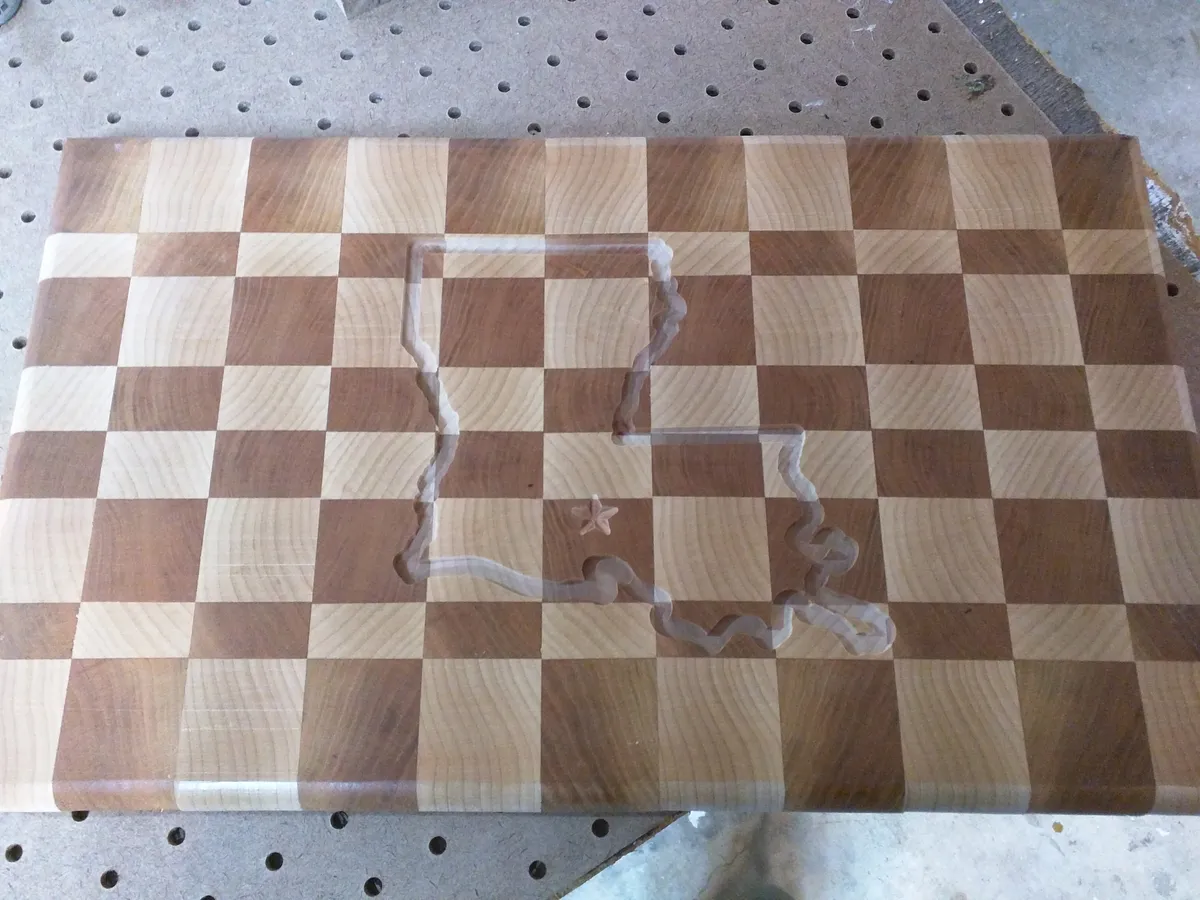
Mill pocket of inlay path
Make sure to set your material and bit size correctly in Easel before starting. If you have two different types of wood in your project, pick the harder wood so that the feed rates are more conservative.
Consider doing a test run in some cheap plywood first so that you don’t ruin an expensive cutting board!
Estimated time: 30 minutes
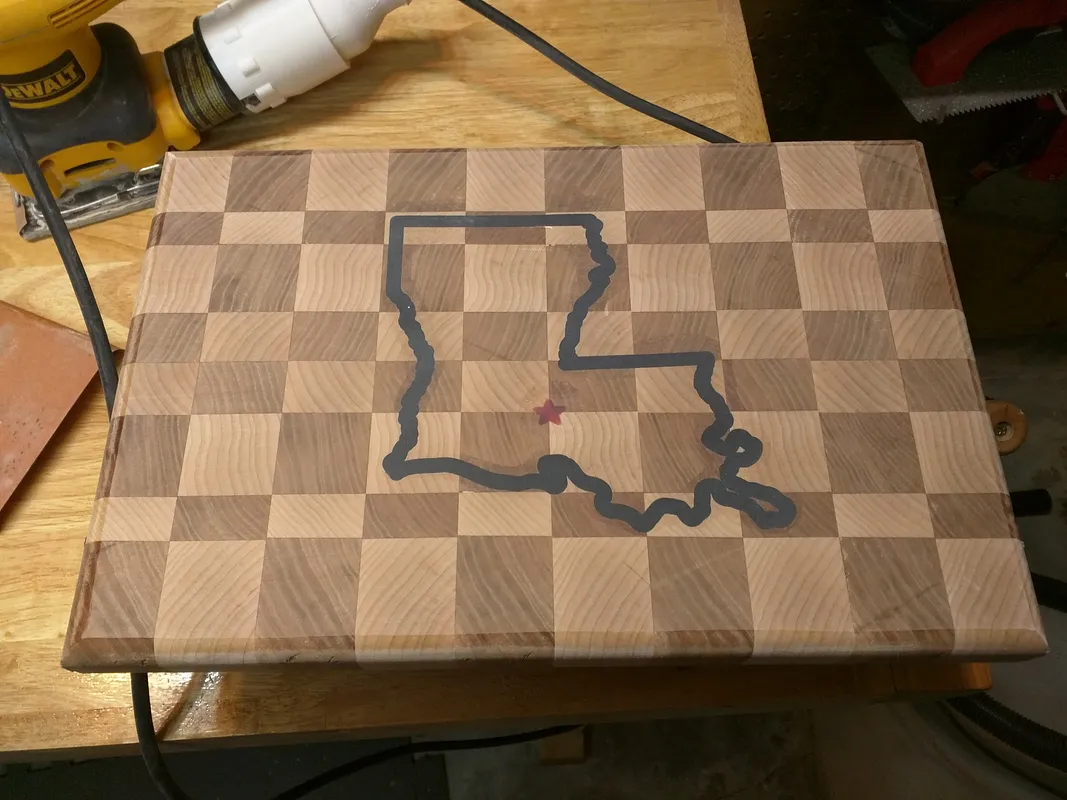
Fill pocket with food-safe colored epoxy
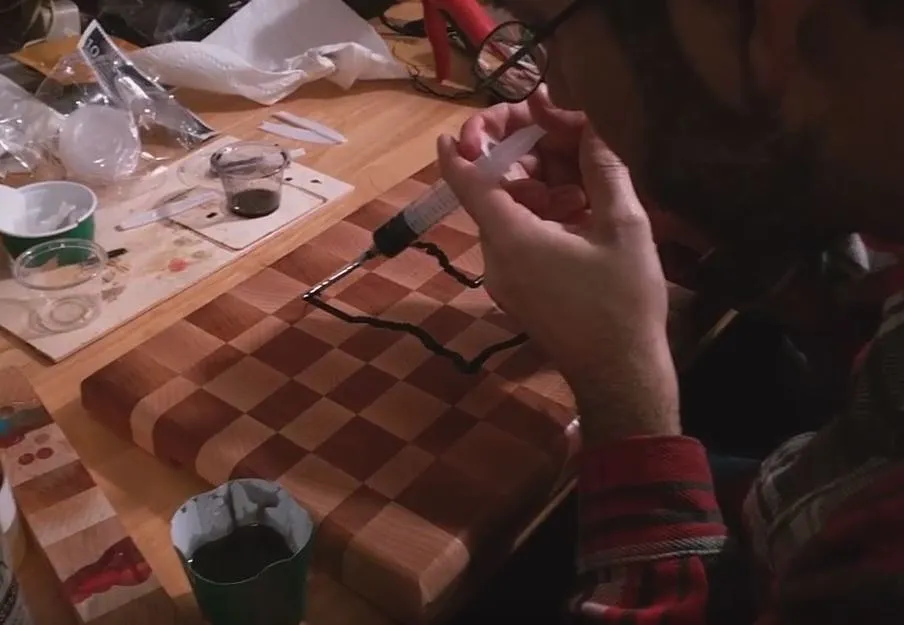
Go ahead and colorize your epoxy using dyes, powders, or even acrylic paint like we did.
We used a food-safe epoxy called "ArtResin":http://www.artresin.com/ . Remember to mix very thoroughly!
Then use an industrial syringe to fill in the inlay with epoxy and then let it cure for 24 hours.
Estimated time: 30 minutes
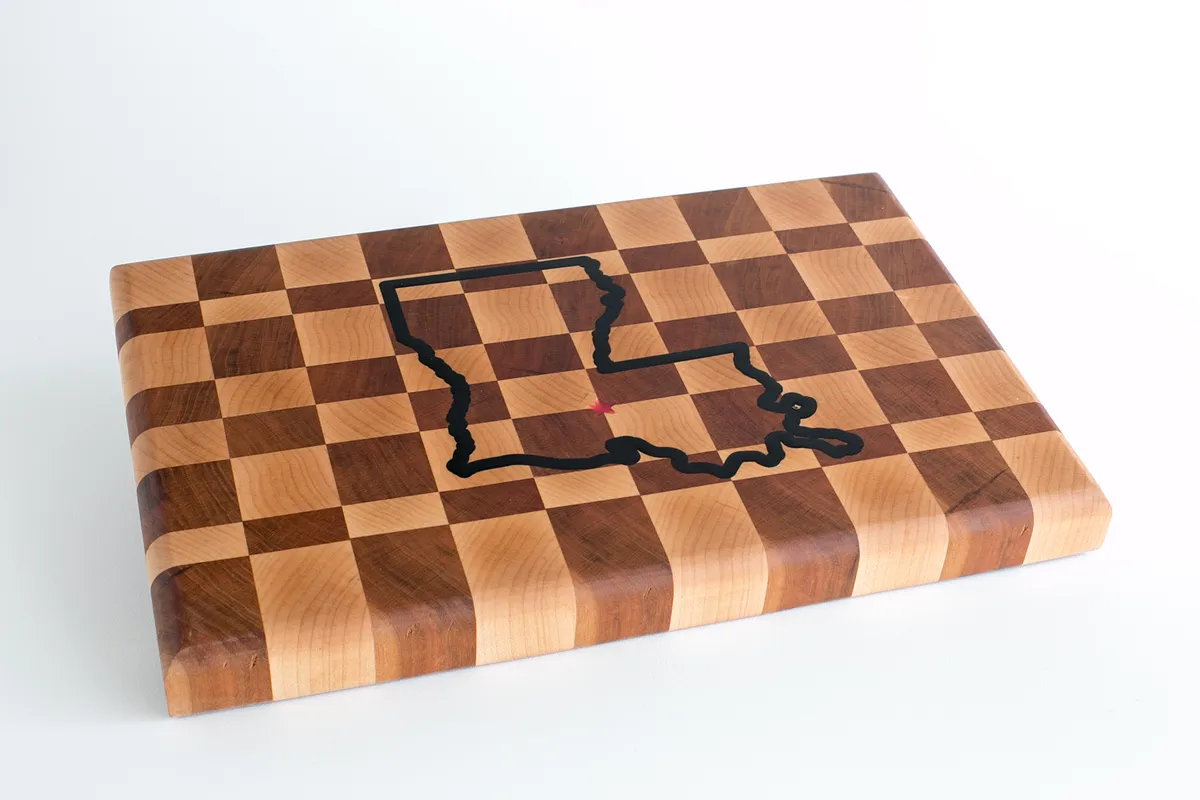
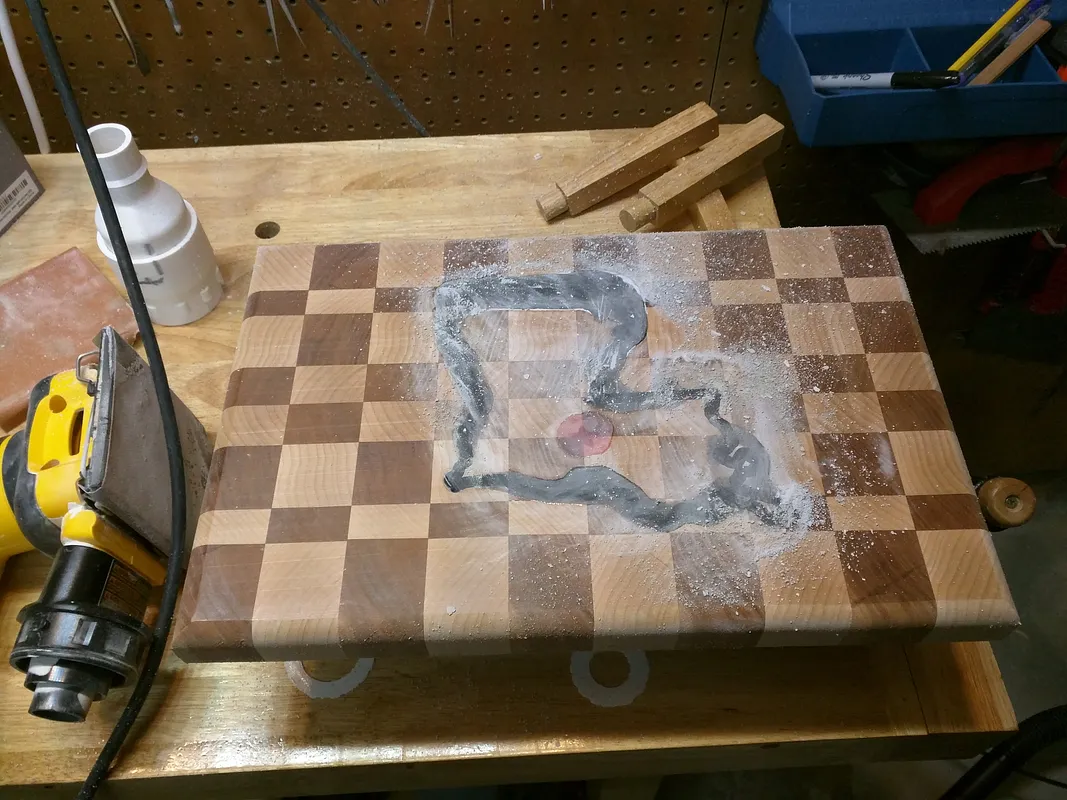
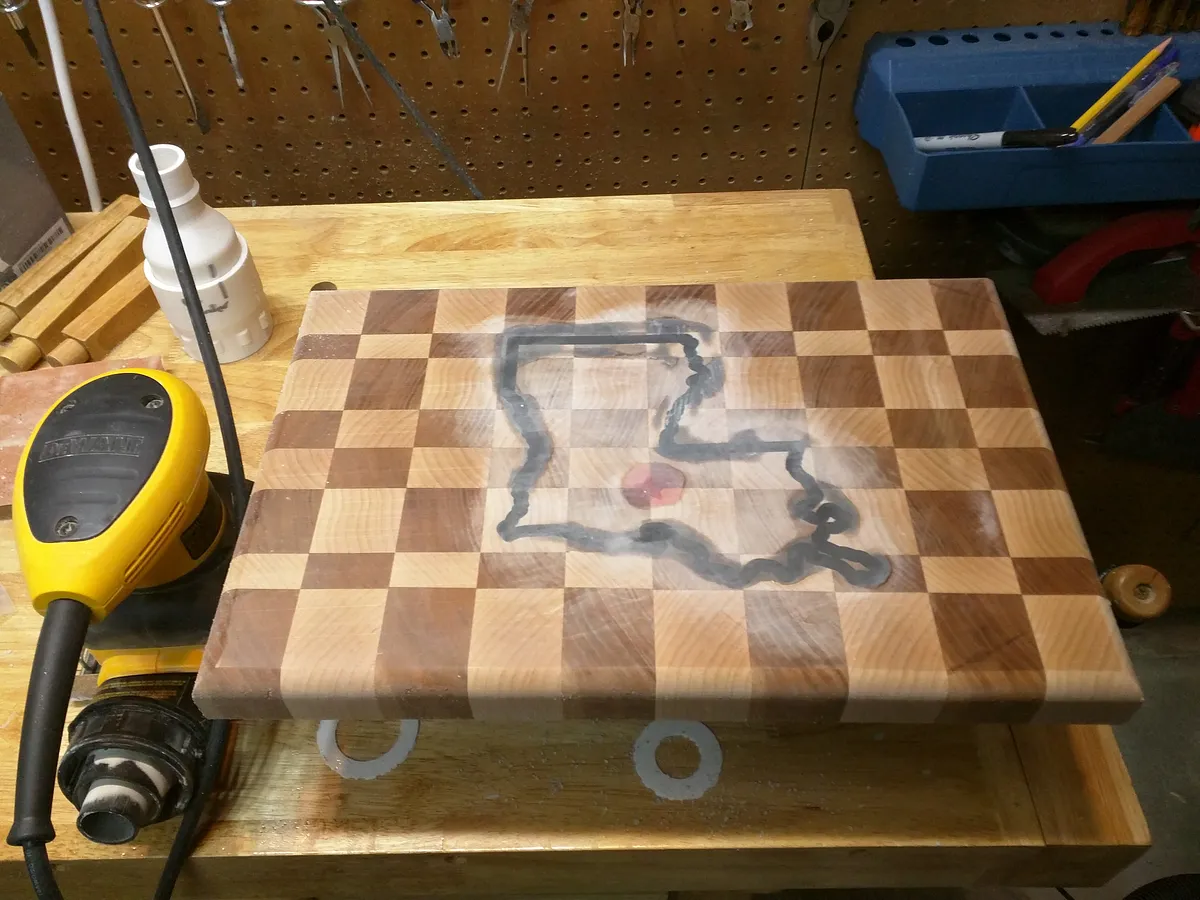
Sand flat
Sand down the epoxy until it is level with your working surface.
Estimated time: 60 minutes
Comments
I get that the resin is food safe, but how does it remain food safe if you're putting acrylic paint in it? Doesn't that defeat the purpose? I've been looking into this process for a while and the only colorant I've found to be food safe is food coloring.
Kris Kircher · February 27, 2016
Thanks for this post, really through and answered a bunch of the questions I had been wondering.
Patrick Brown · March 08, 2016
I have searched this and have seen frequently the recommendation of Pearl-Ex pigments. In the case of an inlay like this, for use as cutting board, I would expect exposure would be very small. Interestingly, I looked at Titebond's website and TB II and III are approved for incidental food contact.
Christopher Snyder · March 17, 2016
Great project. thanks for the great tutorial
Jeff Swenson · July 18, 2017
It is no longer food-safe if you put any coloring other than food coloring in your food-safe epoxy. Your knives will cut into the epoxy over time and pull out whatever colorant you use and distribute it throughout your food.
Jason Pickett · February 15, 2018
black diamond pigments makes epoxy pigments that are food safe and non-toxic
John Putz · January 20, 2020
Thanks for the tips and tricks! Tell your son he did a great job!
Dawn Staten · August 02, 2020