Tiger Balm Storage or Gift Box
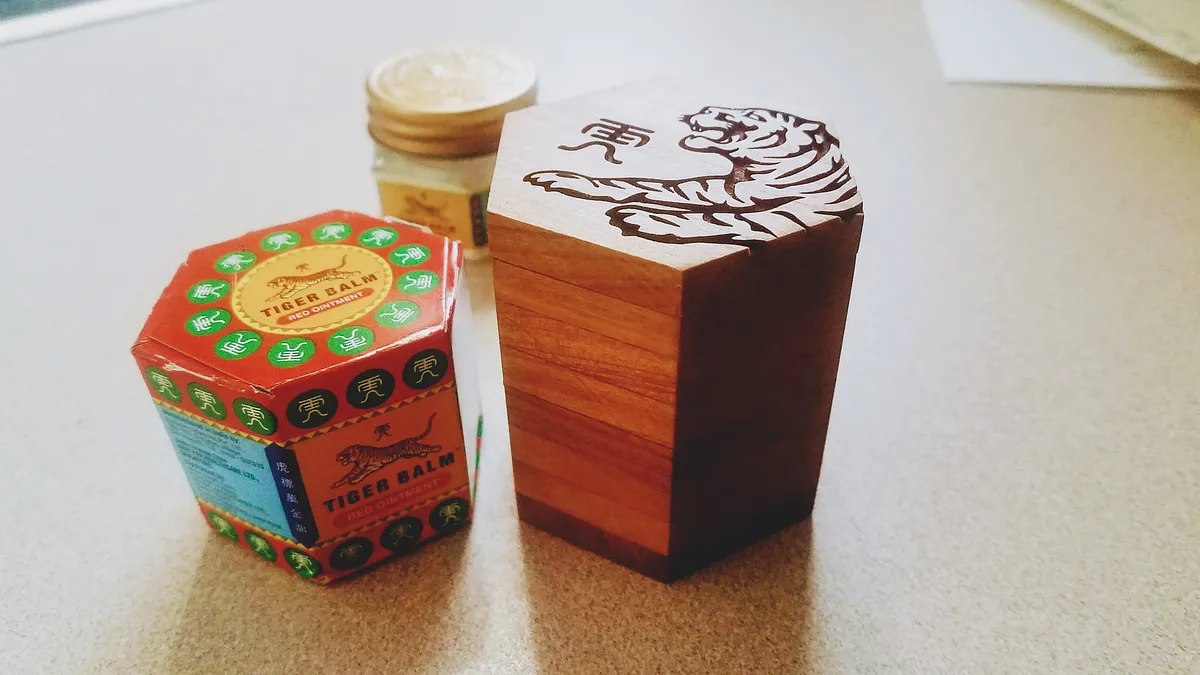


Instructions
Plan it out
I apologize. Like a lot of my projects, I just use what I have, so I didn't work from a standard material size or thickness. I made my Easel files easily configurable to different thicknesses though. Be sure to read the notes on each workpiece and plan your project out accordingly. Take a pair of calipers to an actual bottle to check your measurements.
Like all of my projects, If you like these, make them! If you make them for sale, all I ask is that you credit me by linking back to this project page in all product descriptions.
Estimated time: 5 minutes
Cut the base
This base will be the platform that all of the wall layers are stacked on.
Estimated time: 5 minutes
Cut the walls
In the notes of this workpiece, I've kinda explained that you should target about 37-39mm + a thickness layer. This will give you the number of walls that will contain the jar and accept the bottom portion of the lid.
Estimated time: 45 minutes
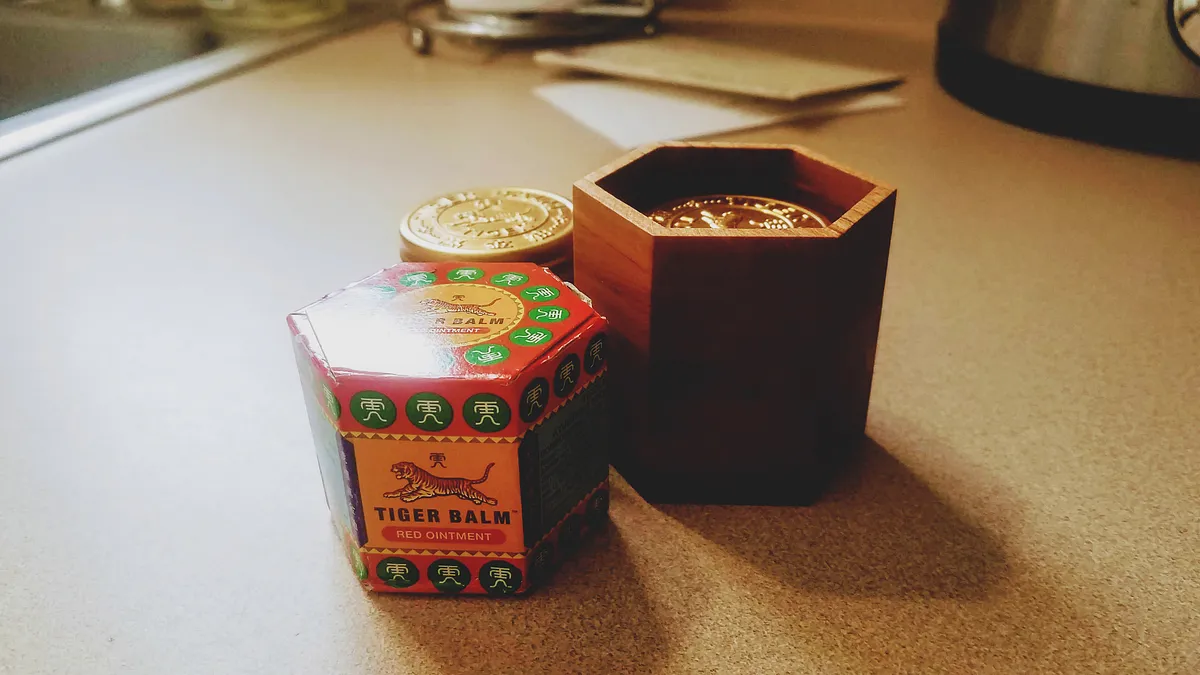
Cut the lid
Cut out the lid workpieces. In the notes of this workpiece you'll see some assembly tips, but it's pretty straightforward. There is a top piece and a bottom piece to the lid that need to be glued together. The bottom piece sits inside of the container (which is why you have an "extra wall piece."
Estimated time: 8 minutes
Glue party
When gluing these up, I glued two set of three wall pieces, clamped, dried, then glued the two wall piece sets and the base together... clamped and waited.
For the lid, I dropped a bit of glue on the small hexagon and visually centered it on the larger hexagon. Then I flipped the walls of the container on top and used them to help center the small hexagon on top of the larger one. After I felt that things we're centered I clamped them to dry.
After gluing all of the pieces together, put a jar inside of the container, put the lid on, and hit all six exterior walls on a disc sander for nice flat and clean walls.
Estimated time: 20 minutes
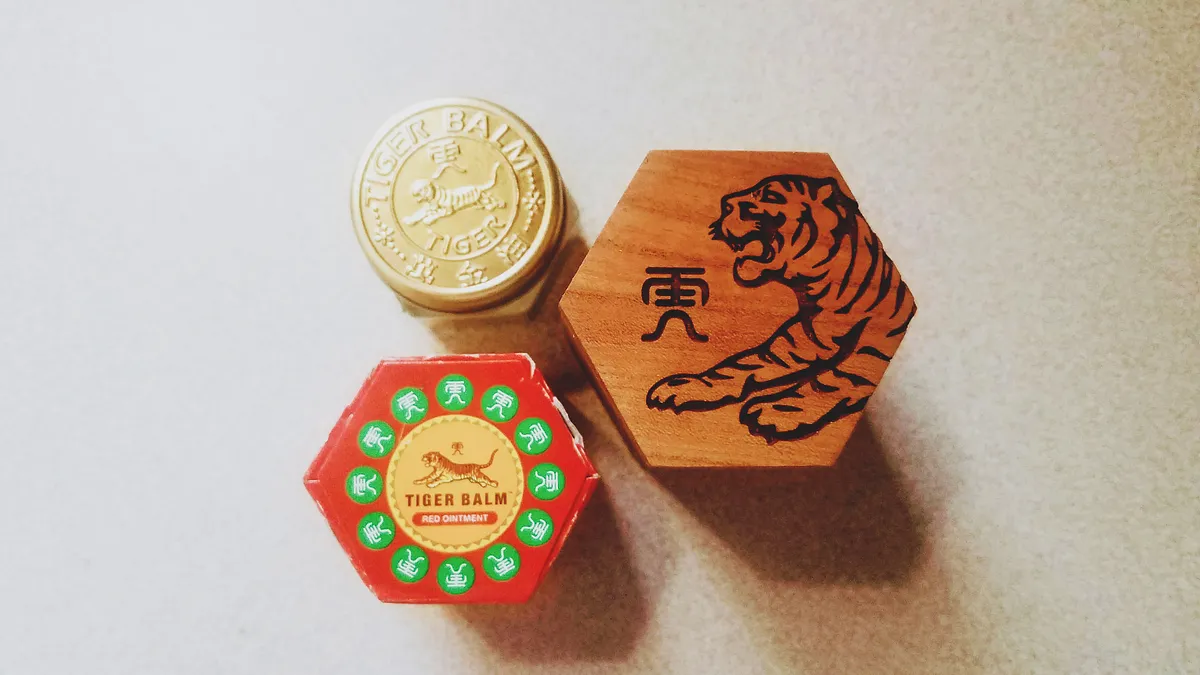
Put a design on the lid (optional)
Use the half-assed .svg I put on the project page to laser engrave the lid design.
Estimated time: 15 minutes
Finish
After optional engraving, sand the walls with high grit paper so everything is nice and smooth. I finished mine with my favorite mineral oil and beeswax.
Comments