Simple Stamp

Instructions
Step 1: Material Setup
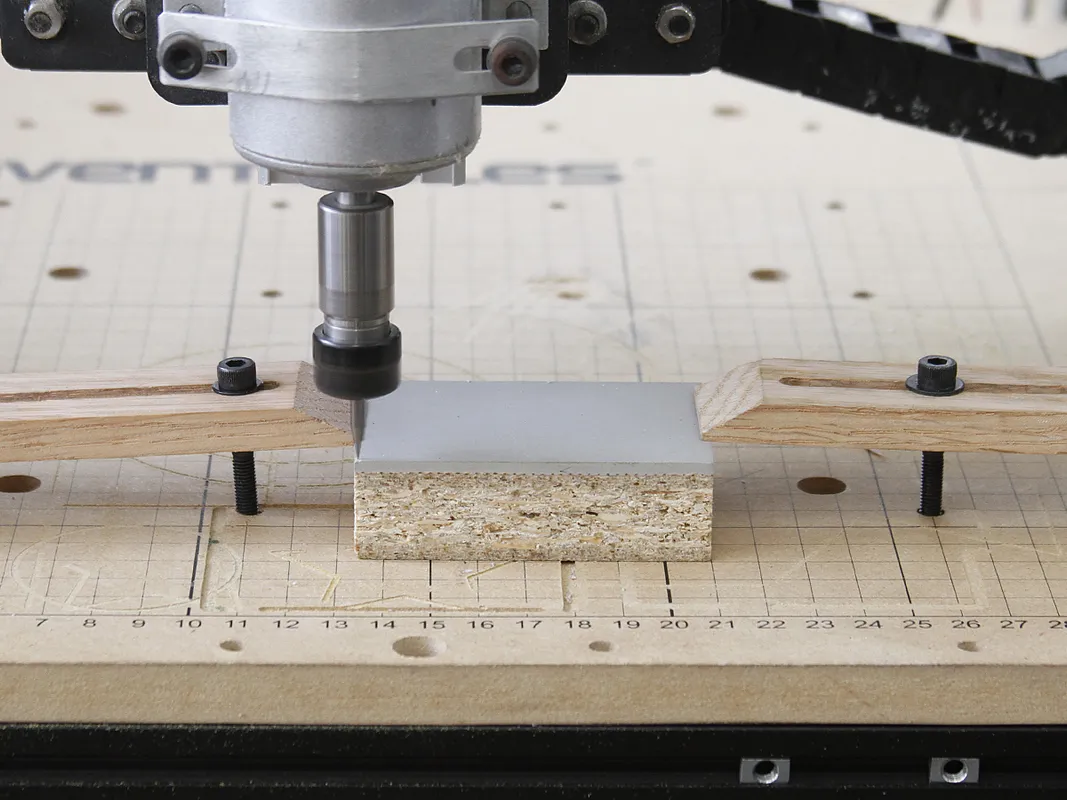
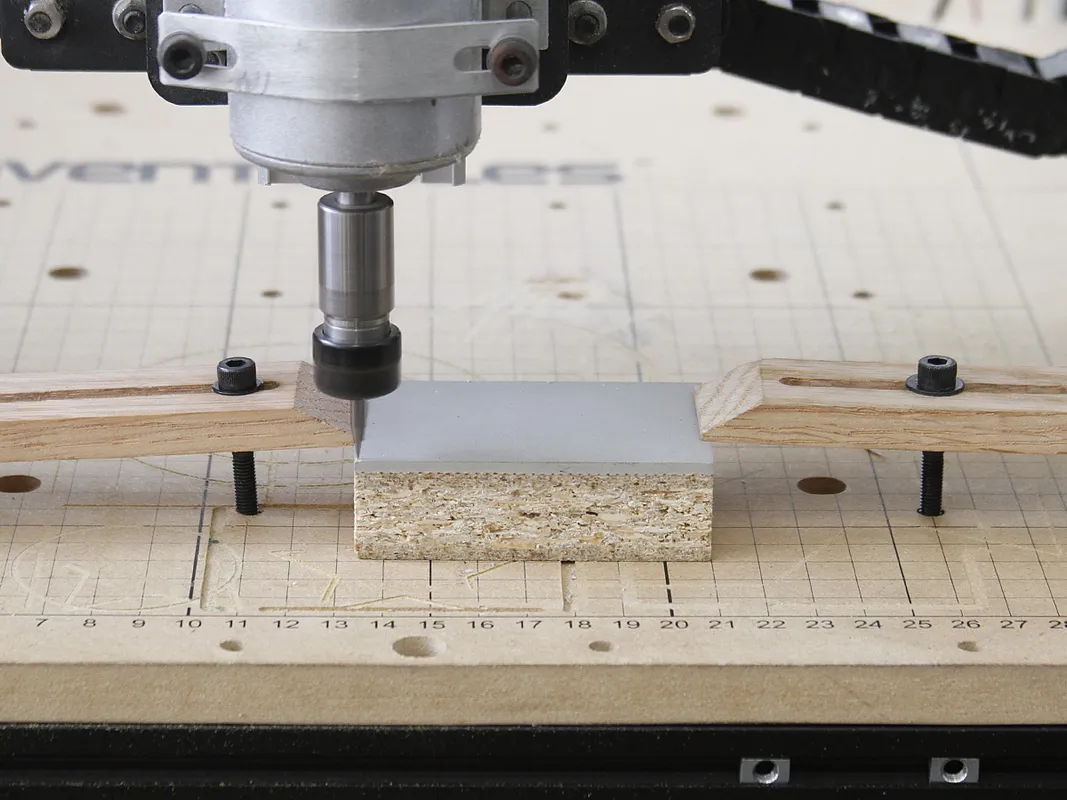
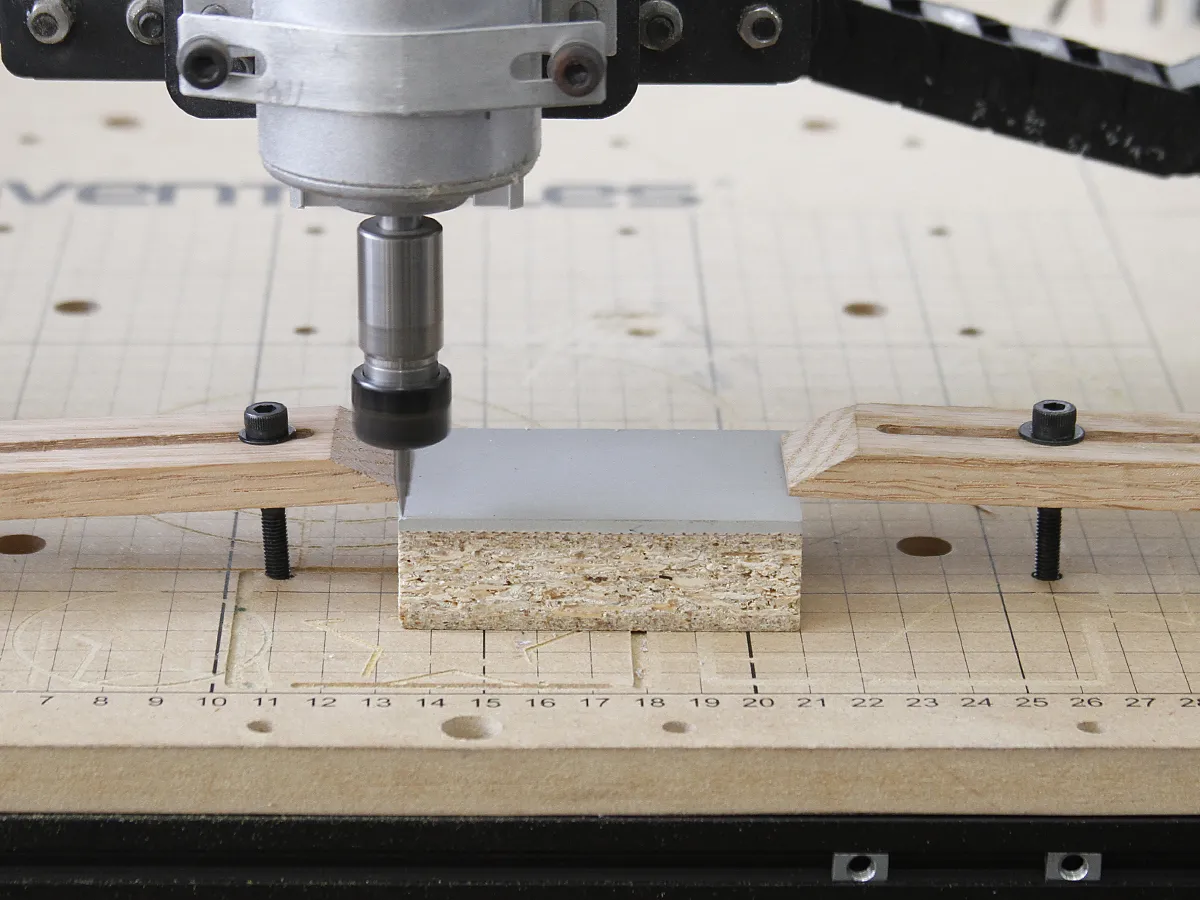
Clamp your piece down as square as you can (don't worry too much) and keep the clamps as close to the edge of the linoleum as possible. When it's secure zero your machine. Try for something like this:
Step 2: Open in Easel and Design
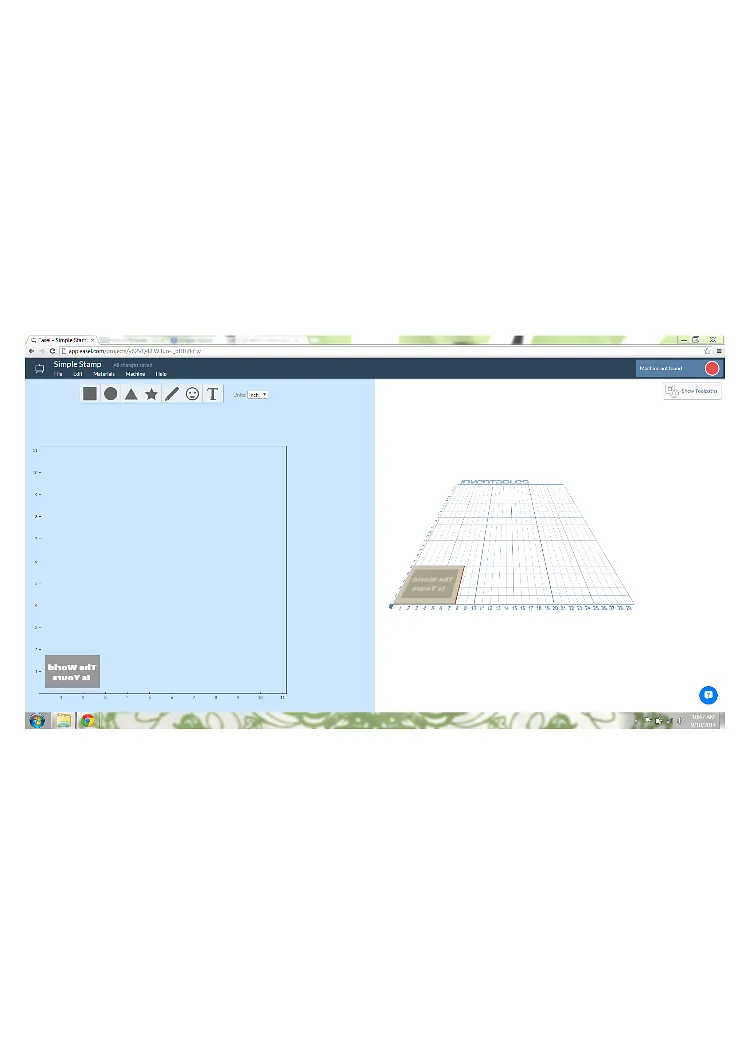
Open the project from this page and play around with the design. There are two elements to it:
1) The rectangle which is at 0.05" cut depth
2) Everything you want to stamp, which is at 0" cut depth and fits inside the rectangle
Both of these elements are "Fills"
TIP: If you can't see the things you want to stamp select the rectangle, go to "Edit" and click "Send Backward."
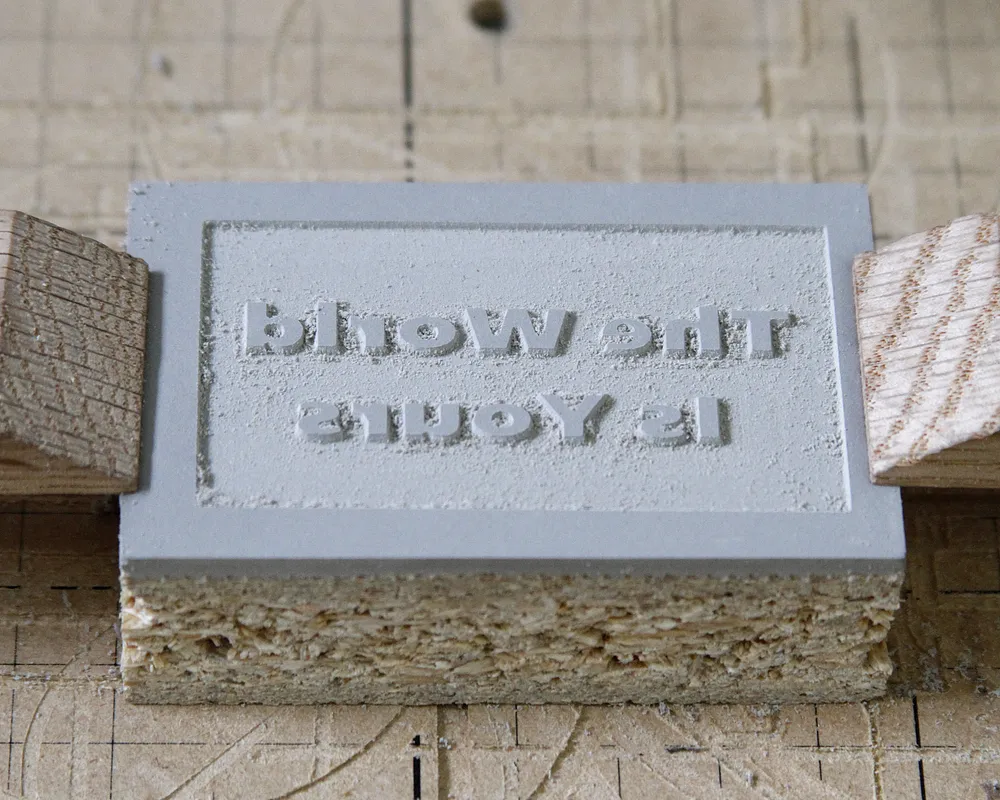
When you're done designing select the things you want to stamp and click "Shape," "Mirroring" and "Horizontal." You may have to move your design after mirroring to keep it centered.
When you're satisfied click "Machine Ready to Cut."
Step 3: Stamp Everything
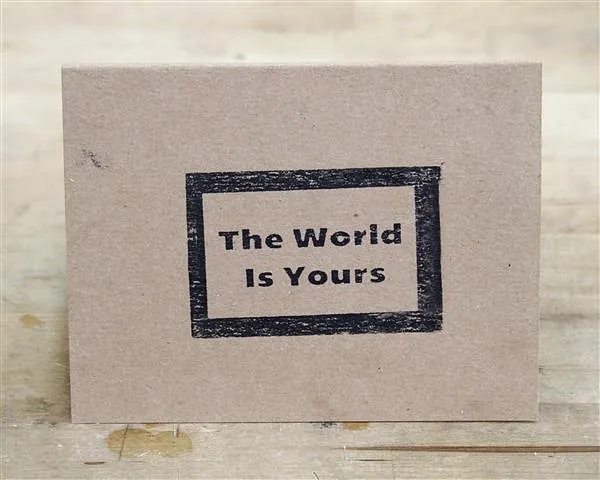
You just made a stamp, go stamp some stuff!
The ink pad takes a while to get saturated so practice on some paper until you're getting good coverage.
Comments
What feeds and speeds were used for cutting the linoleum?
William Adams · September 05, 2014
Hey Will, We've added linoleum to the materials list now with a cut depth of 0.05" and a feed rate of 30 in/min
Tait LeswingPro · September 10, 2014
Is it possible that the background which has been routed can be made smoother? and rounded edges on the letters or design of the stamp? thanks
nancy barry · June 14, 2015
I purchased the same engraving bit and plan to carve a dog tag. How do you manually set the bit size in Easel? My plan includes font too small for the smallest preset drill bit diameter allowed but should be fine for the engraving bit. Suggestions that would still allow me to do this in Easel?
Christopher Snyder · September 05, 2015
What did you set the bit diameter to in easel?
Austin St. Aubin · July 30, 2021
Hi - newbie question - I would like to remove the lino for about 3mm around my lettering, is there a way of doing this ?
Karen S · May 07, 2025