Desktop Planter
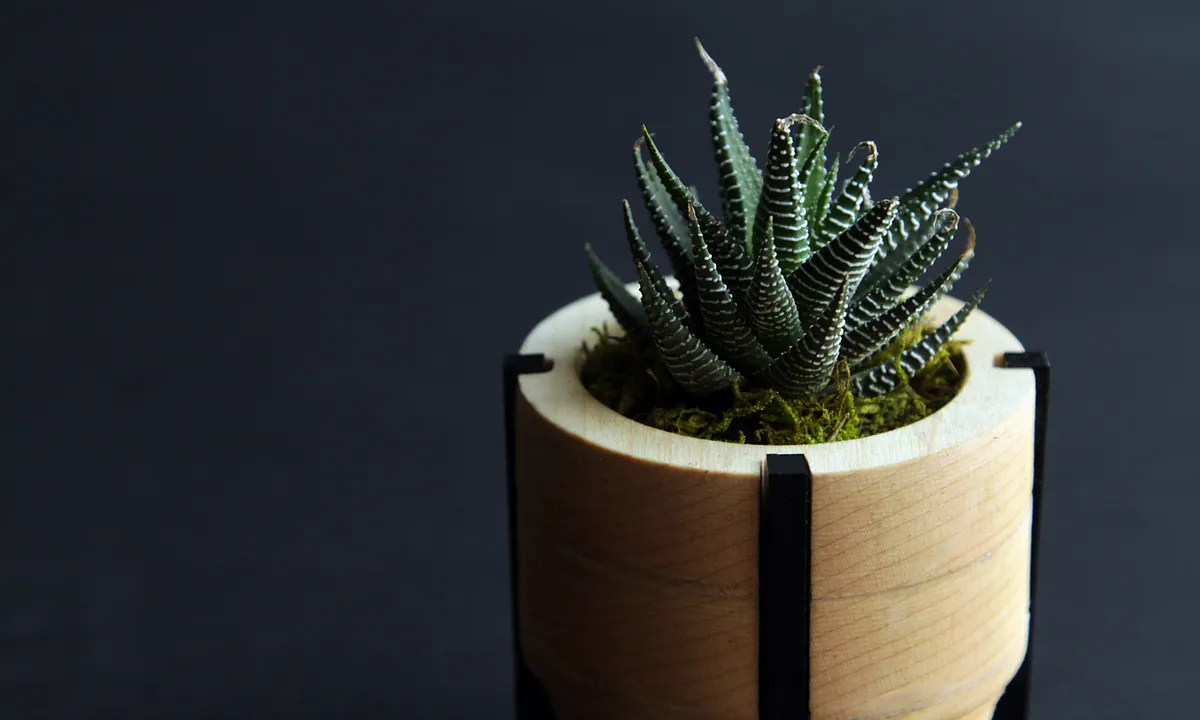
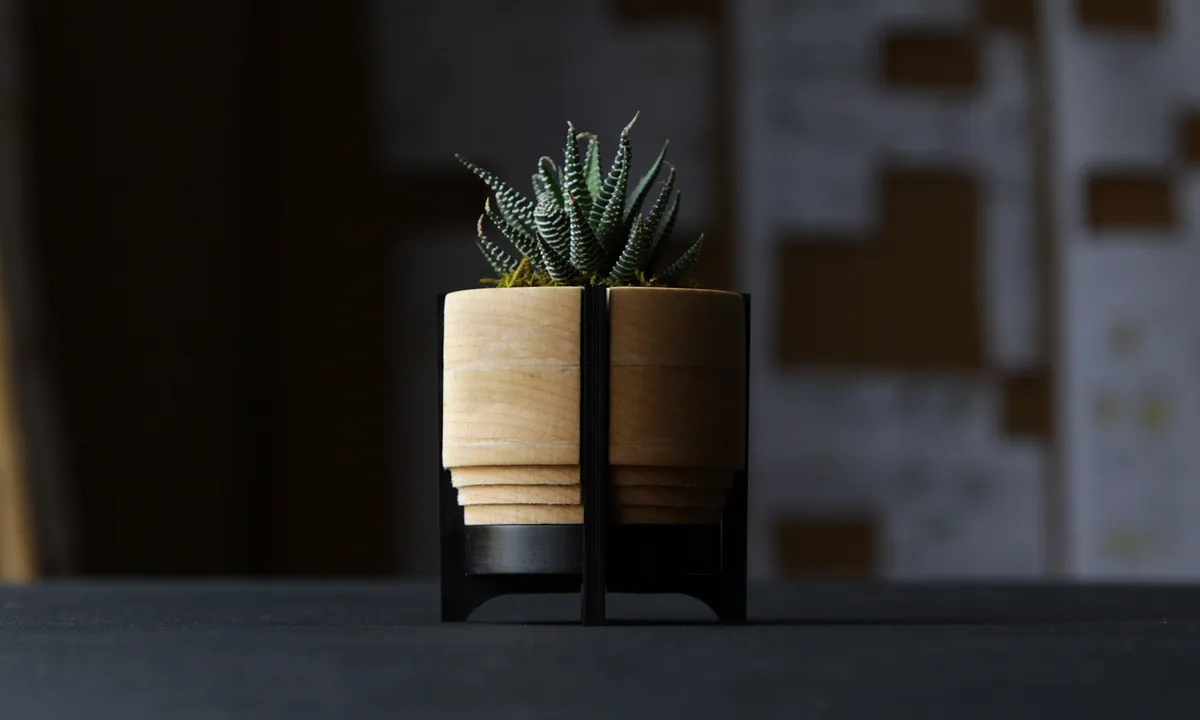
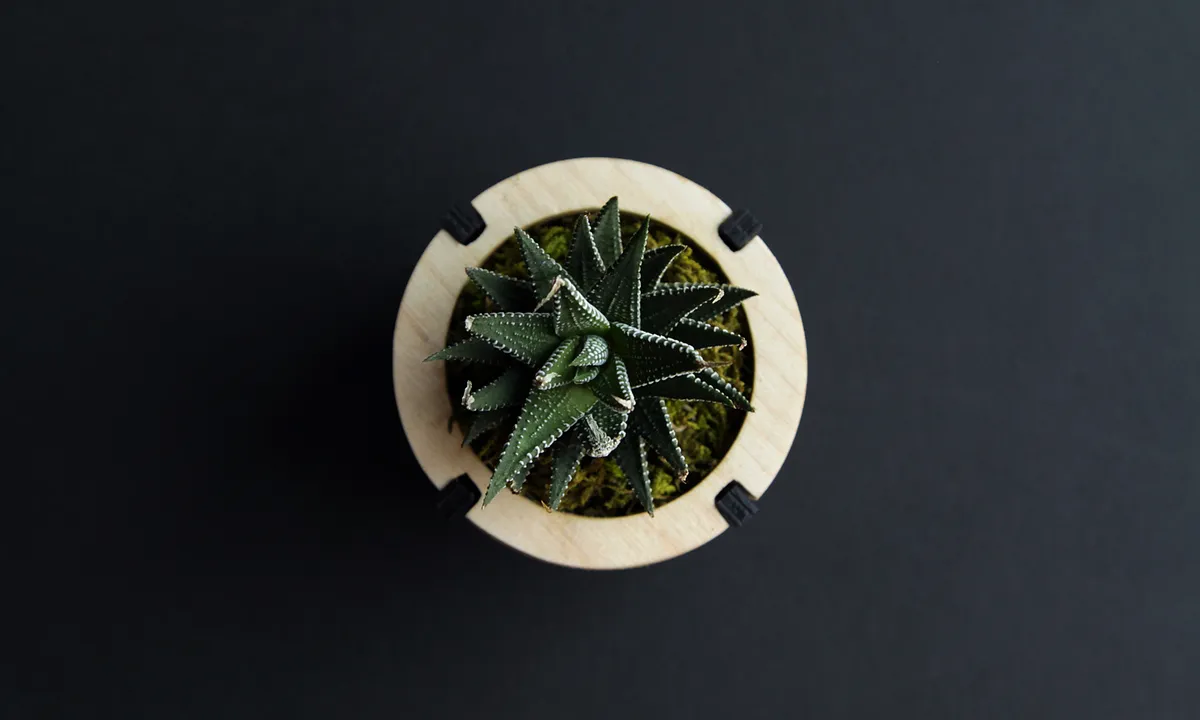

Instructions
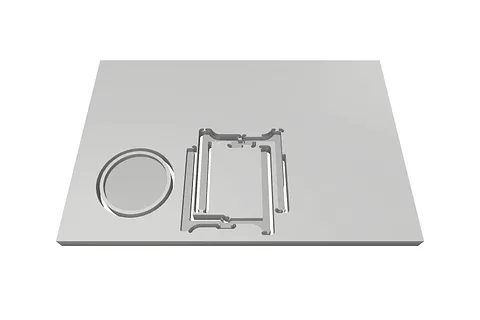
Mill base and stand
First we cut the corian parts for the base and stand of the planter. These can be done with either an 1/8th inch bit or by starting with a 1/4 bit to mill away the bulk of material and then refining with an 1/8th inch
Use this EASEL "link":http://easel.inventables.com/projects/T1fSSVsGT1sAN-v1rPysbQ
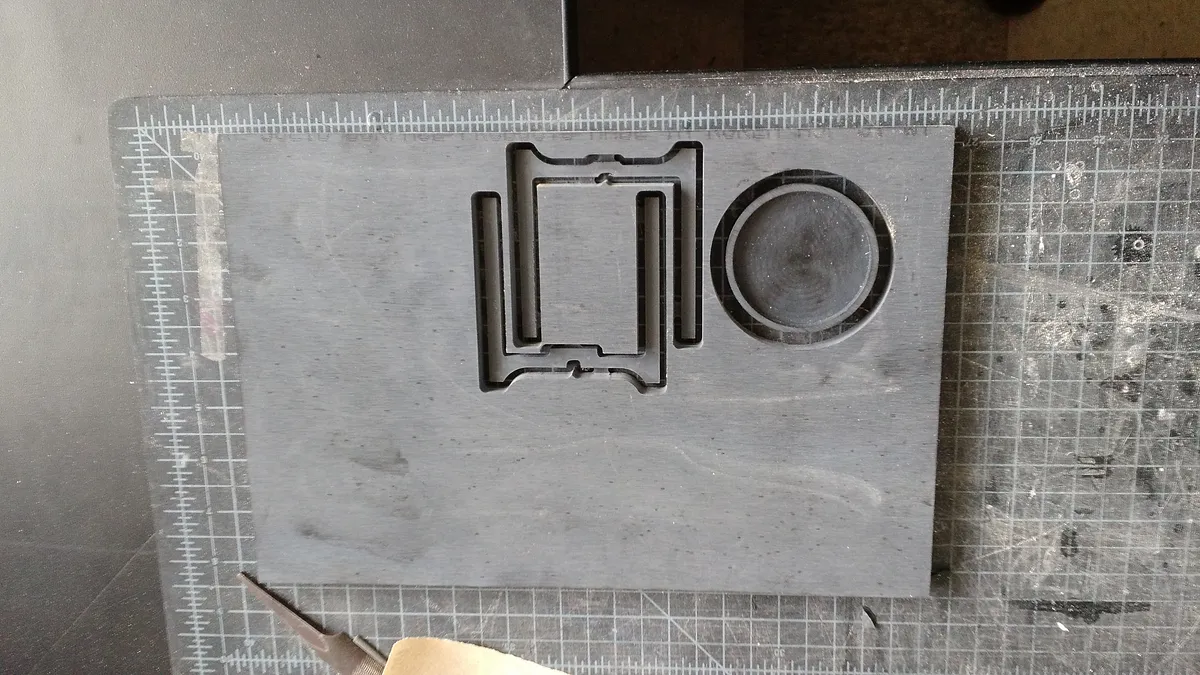
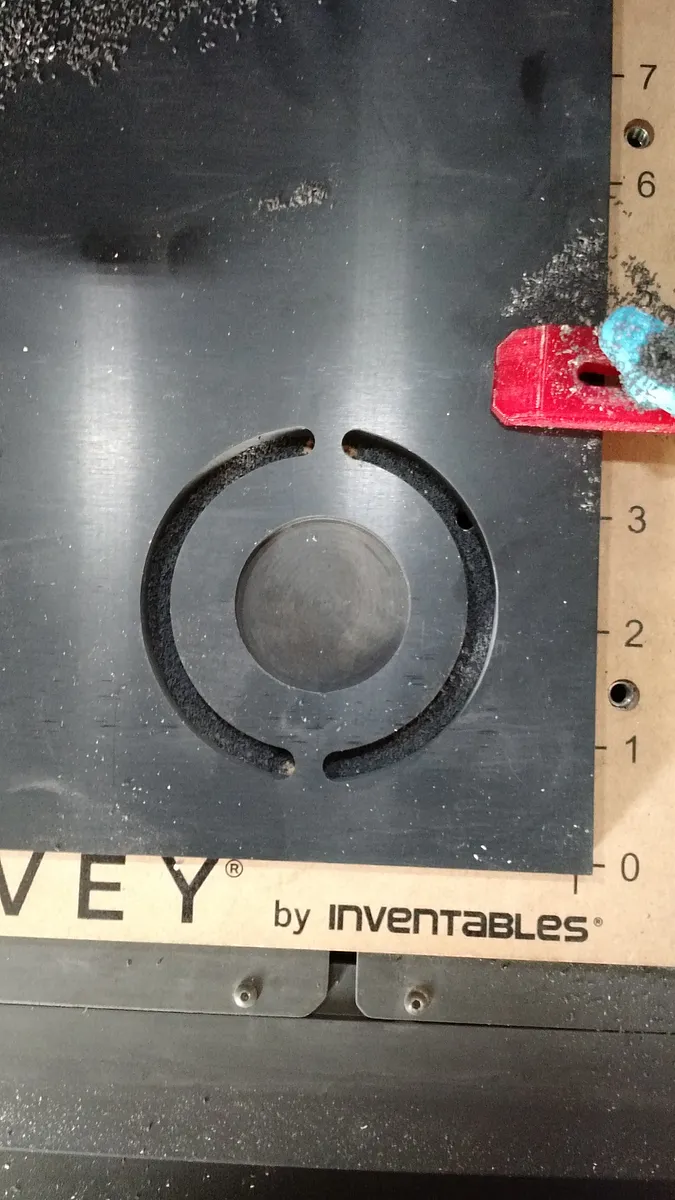
Mill reverse side of base
For this step you will want to flip the corian sheet over and align it to cut the reverse side of the circular puck part. This recess is to allow room for the joinery between the legs.
Use this EASEL "link":http://easel.inventables.com/projects/0GkDOs0K9FEONkAsaAA3hg
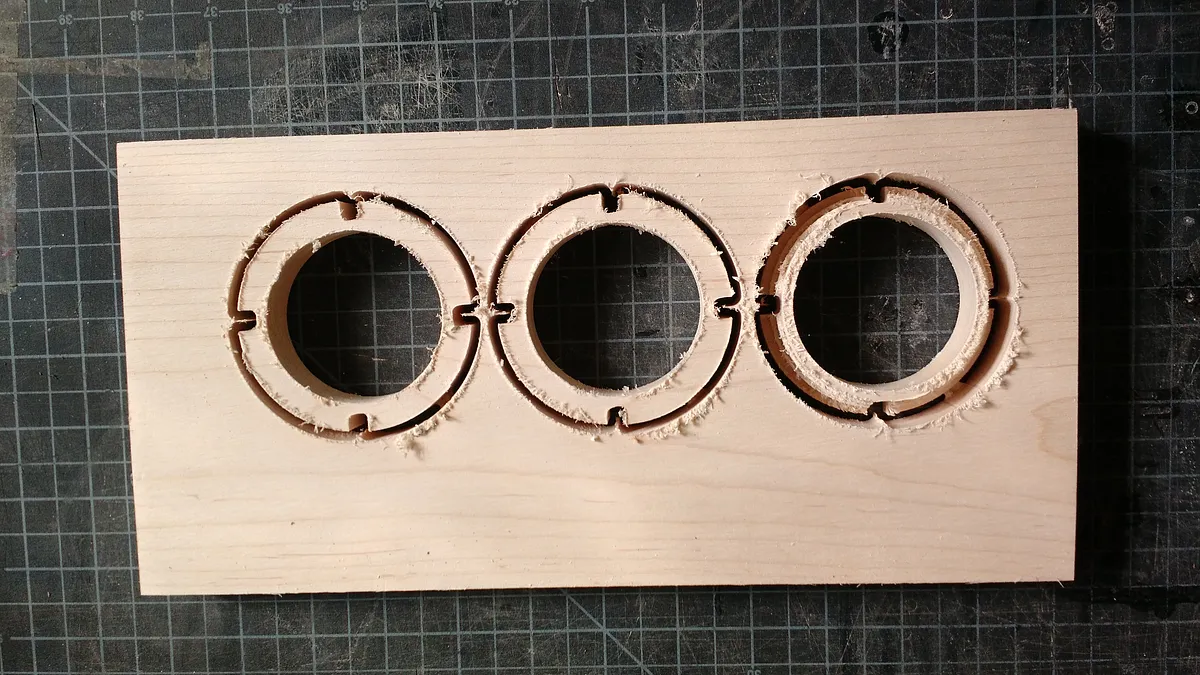
Mill walls of planter
These rings will make up the walls of the planter. A fishtail or square ended bit is best for this cut. This will allow the steps to turn out crisply.
Use this EASEL "link":http://easel.inventables.com/projects/ttcqqn8RF1_49p4pbzWm5w
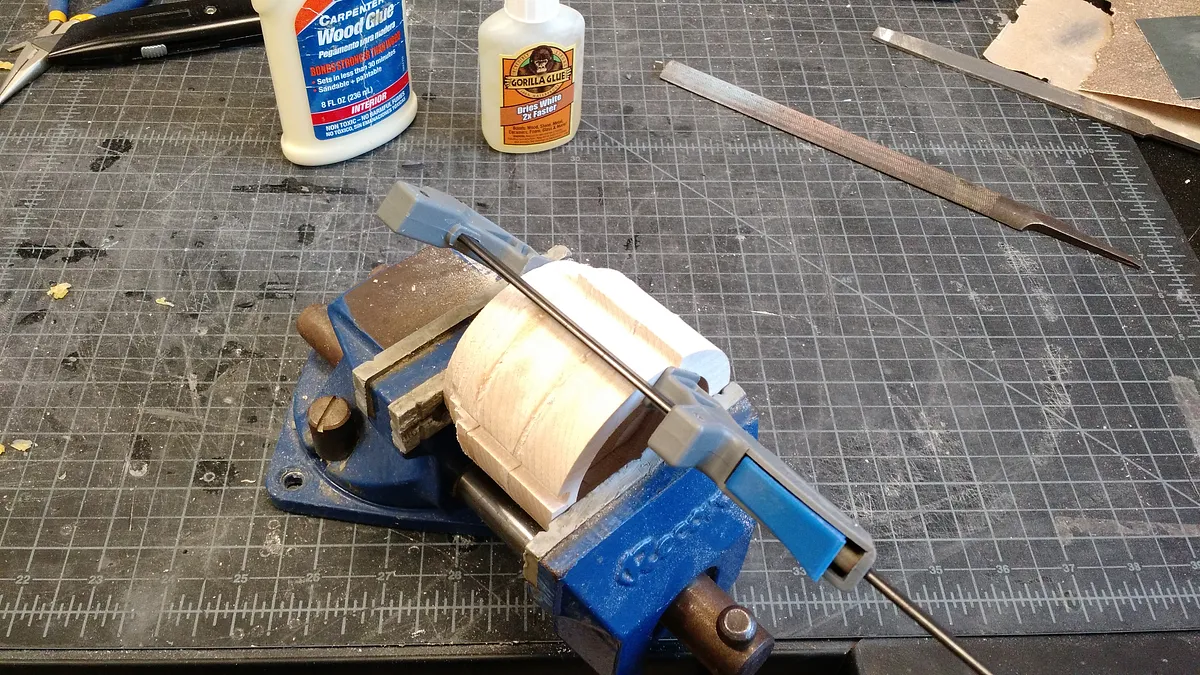
glue, sand, and finish
Once your side walls are cut you can glue them together. When the glue has set you can then file the slots if needed and sand the exterior walls.

Comments
Can this be made with x-carve?
Jene JohnsonPro · March 29, 2016
Can all of the Carvy projects be made on x-carve?
Jene JohnsonPro · March 29, 2016
Yup, Easel works with X-Carve and Easel.
Paul Kaplan · April 07, 2016
I opened the file but it only features the stand. There is no pot or am I missing something.
Colby Hysten · February 08, 2020
Colby, it says the rings make up the walls of this planter. :)
Germanly Irish · June 10, 2022
Neither of the files in the zip appear to include the rings for the planter.... at least when opened in Easel Pro.
Keith Strahan · July 29, 2023
Click on the links for each section, the files are there. It took me a second!
Harold CloutierPro · January 29, 2026