Fire Engine

Instructions
Watch the Video
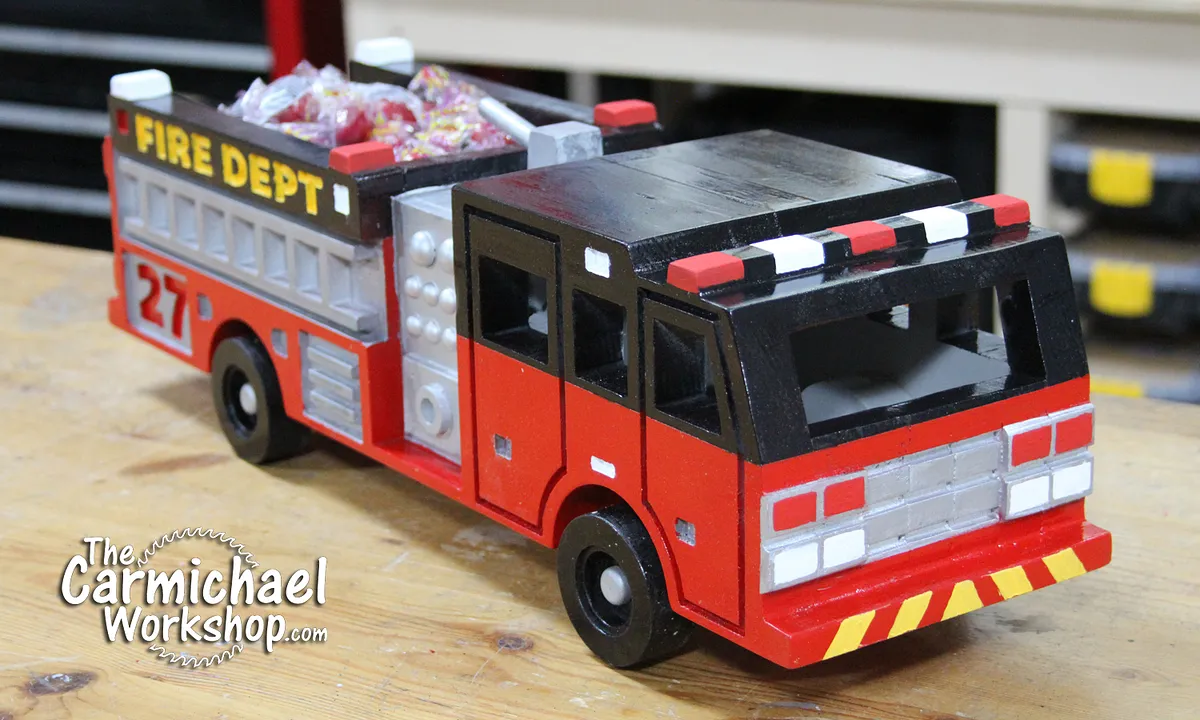
Watch my video of this project to see all of the basic steps to make this wooden toy fire engine.
Estimated time: 10 minutes
Cut the Blanks
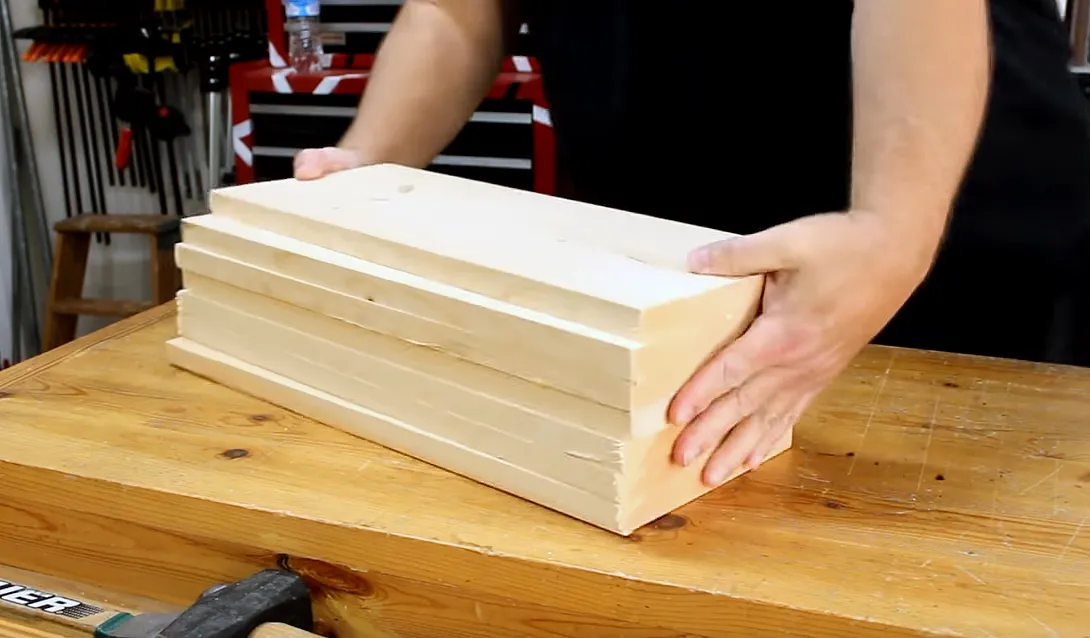
Cut seven 19" pieces of 1x6 or 1x8 pine from the home center. It is designed to barely fit on 1x6 boards that are actually 5.5" wide, but I used 1x8's to give myself a little breathing room to pick the best parts of the boards. Make sure the boards are flat.
Carve the Parts
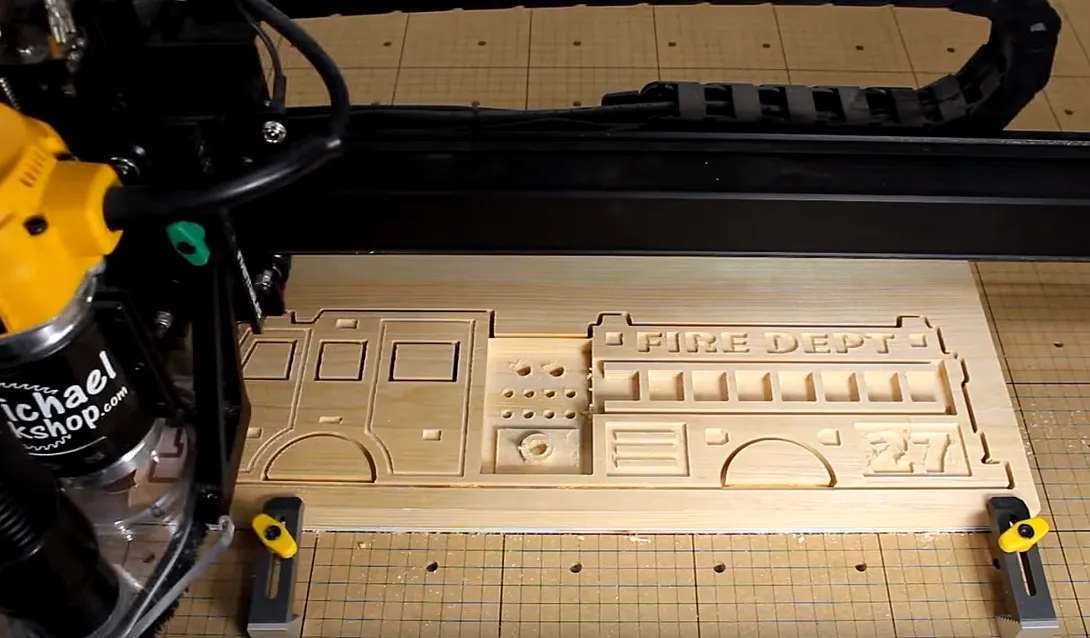
The Easel project contains seven tabs. Cut out each part one at a time on the X-Carve. The detailed sides take about 80 minutes each using my cut settings for pine. The middle sections take about 20 minutes each. Number each part as it comes off the X-Carve so you know what order to glue them in. Sand everything smooth.
Estimated time: 260 minutes
Paint the Cabin
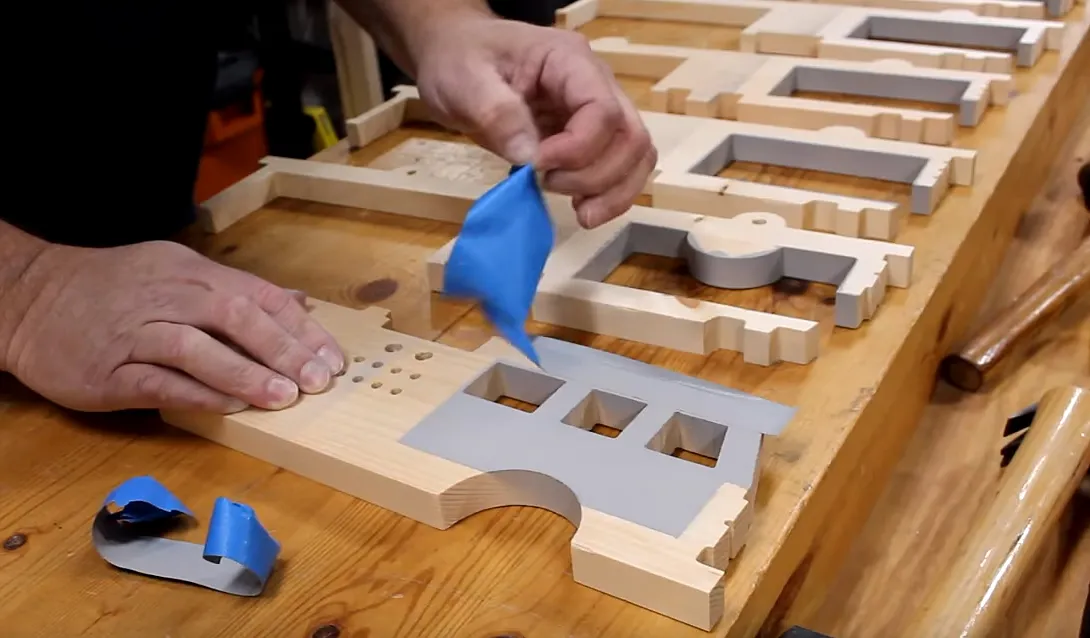
Paint the surfaces that will be seen through the windows inside the cab. Be careful not to paint any of the glue surfaces. It's much easier to do this before assembly.
Estimated time: 60 minutes
Glue It Together
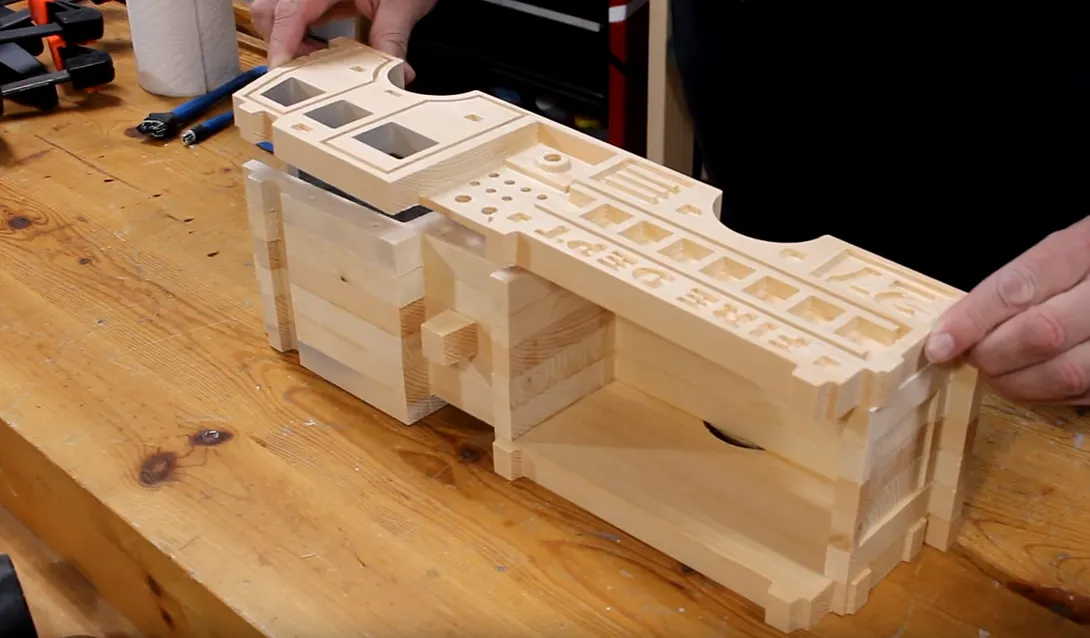
Start with one side of the fire engine and glue each section on top one at a time until all sections are glued together. Line them up carefully. I used brad nails to keep them from sliding. Add clamps to squeeze it tight and wipe away excess glue.
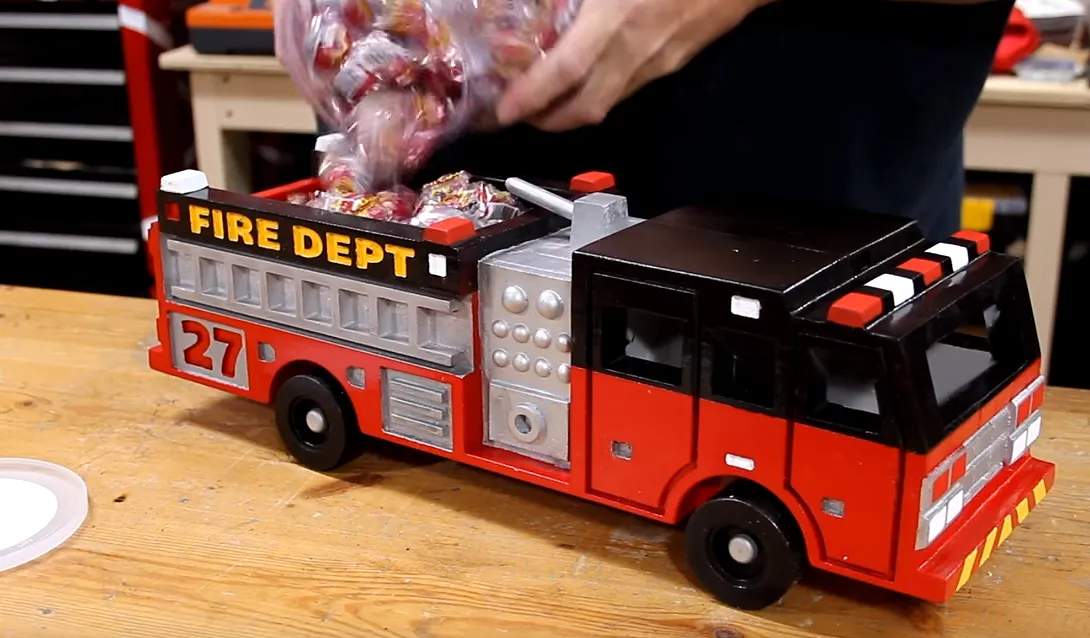
Drill a 3/16" hole in the rear of the water cannon mount, which is on the top-center of the fire engine. Glue in a 2" piece of 3/16" dowel for the water canon.
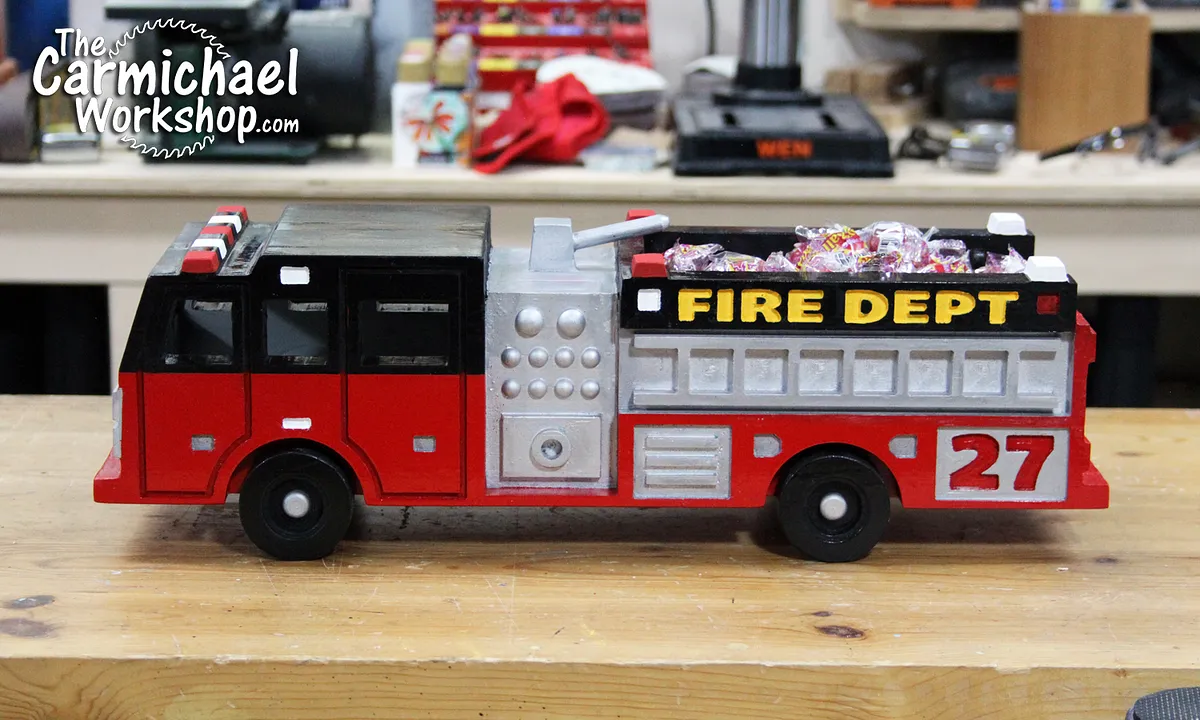
The series of holes on the mid-section of the sides are sizes to accept 1/4" and 3/8" furniture buttons from Hobby Lobby. When glued in, these mimic the gauges that are on fire engines.
Paint the Fire Engine and Attach the Wheels
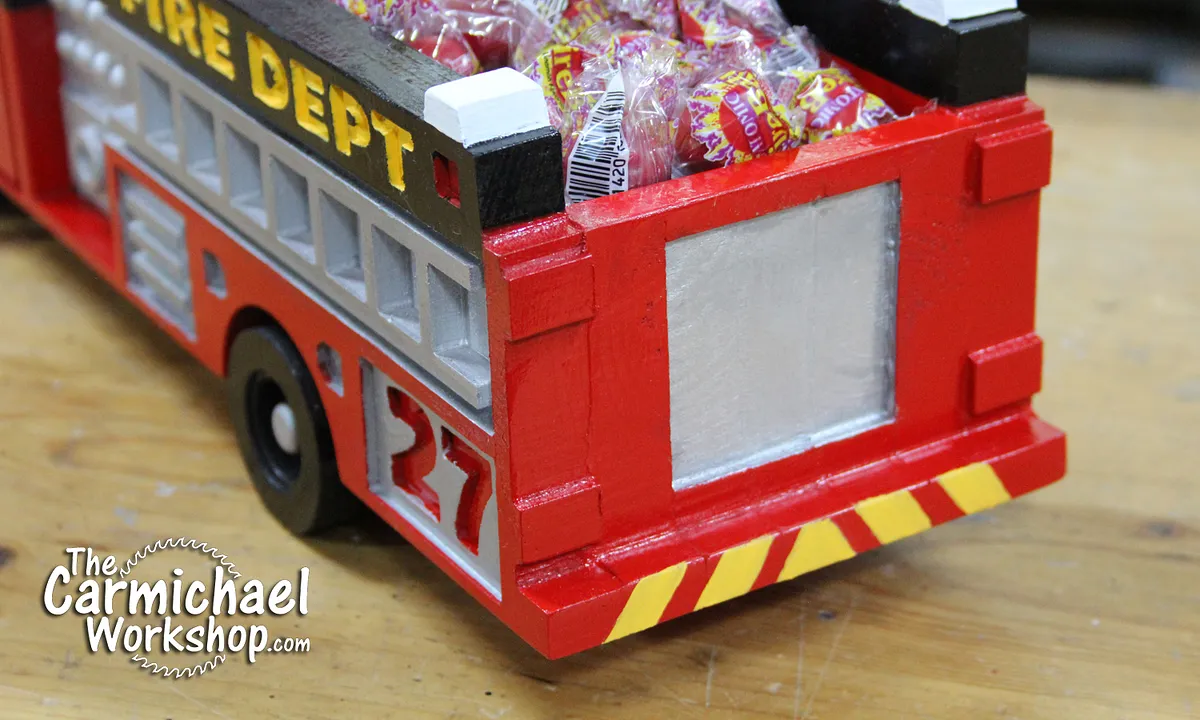
I sprayed it with Primer Filler to help fill the end grain and fill in any gaps in the wood. I sprayed the main sections with Metallic Silver, Gloss Apple Red, and Gloss Black spray paint. I used a brush to paint additional details with acrylic paints.
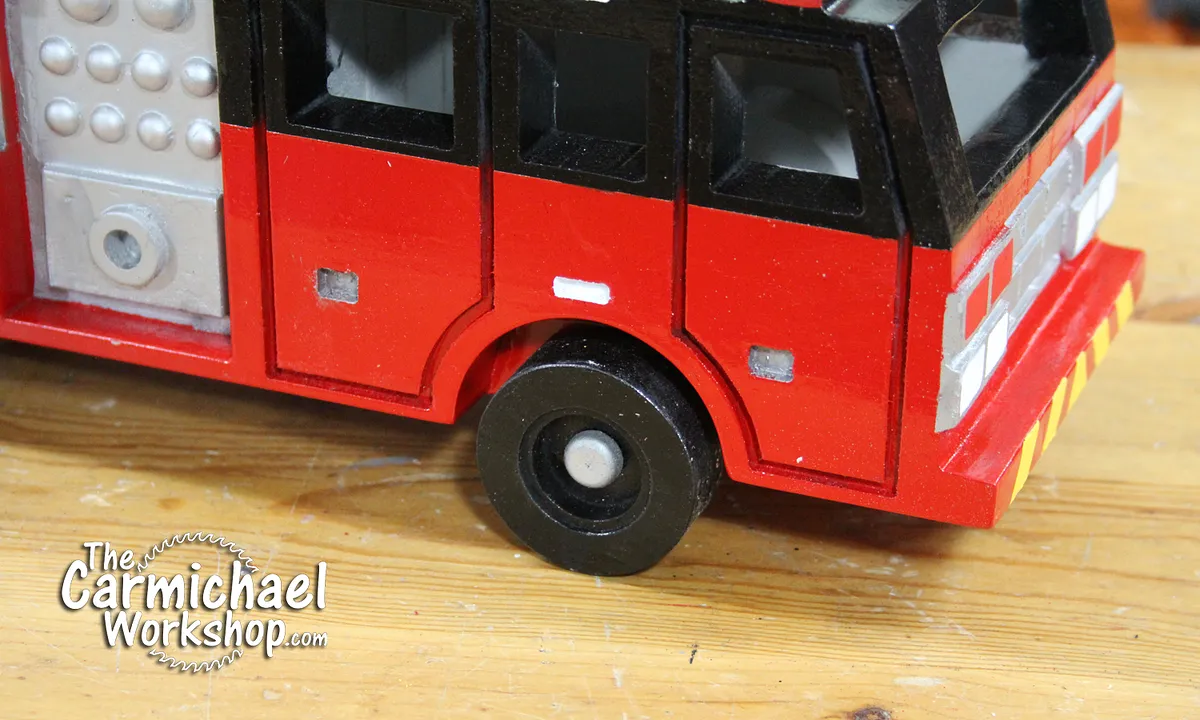
Attach the wheels with 11/32" Axle Pegs from Hobby Lobby. You may have to cut them shorter so they don't bottom out in the holes. It's a good idea to insert a washer as a spacer between the wheels and the fire engine to help them spin freely. Be careful not to glue the wheel to the axle which would keep it from spinning.
Fill it with candy! I recommend Atomic Fireballs! Then, make your best siren noise while you roll it across the floor!
Thanks for checking out my fire engine project! Visit my website at "TheCarmichaelworkshop.com":http://www.thecarmichaelworkshop.com for more fun projects like this one!
- Steve...
Estimated time: 120 minutes
Comments
Awesome. And you put this video together very well thank you.
Tracey · January 06, 2020
Amazing job !!!!
Norman GarnettPro · March 08, 2020
Thank You. Amazing !!
Luis Taveras · March 30, 2020
Awesome work Steve, enjoy your other project videos on Youtube
Steven Donovan · April 16, 2020
CONGRATULATIONS FOR YOUR BEAUTIFUL WORK, I AM A RETIRED FIREMAN IN THE STATE OF SÃO PAULO - BRAZIL AND I WILL TRY TO MAKE A TRUCK LIKE YOURS, WITH THE TICO SAW
CARLOS ALBERTO MOURA HENRIQUE · October 04, 2020
Thank you for sharing this
Tim Coffey · October 11, 2020
Thank you everyone! I appreciate the kind comments. Steve...
Steve CarmichaelPro · October 11, 2020
Have you considered continuing the axle holes through all 7 pieces, then building a simple alignment jig out of scrap and dowels?
Bill Davis · October 21, 2020
That is awesome! I'm going to make this! I changed the number on the Fire Truck to our local fire house so when I give it to them it will have even a more personal meaning.
Tommy Brannon · August 08, 2021
Awesome Work
John WilliamsonPro · October 20, 2021
Great project... I made two at 11 inches... Had to carve out for the cabin.... engraved names to the doors... Thanks Steve and easel... the boys love them... Sam Wall
Sam Wall · April 30, 2022