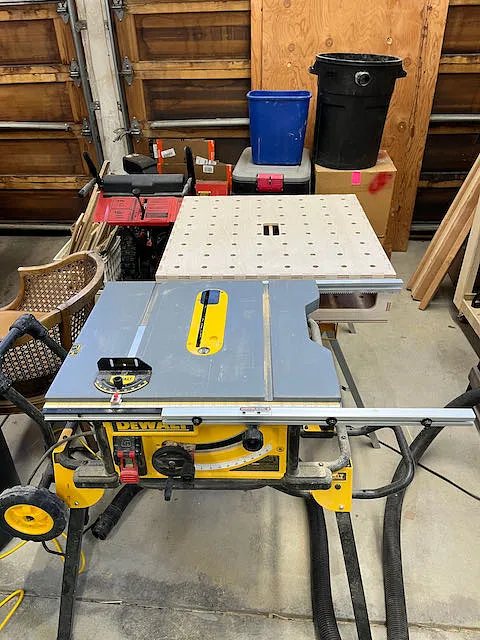
Outfeed MFT Table (1/2" x 800 x 800)

Notes
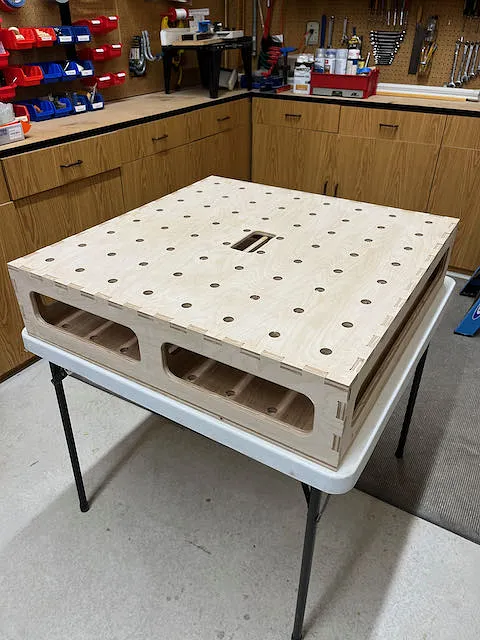
• Can be used as a portable MFT table, or an outfeed table, or as a workbench • Dog holes are placed in a precise 96mm grid spacing, for 3/4" bench dogs or 20 mmMFT accessories. • The frame has finger joints for fast, strong assembly. • Three CNC workpieces: side frames, top panel, and bottom panel (800 × 800 mm finished size). • Cut sequencing is flexible; glue-up is easiest using the “fold-up” method described in README. • More CNC shop designs available at: https://www.etsy.com/shop/TahoeCNCDesigns
Instructions
800 x 800 mm MFT
Assemble the materials. You need 1 full sheet of 1/2" birch plywood, cut into three 32" x 48" pieces which will fit in the ShapeOko CNC router.
You can further cut down two pieces to 32" x 33".
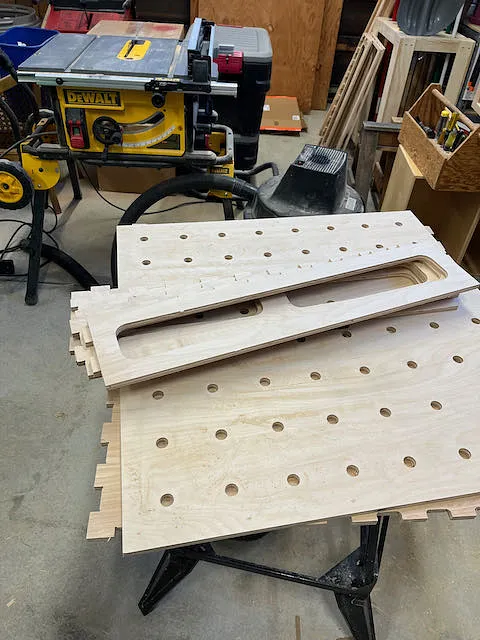
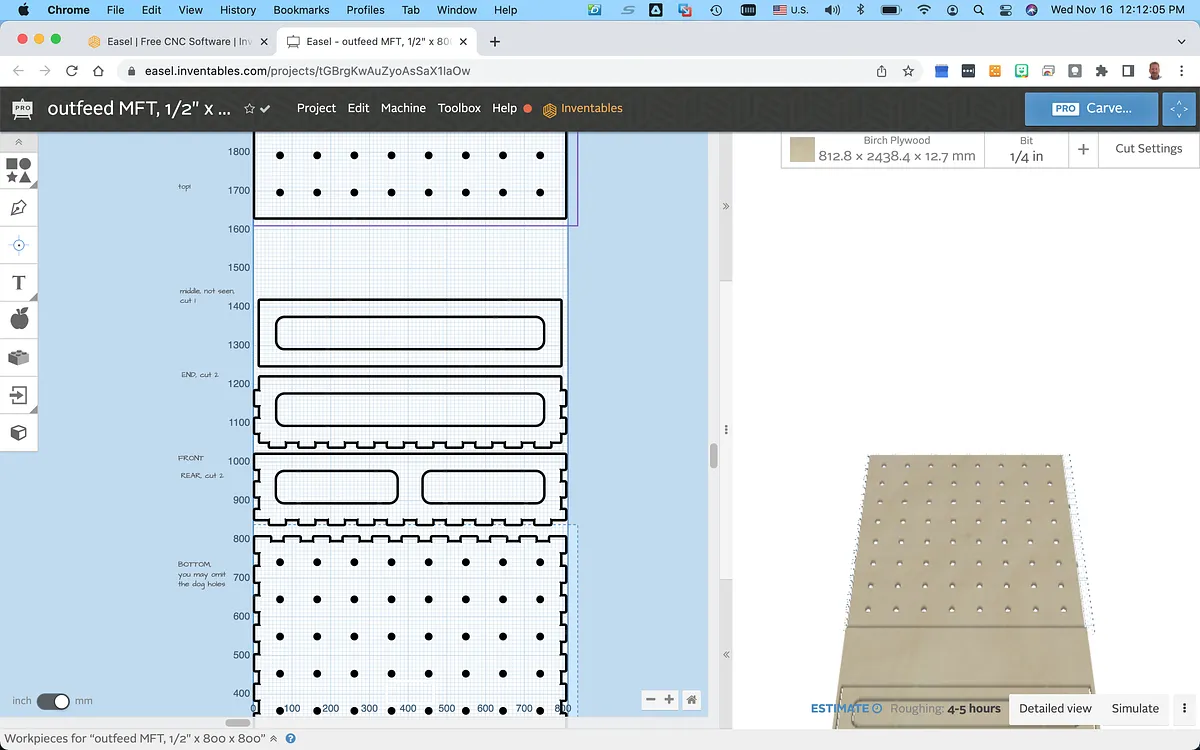
Cut the bottom (pane 1 in the design). You have to be creative with hold-downs. I just brad-nailed my pieces onto the wasteboard. Of course you have to figure out where to nail, so the router bit doesn't hit it.
Do each (the top and the bottom) in two runs, cutting the dog-holes with a 1/4" end-mill in the first run. (I used 3 mm depth of cut, 1200 mm per minute -- 32 minutes carve time). Then cut the outline of the piece out, with a 1/8" end-mill in the second run. Again, I used a much deeper depth of cut and, and faster feed rate. (At 3mm depth of cut, 1200 mm per minute -- 12 minutes carve time).
Next, cut the 5 sides pieces. They can be done one or two at a time in scraps. You will have to grab the objects out of "pane 2", and copy to a new Easel document to accomplish this. There are notes in the Easel document as to how many of each object to print -- 2 front/back, 2 sides, 1 middle. Then, use an 1/8" end-mill, and adjust the speeds and feeds.
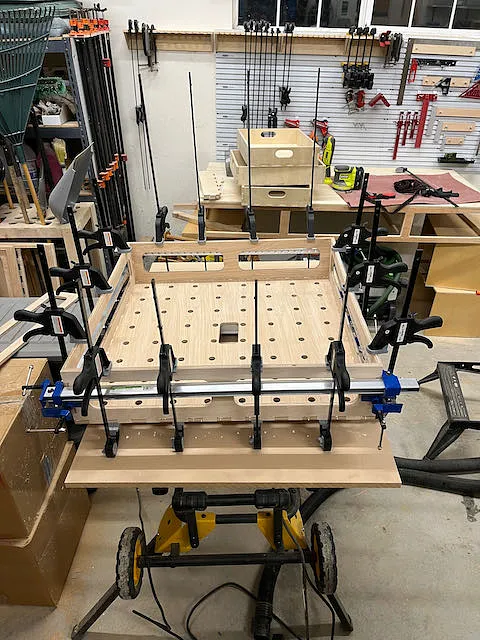
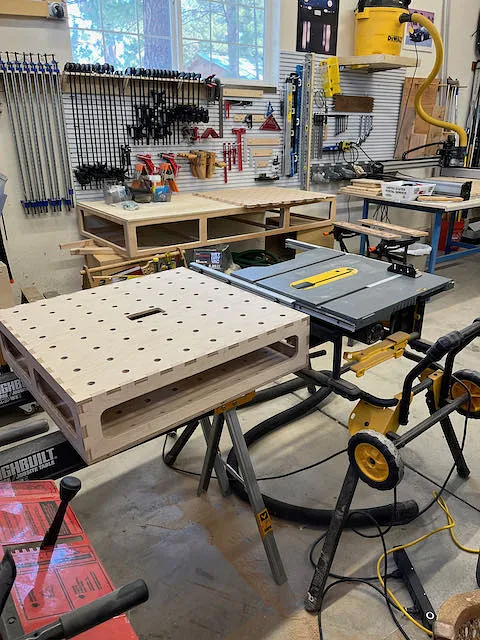
Finally cut out the tabs freeing the pieces, clean up with a trim router, sand all pieces to 150 grit, glue-up, and set on 29" saw horses to be even with your table saw.
I recommend finish with a water-based polyurethane, (multiple coats), then sand to at least 320 grit, clean and wax.
I plan on building height adjustable legs, so check back here soon. (Search for "Schwartz")
Comments