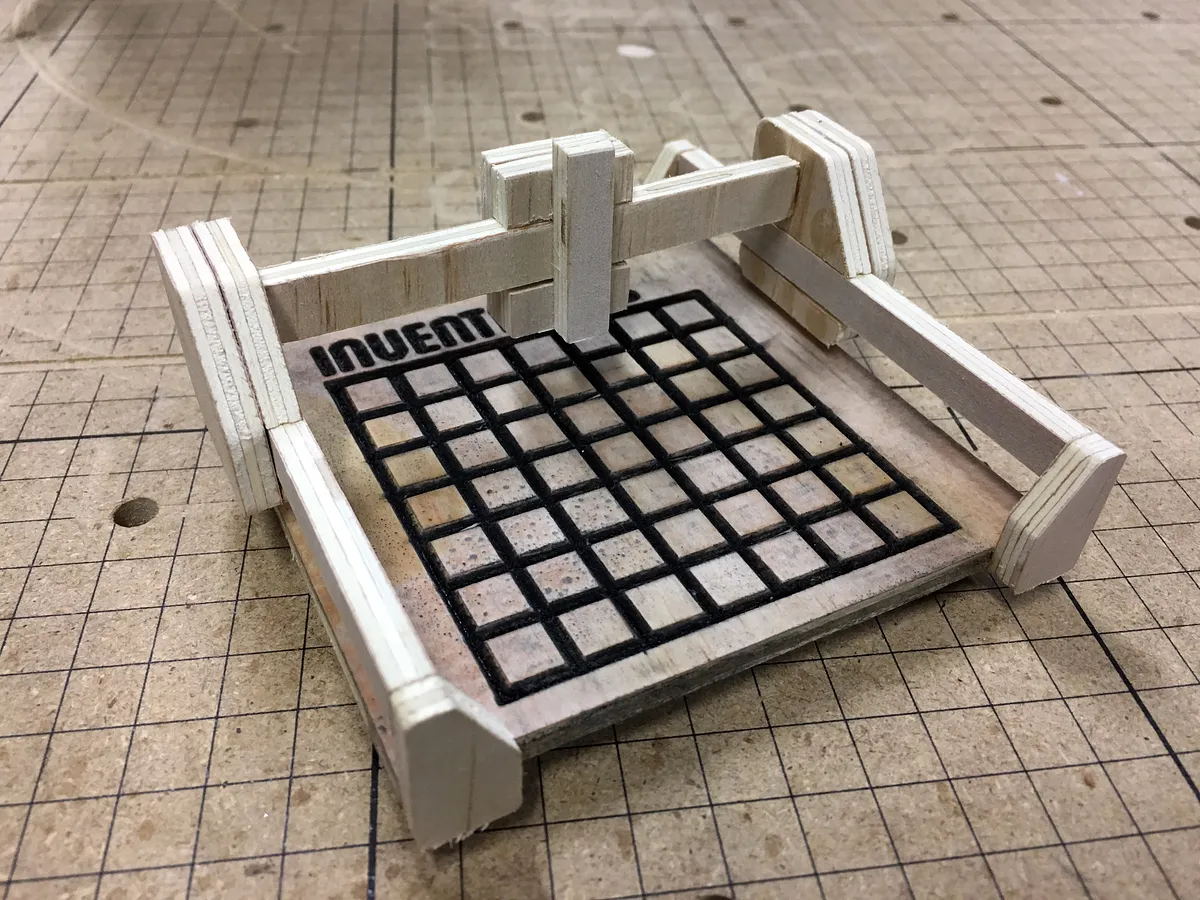
X Carve Model


Instructions
Starting Info
The first workspace is laid out as a reference for the parts.
The second workspace is the parts nested as close as possible for carving. Feel free to move them around for whatever size your piece is.
The third work space is set up to resemble a injection molded model kit and can be carved to still be attached to the tree. There are extra parts included in the model just like a real one. I have not tested this one but think it could be a fun gift for someone.
If you want to add the grid to the waste board either VCarve it, use a smaller bit for the detail, or enlarge the whole model equally until the smallest bit you have will carve it.
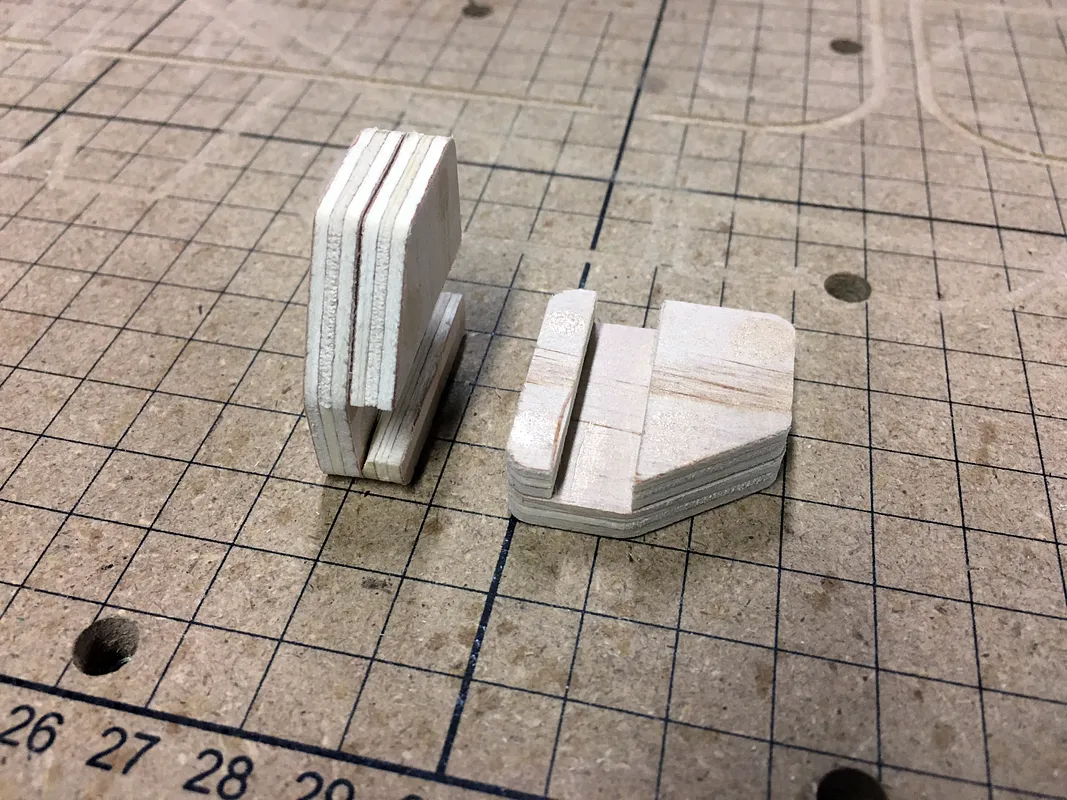
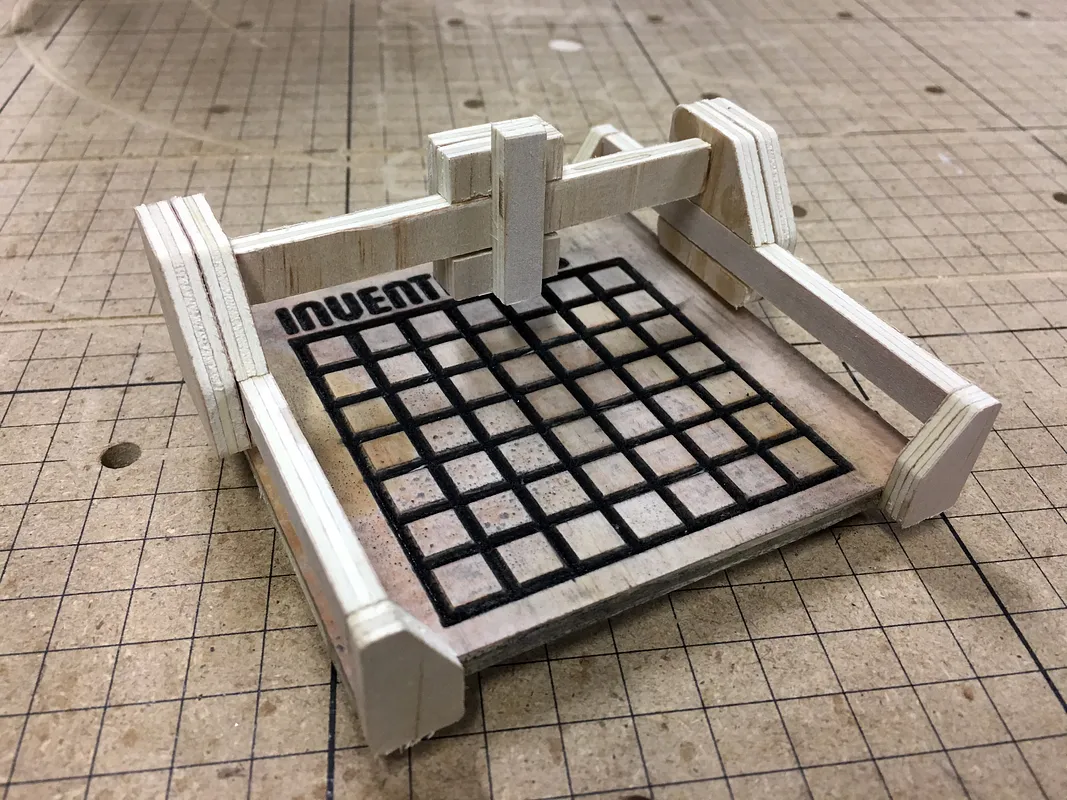
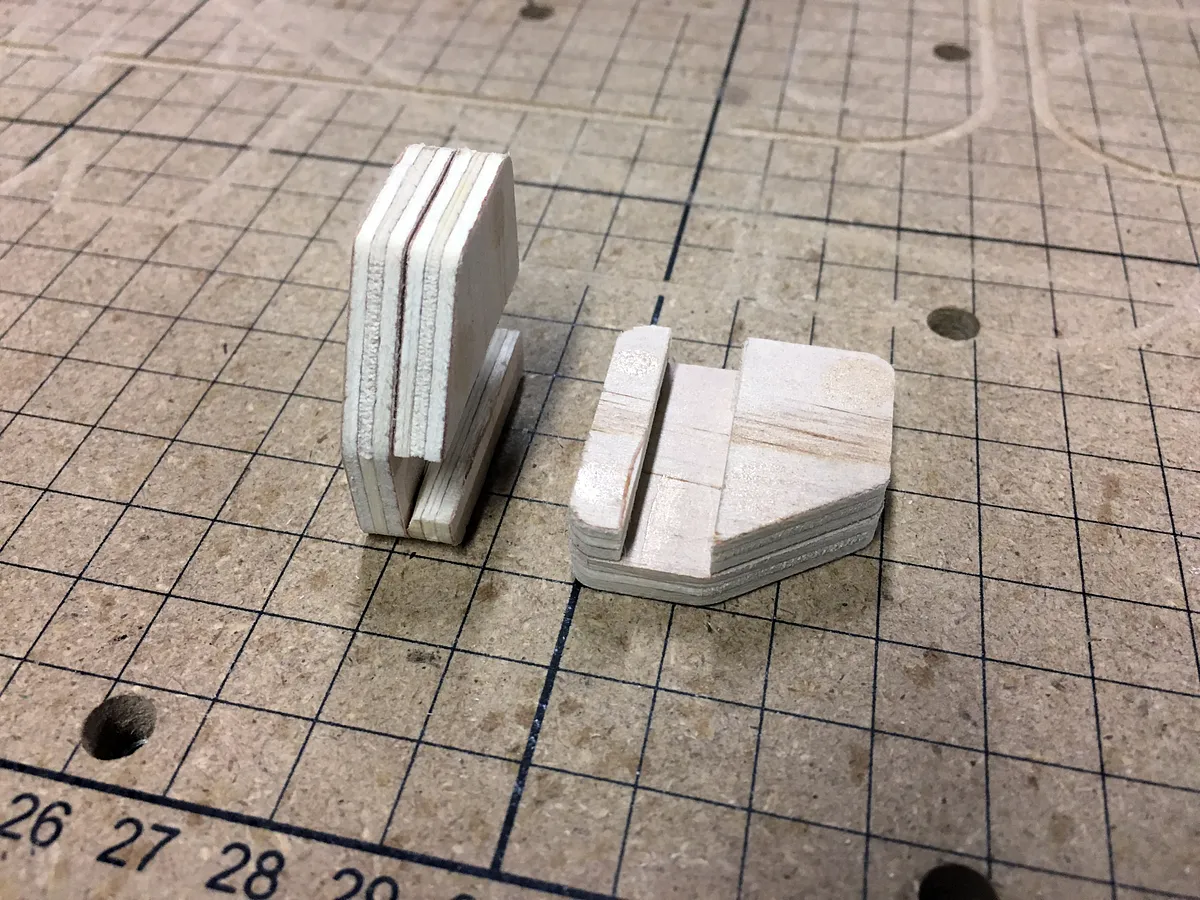
Assemble Y Riser
Its easiest to assemble in view of your machine.
I used crazy glue to assemble the Y risers to the Y rails like shown.

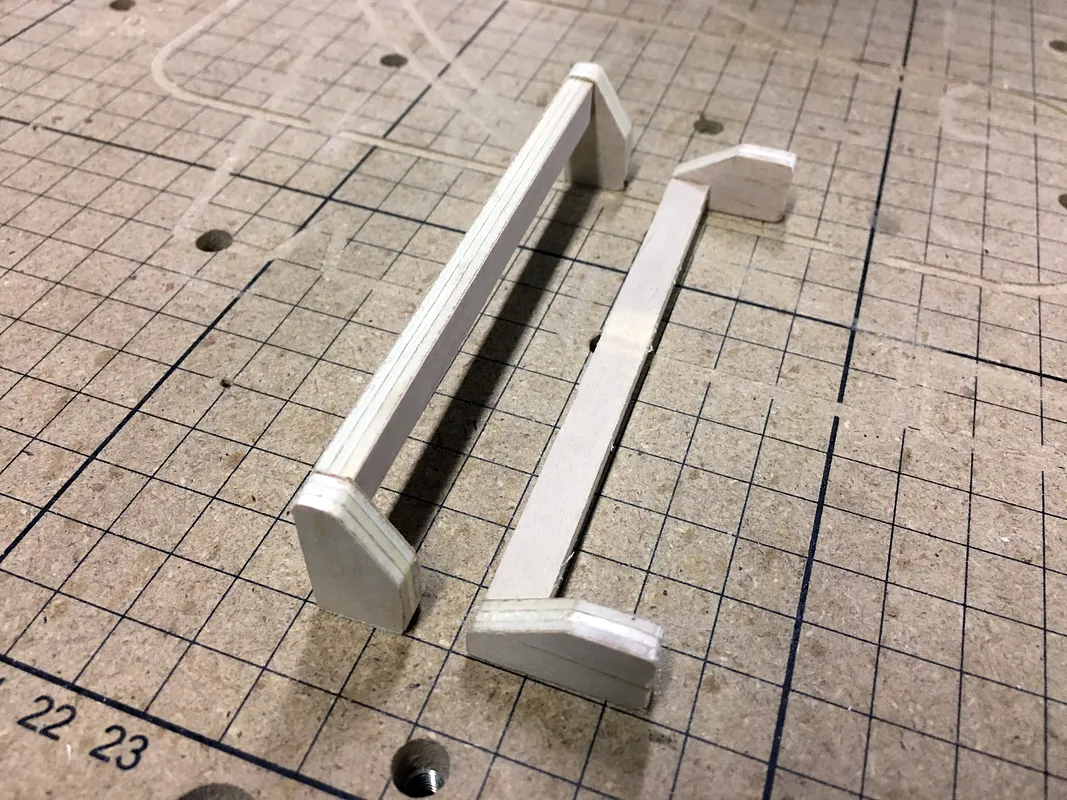
Assemble the Gantry
Its easiest to assemble in view of your machine.
I used crazy glue to assemble the two gantries like shown.
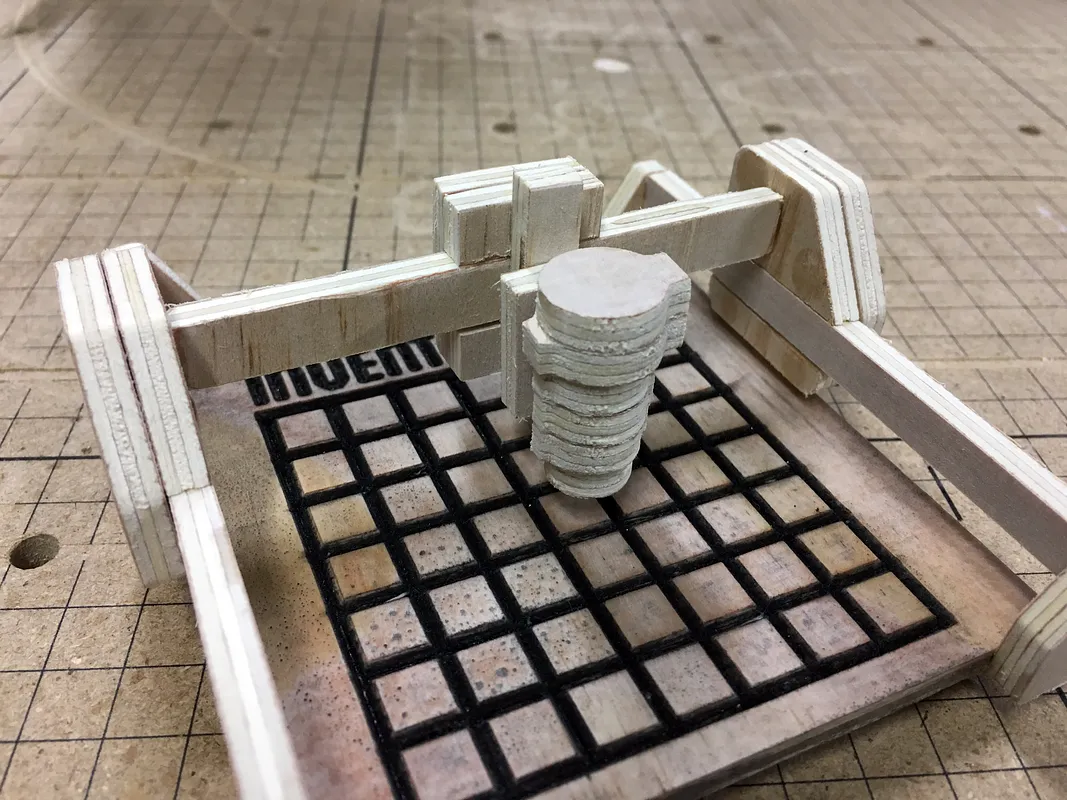
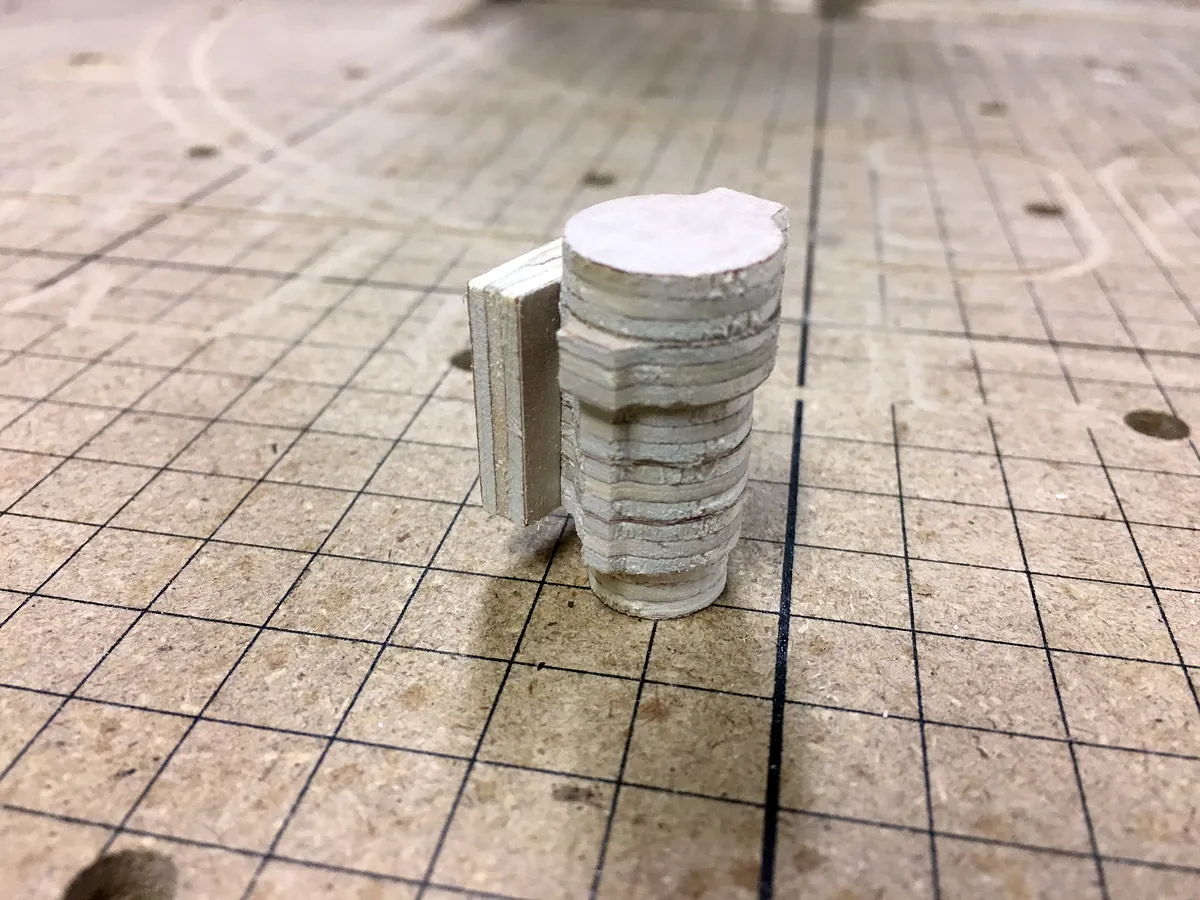
Assemble spindle
Its easiest to assemble in view of your machine.
I used crazy glue to assemble the spindle like shown.
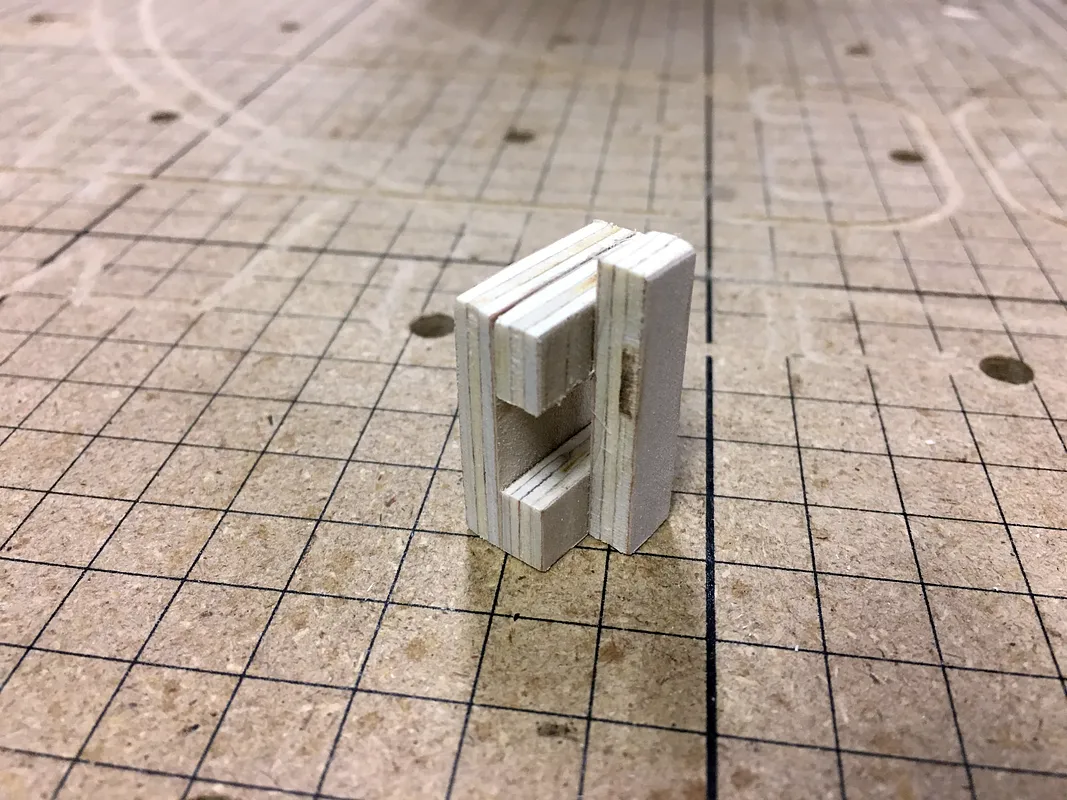
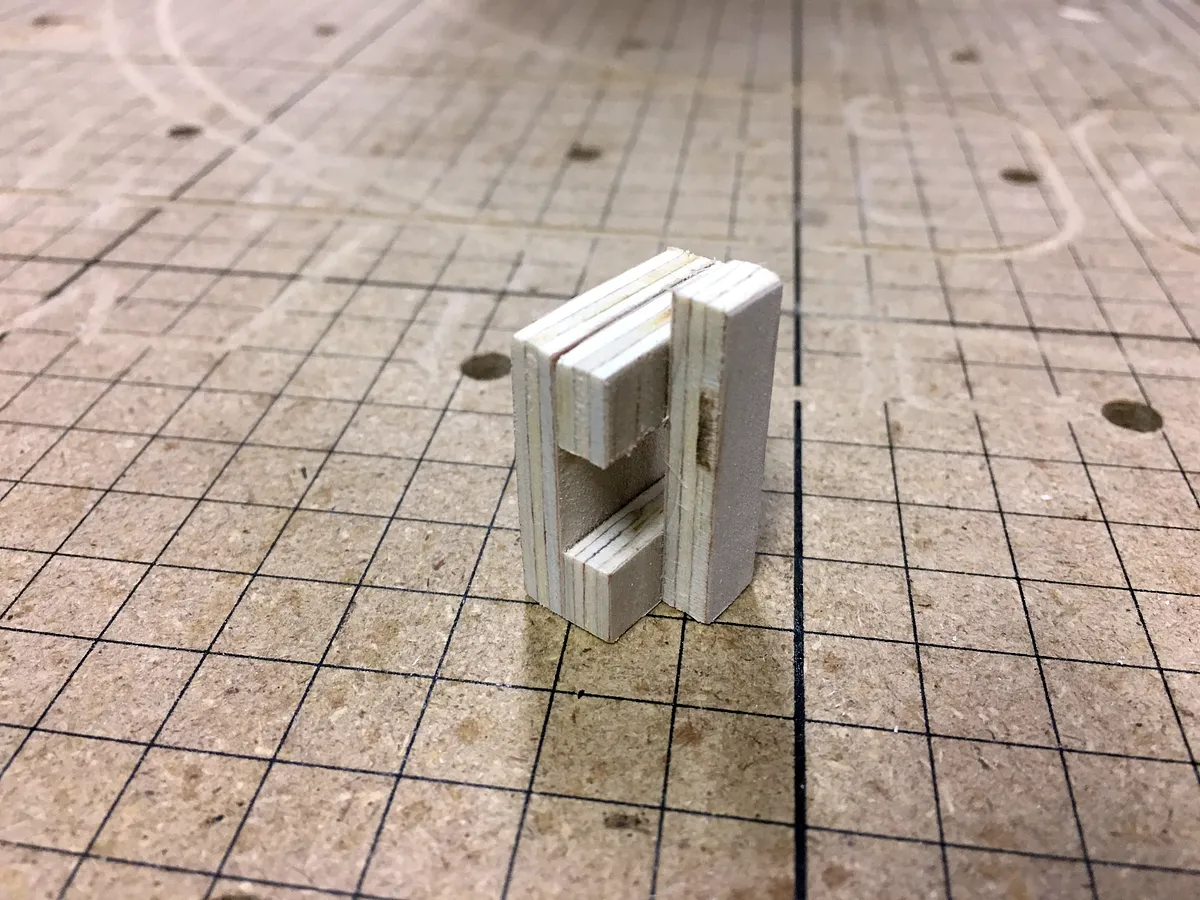
Assemble the X Carriage
Its easiest to assemble in view of your machine.
I used crazy glue to assemble the x carriage like shown.
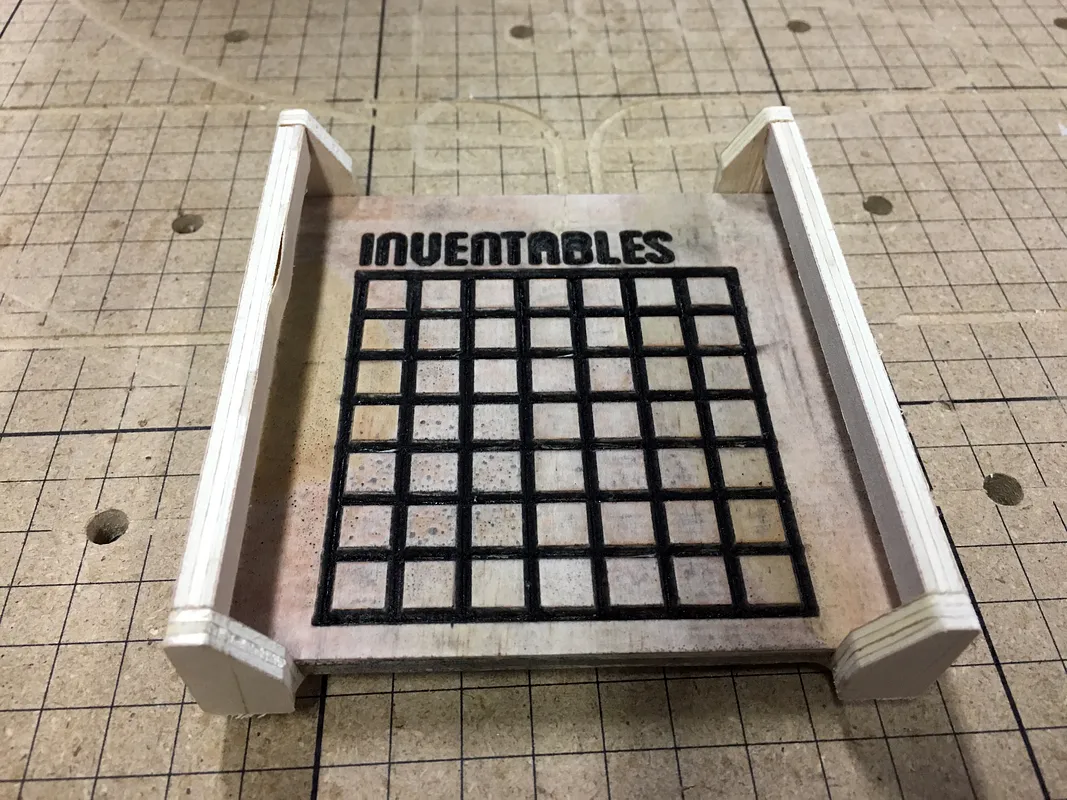
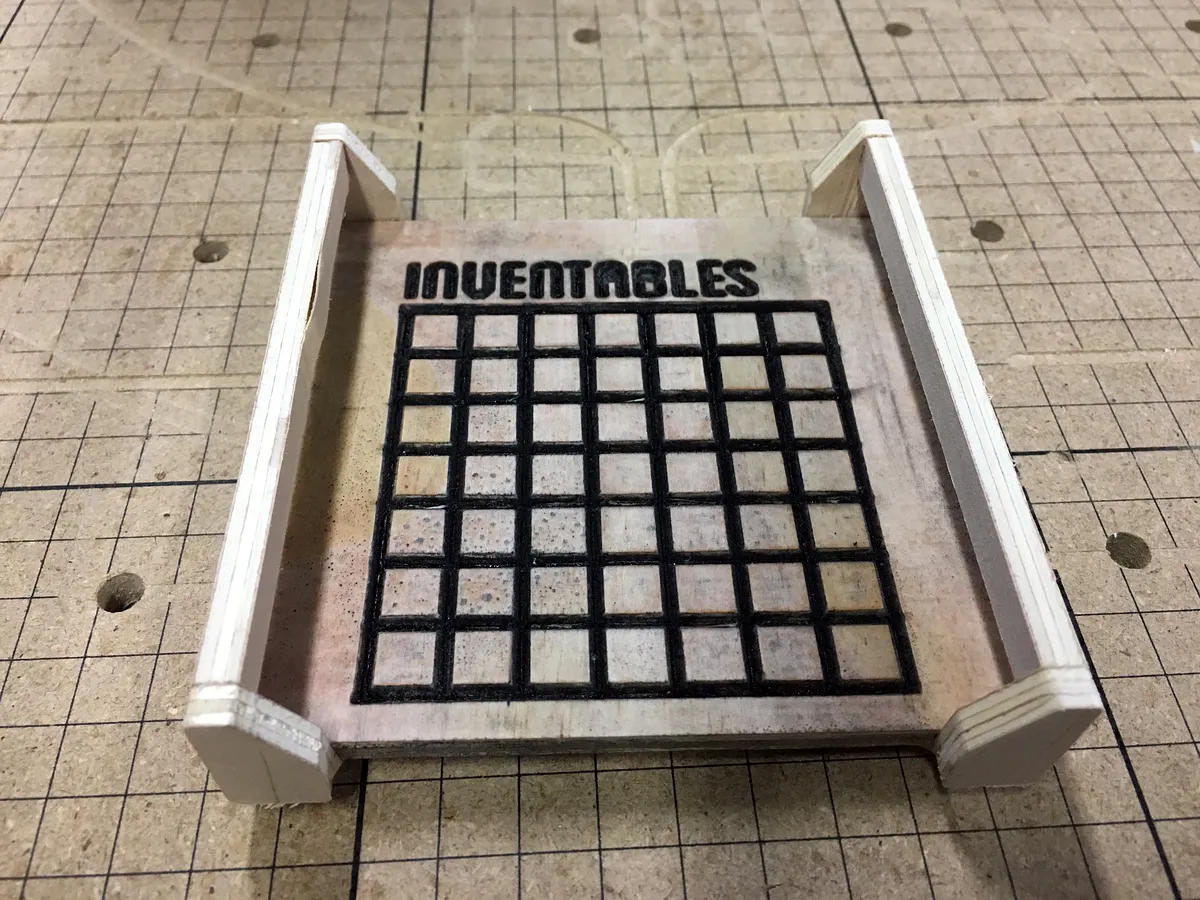
Glue Y Rails to waste board
I used crazy glue to assemble like shown.
Insert X Rail in to X Carriage
Insert X Rail in to X Carriage

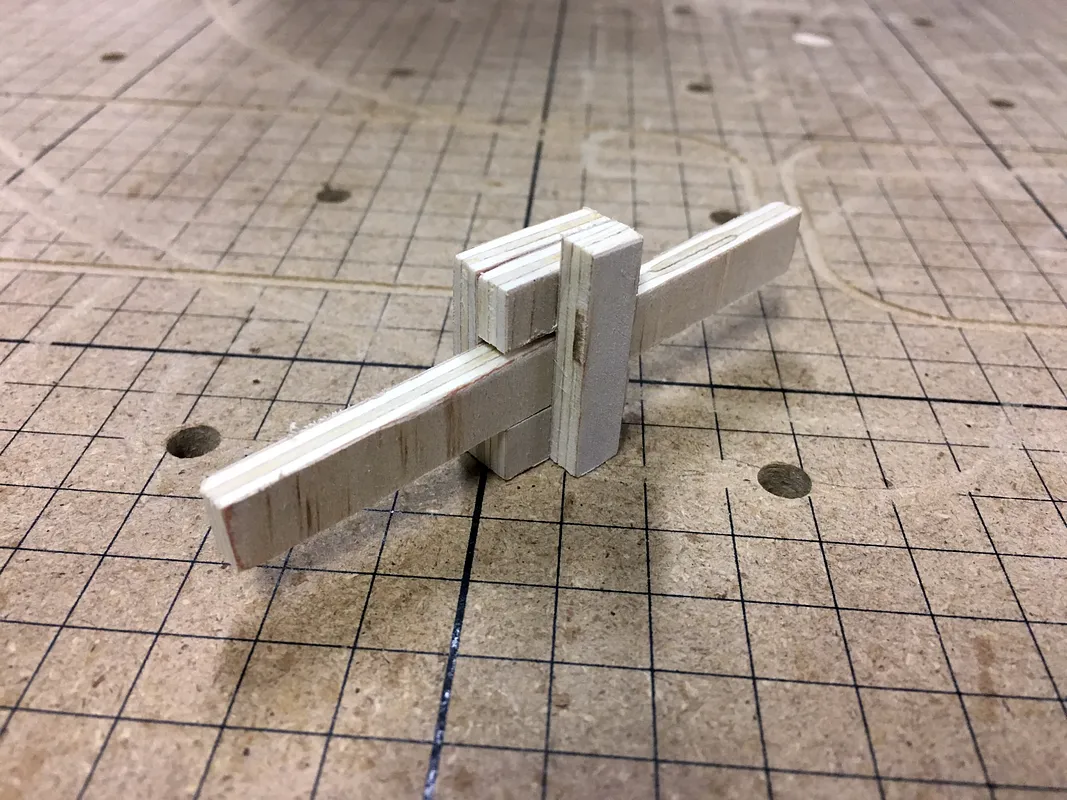
Attach Gantries and X Rail
Glue the x rail to one gantry. Put that assembly in place and glue other end of x rail to other gantry.
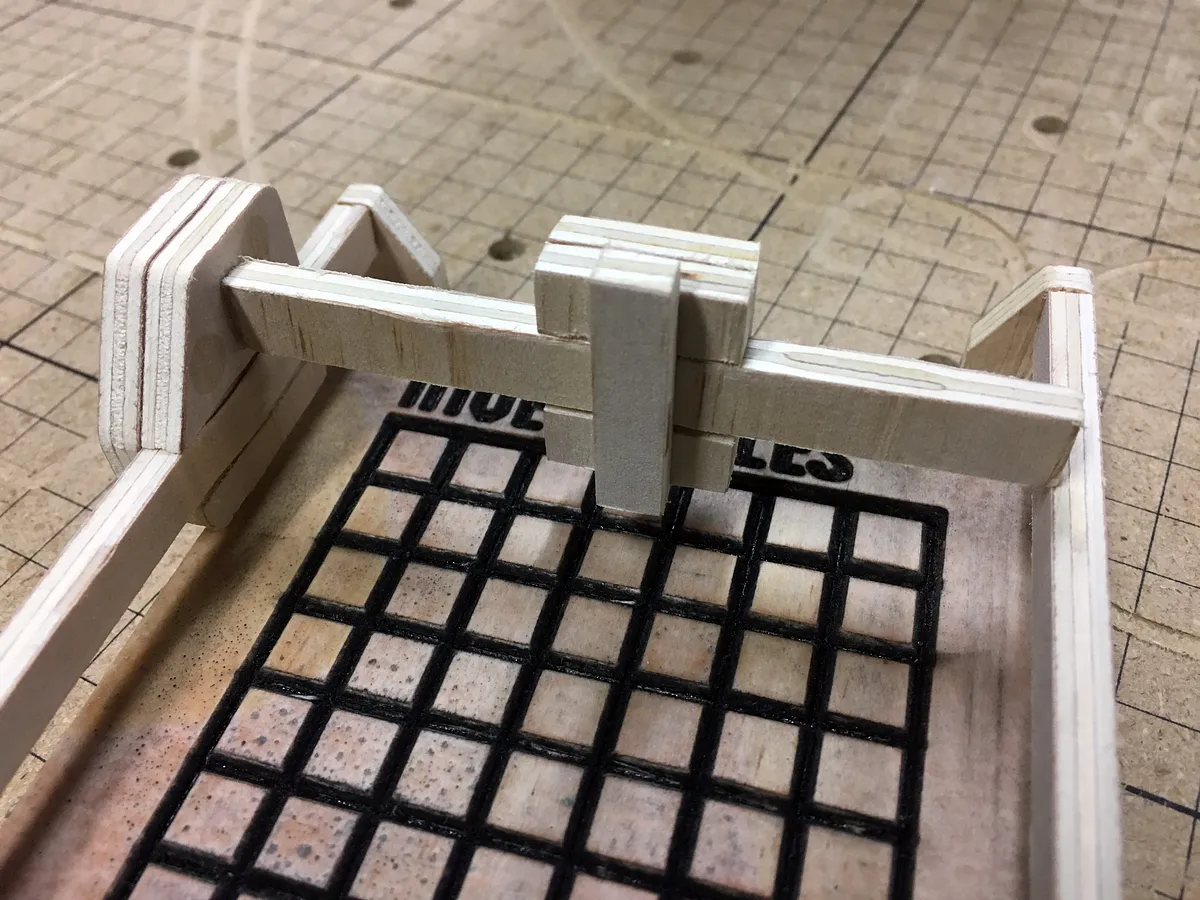
Glue Spindle to X Carriage
Glue Spindle to the height you want it on the x carriage.

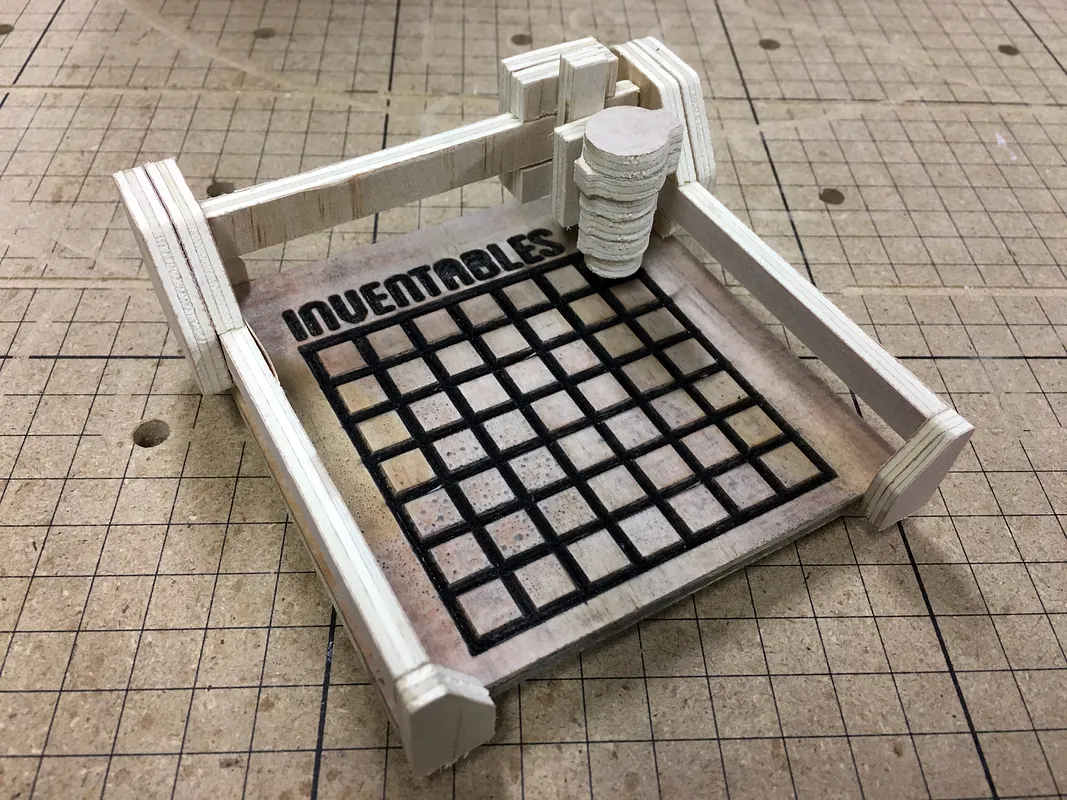
Finish up
The X and Y are cut so if you are going to sit the model flat you can move them. If you want to hang it vertically just add a few drops of glue in the spot you want it to stay.

Comments