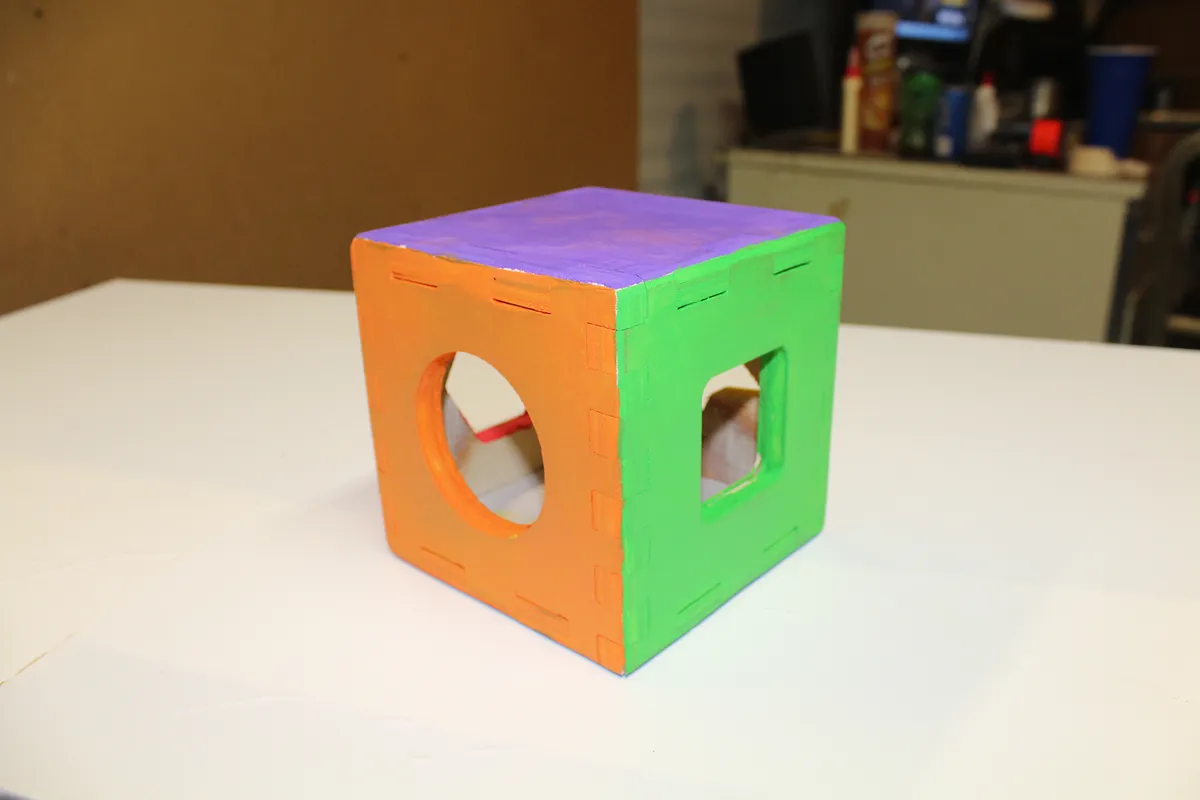
play cube Using box joints

Instructions
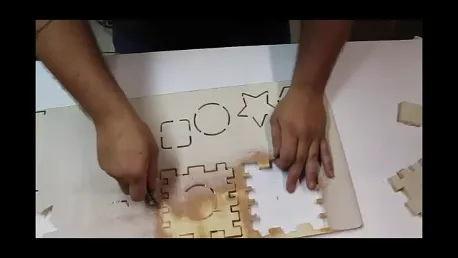
cut pattern
please watch the video for how i laid out the box joints for this box. its the easiest way i know how to show how i do it.
BOM
1- 12" x 24" x 1/2" plywood or MDF
wood glue sandpaper
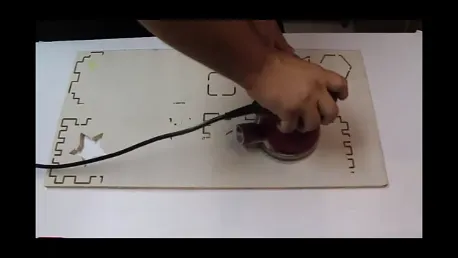
parting the pices
after the X carve has finished give everything a quick sanding.i used a hobby knife to cut the pieces out of the wast and to trim off the tabs from the pieces.

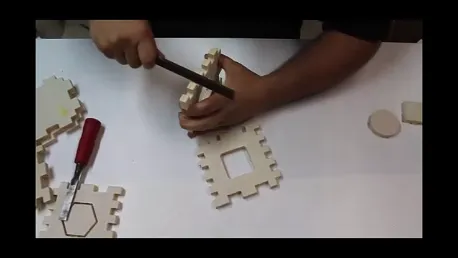
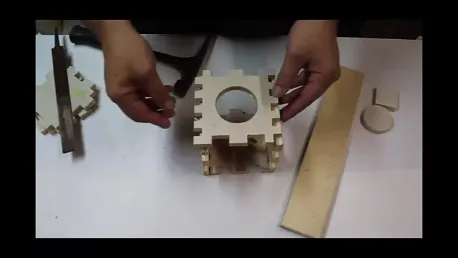
clean up the joints
The joints on the box will be very tight. Use sandpaper or a file to clean any ruff spots and to smooth the inside of the joints so they will fit properly.
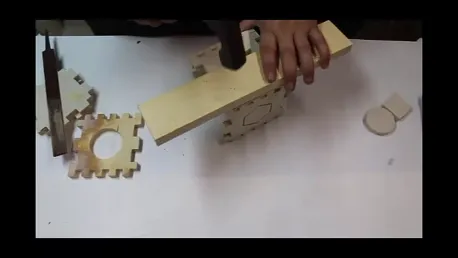
Assembly
glue up and assemble the box. Use a hammer and a scrap piece of wood to hammer the pieces together. Use clamps if necessary to hold together till the glue drys.
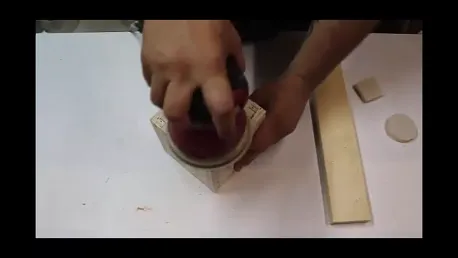
sanding
Give everything a good final sanding. Because i was giving this to a set of 9 mount old twines i used my sander to round over all the edges.
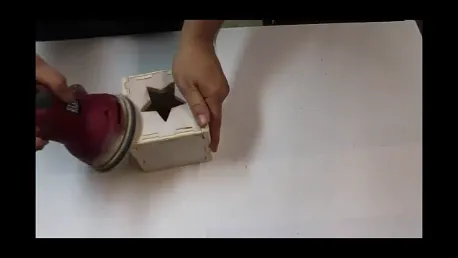
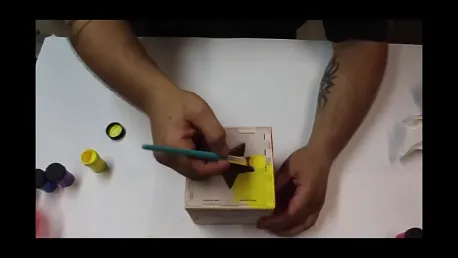
finishing
finish the box as desired. i used nontoxic acrylic paint to paint it.
Comments
Great project! I could not view your video? I want to make one in the near future.
Jene JohnsonPro · October 04, 2015
Hi Jene, good work with the box joint design. The only part missing was which piece to cut On/Inside/Outside the line and what size bit to cut with as this will change the size of the fingers and cut outs
John Colgan · January 10, 2021