Customizable Light Box

Instructions
Glue
If you have purchased two half inch boards now is the time to glue them together! Any combination of thicknesses could be used as long as they measure 1 inch when laminated.
Use many clamps to distribute even clamping pressure.
If you have access to lumber that is 1 inch or thicker and a planer, you can skip this step and instead plane it to 1 inch thick.
Estimated time: 2 minutes
Dimention
Using whatever saw you have avalible to you, cut your 1 inch stock to 6.5 by 4.5 inches.
Estimated time: 3 minutes
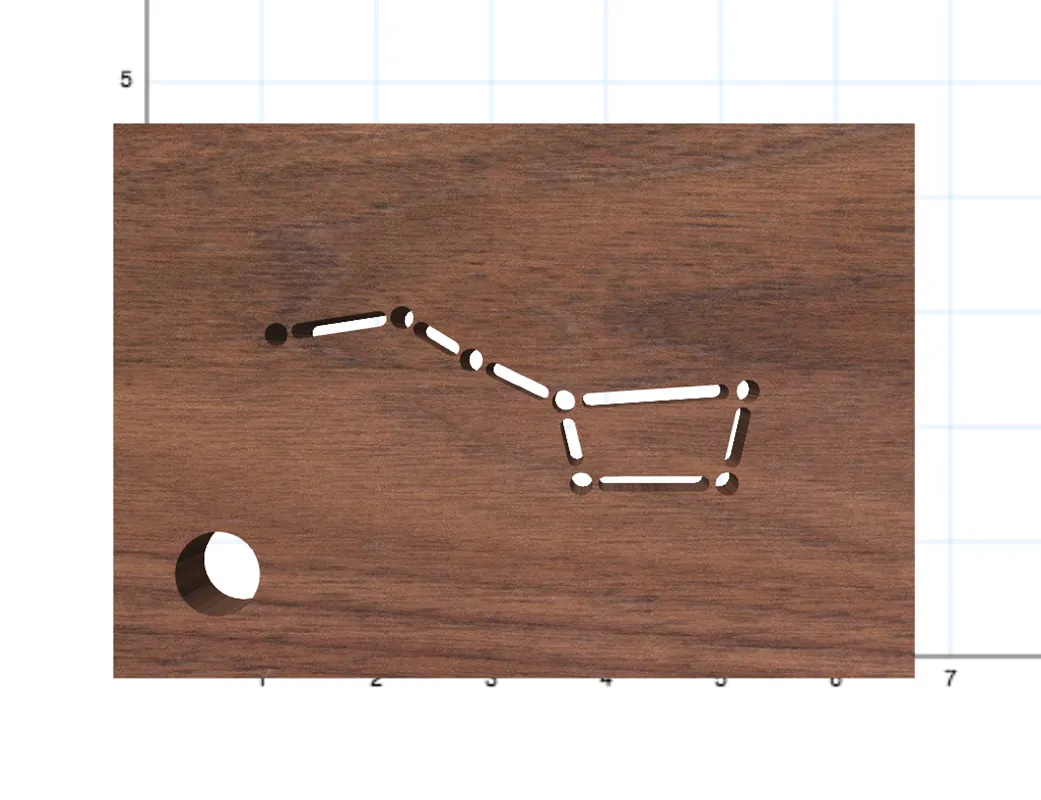
Cut Main Body
Using double sided tape, affix your stock to the X-Carve and let the chips fall where they may.
Estimated time: 55 minutes
Cut Back
Using the same tape method as before, use your X-Carve to cut out the back.
Estimated time: 3 minutes
Apply Finish
Use your favorite wood finish on both pieces to make the color pop!
Estimated time: 5 minutes
Assemble
Begin by lining the inside of the light box with a LED light strip. Add your rocker switch and battery and complete the circuit. Put the back piece on and attach with screws. The light box can sit on a shelf or hardware can be added to hang on the wall.
Estimated time: 10 minutes
Comments