Post-It and Tape Dispenser
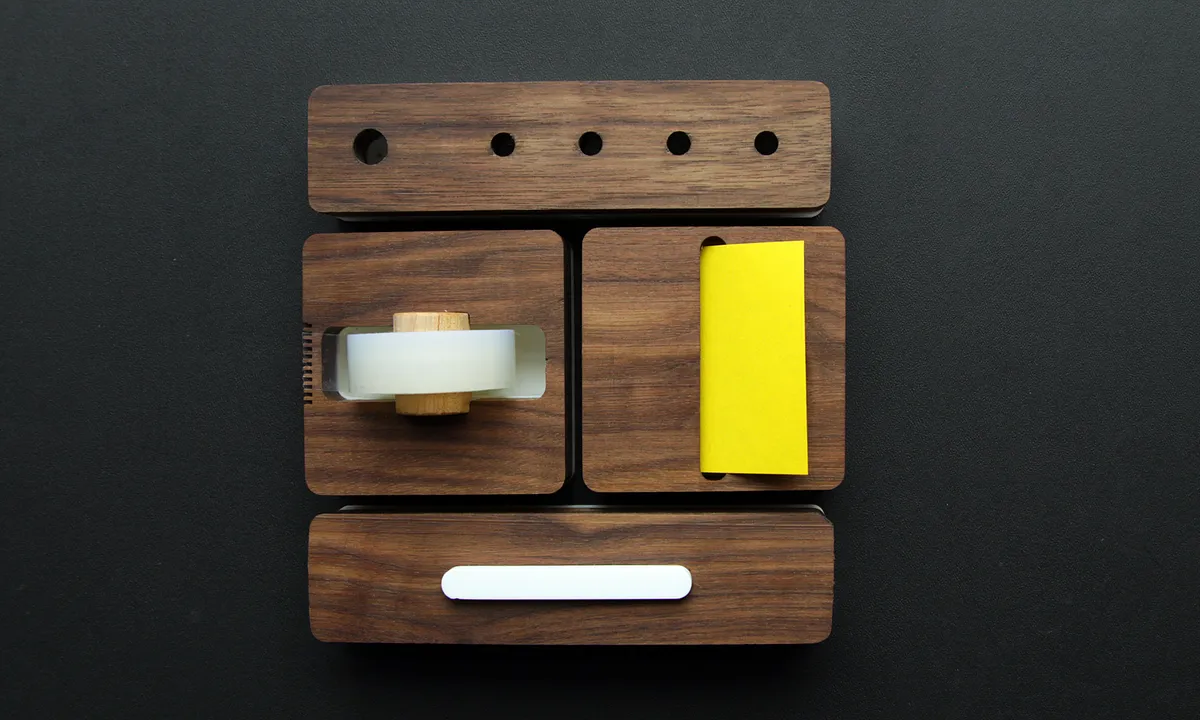
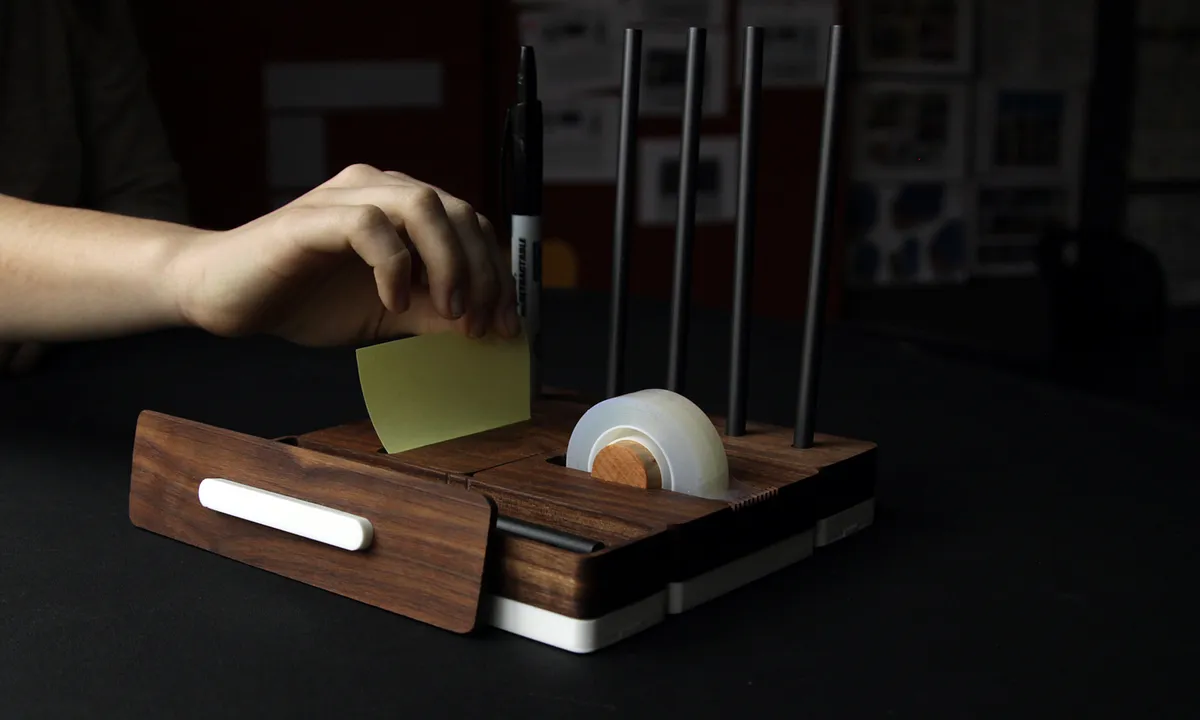
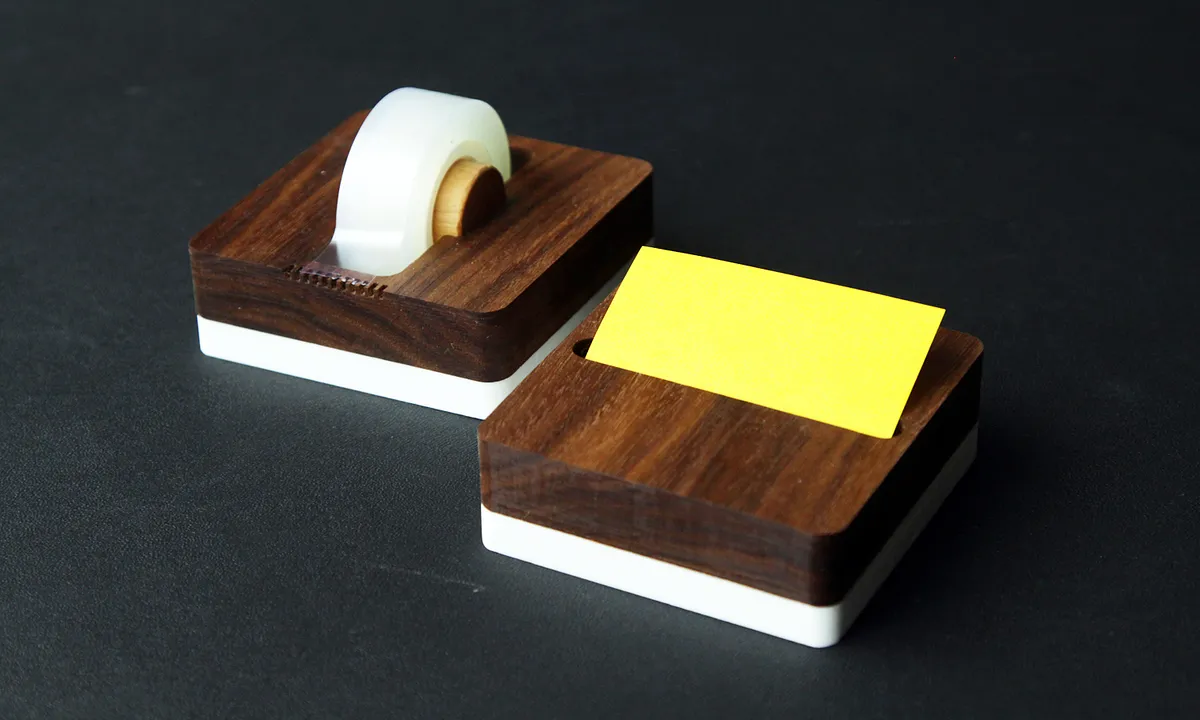
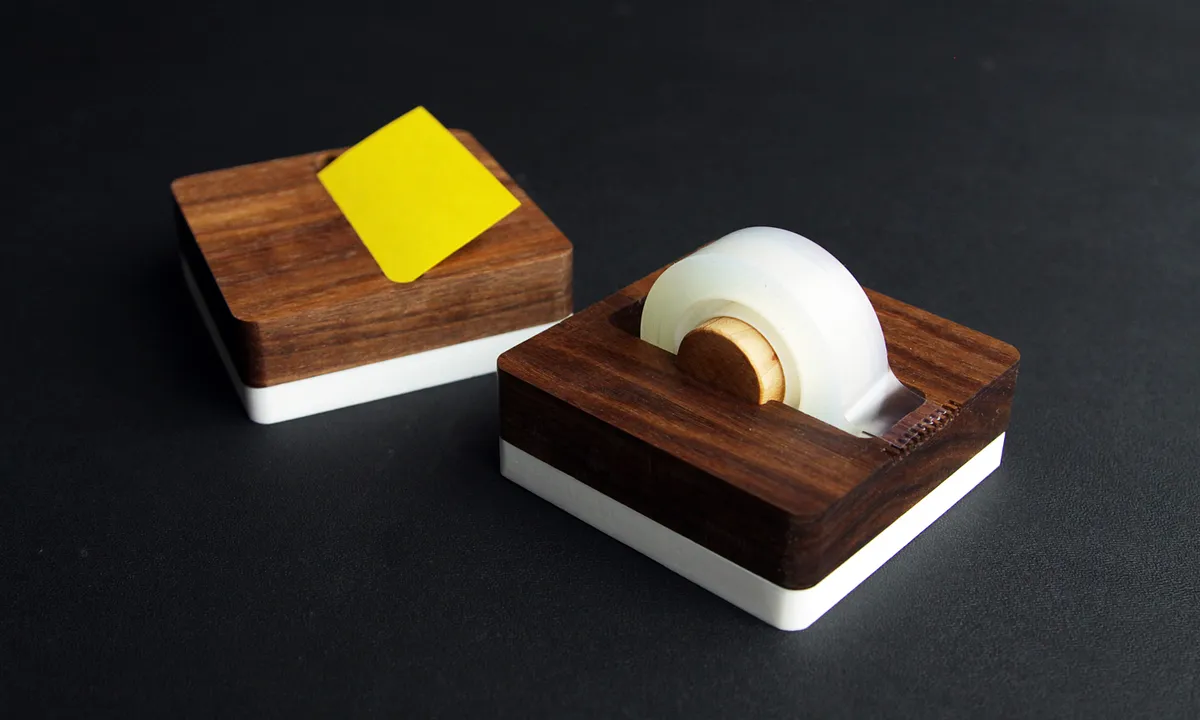
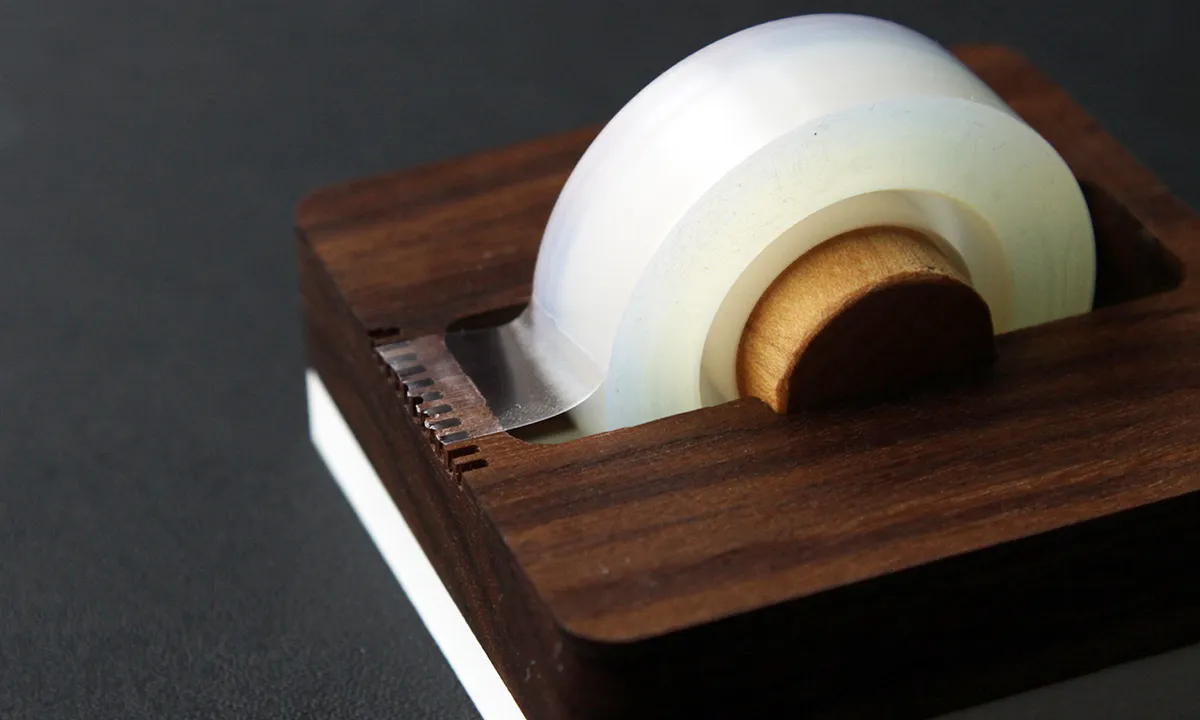
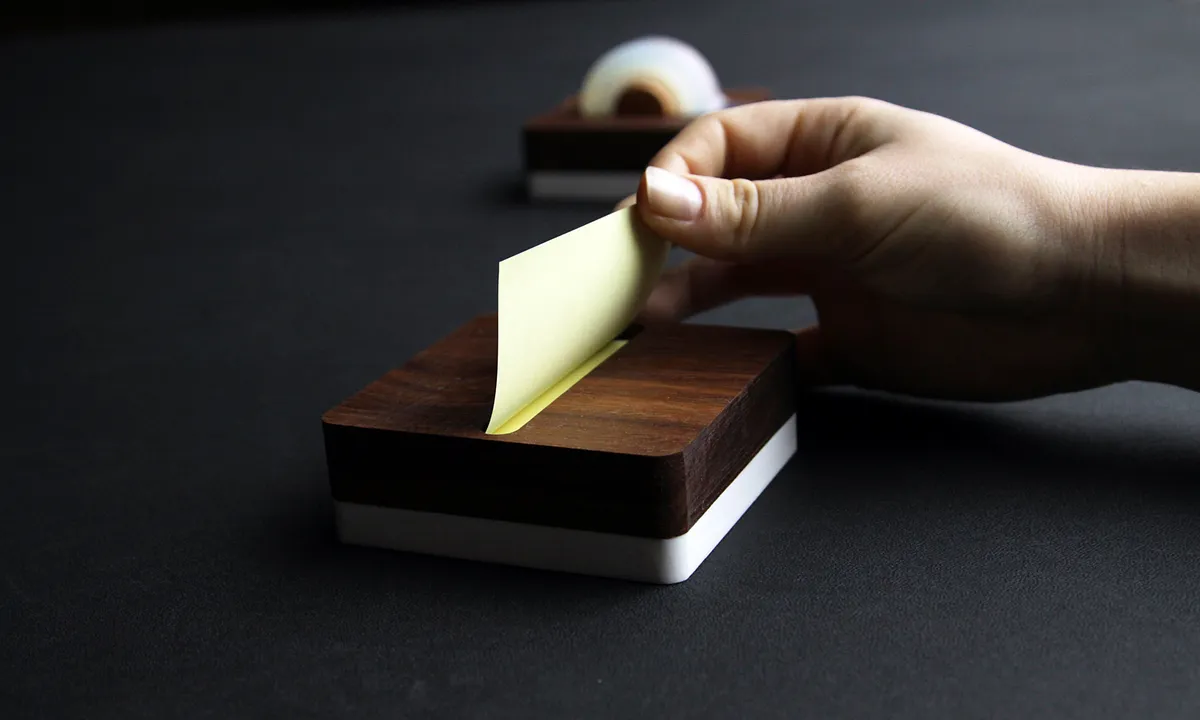

Instructions
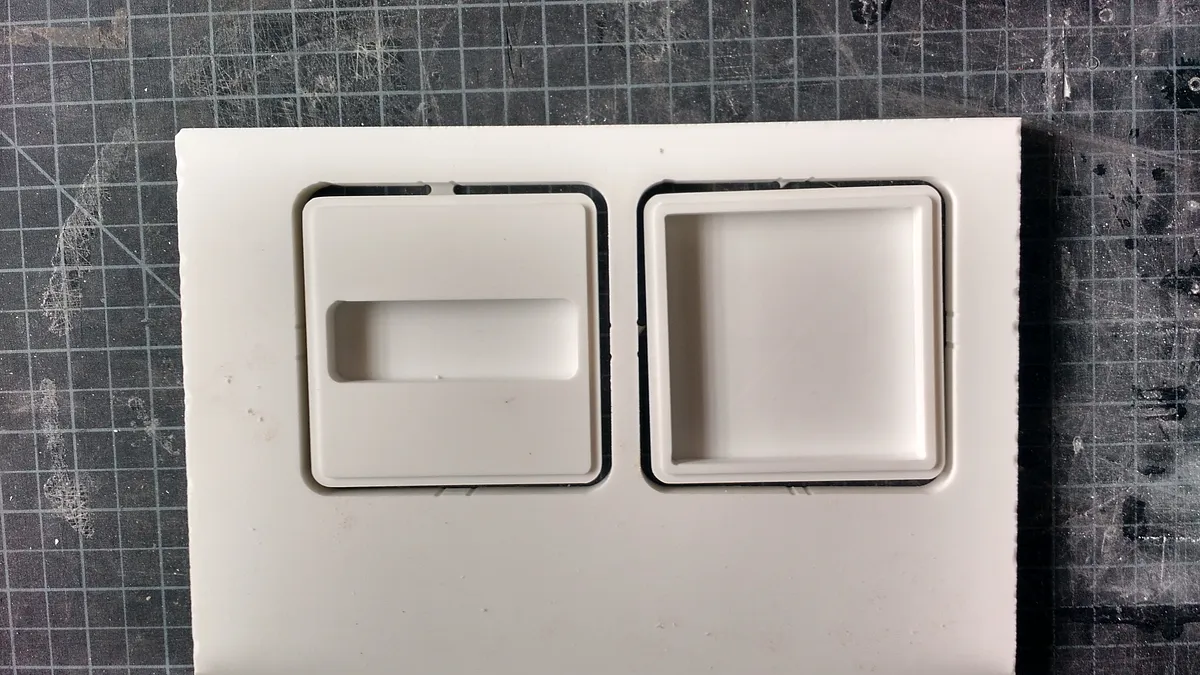
Mill Corian Parts
Mill the corian base for each part
Use this EASEL "link":http://easel.inventables.com/projects/a9KbsFm4EKsk2TOUa7Z4FA
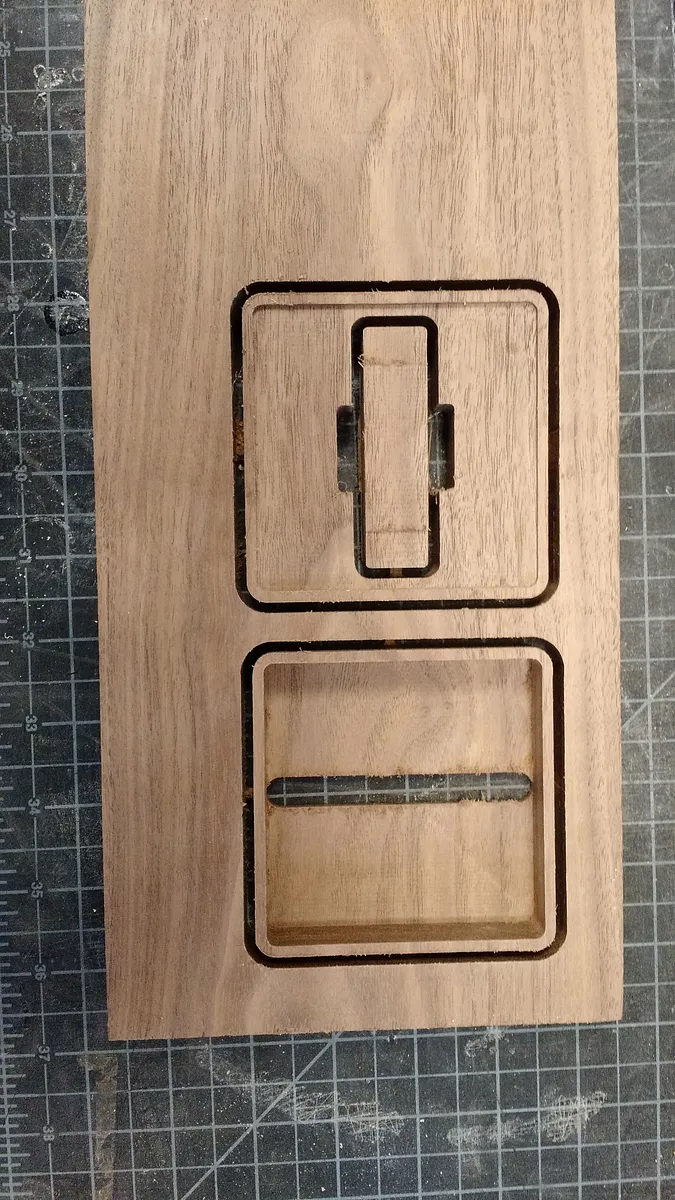
Mill Walnut Parts
Mill the walnut top for each part
Use this EASEL "link":http://easel.inventables.com/projects/gUmoEvHOfaMkxReJptlnCg
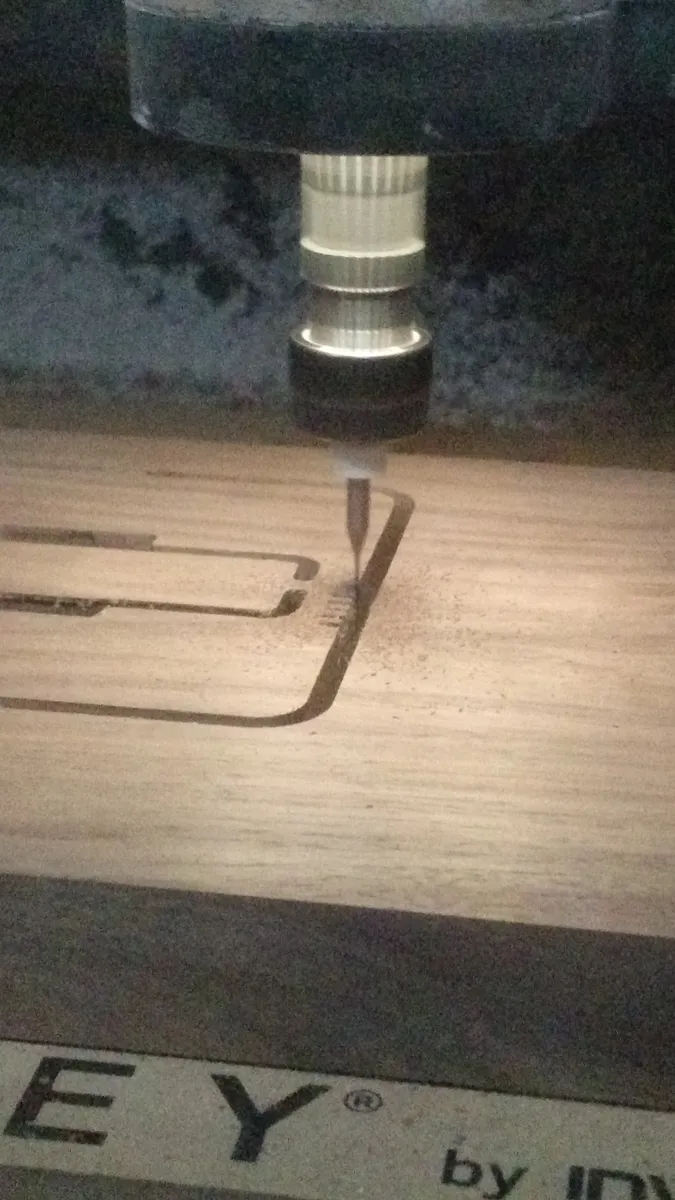
Mill reverse side of Walnut Part
Flip the walnut sheet over and align it to cut notches in the tape dispenser. This will help tear the tape off. Make sure the part is properly registered in place.
Use this EASEL "link":http://easel.inventables.com/projects/ELGvg6oBXI9ZBryytYPlrA
Cut 1" Dowel for Tape Spool
Cut a section of 1" diameter dowel rod to hold the tape spool. A 1.3" section is needed. If the dowel is slightly too large to fit then you can sand the sides flat so that it nests neatly into the slot. If it doesn't spin that's ok, the tape should spin around it.
Finishing and Assembly
These parts may take a bit of sanding to get a proper fit and finish. After sanding finish with your choice of oil and assemble the parts. If you kept the tolerances tight like we did you can get a friction fit, otherwise you can glue the pieces together.
Comments
Hi, I'm new to this so forgive my dumb questions. How do you align the walnut when you flip it so the notches are perfectly aligned? Thanks!
Carl Chiverton · September 24, 2016
I was pretty new to this when I did this project, so I just measured the distance from the edge of the board and tried to align it the best I could. Not the most precise way of doing it. The better way to do this is to use the method I show here inventables.com/projects/soap-dish
Beyond Design · September 26, 2016